| Key Takeaways |
| – You can grow a plum tree from a fresh plum seed by following these steps: dry, crack, wrap, stratify, plant, care, and harvest |
| – You need to choose the right type of plum seed (European or Japanese) for your climate and taste |
| – You need to stratify the plum seed in the refrigerator for 2-3 months to induce germination |
| – You need to transplant the plum seedling to the ground when it is big enough and provide adequate water, fertilizer, and protection |
| – You can enjoy the fruits of your labor after 3-6 years of growing a plum tree from a seed |
Introduction
Have you ever wondered if you can grow a plum tree from a fresh plum seed? If you love plums and have some space in your garden or balcony, you might be tempted to try this experiment. After all, plums are delicious, nutritious, and eco-friendly fruits that can enhance your health and happiness.
Plums are stone fruits that belong to the genus Prunus, which also includes peaches, apricots, cherries, and almonds. They come in different shapes, sizes, colors, and flavors, depending on the variety and cultivar. Plums are rich in antioxidants, vitamins, minerals, and fiber that can boost your immune system, digestion, skin, and bones. Plums are also good for the environment because they attract pollinators, provide shade, and reduce soil erosion.
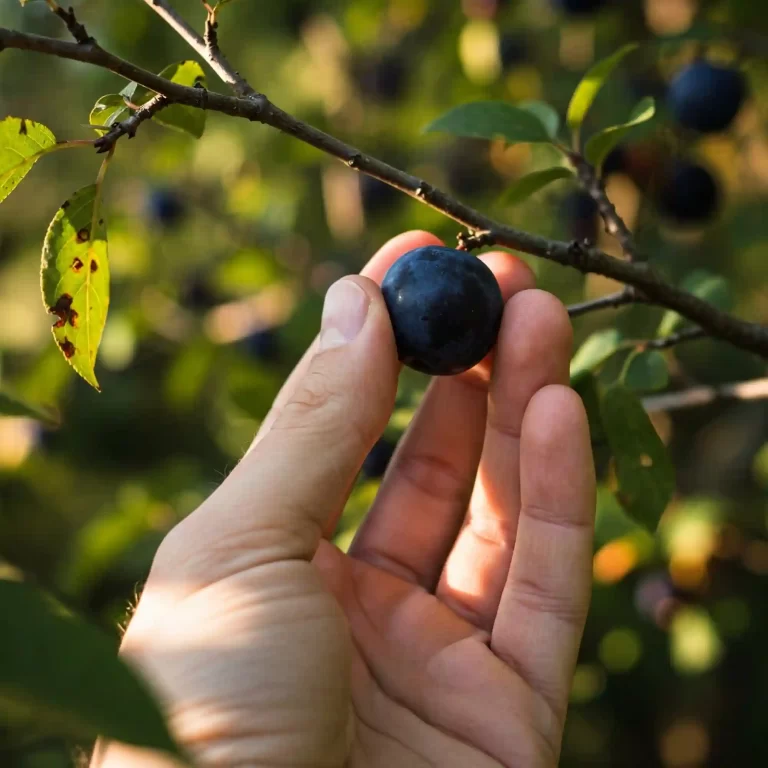
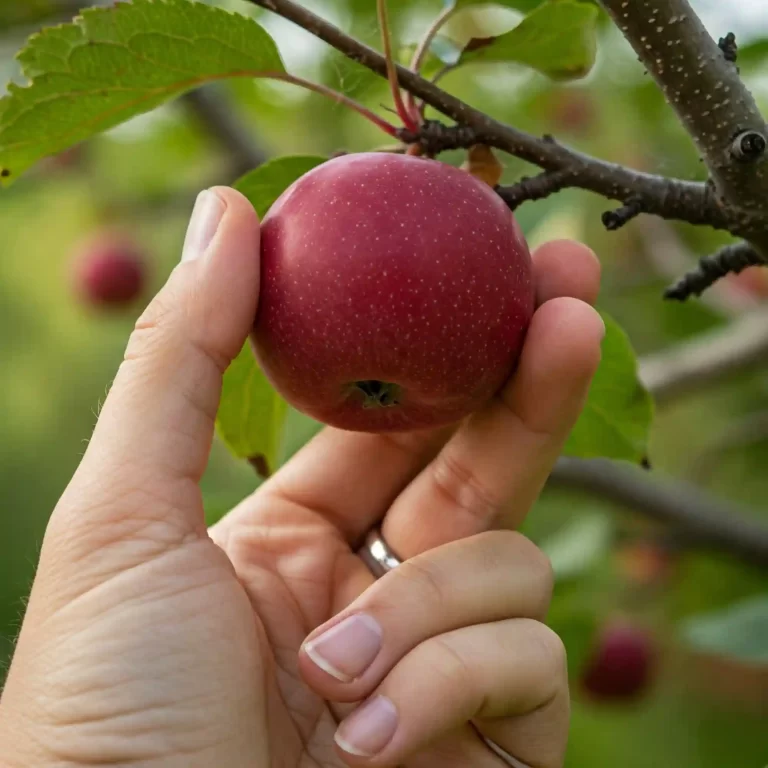
But before you start planting a plum seed in your backyard, you need to know some important facts and tips. Not all plum seeds are created equal. There are two main types of plum seeds: European and Japanese. European plums (Prunus domestica) are oval-shaped, blue or purple-skinned, and sweet or tart-flavored. They are more cold-hardy and self-pollinating than Japanese plums. Japanese plums (Prunus salicina) are round-shaped, red or yellow-skinned, and juicy and sweet-flavored. They are more heat-tolerant and require cross-pollination with another variety of Japanese plums.
You also need to know that growing a plum tree from a seed is not as easy as it sounds. It takes time, patience, and care to turn a tiny kernel into a fruit-bearing tree. You need to follow several steps to prepare, germinate, plant, and maintain a plum seed. You also need to be aware of the benefits and challenges of growing a plum tree from a seed.
In this article, we will guide you through the process of growing your own plum tree from a fresh plum seed. We will explain how to dry, crack, wrap, stratify, plant, care, and harvest a plum tree from a seed. We will also provide some tips and warnings for each step. By the end of this article, you will have a clear idea of how to grow a plum tree from a seed and what to expect from it.
How to Dry, Crack, and Wrap a Plum Seed
The first step in growing a plum tree from a seed is to dry, crack, and wrap the seed. This step is important because it helps to remove the flesh, break the dormancy, and preserve the viability of the seed.
To dry a fresh plum seed, you need to do the following:
- Remove the flesh from the seed by cutting or biting it off. Be careful not to damage the seed.
- Wash the seed under running water to remove any residue or juice.
- Let the seed air dry for a few days on a paper towel or a plate. Do not use heat or sunlight to speed up the drying process.
To crack a plum seed, you need to do the following:
- Use a nutcracker or a hammer to gently crack the hard shell of the seed. Do not hit too hard or too often as you might damage the kernel inside.
- Peel off the shell carefully and discard it. You should see a white or brown kernel that looks like an almond.
- Check the kernel for any signs of damage or rotting. If it is damaged or rotten, discard it and use another seed.
To wrap a plum seed, you need to do the following:
- Moisten a paper towel with water until it is damp but not dripping.
- Wrap the kernel in the paper towel and place it in a plastic bag or container.
- Label the bag or container with the date and type of seed.
- Store it in a cool and dark place such as a drawer or closet.
Some tips and warnings for this step are:
- Avoid mold, fungus, and rotting by keeping the paper towel moist but not wet.
- Do not store more than one kernel per bag or container as they might compete for space and moisture.
- Do not store the wrapped seed in the freezer or near a heat source as it might kill the seed.
How to Stratify a Plum Seed
The second step in growing a plum tree from a seed is to stratify the seed. Stratification is a process of exposing the seed to cold and moist conditions for a certain period of time. This process mimics the natural winter cycle and triggers the seed to germinate.
To stratify a plum seed, you need to do the following:
- Place the wrapped seed in the refrigerator for 2-3 months. The ideal temperature range is between 1°C and 5°C (34°F and 41°F).
- Check the seed regularly for signs of germination. You should see a small root emerging from the kernel after 2-3 months.
- Remove the seed from the refrigerator when you see the root. Do not wait too long as the root might grow too big and break the kernel.
Some tips and warnings for this step are:
- Do not freeze or thaw the seed as it might damage the kernel or root.
- Do not expose the seed to light or heat as it might inhibit germination or cause premature sprouting.
- Do not let the paper towel dry out or become too wet as it might affect the moisture level and temperature of the seed.
How to Plant a Plum Seed
The third step in growing a plum tree from a seed is to plant the seed. This step is important because it allows the seed to grow into a seedling and develop its stem, leaves, and roots.
To plant a plum seed, you need to do the following:
- Choose a sunny and well-drained spot in your garden or balcony. Plums need at least 6 hours of direct sunlight per day and prefer loamy soil with good drainage.
- Prepare the soil by adding organic matter such as compost, manure, or peat moss. You can also add some fertilizer that contains nitrogen, phosphorus, and potassium. Mix well and rake smooth.
- Dig a hole that is about twice as deep and wide as the seed. The depth should be about 5 cm (2 inches) and the width should be about 10 cm (4 inches).
- Remove the paper towel from the seed and place it in the hole with the root pointing down. Cover it with soil and water it well. Mark the spot with a label or a stake.
Some tips and warnings for this step are:
- Do not plant more than one seed per pot or container as they might compete for space and nutrients.
- Do not bury the seed too deep or too shallow as it might affect its growth and survival.
- Do not overwater or underwater the seed as it might cause rotting or drying.
How to Care for a Plum Seedling
The fourth step in growing a plum tree from a seed is to care for the seedling. This step is important because it helps to ensure the health and growth of the seedling until it is ready to be transplanted to the ground.
To care for a plum seedling, you need to do the following:
- Water it regularly but not excessively. The soil should be moist but not soggy. You can use your finger to test the moisture level of the soil. If it feels dry, water it. If it feels wet, wait until it dries out a bit.
- Fertilize it every few weeks with a balanced fertilizer that contains nitrogen, phosphorus, and potassium. Follow the instructions on the label for application rates and methods. You can also use organic fertilizers such as compost tea, fish emulsion, or seaweed extract.
- Weed around it to prevent competition and pests. Pull out any weeds by hand or use a hoe or a cultivator. Be careful not to damage or disturb the roots of the seedling.
- Mulch around it to conserve moisture and prevent weeds. You can use organic materials such as straw, grass clippings, leaves, or wood chips. Spread them evenly around the base of the seedling, leaving some space around the stem.
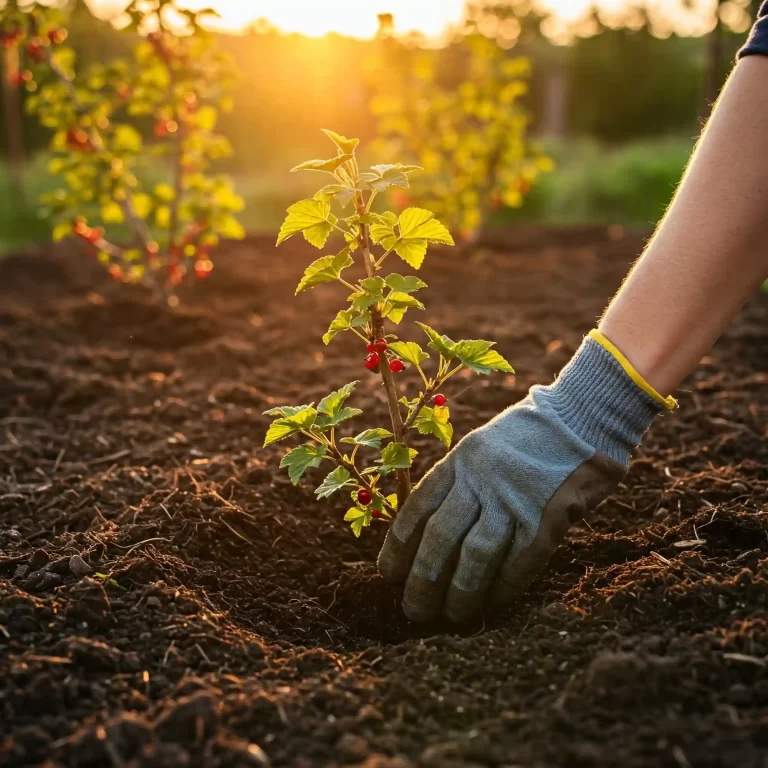
To transplant a plum seedling, you need to do the following:
- Wait until it is at least 15 cm (6 inches) tall and has several leaves. This usually takes about 6 months to a year after planting.
- Choose a permanent spot in your garden that has enough space, sun, and drainage for your plum tree. Plums need at least 4 meters (13 feet) of space between them and other trees or structures.
- Dig a hole that is larger than the root ball of your seedling. The depth should be about 30 cm (12 inches) and the width should be about 60 cm (24 inches).
- Gently remove your seedling from its pot or container by loosening the soil around it. Lift it carefully by holding its stem and roots.
- Place your seedling in the hole and fill it with soil. Make sure that the soil level is slightly lower than the stem of the seedling. You can use a level or a ruler to check the soil level.
- Water your seedling well and stake it if necessary. You can use a wooden or metal stake and a soft string or wire to support your seedling. Tie the string or wire loosely around the stem and the stake, leaving some room for growth.
- Mulch around your seedling to conserve moisture and prevent weeds. You can use the same materials and methods as before.
Some tips and warnings for this step are:
- Do not transplant during extreme weather conditions such as frost, heat, or drought. The best time to transplant is in early spring or fall, when the weather is mild and moist.
- Do not damage or disturb the roots of your seedling as much as possible. Try to keep the root ball intact and avoid cutting or breaking any roots.
- Do not plant too close to other trees or structures as they might interfere with the growth and health of your plum tree.
How to Prune, Water, Fertilize, and Protect a Plum Tree
The fifth step in growing a plum tree from a seed is to prune, water, fertilize, and protect the tree. This step is important because it helps to shape, nourish, and safeguard the tree from pests and diseases.
To prune a plum tree, you need to do the following:
- Prune it annually in late winter or early spring, before the buds break. This is the best time to prune because the tree is dormant and less prone to bleeding sap or infection.
- Remove any dead, diseased, damaged, or crossing branches. These branches can affect the health and appearance of your tree. Use sharp and clean pruning tools such as shears, saws, or loppers to make clean cuts.
- Thin out any crowded or weak branches. These branches can reduce the air circulation and light penetration of your tree. Aim for an open center or vase form that allows enough space and sun for your tree.
- Shape your tree into a desired form and size. You can use pruning techniques such as heading, thinning, tipping, or notching to control the growth and direction of your branches. You can also use training methods such as staking, wiring, bending, or espaliering to create different shapes and styles for your tree.
To water a plum tree, you need to do the following:
- Water it deeply and infrequently during dry periods. The amount and frequency of watering depend on the soil type, weather conditions, and age of your tree. A general rule of thumb is to water once a week with about 5 cm (2 inches) of water.
- Avoid watering during rainy or humid periods. Too much water can cause root rot, fungal infections, or cracking of fruits. You can use a rain gauge or a moisture meter to measure the rainfall or soil moisture level.
- Use drip irrigation or soaker hoses to water your tree. These methods are more efficient and effective than sprinklers or hoses. They deliver water directly to the roots without wetting the foliage or trunk.
To fertilize a plum tree, you need to do the following:
- Fertilize it once or twice a year in early spring and midsummer. The amount and type of fertilizer depend on the soil quality, age, and size of your tree. A general rule of thumb is to use about 0.5 kg (1 lb) of 10-10-10 fertilizer per year of age of your tree.
- Use a balanced fertilizer that contains nitrogen, phosphorus, and potassium. These nutrients are essential for the growth, flowering, and fruiting of your tree. You can also use organic fertilizers such as compost, manure, or bone meal.
- Follow the instructions on the label for application rates and methods. You can apply fertilizer by broadcasting, banding, side-dressing, foliar spraying, or injecting. Make sure to spread the fertilizer evenly around the drip line of your tree.
To protect a plum tree from pests and diseases, you need to do the following:
- Inspect your tree regularly for signs of infestation or infection. Some common pests and diseases that affect plums are aphids, borers, caterpillars, scale insects, leaf curl, brown rot, bacterial canker, etc.
- Use organic or chemical methods to control them. You can use natural predators such as ladybugs, lacewings to store them. You can also use a refrigerator for up to a month, but keep them in a plastic bag or container to prevent moisture loss and odor transfer.
- Freeze them for up to a year. You can use a freezer bag or container to store them. You can also slice or puree them before freezing to save space and make them easier to use later.
- Can, dry, or jam them for longer storage. You can use a pressure canner or a water bath canner to preserve them in jars. You can also use a dehydrator or an oven to dry them into prunes. You can also use a pot or a microwave to make them into jam or jelly.
Some tips and warnings for this step are:
- Do not wash plums until you are ready to eat or use them. Washing them before storage can remove the natural wax coating and make them more susceptible to spoilage.
- Do not store plums with ethylene-producing fruits such as apples, bananas, or tomatoes. Ethylene is a gas that can speed up the ripening and rotting of plums.
- Do not eat plums that are moldy, rotten, or wormy. They can cause food poisoning or allergic reactions.
Conclusion
Growing a plum tree from a seed is a rewarding and fun project that anyone can try. It takes time, patience, and care, but it is worth the effort. You can enjoy the beauty and bounty of your own plum tree for years to come.
To grow a plum tree from a seed, you need to follow these steps: dry, crack, wrap, stratify, plant, care, and harvest. You also need to choose the right type of plum seed for your climate and taste. You also need to be aware of the benefits and challenges of growing a plum tree from a seed.
We hope this article has given you a clear and comprehensive guide on how to grow a plum tree from a seed. If you have any questions or comments, please feel free to share them with us. We would love to hear from you.
Thank you for reading and happy gardening!


[…] you ever wondered how a tiny seed can grow into a towering tree or a colorful flower? How does a plant know when to sprout, bloom, or fruit? How does a plant […]