| Key Takeaways |
| – You can grow your own apricot tree from a pit with some patience and care. |
| – You need to choose the best apricot pits, extract the seeds, stratify the seeds, germinate the seeds, transplant the seedling, care for the tree, and harvest the fruits. |
| – You will learn how to do each of these steps in this article, along with some tips and advice. |
| – Growing your own apricot tree from a pit is a rewarding and fun project that anyone can do. |
Have you ever wondered what to do with the pits of the juicy apricots you enjoy in the summer? Did you know that you can grow your own apricot tree from a pit with some patience and care?
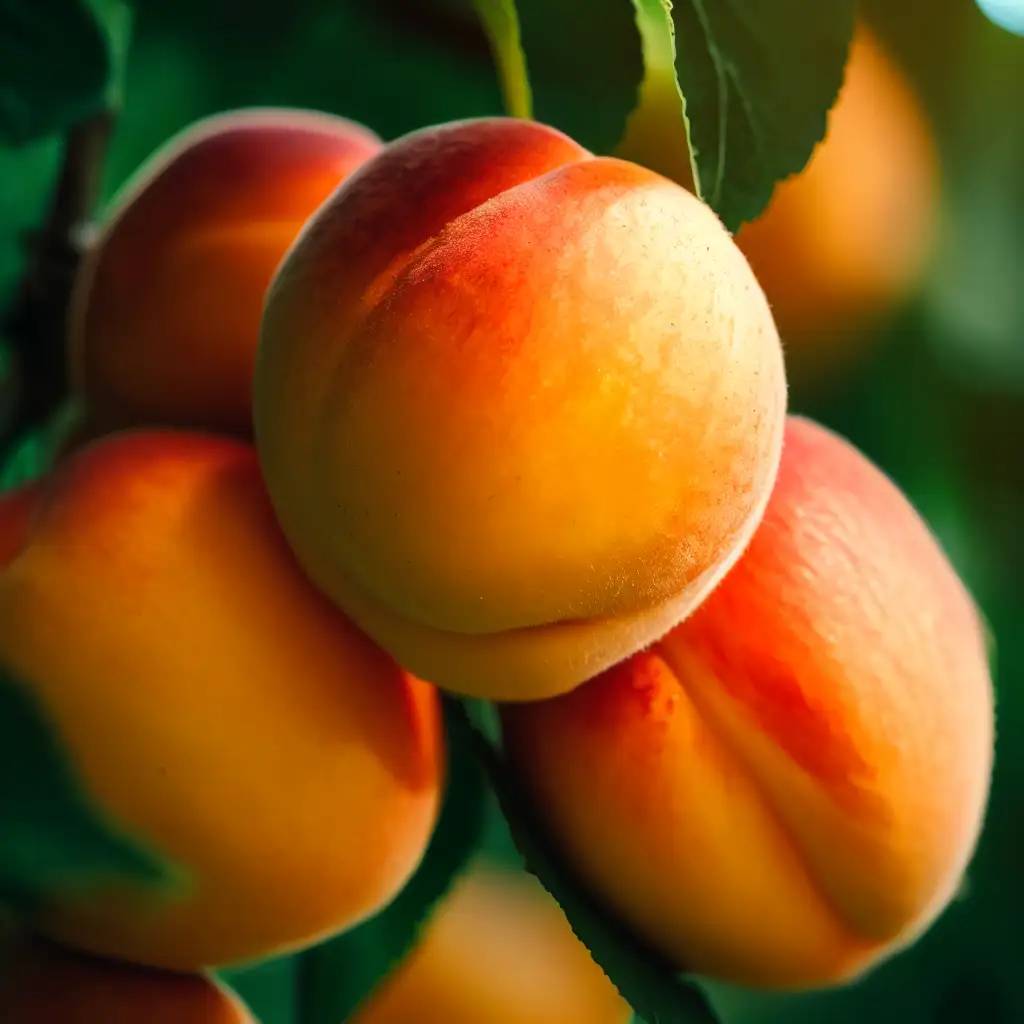
Apricots are one of the oldest fruits in the world, dating back to ancient China and Persia. They are rich in vitamin A, C, and E, as well as antioxidants, fiber, and potassium. There are hundreds of varieties of apricots, ranging from sweet to tart, and from yellow to red.
In this article, we will show you how to grow your own apricot tree from a pit in a few simple steps. You will learn how to extract the seed from the pit, stratify the seed, germinate the seed, transplant the seedling, care for the tree, and harvest the fruit.
Let’s get started by looking at how to choose the best apricot pits for growing your own tree.
How to Choose the Best Apricot Pits for Growing Your Own Tree
Not all apricot pits are suitable for growing your own tree. Some pits may not contain viable seeds, while others may not produce true-to-type trees that resemble their parent plants.
Therefore, choosing the right apricot pits is important for growing a healthy and productive tree. Here are some tips on how to select the best apricot pits for growing your own tree:
- Use fresh and organic apricots that have not been treated with chemicals or pesticides.
- Choose ripe and juicy apricots that have a sweet and flavorful taste.
- Avoid dried or canned apricots that have been processed or preserved.
- Pick apricots that belong to self-pollinating or self-fruitful varieties, such as Blenheim, Gold Kist, or Moorpark. These varieties do not need another tree for pollination and will produce fruits that are similar to their parents.
- Save at least 10 pits from different apricots to increase your chances of getting viable seeds.
Once you have selected the best apricot pits for growing your own tree, you need to extract the seeds from them. Let’s see how to do that in the next section.
How to Extract the Seeds from the Apricot Pits
The seeds of apricots are enclosed in hard shells called pits. To grow your own tree from a pit, you need to extract the seeds from them. This will allow you to stratify and germinate them more easily.
Here are some steps on how to extract the seeds from the pits:
- Wash and dry the apricot pits thoroughly.
- Use a nutcracker or a hammer to crack open the pits carefully. Be gentle and avoid damaging or crushing the seeds inside.
- Remove the seeds from the cracked pits and discard any empty or rotten ones.
- Rinse and dry the seeds gently with a paper towel.
Now that you have extracted the seeds from the pits, you need to stratify them. This is a process that mimics the natural conditions that trigger germination in nature. Let’s find out more about it in the next section.
How to Stratify the Seeds
Stratification is a process that exposes seeds to cold and moist conditions for a period of time. This breaks their dormancy and stimulates germination. Stratification is important for growing your own tree from seed because apricot seeds need to experience a winter-like period before they can sprout.
Here are some steps on how to stratify the seeds:
- Place the seeds in a plastic bag or a glass jar with some moist peat moss, sand, or vermiculite. Make sure the seeds are well covered and not touching each other.
- Seal the bag or jar and label it with the date and the name of the seeds.
- Store the bag or jar in the refrigerator for at least 8 weeks. Check the seeds occasionally and moisten the medium if needed.
- After 8 weeks, remove the bag or jar from the refrigerator and check the seeds for signs of germination. Some seeds may have sprouted roots or shoots, while others may still be dormant.
Once you have stratified the seeds, you are ready to germinate them. This is the process of sprouting or developing roots and shoots from a seed. Let’s see how to do that in the next section.
How to Germinate the Seeds
Germination is the process of sprouting or developing roots and shoots from a seed. Germination works for apricot seeds by absorbing water and oxygen from the soil and using stored energy to grow.
Here are some steps on how to germinate the seeds:
- Fill a small pot with potting soil and make a hole about an inch deep in the center.
- Place one seed in the hole and cover it lightly with soil. Do not bury it too deep or too shallow.
- Water the pot well and keep it moist but not soggy.
- Place the pot in a warm and sunny spot, such as a windowsill or a greenhouse. You can also use a heating mat or a lamp to provide extra warmth.
- Wait for the seed to germinate, which may take from a few days to a few weeks. You will see a green shoot emerge from the soil when it does.
Congratulations! You have successfully germinated your apricot seed. Now you have a seedling that needs to be transplanted into a larger pot or into the ground. Let’s learn how to do that in the next section.
How to Transplant the Seedling
Transplanting is the process of moving a plant from one location or container to another. Transplanting is necessary for growing your own tree from seed because your seedling will outgrow its small pot and need more space, nutrients, and water.
Here are some steps on how to transplant the seedling:
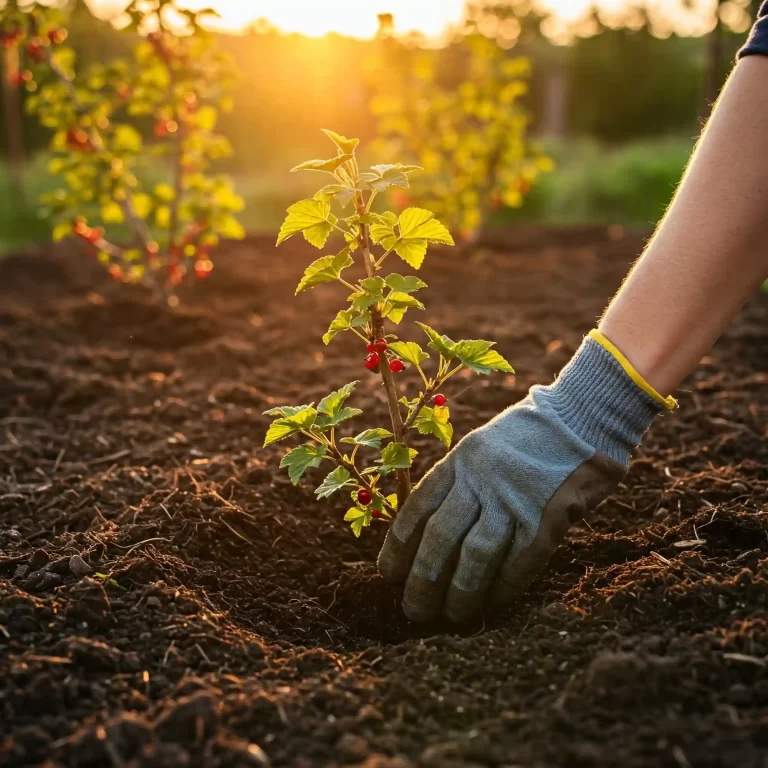
- Choose a larger pot or a spot in your garden that has well-drained soil, full sun, and enough room for your tree to grow.
- Prepare the new location by digging a hole twice as wide and deep as your seedling’s root ball.
- Carefully remove your seedling from its original pot by gently loosening the soil around its roots.
- Place your seedling in the new hole and spread its roots evenly.
- Fill the hole with soil and press it firmly around your seedling’s base.
- Water your seedling well and add some mulch around it to retain moisture and prevent weeds.
You have now transplanted your seedling into its new home. It will take some time for it to adjust and establish itself. In the meantime, you need to care for it properly. Let’s see how to do that in the next section.
How to Care for Your Tree
Caring for your tree involves providing it with adequate water, fertilizer, pruning, pest control, and protection. Caring for your tree is important for growing your own tree from seed because it will ensure its health, growth, and fruit production.
Here are some tips or advice on how to care for your tree in different aspects:
- Water: Water your tree regularly and deeply, especially during the first year and during dry spells. Avoid overwatering or underwatering your tree, as both can cause stress and damage. A good rule of thumb is to water your tree when the top few inches of soil are dry. You can use a moisture meter or a finger to check the soil moisture level.
- Fertilizer: Fertilize your tree once or twice a year, preferably in early spring and late summer. Use a balanced fertilizer that contains nitrogen, phosphorus, and potassium, such as 10-10-10 or 20-20-20. Follow the instructions on the label and apply the fertilizer around the drip line of your tree, which is the area where the branches end. Do not apply fertilizer directly to the trunk or the roots, as this can burn them.
- Pruning: Prune your tree annually in late winter or early spring, before the buds break. Pruning your tree will help shape it, improve air circulation, remove dead or diseased branches, and encourage fruit production. Use sharp and clean pruning tools and make clean cuts at an angle. Remove any branches that are crossing, rubbing, or growing inward. Aim for an open-center or vase-shaped structure, with three to five main branches radiating from the trunk.
- Pest control: Protect your tree from pests and diseases that can harm it, such as aphids, borers, caterpillars, scale insects, fungal infections, and bacterial infections. Monitor your tree regularly and look for any signs of damage or infection, such as holes, spots, wilting, or discoloration. Use organic or chemical methods to control pests and diseases, depending on the severity and type of the problem. For example, you can use insecticidal soap, neem oil, horticultural oil, or bacillus thuringiensis (BT) to treat some common pests. You can also use fungicides or bactericides to treat some common diseases. Always follow the instructions on the label and apply the products safely and effectively.
- Protection: Protect your tree from harsh weather conditions and animals that can damage it, such as frost, wind, hail, deer, rabbits, squirrels, and birds. Cover your tree with a frost cloth or a blanket during cold nights to prevent frost damage. Stake your tree with a sturdy support to prevent wind damage. Use a netting or a cage to prevent animals from eating your fruits or bark.
By caring for your tree properly, you will ensure its health and growth for years to come. You will also enjoy the reward of harvesting your own apricots from your tree. Let’s see how to do that in the final section.
How to Harvest Your Apricots
Harvesting is the process of gathering ripe fruits or crops from a plant or field. Harvesting your apricots is best done when they are fully ripe and ready to eat. This usually happens in late spring or early summer, depending on the variety and the climate.
Here are some tips on how to harvest your apricots properly and safely:
- Use a ladder, a pole, or a basket to reach the fruits that are high up on the tree. Be careful not to fall or injure yourself.
- Pick the fruits that are firm, plump, and have a golden-orange color. Avoid the fruits that are green, soft, bruised, or damaged by pests or diseases.
- Twist or pull the fruits gently from the stem. Do not tug or yank them, as this can damage the tree or the fruits.
- Place the fruits in a basket or a container that has some padding, such as paper towels or newspaper. Do not stack them too high or too tight, as this can cause bruising or crushing.
You have now learned how to harvest your apricots from your own tree. Enjoy your fresh and delicious fruits as they are, or use them for making jams, pies, salads, or other recipes. You can also store them in the refrigerator for up to a week, or in the freezer for up to a year.
We hope you found this article helpful and informative. Growing your own apricot tree from a pit is a rewarding and fun project that anyone can do with some patience and care. If you have any questions or comments,
Conclusion
In conclusion, this article has shown you how to grow your own apricot tree from a pit in a step-by-step guide. You have learned how to choose the best apricot pits, extract the seeds, stratify the seeds, germinate the seeds, transplant the seedling, care for the tree, and harvest the fruits. By following these steps, you can enjoy the satisfaction and fun of growing your own apricot tree from a pit. You can also enjoy the fresh and delicious fruits that your tree will produce. We hope you found this article helpful and informative. If you have any questions or comments, please feel free to leave them below. Thank you for reading and happy gardening!
