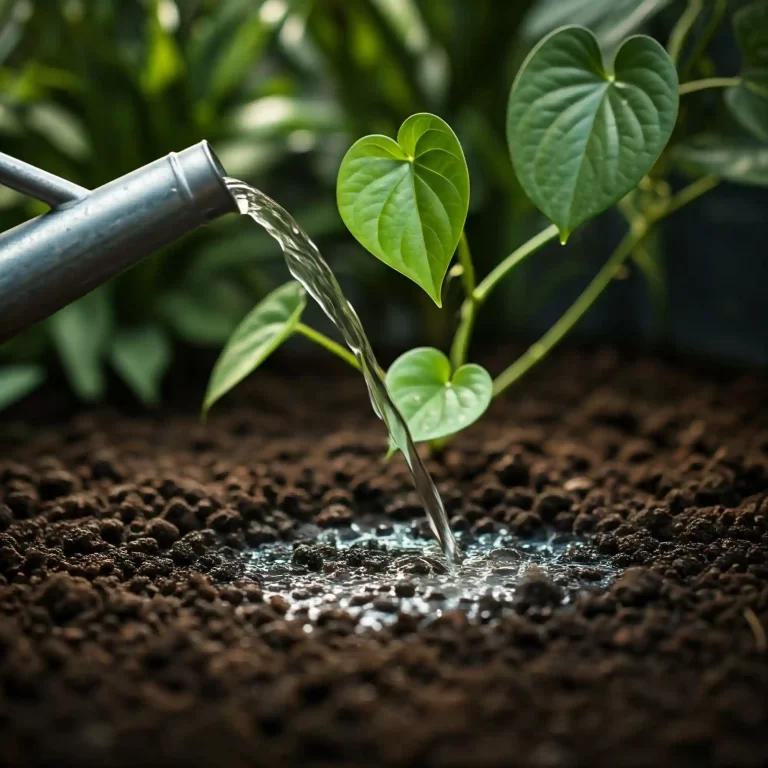
Are restless nights and a racing mind keeping you from the restful sleep you deserve? I understand how frustrating it can be to toss and turn, knowing a good night’s sleep is essential for your well-being. You’re not alone; many people struggle with sleep and anxiety. But what if I told you there’s a natural solution you can cultivate right in your own backyard? Growing valerian herbs is a rewarding way to access a time-tested remedy for promoting relaxation and improving sleep quality. This comprehensive guide on how to grow valerian herbs will walk you through every step, from planting seeds or root cuttings to harvesting the potent roots. I’ll share my personal experiences and provide you with expert tips to successfully grow this beneficial perennial in your garden or even in containers. We’ll explore how to plant valerian, care for it, and harvest it for maximum benefit.
Understanding Valerian: More Than Just a Sleep Aid
Valerian (Valeriana officinalis) is more than just a sleep aid; it’s a fascinating perennial herb with a rich history and a range of traditional uses. As someone who has cultivated various herbs for years, I’ve developed a deep appreciation for valerian’s unique qualities. It’s native to Europe and parts of Asia, and it has been used for centuries for its calming properties. The plant itself is quite attractive, featuring delicate white or pink flowers that bloom in the summer, attracting beneficial insects to your garden.
A Deeper Look at Valerian
Valerian belongs to the Valerianaceae family and is characterized by its distinctive, somewhat pungent aroma, particularly noticeable in the roots. It’s this root that holds the key to valerian’s medicinal properties. The name “valerian” is believed to be derived from the Latin word “valere,” meaning “to be strong” or “to be healthy,” reflecting its traditional use in promoting well-being.
Medicinal Properties and Traditional Uses
The primary use of valerian is as a natural remedy for sleep disturbances and anxiety. While I can’t offer medical advice, I can share what traditional herbalism and some scientific studies suggest. The compounds in valerian root, such as valerenic acid and isovaleric acid, are believed to interact with the brain’s GABA receptors, which play a role in calming nerve activity.
- Sleep Aid: Valerian is often used to improve sleep quality and reduce the time it takes to fall asleep.
- Anxiety Relief: Some people use valerian to help manage mild anxiety and nervousness.
- Muscle Relaxant: Traditionally, valerian has also been used as a muscle relaxant.
Important Note: It’s always crucial to consult with a healthcare professional before using valerian, especially if you are pregnant, breastfeeding, taking other medications, or have any underlying health conditions. This is not medical advice, and you should always seek professional guidance.
Exploring Valerian Varieties
While Valeriana officinalis is the most commonly cultivated species for medicinal use, there are other varieties within the Valeriana genus. However, for the purposes of this guide on how to grow valerian herbs, we will focus on Valeriana officinalis as it is the most widely available and studied.
Key Characteristics of Valerian Officinalis
| Characteristic | Description |
| Plant Type | Herbaceous perennial |
| Height | Typically 2 to 4 feet (60 to 120 cm) |
| Flowers | Small, white or pink, clustered in umbels |
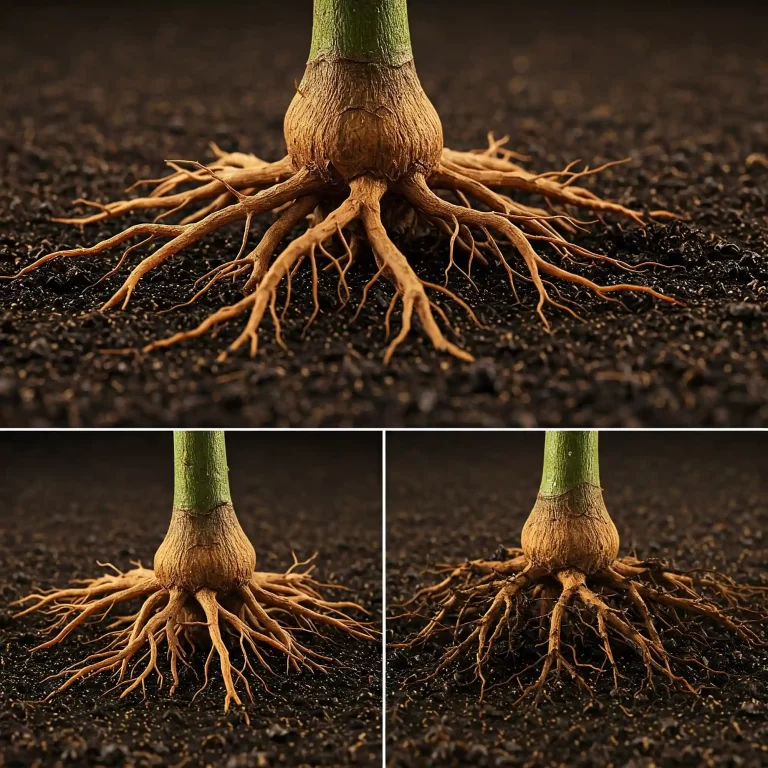
| Roots | Thick, fleshy rhizomes with a distinctive odor |
| Growing Zones | USDA hardiness zones 4-9 (generally) |
| Uses | Traditionally used as a sleep aid, anxiety reliever, and muscle relaxant |
Growing Valerian: A Rewarding Experience
Growing your own valerian allows you to connect with nature and experience the satisfaction of cultivating your own herbal remedies.
How to Plant Valerian Herbs: Seeds vs. Root Cuttings
Now that you understand the basics of valerian, let’s dive into the practical side: how to grow valerian herbs. You have two main options for starting your valerian patch: seeds or root cuttings. Both methods have their advantages, and I’ll share my insights on each to help you decide what’s best for you.
Starting from Seeds: A Patient Approach
Growing valerian from seed requires a bit more patience, as it takes longer for the plants to mature. However, it’s a cost-effective way to start a large number of plants. Here’s what I’ve learned about starting valerian from seed:
- When to Sow: I recommend sowing valerian seeds in the spring or fall. In the spring, wait until the danger of frost has passed. For a fall planting, aim for about 6-8 weeks before your first expected frost.
- Germination Tips: Valerian seeds benefit from cold stratification, a process that mimics winter conditions to break dormancy. You can achieve this by placing the seeds in a damp paper towel inside a sealed plastic bag in the refrigerator for 2-4 weeks before planting.
- Starting Seeds Indoors: If you’re starting seeds indoors, sow them in seed trays or small pots filled with a well-draining seed-starting mix. Lightly cover the seeds with soil and keep them moist but not waterlogged. Once the seedlings have developed a few sets of true leaves, you can transplant them into larger pots or directly into the garden.
- Direct Sowing: You can also direct sow valerian seeds into your garden bed. Prepare the soil by loosening it and removing any weeds. Sow the seeds thinly and cover them with a light layer of soil. Keep the soil moist until the seedlings emerge.
Propagating from Root Cuttings: A Quicker Start
Propagating from root cuttings is a faster way to establish valerian plants, as you’re starting with mature plant material. Here’s how I do it:
- When to Take Cuttings: The best time to take root cuttings is in the fall, after the plant has died back.
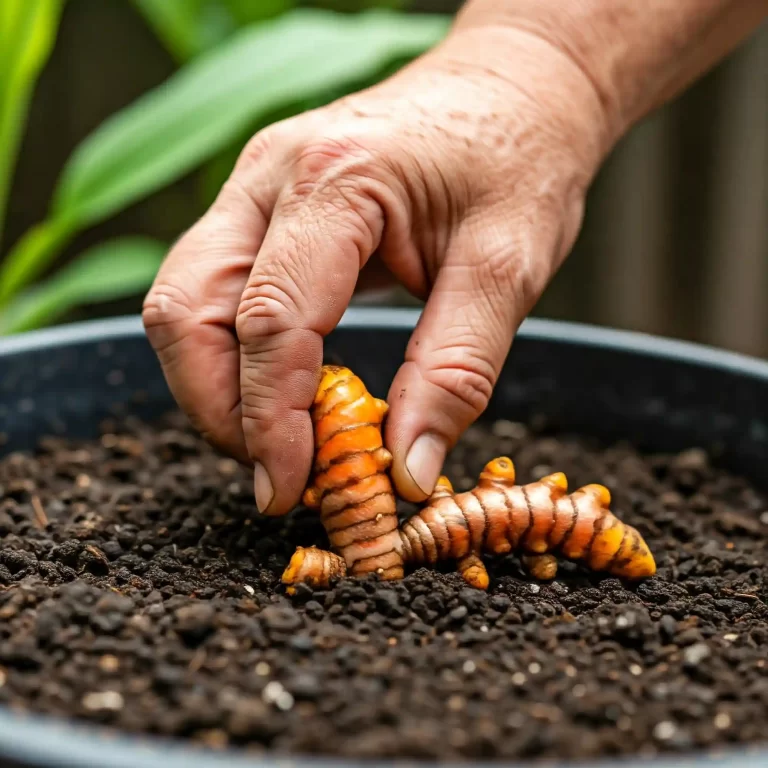
- How to Take Cuttings: Carefully dig up a mature valerian plant and select healthy, fleshy roots. Cut the roots into 2-3 inch sections, ensuring each section has at least one growth node (the point where new growth emerges).
- How to Plant Cuttings: Plant the root cuttings horizontally in pots filled with well-draining potting mix. Cover them with about an inch of soil and keep the soil moist. New shoots should emerge in a few weeks.
Choosing the Right Planting Location: Sun, Soil, and Spacing
Valerian thrives in full sun to partial shade. I’ve found that it prefers well-drained soil that is rich in organic matter. Here are some key considerations for choosing the right planting location:
- Sun Exposure: Aim for at least 6 hours of sunlight per day. However, in hotter climates, some afternoon shade can be beneficial.
- Soil Type: Valerian prefers well-drained soil with a pH between 6.0 and 7.0. If your soil is heavy clay, amend it with compost or other organic matter to improve drainage.
- Spacing: When planting valerian seedlings or root cuttings, space them about 18-24 inches apart to allow for adequate growth.
By following these tips on how to plant valerian herbs, you’ll be well on your way to establishing a thriving valerian patch in your garden.
How to Care for Growing Valerian Plants
Once your valerian plants are established, proper care is essential to ensure healthy growth and a bountiful harvest. From my experience, valerian is relatively low-maintenance, but there are a few key things to keep in mind.
Watering: Finding the Right Balance
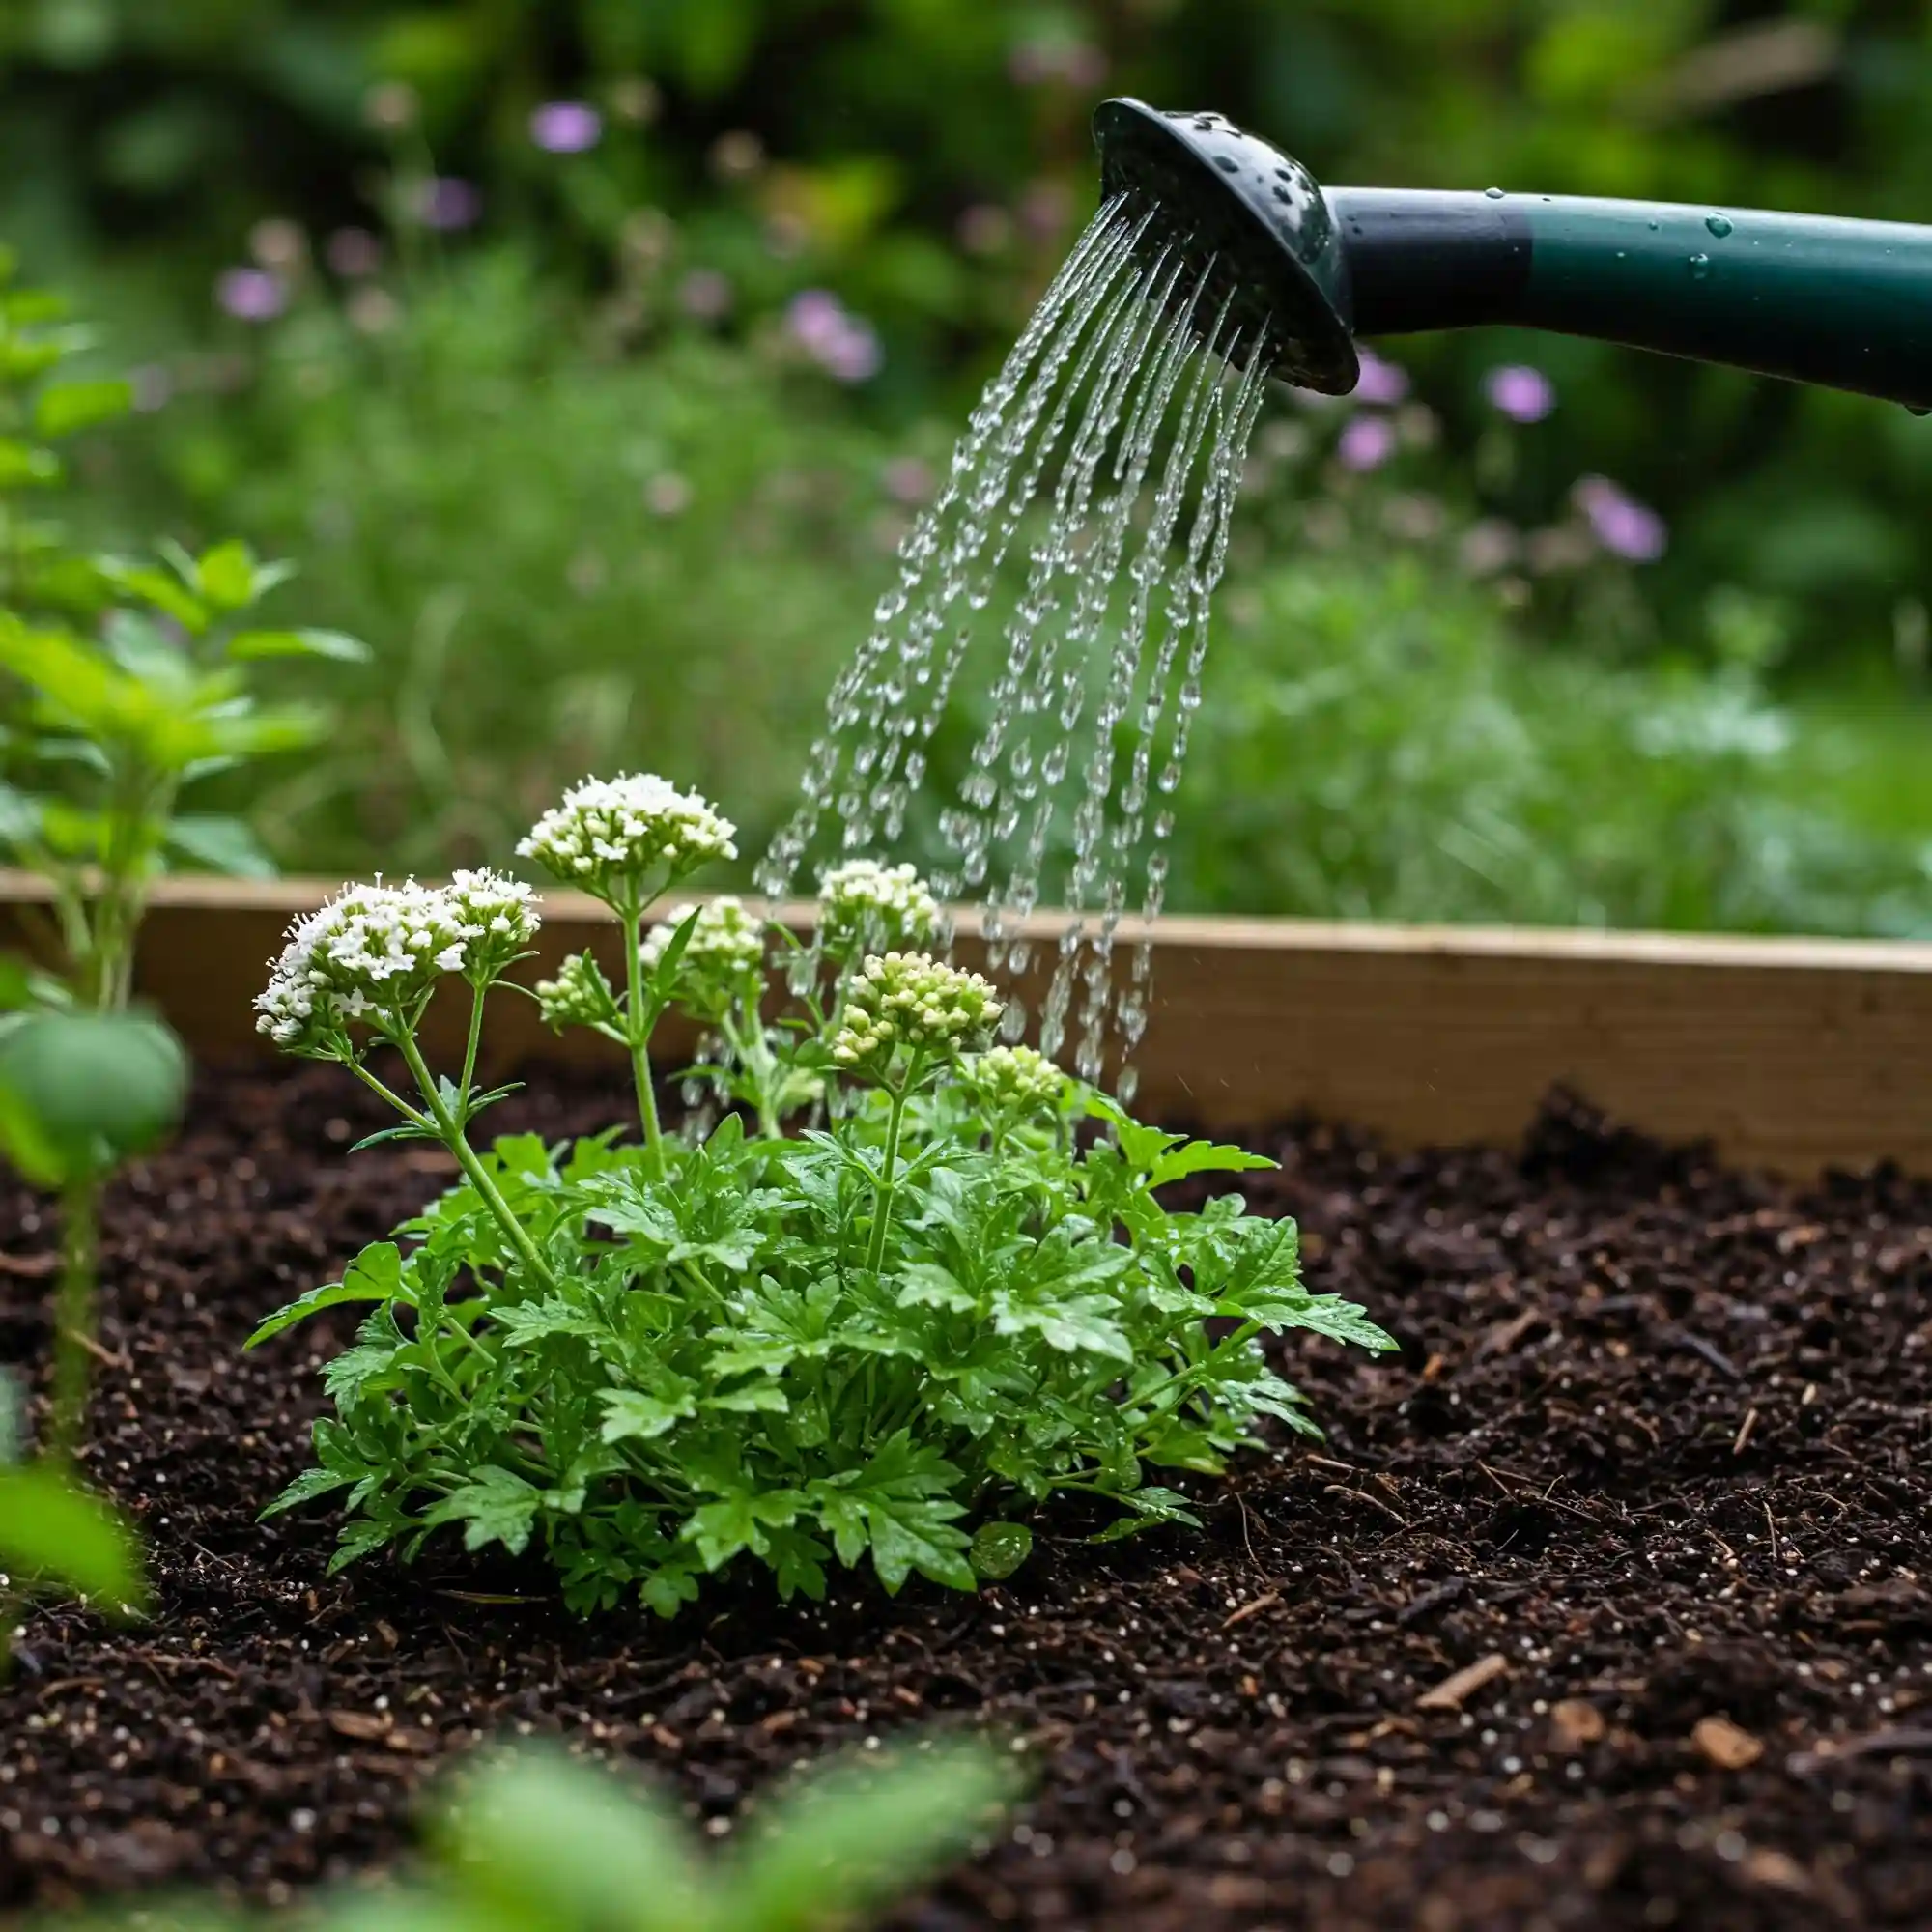
Valerian prefers consistently moist soil, but it’s crucial to avoid overwatering, which can lead to root rot. I recommend watering deeply when the top inch of soil feels dry to the touch. Here are some additional watering tips:
- Water at the base of the plant to avoid wetting the foliage, which can encourage fungal diseases.
- Water in the morning to allow the foliage to dry before nightfall.
- Reduce watering during the winter months when the plant is dormant.
Fertilizing: A Light Touch
Valerian is not a heavy feeder, so you generally don’t need to fertilize it heavily. However, a light application of compost or a balanced organic fertilizer in the spring can be beneficial. I avoid using high-nitrogen fertilizers, as they can promote excessive foliage growth at the expense of root development.
Weeding: Keeping the Competition at Bay
Regular weeding is essential to prevent weeds from competing with your valerian plants for water and nutrients. I recommend hand-weeding regularly, especially when the plants are young. Mulching around the plants can also help suppress weeds and retain soil moisture.
Pest and Disease Control: Natural Solutions
Valerian is generally resistant to pests and diseases. However, aphids and spider mites can occasionally be a problem. I prefer to use natural methods to control these pests, such as spraying the plants with a strong jet of water or using insecticidal soap.
Additional Care Tips
- Deadhead spent flowers to encourage continued blooming.
- Divide mature plants every few years to prevent overcrowding and maintain vigor.
- In colder climates, mulch around the base of the plants in the fall to protect the roots from freezing.
By following these care tips, you can ensure that your valerian plants thrive and provide you with a plentiful harvest of their soothing roots.
How to Harvest Valerian Root for Maximum Potency
Harvesting valerian root at the right time and drying it properly are crucial for maximizing its medicinal properties. From my experience, the roots are most potent when harvested in the fall, after the plant’s foliage has begun to die back.
When to Harvest: Timing is Key
The best time to harvest valerian root is typically in the fall, after the plant has completed its growing cycle and the aerial parts have started to wither. This is when the roots contain the highest concentration of active compounds. I usually wait until after the first frost, as this signals the plant to send its energy down into the roots.
How to Dig Up and Clean the Roots: A Gentle Approach
Digging up valerian roots requires a bit of care to avoid damaging them. I recommend using a garden fork or shovel to loosen the soil around the plant and then gently lifting the roots out of the ground. Once you’ve harvested the roots, remove any excess soil by gently shaking them or using a soft brush. You can also rinse them with water if necessary, but make sure to dry them thoroughly before proceeding to the next step.
Drying and Storing Valerian Root: Preserving the Potency
Proper drying and storage are essential for preserving the medicinal properties of valerian root. I’ve found that the best way to dry the roots is to spread them out in a single layer on a clean, dry surface in a well-ventilated area. You can also use a dehydrator set to a low temperature. It’s important to dry the roots slowly to prevent them from molding. Once the roots are completely dry, they should be brittle and snap easily.
To store dried valerian root, I recommend placing it in an airtight container in a cool, dark place. Properly stored, dried valerian root can retain its potency for up to a year.
Additional Tips for Harvesting and Drying Valerian Root
- Wear gloves when handling valerian roots, as they can have a strong odor that may linger on your hands.
- Cut the roots into smaller pieces before drying to speed up the process.
- Avoid drying valerian roots in direct sunlight, as this can degrade their medicinal properties.
- Label and date your storage containers to keep track of your harvest.
By following these tips on how to harvest valerian root, you can ensure that you have a supply of potent and effective valerian for your herbal remedies.
Growing Valerian in Containers: A Guide for Small Spaces
Not everyone has the luxury of a large garden, but that doesn’t mean you can’t enjoy the benefits of growing your own valerian. I’ve successfully grown valerian in containers for years, and it’s a great option for those with limited space, such as balconies, patios, or even indoor spaces with sufficient light.
Choosing the Right Pot Size and Type: Giving Roots Room to Grow
When growing valerian in containers, it’s essential to choose a pot that is large enough to accommodate the plant’s root system. Valerian develops deep roots, so I recommend a pot that is at least 12 inches deep and 12 inches in diameter. The pot should also have drainage holes to prevent waterlogging.
As for the type of pot, I prefer terracotta pots because they are porous and allow for good air circulation around the roots. However, you can also use plastic or other types of containers.
Soil Mix for Container-Grown Valerian: Well-Draining and Nutrient-Rich
Valerian prefers well-draining soil that is rich in organic matter. I recommend using a high-quality potting mix amended with compost or other organic material. Avoid using garden soil in containers, as it can become compacted and restrict drainage.
Watering and Fertilizing Container Valerian: Consistent Care
Container-grown valerian will need to be watered more frequently than valerian grown in the ground, as the soil in containers tends to dry out more quickly. I recommend checking the soil moisture regularly and watering when the top inch of soil feels dry to the touch.
As with valerian grown in the ground, you generally don’t need to fertilize container valerian heavily. However, a light application of balanced organic fertilizer in the spring can be beneficial.
Overwintering Container Valerian in Colder Climates: Protecting the Roots
If you live in a colder climate, you’ll need to take steps to protect your container-grown valerian over the winter. I recommend moving the pots to a sheltered location, such as a garage or shed, or mulching around the base of the plants to protect the roots from freezing.
Additional Tips for Growing Valerian in Containers
- Place your valerian containers in a location that receives full sun to partial shade.
- Pinch back the tips of the stems to encourage bushier growth.
- Divide mature plants every few years to prevent overcrowding.
Growing valerian in containers is a rewarding way to enjoy this beneficial herb, even if you have limited space.
Troubleshooting Common Valerian Growing Problems
While valerian is generally a hardy and low-maintenance plant, you may encounter a few common problems while growing it. From my experience, addressing these issues promptly can help ensure a healthy and productive valerian patch.
Poor Germination: Giving Seeds a Helping Hand
One common issue is poor seed germination. Valerian seeds can be a bit finicky, and they often require cold stratification to germinate successfully. If you’re having trouble getting your valerian seeds to sprout, try these tips:
- Cold Stratification: Place the seeds in a damp paper towel inside a sealed plastic bag in the refrigerator for 2-4 weeks before planting.
- Fresh Seeds: Use fresh seeds whenever possible, as older seeds may have a lower germination rate.
- Proper Planting Depth: Sow the seeds at the correct depth (about 1/4 inch) and keep the soil moist but not waterlogged.
Slow Growth: Patience is Key
Valerian can be slow to establish, especially in its first year. Don’t be discouraged if your plants don’t seem to be growing very quickly. Once they are established, they will grow more vigorously. Here are a few tips to encourage healthy growth:
- Sunlight: Ensure your valerian plants are getting enough sunlight (at least 6 hours per day).
- Soil: Provide well-drained soil that is rich in organic matter.
- Watering: Water regularly, but avoid overwatering.
Pests and Diseases: Natural Solutions
Valerian is generally resistant to pests and diseases, but aphids and spider mites can occasionally be a problem. If you notice these pests on your plants, try these natural control methods:
- Strong Jet of Water: Spray the plants with a strong jet of water to dislodge the pests.
- Insecticidal Soap: Use insecticidal soap to control infestations.
- Neem Oil: Apply neem oil to deter pests.
Additional Troubleshooting Tips
- Root Rot: Avoid overwatering, as this can lead to root rot. If you suspect root rot, improve drainage and allow the soil to dry out slightly before watering again.
- Fungal Diseases: Fungal diseases can sometimes affect valerian, especially in humid conditions. To prevent fungal problems, ensure good air circulation around the plants and avoid wetting the foliage when watering.
By being aware of these common problems and taking steps to address them, you can ensure that your valerian plants thrive and provide you with a bountiful harvest.
Frequently Asked Questions (FAQ)
I’ve compiled a list of frequently asked questions about growing valerian, drawing from my own experience and the questions I’ve received from fellow gardeners over the years.
How long does it take to grow valerian from seed?
Valerian grown from seed typically takes two years to reach full maturity and produce a substantial root system for harvesting. In the first year, the plant will focus on developing its foliage and root system. In the second year, it will flower and produce seeds, and the roots will be large enough for harvesting in the fall.
Can I grow valerian indoors year-round?
While valerian prefers to be grown outdoors, it can be grown indoors with sufficient light and proper care. If growing valerian indoors, I recommend providing at least 6 hours of direct sunlight per day. You may also need to supplement with artificial grow lights.
How often should I water my valerian plants?
Valerian prefers consistently moist soil, but it’s essential to avoid overwatering. I recommend watering deeply when the top inch of soil feels dry to the touch.
What are the benefits of growing valerian herbs for sleep and anxiety relief?
Growing your own valerian allows you to have a fresh supply of this beneficial herb readily available. You can use the roots to make tea, tinctures, or other herbal preparations.
Is valerian invasive?
Valerian can spread through its roots and seeds, but it is not considered invasive in most areas. However, it’s essential to monitor its growth and prevent it from spreading into unwanted areas.
Where is the best place to plant valerian?
Valerian prefers full sun to partial shade and well-drained soil. Choose a location in your garden that meets these conditions.
Additional FAQs
- How do I know when my valerian roots are ready to harvest? The best time to harvest valerian roots is in the fall, after the plant’s foliage has begun to die back.
- How do I dry valerian roots? Spread the roots out in a single layer on a clean, dry surface in a well-ventilated area. You can also use a dehydrator set to a low temperature.
- How do I store dried valerian roots? Store dried valerian roots in an airtight container in a cool, dark place.
I hope these FAQs have answered any questions you may have about growing valerian. If you have any further questions, please feel free to leave a comment below.
Conclusion: Cultivating Calm with Your Own Valerian Patch
Growing valerian herbs is a deeply rewarding experience. Not only do you gain access to a natural remedy for sleep and anxiety, but you also cultivate a connection with nature and enjoy the beauty of this unique plant in your garden. From my years of cultivating various herbs, I’ve found that growing valerian is particularly satisfying, knowing that I’m nurturing a plant with such potent calming properties.
A Recap of the Growing Process
Let’s quickly recap the key steps to successfully growing valerian:
- Choose your method: Start from seeds (requiring cold stratification) or propagate from root cuttings.
- Select the right location: Plant in full sun to partial shade in well-drained soil.
- Provide consistent care: Water regularly, avoid over-fertilizing, and control weeds.
- Harvest at the right time: Harvest roots in the fall after the foliage dies back.
- Dry and store properly: Dry the roots thoroughly and store them in an airtight container.
Growing any plant takes patience and observation. Don’t be discouraged if you encounter a few challenges along the way. Each season brings new lessons, and with valerian, the reward of a calming harvest is well worth the effort.
I encourage you to start your own valerian patch. Whether you have a sprawling garden or a small balcony, there’s a way to cultivate this beneficial herb. Start small, learn as you go, and enjoy the process of nurturing your own natural source of calm.
I’d love to hear about your experiences growing valerian. Please feel free to leave a comment below sharing your tips, challenges, or questions. Let’s create a community of valerian growers!
