Are you tired of bland, store-bought peppers lacking the vibrant flavor and satisfying heat you crave?
Do you dream of harvesting your own plump, juicy peppers, bursting with freshness straight from your garden? I know the feeling. I used to rely on supermarket produce, only to be consistently disappointed by the lackluster taste. It’s frustrating to spend money on something that doesn’t deliver the expected flavor punch.
But there’s a solution: growing your own pepper vegetables. It’s easier than you might think, and with a little guidance, you can transform your garden into a pepper paradise. This guide provides 10 proven steps to cultivate thriving pepper plants and enjoy a truly fiery harvest.
Starting Pepper Seeds Indoors (How to Plant Pepper Seeds)
Starting your pepper seeds indoors is a crucial step, especially if you live in a region with a shorter growing season. It gives your plants a head start and ensures they’re strong enough to thrive once transplanted outdoors. I’ve found this method particularly effective in my own garden, allowing me to harvest peppers weeks earlier than if I had sown seeds directly into the ground.
When to Start Your Seeds:
Timing is everything when it comes to starting pepper seeds indoors. I recommend beginning the process about 6-8 weeks before the last expected frost in your area. This allows the seedlings ample time to develop a strong root system and several sets of true leaves before being introduced to the outdoor environment. You can find your average last frost date by consulting local weather resources or agricultural extension offices.
Choosing the Right Seed Starting Mix:
Using the correct growing medium is essential for successful germination and seedling development. I advise against using garden soil, as it can be too dense and may harbor disease pathogens. Instead, opt for a light, well-draining seed starting mix. These mixes are typically composed of a blend of peat moss, vermiculite, and perlite, which provide excellent aeration and moisture retention.
Planting Depth and Spacing:
When planting your pepper seeds, I find that a depth of about ¼ inch works best. Gently press the seeds into the moist seed starting mix and cover them lightly. Avoid planting them too deep, as this can hinder germination. As for spacing, I recommend sowing seeds about 1 inch apart in seed trays or small containers. This allows the seedlings enough room to grow without competing for resources.
Maintaining Optimal Temperature and Moisture:
Pepper seeds require warm temperatures to germinate successfully. I aim for a soil temperature between 75-85°F (24-29°C). You can achieve this by using a heat mat placed under the seed tray. Once the seeds have germinated, you can remove the heat mat. Consistent moisture is also crucial. I use a spray bottle to mist the seed starting mix regularly, ensuring it stays moist but not waterlogged. Overwatering can lead to fungal diseases and damping off, a condition that causes seedlings to collapse and die.
Using Grow Lights for Healthy Seedlings:
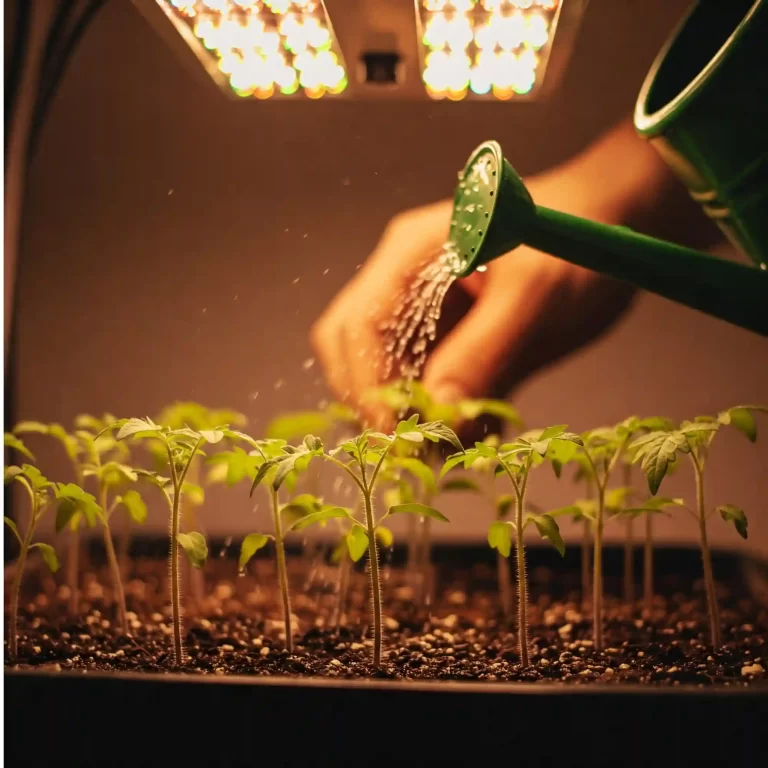
Once your pepper seedlings emerge, they’ll need plenty of light to grow strong and healthy. I recommend using grow lights to supplement natural sunlight, especially during the shorter days of winter. Place the grow lights a few inches above the seedlings and keep them on for about 14-16 hours per day. This will prevent the seedlings from becoming leggy and weak.
Troubleshooting Seed Starting Issues:
Sometimes, even with the best efforts, you might encounter some challenges when starting pepper seeds indoors. Here are some common problems and their solutions:
- Poor Germination: This can be caused by old seeds, improper temperature, or insufficient moisture. Make sure to use fresh seeds, maintain the recommended temperature, and keep the seed starting mix consistently moist.
- Damping Off: This fungal disease can cause seedlings to collapse and die. Avoid overwatering, provide good air circulation, and use a sterile seed starting mix.
- Leggy Seedlings: This occurs when seedlings don’t receive enough light. Provide adequate light using grow lights or by placing them in a sunny window.
By following these tips, you can successfully start your pepper seeds indoors and give your plants a strong foundation for a productive growing season. I have had great success with this method, and I’m confident you will too.
Transplanting Pepper Seedlings (How to Transplant Pepper Seedlings)
Once your pepper seedlings have developed a few sets of true leaves, it’s time to transplant them into their permanent homes. This is a crucial step in the growing process, and proper technique is essential to ensure your seedlings thrive. I’ve learned from experience that careful handling and attention to detail during transplanting can significantly impact the overall health and productivity of your pepper plants.
Hardening Off Seedlings Before Transplanting:
Before transplanting your seedlings directly into the garden, it’s essential to “harden them off.” This process gradually acclimates the seedlings to outdoor conditions, reducing transplant shock. I usually start by placing the seedlings in a sheltered outdoor location for a few hours each day, gradually increasing the exposure time over a period of about a week. This allows them to adjust to the sun, wind, and temperature fluctuations.
Preparing the Garden Bed or Containers:
While your seedlings are hardening off, you can prepare their final growing location. If you’re planting directly into the garden, make sure the soil is well-drained and amended with compost or other organic matter. For container gardening, choose pots that are at least 12 inches in diameter to accommodate the mature pepper plants.
Proper Spacing for Optimal Growth:
When transplanting your seedlings, proper spacing is crucial for optimal growth and air circulation. I recommend spacing pepper plants about 18-24 inches apart in the garden. This prevents overcrowding and allows each plant to receive adequate sunlight and nutrients.
Protecting Young Transplants from Pests and Weather:
After transplanting, your young pepper plants will be vulnerable to pests and weather. I use several strategies to protect them during this critical period. Cutworm collars made from cardboard or plastic can prevent cutworm damage. I also monitor the plants regularly for aphids, flea beetles, and other common pests. Row covers can provide protection from both pests and unexpected weather events like late frosts or heavy rains.
Transplanting Techniques for Success:
When transplanting your pepper seedlings, I find that a few key techniques can make a big difference:
- Water the seedlings thoroughly before transplanting to reduce stress.
- Dig a hole slightly larger than the seedling’s root ball.
- Gently remove the seedling from its container, being careful not to damage the roots.
- Place the seedling in the hole and backfill with soil, gently firming around the base.
- Water the transplanted seedling thoroughly.
By following these tips, you can successfully transplant your pepper seedlings and set them up for a productive growing season. I’ve found that taking the time to harden off seedlings and prepare the garden bed properly can significantly reduce transplant shock and lead to healthier, more vigorous plants.
Choosing the Right Location and Soil (How to Grow Pepper Plants in Soil)
Selecting the ideal location and preparing the soil are fundamental steps in cultivating healthy pepper plants. I’ve observed that peppers, like many other fruiting vegetables, thrive in specific conditions. Providing them with the right environment from the start will significantly impact their growth, yield, and overall health.
Sunlight Requirements:
Peppers are sun-loving plants, requiring at least 6-8 hours of direct sunlight per day to flourish. I recommend choosing a location in your garden that receives full sun throughout the day. If you live in a particularly hot climate, some afternoon shade can be beneficial to prevent sunscald on the fruits.
Soil Type and Drainage:
Peppers prefer well-drained soil that is rich in organic matter. I’ve found that a loamy soil, which is a mixture of sand, silt, and clay, works best. This type of soil provides good drainage while also retaining enough moisture for the plants. Avoid heavy clay soils, as they can become waterlogged and lead to root rot.
Soil pH:
The pH of your soil plays a crucial role in nutrient availability for your pepper plants. I recommend testing your soil pH before planting and aiming for a range of 6.0-6.8, which is slightly acidic. You can amend your soil with lime to raise the pH or sulfur to lower it.
Improving Soil with Compost and Other Organic Matter:
I always amend my garden soil with compost or other organic matter before planting peppers. This improves soil structure, drainage, and fertility. Compost also provides beneficial microorganisms that can help protect your plants from diseases.
Soil Preparation Techniques:
Here are some soil preparation techniques I recommend:
- Double digging: This involves digging two layers of soil to improve drainage and aeration.
- Raised beds: These can improve drainage and warm up the soil earlier in the spring.
- No-till gardening: This method minimizes soil disturbance and can improve soil health over time.
By carefully considering the location and preparing the soil properly, you can create an ideal environment for your pepper plants to thrive. I’ve found that these initial steps are well worth the effort, as they can significantly impact the success of your pepper growing endeavors.
Watering Pepper Plants Effectively (How to Water Pepper Plants)
Proper watering is essential for healthy pepper plant growth and fruit production. I’ve learned that finding the right balance is key – providing enough water to keep the plants hydrated without overwatering, which can lead to root rot and other problems.
Watering Frequency and Depth:
The frequency of watering depends on several factors, including the weather, soil type, and the size of your plants. I generally recommend watering deeply whenever the top inch of soil feels dry to the touch. This encourages the roots to grow deeper, making the plants more drought-tolerant.
Avoiding Overwatering and Underwatering:
Overwatering is a common mistake that can lead to serious problems for pepper plants. I avoid this by ensuring the soil is well-drained and by allowing the soil to dry out slightly between waterings. Underwatering can also be detrimental, causing the plants to wilt and produce fewer fruits.
Using Mulch to Retain Moisture:
Applying a layer of mulch around your pepper plants can help retain moisture in the soil, reducing the need for frequent watering. I use organic mulches like straw, wood chips, or compost, which also help suppress weeds and improve soil health.
Watering at the Base of the Plant to Prevent Foliar Diseases:
I always water my pepper plants at the base, avoiding wetting the leaves. This helps prevent foliar diseases like fungal leaf spot. Soaker hoses or drip irrigation systems can be particularly effective for this.
Watering Tips for Different Growth Stages:
- Seedlings: Keep the soil consistently moist but not waterlogged.
- Transplanted Seedlings: Water thoroughly after transplanting and then water regularly as needed.
- Mature Plants: Water deeply whenever the top inch of soil feels dry.
- Fruiting Stage: Increase watering slightly during the fruiting stage to support fruit development.
By following these watering tips, you can ensure your pepper plants receive the right amount of moisture for optimal growth and a bountiful harvest. I’ve found that consistent and proper watering is one of the most important factors in growing healthy, productive pepper plants.
Fertilizing for Optimal Growth (How to Fertilize Pepper Plants)
Providing your pepper plants with the right nutrients is crucial for maximizing their growth and fruit production. I’ve discovered that a well-balanced fertilization program can make a significant difference in the size, flavor, and overall yield of my pepper harvest.
Choosing the Right Fertilizer:
Peppers benefit from a balanced fertilizer with equal amounts of nitrogen (N), phosphorus (P), and potassium (K) during their early growth stages. Once the plants begin to flower and set fruit, I switch to a fertilizer with a higher phosphorus and potassium content to promote fruit development.
Fertilizer Types:
- Granular Fertilizers: These are slow-release fertilizers that are applied to the soil.
- Liquid Fertilizers: These are water-soluble fertilizers that are diluted and applied to the plants.
- Organic Fertilizers: These include compost, manure, and other natural materials.
Fertilizing Frequency and Application Methods:
I generally recommend fertilizing pepper plants every 2-3 weeks during the growing season. For granular fertilizers, I sprinkle the granules around the base of the plant and water them in. For liquid fertilizers, I dilute them according to the package instructions and apply them to the soil.
Organic Fertilizer Options:
If you prefer to use organic methods, there are several excellent options for fertilizing pepper plants:
- Compost: This is a rich source of nutrients and organic matter.
- Manure: Well-rotted manure can provide essential nutrients.
- Fish Emulsion: This is a liquid fertilizer made from fish byproducts.
Nutrient Deficiencies and How to Address Them:
Sometimes, pepper plants may exhibit signs of nutrient deficiencies. Here are some common deficiencies and how to address them:
- Nitrogen Deficiency: Yellowing of older leaves. Apply a nitrogen-rich fertilizer.
- Phosphorus Deficiency: Stunted growth and poor fruit development. Apply a phosphorus-rich fertilizer.
- Potassium Deficiency: Yellowing of leaf edges and poor fruit quality. Apply a potassium-rich fertilizer.
By providing your pepper plants with the right nutrients at the right time, you can ensure they reach their full potential and produce a bountiful harvest. I’ve found that a consistent fertilization program is essential for growing healthy, productive pepper plants.
Supporting Pepper Plants (How to Support Pepper Plants)
As your pepper plants grow and begin to produce fruit, they may require support to prevent them from toppling over or breaking under the weight of the peppers. I’ve learned that providing adequate support is especially important for taller varieties and those with heavy fruit sets.
Why Support Pepper Plants?
Supporting pepper plants offers several benefits:
- Prevents breakage: Heavy fruits can cause branches to break, especially during strong winds or heavy rains.
- Improves air circulation: Supporting plants helps improve air circulation around the foliage, reducing the risk of fungal diseases.
- Facilitates harvesting: Supported plants are easier to harvest as the fruits are more accessible.
Types of Support:
There are several methods you can use to support your pepper plants:
- Stakes: Individual stakes can be used to support each plant.
- Cages: Wire or plastic cages can enclose the plant and provide support.
- Trellises: Trellises can be used to support multiple plants in a row.
How to Stake Pepper Plants:
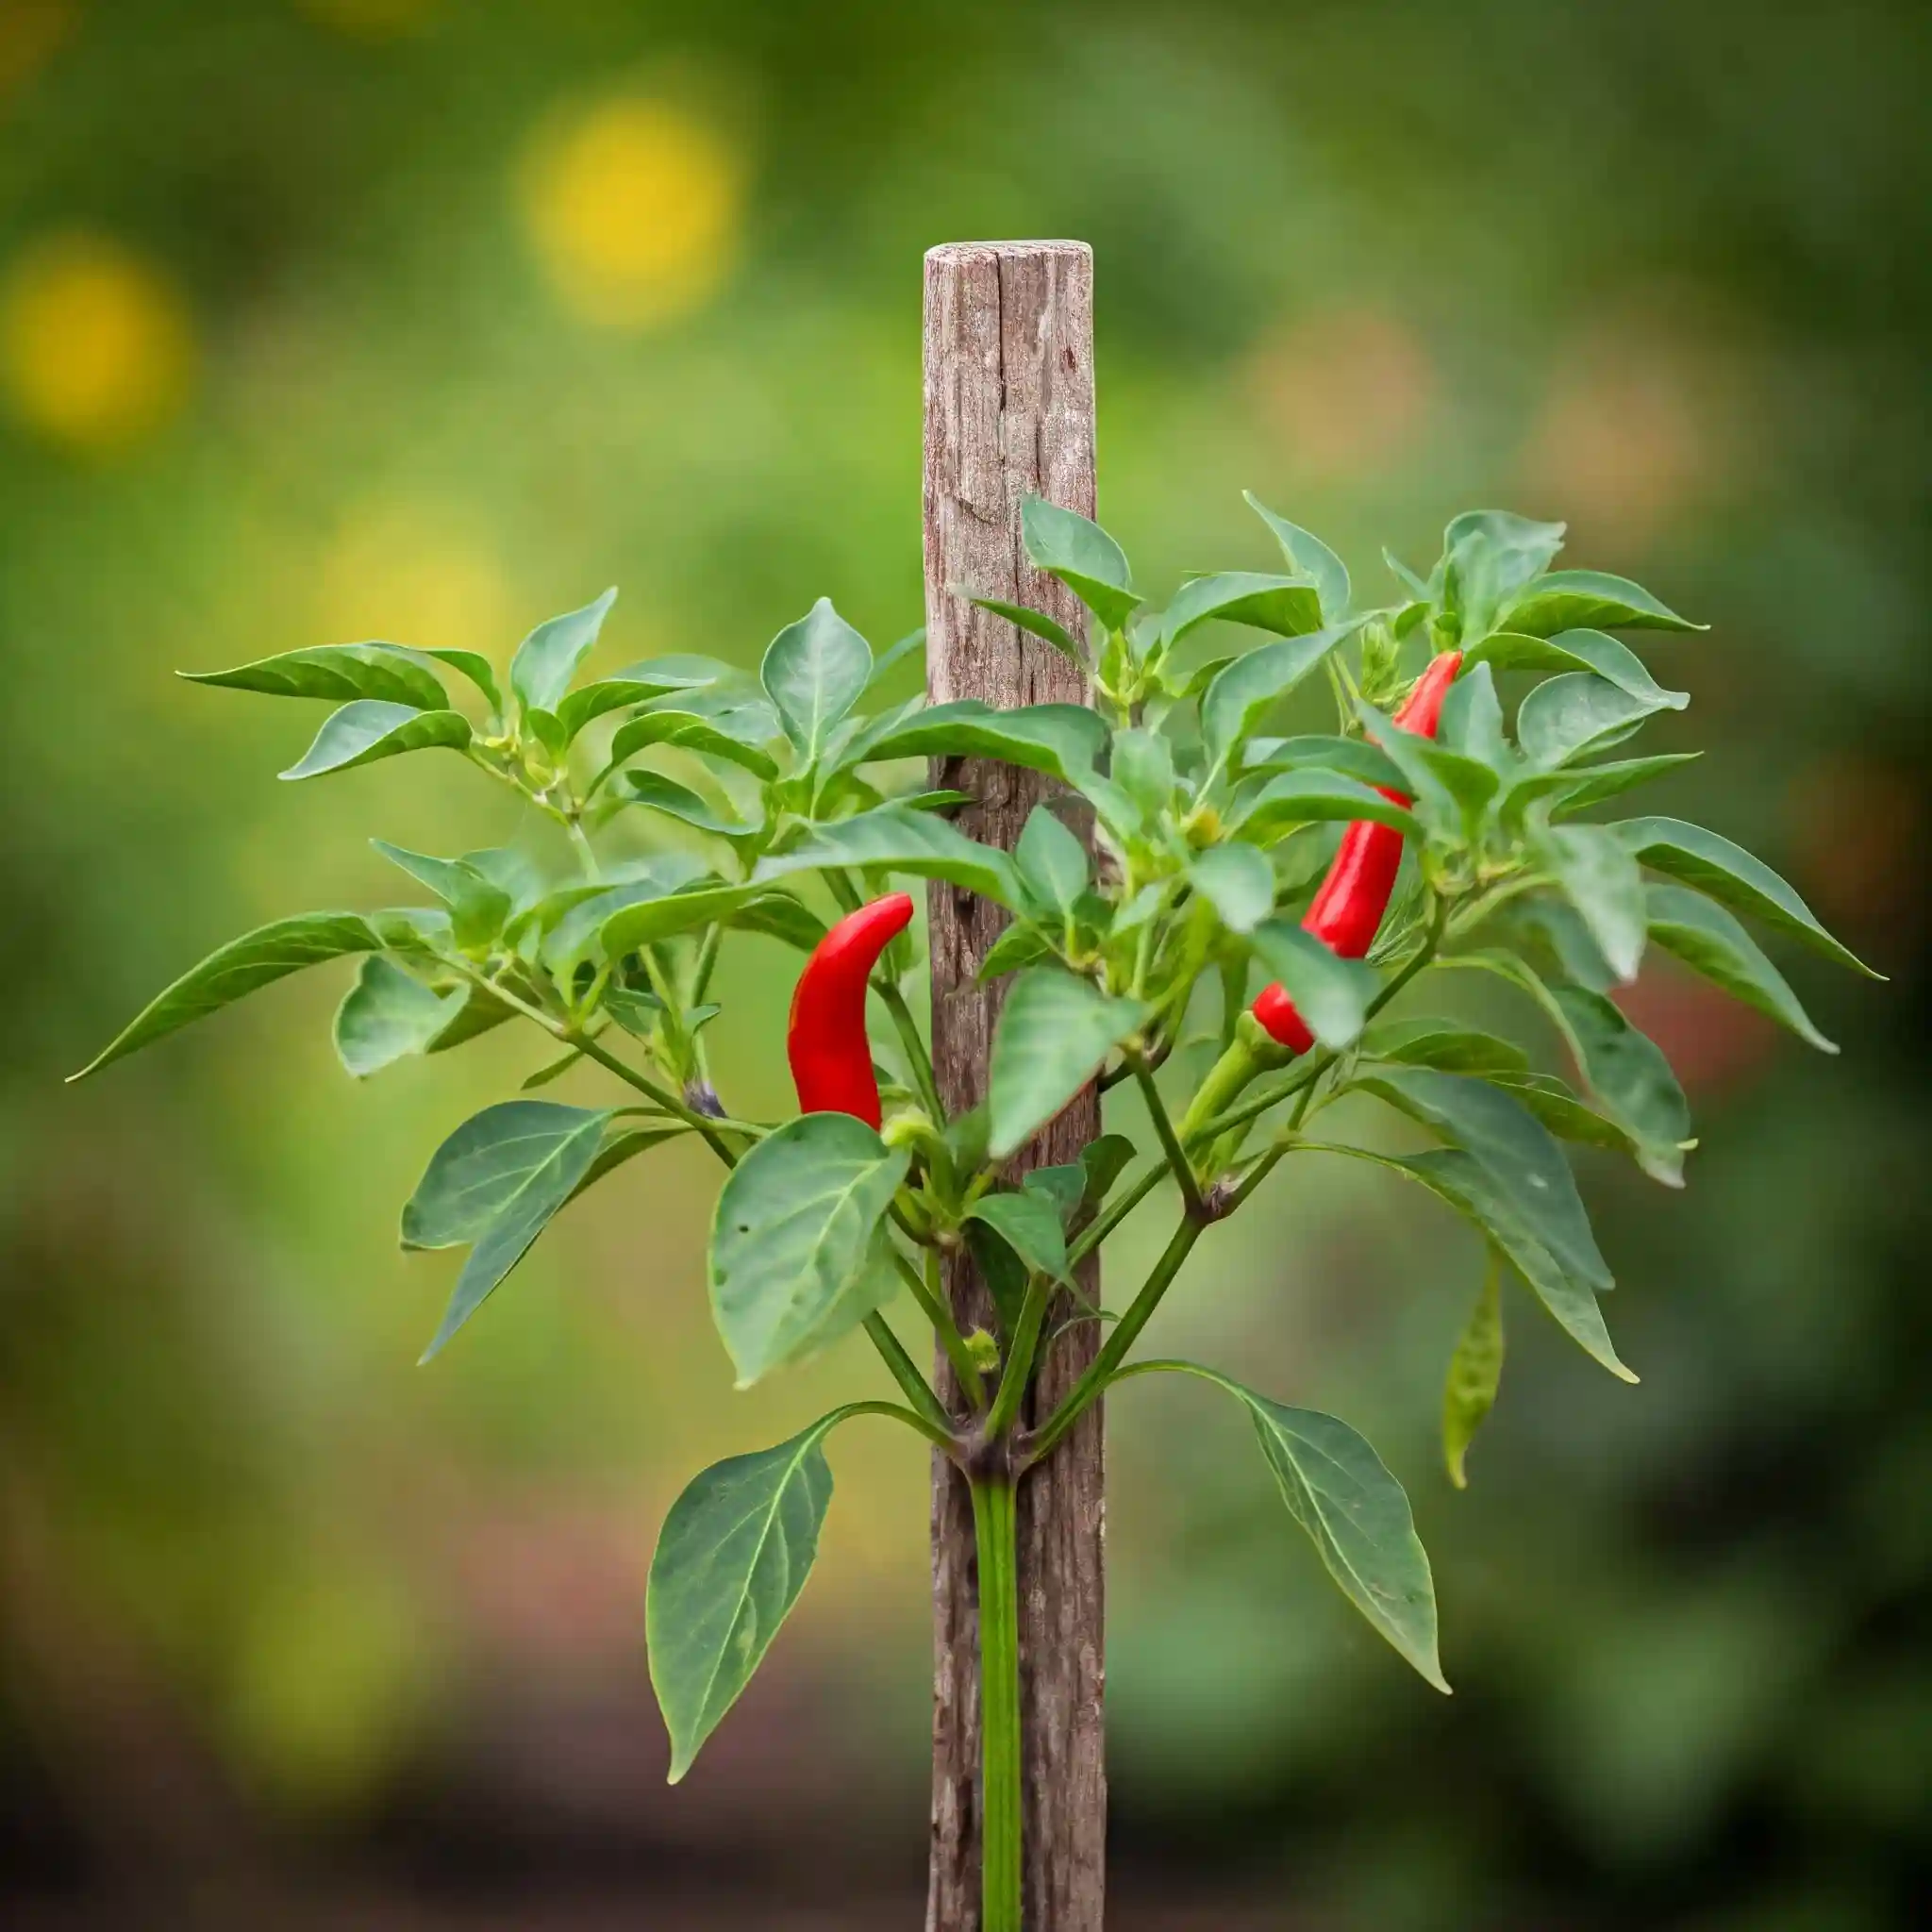
- Insert the stake into the ground near the plant shortly after transplanting.
- Gently tie the plant to the stake using soft twine or plant ties.
- As the plant grows, continue to tie it to the stake at regular intervals.
How to Use Cages for Pepper Plants:
- Place the cage over the plant shortly after transplanting.
- Ensure the cage is securely anchored in the ground.
- As the plant grows, it will grow through the cage, providing natural support.
How to Use Trellises for Pepper Plants:
- Set up the trellis before planting or shortly after transplanting.
- Train the pepper plants to grow along the trellis by tying them to it as they grow.
Choosing the Right Support Method:
The best support method for your pepper plants will depend on the variety you are growing and your personal preferences. I’ve found that cages are particularly effective for bushy varieties, while stakes or trellises work well for taller, more upright varieties.
By providing your pepper plants with adequate support, you can prevent breakage, improve air circulation, and facilitate harvesting. I’ve found that this simple step can make a big difference in the overall health and productivity of my pepper plants.
Controlling Pests and Diseases (How to Protect Pepper Plants)
Protecting your pepper plants from pests and diseases is crucial for a successful harvest. I’ve encountered my fair share of garden pests and diseases over the years, and I’ve learned that early detection and prompt action are key to preventing serious problems.
Common Pepper Pests:
- Aphids: These small, soft-bodied insects can suck the sap from pepper plants, causing them to weaken and become distorted.
- Flea Beetles: These tiny beetles can chew small holes in the leaves of pepper plants, damaging their foliage.
- Spider Mites: These tiny mites can cause leaves to become speckled and discolored.
- Pepper Weevils: These small beetles can lay their eggs inside pepper fruits, causing them to rot.
Organic Pest Control Methods:
- Insecticidal Soap: This natural soap can be sprayed on pepper plants to control aphids, spider mites, and other soft-bodied insects.
- Neem Oil: This natural oil can be sprayed on pepper plants to control a variety of pests, including aphids, flea beetles, and spider mites.
- Handpicking: Larger pests, such as hornworms, can be handpicked from pepper plants and destroyed.
Common Pepper Diseases:
- Bacterial Leaf Spot: This bacterial disease can cause small, dark spots to appear on the leaves of pepper plants.
- Blossom-End Rot: This condition causes the bottom of pepper fruits to rot. It is often caused by calcium deficiency or inconsistent watering.
- Fungal Diseases: Several fungal diseases can affect pepper plants, including powdery mildew, anthracnose, and verticillium wilt.
Preventing and Treating Pepper Diseases:
- Crop Rotation: Rotating your pepper crops each year can help prevent soilborne diseases from building up.
- Sanitation: Removing plant debris from the garden can help prevent the spread of diseases.
- Watering Practices: Water pepper plants at the base to avoid wetting the leaves, which can encourage fungal diseases.
- Fungicides: Fungicides can be used to control fungal diseases, but it is important to choose a product that is specifically labeled for use on pepper plants.
By taking steps to control pests and diseases, you can help ensure a healthy and productive pepper harvest. I’ve found that a combination of organic pest control methods and preventative measures can be very effective in keeping my pepper plants healthy.
Harvesting Your Pepper Bounty (How to Harvest Pepper)
The culmination of all your hard work is finally here – harvest time! Knowing when and how to harvest your peppers is essential to enjoying their peak flavor and ensuring continued production. I’ve learned that patience is key, as allowing peppers to fully ripen on the plant will result in the most intense flavor and sweetness.
Determining Ripeness Based on Color and Firmness:
Pepper ripeness is typically indicated by a change in color. Green peppers will turn to their mature color, which can be red, yellow, orange, purple, or even brown, depending on the variety. The pepper should also feel firm to the touch.
Proper Harvesting Techniques (Using Pruning Shears or a Knife):
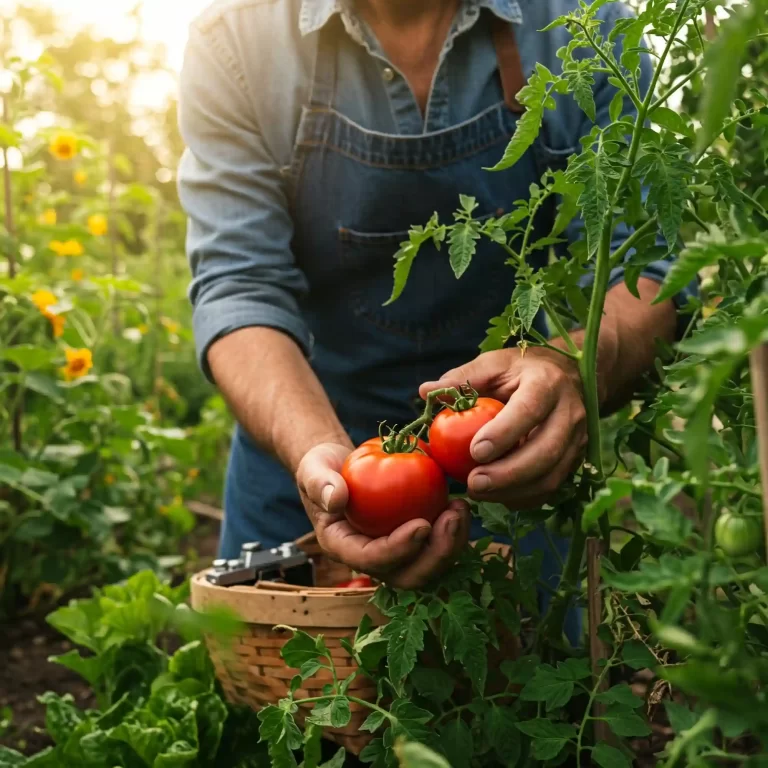
To harvest your peppers, I recommend using pruning shears or a sharp knife to cut the pepper from the plant. This prevents damage to the plant and ensures a clean cut. Avoid pulling the peppers off the plant, as this can damage the branches.
Harvesting at Different Stages of Ripeness:
While allowing peppers to fully ripen on the plant will result in the best flavor, you can also harvest them at earlier stages of ripeness. Green peppers, for example, are often harvested before they fully mature.
Post-Harvest Handling and Storage:
After harvesting your peppers, you can store them in the refrigerator for up to two weeks. For longer storage, you can freeze, dry, or pickle your peppers.
Encouraging Continued Production:
To encourage your pepper plants to continue producing fruit, I recommend harvesting peppers regularly. This will signal to the plant to continue producing more flowers and fruits.
By following these harvesting tips, you can enjoy a bountiful harvest of delicious peppers throughout the growing season. I’ve found that the flavor of homegrown peppers is far superior to store-bought ones, making all the effort worthwhile.
Extending the Pepper Growing Season (How to Extend Pepper Season)
For those of us in regions with shorter growing seasons, extending the time we can harvest fresh peppers is a real game-changer. I’ve experimented with various methods over the years, and I’ve found a few techniques that can significantly prolong your pepper harvest.
Using Row Covers or Cold Frames:
Row covers are lightweight fabrics that can be placed over your pepper plants to protect them from frost and cold temperatures. Cold frames are small, transparent structures that create a protected environment for your plants. Both of these methods can help extend the growing season by several weeks.
Overwintering Pepper Plants Indoors:
In colder climates, you can overwinter your pepper plants indoors to keep them alive until the following spring. To do this, you’ll need to:
- Dig up the plants before the first frost.
- Pot them in containers with well-draining potting mix.
- Cut back the foliage by about one-third.
- Place the plants in a sunny window or under grow lights.
- Water sparingly throughout the winter.
Other Techniques for Extending the Season:
- Using black plastic mulch: This can help warm the soil earlier in the spring.
- Starting seeds indoors early: This gives your plants a head start on the growing season.
- Choosing early-maturing varieties: These varieties will produce peppers earlier in the season.
By using these techniques, you can enjoy fresh peppers from your garden for a longer period. I’ve found that extending the growing season is especially rewarding, as it allows me to enjoy the fruits of my labor for several extra weeks.
Growing Peppers in Containers (How to Grow Pepper in Pot)
Growing peppers in containers is a fantastic option for those with limited space, such as apartment dwellers or those with small yards. I’ve found that container gardening allows for greater control over growing conditions and can be just as rewarding as growing peppers in the ground.
Choosing the Right Size Container:
When growing peppers in containers, it’s essential to choose the right size pot. I recommend using a container that is at least 12 inches in diameter to accommodate the mature pepper plant’s root system.
Selecting Appropriate Potting Mix:
Using a well-draining potting mix is crucial for container-grown peppers. I advise against using garden soil, as it can become compacted in containers and lead to drainage problems.
Watering and Fertilizing Container-Grown Peppers:
Container-grown peppers tend to dry out more quickly than those grown in the ground, so it’s essential to water them regularly. I recommend checking the soil moisture daily and watering whenever the top inch of soil feels dry.
Choosing the Right Pepper Varieties for Containers:
While most pepper varieties can be grown in containers, some are better suited for this method than others. I recommend choosing compact or bush varieties, as they tend to stay smaller and are less likely to topple over.
Tips for Growing Peppers in Containers:
- Choose a sunny location: Place your containers in a location that receives at least 6-8 hours of direct sunlight per day.
- Use a well-draining potting mix: This will prevent waterlogging and root rot.
- Water regularly: Check the soil moisture daily and water as needed.
- Fertilize regularly: Use a balanced fertilizer or one that is higher in phosphorus and potassium.
- Provide support: Use stakes or cages to support the plants as they grow.
By following these tips, you can successfully grow peppers in containers and enjoy a bountiful harvest, even if you have limited space. I’ve found that container gardening is a great way to grow fresh peppers, no matter where you live.
FAQ (Frequently Asked Questions)
Here are some frequently asked questions about growing pepper vegetables:
Q: How do I grow bell pepper vegetables in containers indoors?
A: To grow bell pepper vegetables in containers indoors, start by choosing a pot that is at least 12 inches in diameter. Fill the pot with a well-draining potting mix and plant your pepper seedlings. Place the pot in a sunny location that receives at least 6-8 hours of direct sunlight per day. Water the plants regularly, whenever the top inch of soil feels dry. Fertilize the plants every 2-3 weeks with a balanced fertilizer or one that is higher in phosphorus and potassium. Provide support for the plants as they grow, using stakes or cages.
Q: How can I grow hot pepper vegetables from seed in cold climates?
A: To grow hot pepper vegetables from seed in cold climates, start your seeds indoors about 8-10 weeks before the last expected frost. Use a heat mat to keep the soil warm and provide plenty of light with grow lights. Once the seedlings have developed a few sets of true leaves, transplant them into larger pots and continue to grow them indoors until the weather warms up. Harden off the seedlings by gradually exposing them to outdoor conditions before transplanting them into the garden.
Q: What is the best way to grow pepper vegetables from cuttings?
A: To grow pepper vegetables from cuttings, start by taking a 4-6 inch cutting from a healthy pepper plant. Remove the lower leaves and dip the cut end in rooting hormone. Plant the cutting in a pot filled with moist potting mix. Place the pot in a warm, humid location and keep the soil moist. The cutting should root in about 2-3 weeks.
Q: How do I know when my peppers are ripe?
A: Pepper ripeness is typically indicated by a change in color. Green peppers will turn to their mature color, which can be red, yellow, orange, purple, or even brown, depending on the variety. The pepper should also feel firm to the touch.
Q: How do I store my peppers after harvesting them?
A: After harvesting your peppers, you can store them in the refrigerator for up to two weeks. For longer storage, you can freeze, dry, or pickle your peppers.
Q: How do I encourage my pepper plants to continue producing fruit?
A: To encourage your pepper plants to continue producing fruit, harvest peppers regularly. This will signal to the plant to continue producing more flowers and fruits. You can also side-dress your plants with compost or fertilizer to provide them with the nutrients they need to continue producing.
Conclusion: Nurturing Your Pepper Plants to a Successful Harvest
Growing pepper vegetables can be a rewarding experience, adding a touch of homegrown flavor and spice to your culinary creations. By following these comprehensive steps, you can cultivate thriving pepper plants and enjoy a bountiful harvest, whether you have a spacious garden or just a few containers on your balcony.
Remember, each step in the growing process plays a crucial role in the overall success of your pepper plants. Starting your seeds indoors early, providing the right growing conditions, and protecting your plants from pests and diseases are all essential for a bountiful harvest.
With a little patience and attention to detail, you can transform your garden into a pepper paradise, filled with vibrant colors and flavors. So, get your hands dirty, nurture your pepper plants, and savor the taste of homegrown goodness.
