Are you dreaming of a garden bursting with vibrant colors and delicate blooms? Pansies, with their cheerful faces and diverse hues, are the perfect choice to transform your outdoor space into a floral wonderland. But growing these beloved flowers can sometimes be a challenge. Fear not! This comprehensive guide will walk you through every step of the Pansy-growing process, from selecting the perfect varieties to ensuring a bountiful bloom. Let’s dive in and discover the secrets to cultivating stunning Pansy flowers.
Choose the Perfect Pansy Varieties
The world of Pansies offers a dazzling array of colors, sizes, and patterns. To create your dream Pansy garden, selecting the right varieties is crucial. Consider factors such as your climate, garden style, and personal preference when making your choices.
Types of Pansy Flowers
- Large-flowered Pansies: These classic beauties boast big, bold blooms in a wide range of colors. They are perfect for creating a stunning focal point in your garden.
- Small-flowered Pansies: Smaller and more compact than their larger counterparts, these Pansies are ideal for borders, containers, and ground cover.
- Miniature Pansies: These tiny but mighty Pansies are perfect for small spaces and creating delicate floral displays.
Factors to Consider When Choosing Pansy Varieties
- Climate: Some Pansy varieties are better suited for colder climates, while others thrive in warmer temperatures.
- Garden Style: Consider the overall style of your garden when selecting Pansy colors and patterns. For a romantic look, opt for soft pastels. For a bold statement, choose vibrant hues.
- Personal Preference: Ultimately, the best Pansy varieties are the ones you love. Choose colors and patterns that bring you joy.
Recommendations
- For colder climates: Opt for hearty varieties known for their cold tolerance.
- For warmer climates: Choose heat-tolerant Pansy varieties that can withstand higher temperatures.
- For containers: Select compact and trailing Pansy varieties for a cascading effect.
- For borders: Consider a mix of large-flowered and small-flowered Pansies for a visually interesting display.
Remember, the beauty of Pansies lies in their diversity. Don’t be afraid to experiment with different varieties to create a unique and captivating garden.
Find the Ideal Planting Spot for Your Pansies
Pansies thrive in specific growing conditions. Selecting the right location in your garden is crucial for their health and vitality.
Sunlight Requirements
Pansies prefer a location with a balance of sunlight and shade. While they enjoy full sun, excessive heat can cause their blooms to fade and wilt. Aim for a spot that receives morning sun and afternoon shade for optimal growth.
Soil Conditions
Well-draining soil is essential for Pansy cultivation. The soil should be rich in organic matter to provide essential nutrients. Pansy flowers prefer slightly acidic to neutral soil pH.
Preparing the Planting Area
Before planting your Pansies, prepare the soil by removing weeds and loosening the soil to improve drainage. Incorporating compost or aged manure can enhance soil fertility and provide essential nutrients for your plants.
Remember, the ideal planting spot will vary depending on your climate. In warmer regions, providing afternoon shade is crucial, while in cooler climates, full sun exposure might be beneficial.
Timing is Everything: When to Plant Pansy Seeds
The success of your Pansy garden hinges on proper timing. Understanding when to plant your Pansy seeds is crucial for optimal growth and blooming.
Planting Pansy Seeds Indoors
For early blooms, starting Pansy seeds indoors is a popular choice. Here’s a general guideline:
- Timing: Begin sowing seeds 8-10 weeks before the last expected frost in your area.
- Seed Starting Supplies: You’ll need seed starting trays, seed starting mix, and grow lights.
- Process: Fill seed trays with moistened seed starting mix, gently press seeds into the soil, and cover lightly with soil. Place trays in a warm, brightly lit location.
Transplanting Pansy Seedlings Outdoors
Once the threat of frost has passed and your seedlings have developed several true leaves, it’s time to transplant them outdoors.
- Timing: Wait until night temperatures consistently remain above freezing.
- Hardening Off: Gradually acclimate your seedlings to outdoor conditions by placing them outside for short periods before transplanting.
- Planting Depth: Plant seedlings at the same depth as they were in their seed starting trays.
- Spacing: Follow recommended spacing guidelines for your chosen Pansy variety.
By carefully planning your planting schedule, you can enjoy a longer blooming period and maximize the beauty of your Pansy garden.
Remember, these are general guidelines, and specific planting times may vary depending on your local climate.
Master the Art of Planting Pansy Seeds
Sowing Pansy seeds is a rewarding experience that allows you to nurture your plants from the very beginning. With the right techniques, you can achieve high germination rates and healthy seedlings.
Seed Starting Essentials
- Seed Starting Mix: Use a high-quality seed starting mix specifically designed for seedlings. It provides the necessary nutrients and drainage.
- Seed Trays or Pots: Choose containers with drainage holes to prevent soggy soil. Seed starting trays with individual cells are ideal for Pansy seeds.
- Grow Lights: If starting seeds indoors during winter, provide supplemental light with grow lights to mimic natural sunlight.
Planting Pansy Seeds
- Fill Containers: Fill your seed starting trays or pots with moistened seed starting mix.
- Sow Seeds: Gently press Pansy seeds onto the soil surface. Do not cover them deeply, as light is often necessary for germination.
- Cover Seeds: Lightly cover the seeds with a thin layer of vermiculite or fine seed starting mix.
- Maintain Moisture: Keep the seed starting mix consistently moist but not soggy. Use a spray bottle to mist the surface as needed.
- Provide Light: Place seed trays in a warm, brightly lit location or under grow lights.
Germination and Seedling Care
Pansy seeds typically germinate within 7-10 days under optimal conditions. Once seedlings emerge, provide them with adequate light, water, and gentle handling. Avoid overcrowding by transplanting seedlings into individual pots or larger trays as they grow.
By following these steps and providing the necessary care, you’ll soon have a tray of healthy Pansy seedlings ready for transplanting into your garden.
Caring for Pansy Seedlings
Nurturing young Pansy seedlings is essential for producing healthy and vibrant plants. Proper care during this stage will set the foundation for a thriving Pansy garden.
Providing Optimal Conditions
- Light: Pansy seedlings require ample light to prevent leggy growth. Place them in a sunny location or supplement with artificial light.
- Temperature: Maintain a consistent temperature between 65-75°F (18-24°C) for optimal growth. Avoid exposing seedlings to extreme temperature fluctuations.
- Watering: Keep the seed starting mix moist but not soggy. Overwatering can lead to damping-off, a fungal disease that can kill seedlings.
Fertilizing Pansy Seedlings
Once your seedlings have developed their first set of true leaves, you can begin fertilizing them with a diluted liquid fertilizer. Follow the instructions on the fertilizer label for the correct application rate.
Hardening Off Seedlings
Before transplanting your Pansy seedlings outdoors, it’s essential to harden them off. This process gradually acclimates them to outdoor conditions. Start by placing seedlings outside for short periods each day, gradually increasing the time spent outdoors.
By providing the right care, your Pansy seedlings will develop into strong, healthy plants ready to thrive in your garden.
Transplanting Pansy Seedlings to Your Garden
Once your Pansy seedlings have developed several sets of true leaves and the threat of frost has passed, it’s time to transplant them to their permanent home in your garden. Proper transplanting techniques are crucial for the success of your Pansy flowers.
Preparing Your Garden Bed
- Soil Preparation: Ensure your garden bed is well-prepared with loose, fertile soil. Incorporate compost or aged manure to improve soil quality.
- Spacing: Determine the appropriate spacing for your chosen Pansy variety. Generally, space plants 6-12 inches apart to allow for optimal growth.
Transplanting Process
- Choose a Cloudy Day: Transplanting on a cloudy day or in the evening can reduce transplant shock.
- Dig Holes: Prepare planting holes that are slightly larger than the seedling pots.
- Remove Seedlings: Gently remove seedlings from their pots, taking care not to disturb the root ball.
- Plant Seedlings: Place seedlings in the planting holes, ensuring they are planted at the same depth as they were in their pots.
- Backfill: Gently fill in the holes with soil, firming it around the roots.
- Water Thoroughly: Water the newly transplanted Pansies deeply to help establish the roots.
Aftercare
- Watering: Continue to water your Pansy plants regularly, especially during dry periods.
- Mulching: Apply a layer of mulch around the base of the plants to help retain moisture and suppress weeds.
- Fertilizing: Follow a regular fertilization schedule to promote healthy growth and abundant blooms.
By following these steps and providing proper aftercare, your transplanted Pansy seedlings will thrive and produce beautiful flowers.
Remember, gentle handling and consistent care are essential for successful transplanting.
Consistent Watering is Key to Pansy Success
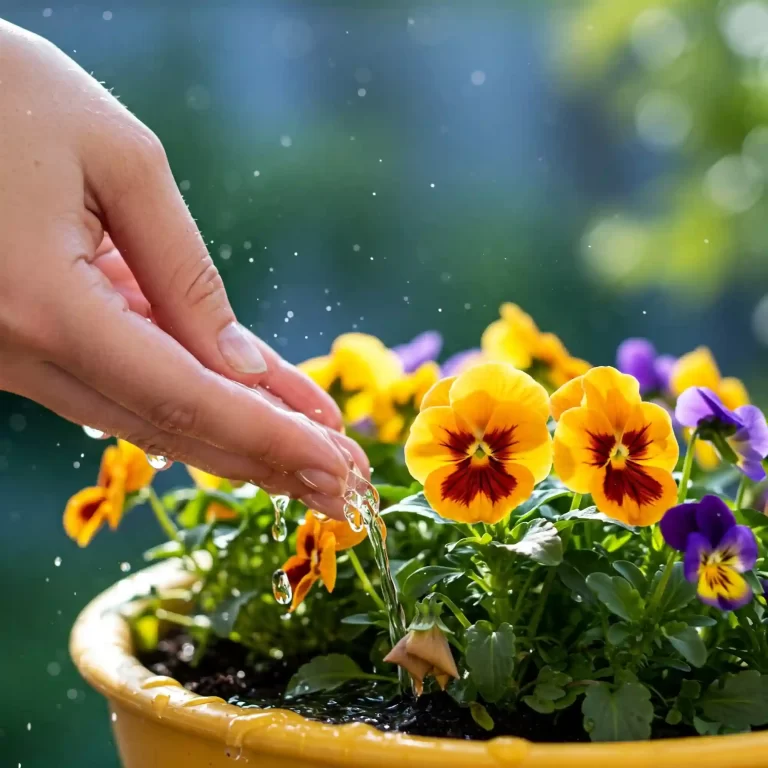
Proper watering is essential for the health and vitality of your Pansy flowers. Striking the right balance between too much and too little water is crucial for optimal growth and blooming.
Watering Frequency
- General Rule: Water your Pansy plants deeply and thoroughly, but allow the top inch of soil to dry out slightly before watering again.
- Weather Conditions: Adjust your watering schedule based on weather conditions. During hot, dry spells, you may need to water more frequently.
- Container-Grown Pansies: Container-grown Pansies may require more frequent watering due to faster soil drying.
Watering Techniques
- Soaking the Soil: Water deeply to encourage root growth. Avoid shallow watering, as it can lead to shallow roots.
- Morning Watering: Water your Pansy plants in the morning to allow the foliage to dry before nightfall, reducing the risk of fungal diseases.
- Avoid Overhead Watering: Water at the base of the plants to prevent wet leaves, which can contribute to disease problems.
Signs of Improper Watering
- Overwatering: Yellowing leaves, stunted growth, and root rot are signs of overwatering.
- Underwatering: Wilting leaves, poor flower production, and stunted growth indicate underwatering.
By following these guidelines and carefully monitoring your Pansy plants, you can maintain optimal soil moisture levels and promote healthy growth.
Remember, consistent and attentive watering is key to enjoying a beautiful and vibrant Pansy display.
Nourish Your Pansies for Abundant Blooms
Providing your Pansy plants with essential nutrients is crucial for promoting healthy growth and abundant blooms. A well-fertilized Pansy garden will reward you with a vibrant display of colorful flowers.
Importance of Fertilization
Pansies are heavy feeders and require regular fertilization to sustain their blooming potential. Nutrient-deficient Pansies may exhibit signs of poor growth, pale leaves, and reduced flower production.
Choosing the Right Fertilizer
- Balanced Fertilizer: Opt for a balanced fertilizer with a ratio of NPK (Nitrogen, Phosphorus, Potassium) close to 10-10-10. This provides a well-rounded supply of essential nutrients.
- Organic Options: Consider using organic fertilizers like compost tea or fish emulsion for a more sustainable approach.
- Time-Release Fertilizers: Time-release fertilizers can provide a steady supply of nutrients over an extended period.
Fertilization Schedule
- Frequency: Fertilize your Pansy plants every 2-3 weeks during the growing season.
- Application: Follow the instructions on the fertilizer package for the recommended application rate. Avoid over-fertilization, as it can damage your plants.
By providing adequate nutrition, you can encourage continuous blooming and prolong the lifespan of your Pansy flowers.
Remember, a well-nourished Pansy garden is a beautiful and rewarding sight.
Dealing with Common Pansy Pests and Diseases
Despite your best efforts, Pansy plants can sometimes fall victim to pests and diseases. By understanding common problems and implementing effective control measures, you can protect your Pansy garden and enjoy a beautiful bloom.
Common Pansy Pests
- Aphids: These tiny insects cluster on new growth and can cause distorted leaves and stunted growth.
- Slugs and Snails: These slimy pests can devour Pansy leaves and flowers, leaving behind characteristic slime trails.
- Caterpillars: Various caterpillars feed on Pansy foliage, causing damage to leaves and flowers.
Pest Control Methods
- Handpicking: Remove pests manually, especially for small infestations.
- Insecticidal Soap: Spray affected plants with insecticidal soap to control aphids and other soft-bodied insects.
- Diatomaceous Earth: Apply diatomaceous earth around plants to deter slugs and snails.
- Beneficial Insects: Encourage the presence of beneficial insects like ladybugs and lacewings to prey on pests.
- Row Covers: Protect young seedlings from pests by using floating row covers.
Common Pansy Diseases
- Powdery Mildew: This fungal disease causes a white powdery coating on leaves.
- Damping Off: A fungal disease that affects seedlings, causing them to rot at the base.
Disease Prevention and Control
- Proper Watering: Avoid overhead watering to prevent fungal diseases.
- Good Air Circulation: Space plants adequately to improve air flow and reduce disease risk.
- Crop Rotation: Rotate Pansy plantings to prevent soilborne diseases.
- Fungicides: Use fungicides as a last resort, following label instructions carefully.
By staying vigilant and implementing appropriate control measures, you can protect your Pansy plants from pests and diseases and enjoy a healthy, thriving garden.
Remember, prevention is key to maintaining a pest-free and disease-free Pansy garden.
Enjoy Your Beautiful Pansy Flowers
Your hard work and dedication have culminated in a stunning display of Pansy flowers. Now it’s time to savor the fruits of your labor and enjoy the beauty of these charming blooms.
Creative Uses for Pansy Flowers
- Garden Beds and Borders: Create vibrant and colorful displays by planting Pansies in your garden beds and borders.
- Containers and Pots: Add a touch of elegance to your patio or balcony by growing Pansies in containers and pots.
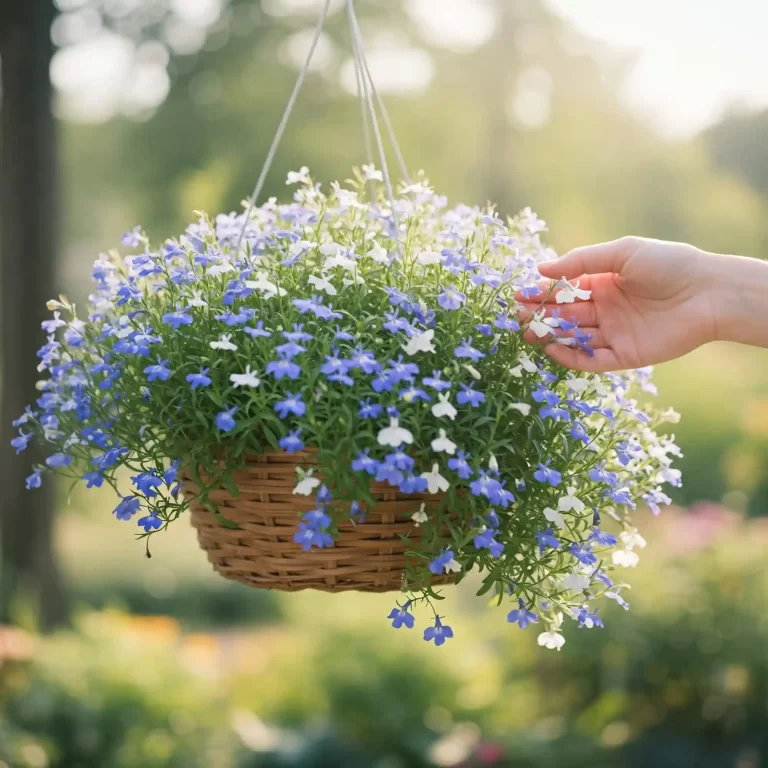
- Hanging Baskets: Create a stunning focal point with cascading Pansy flowers in hanging baskets.
- Cut Flowers: Enjoy the beauty of Pansy flowers indoors by cutting them for bouquets and arrangements.
Extending the Blooming Season
- Deadheading: Regularly remove spent blooms to encourage continuous flowering.
- Fertilizing: Continue to fertilize your Pansies throughout the growing season to promote blooming.
- Watering: Maintain consistent watering to prevent stress and encourage flower production.
- Protection from Extreme Temperatures: Shield your Pansies from excessive heat or cold to prolong their blooming period.
Sharing Your Pansy Passion
- Photography: Capture the beauty of your Pansy flowers through stunning photographs.
- Sharing Tips: Share your Pansy growing knowledge and experiences with fellow gardeners.
- Community Involvement: Participate in local gardening clubs or events to connect with other Pansy enthusiasts.
By following these tips, you can fully appreciate the beauty and joy that Pansy flowers bring to your garden.
Remember, gardening is a rewarding hobby that allows you to connect with nature and create a beautiful outdoor space. Enjoy your Pansy garden to the fullest!
Frequently Asked Questions About Growing Pansy Flowers
General Pansy Care
- Q: How often should I water my Pansy plants?
- A: Water your Pansy plants deeply but infrequently, allowing the top inch of soil to dry out before watering again.
- Q: Can I save Pansy seeds from my plants?
- A: While it’s possible to save Pansy seeds, the resulting plants may not exhibit the same characteristics as the parent plants.
- Q: Are Pansies annuals or perennials?
- A: Pansies are typically treated as annuals, but in some milder climates, they may return as perennials.
Pansy Problems
- Q: Why are my Pansy leaves turning yellow?
- A: Yellowing leaves can indicate overwatering, underwatering, nutrient deficiencies, or pest problems.
- Q: My Pansy plants are not blooming. What should I do?
- A: Lack of sunlight, insufficient fertilization, or overcrowding can hinder blooming. Ensure your plants receive adequate light, fertilize regularly, and thin out overcrowded plants.
- Q: How do I protect my Pansies from frost?
- A: Cover your Pansy plants with frost cloth or row covers on nights when temperatures are expected to drop below freezing.
Pansy Gardening Tips
- Q: Can I grow Pansies in containers?
- A: Absolutely! Pansies are excellent choices for container gardening. Ensure your containers have adequate drainage.
- Q: What are some good companion plants for Pansies?
- A: Pansies pair well with other cool-season flowers like violas, primulas, and forget-me-nots.
- Q: How can I extend the blooming season of my Pansies?
- A: Regular deadheading, proper fertilization, and protection from extreme temperatures can help prolong the blooming period.
By addressing common questions and providing helpful tips, this FAQ section will enhance the value of your blog post and assist gardeners in achieving Pansy growing success.


