Are you tired of bland, store-bought okra? Do you dream of harvesting fresh, tender pods straight from your own garden?
I understand the frustration of wanting to grow your own food but not knowing where to start. Many gardeners struggle with getting a good okra harvest, whether it’s due to pest problems, poor soil, or just not knowing the right techniques. The disappointment of seeing your efforts not yield the desired results can be disheartening.
But don’t worry, there’s a solution. I’ve spent years cultivating okra in my own garden, learning from both successes and failures. And I’m here to share my knowledge with you. This guide provides 10 proven steps for successfully growing okra, from seed to harvest. We’ll cover everything from soil preparation and planting to pest control and harvesting tips. This guide is designed to help you, the modern gardener, achieve a productive okra harvest, even if you’re a beginner.
Choosing the Right Okra Variety
Choosing the right okra variety is the first step to a successful harvest. You see, not all okras are created equal. Different varieties offer different characteristics, such as pod size, color, spinelessness, and disease resistance. Selecting the right variety for your climate and growing conditions can make a significant difference in your yield and overall gardening experience. I’ve experimented with several varieties over the years, and I’ve found a few that consistently perform well. Let’s explore some popular options:
- Clemson Spineless: This is a classic and reliable variety known for its smooth, spineless pods. It’s a great choice for beginners because it’s relatively easy to grow and produces high yields. The pods are typically dark green and grow to about 6-8 inches long. I’ve found Clemson Spineless to be particularly resistant to many common okra diseases, making it a low-maintenance option.
- Emerald: If you’re looking for extra-long pods, Emerald is the way to go. This variety produces slender, dark green pods that can reach up to 10 inches in length. Emerald is also known for its excellent flavor and tenderness. In my garden, Emerald has always been a reliable producer, even in slightly less-than-ideal conditions.
- Burgundy: For a touch of color in your garden, consider Burgundy okra. This variety produces beautiful deep red pods that add visual interest to any garden space. While the color is striking, Burgundy okra is also known for its good flavor and productivity. I’ve found that the red color fades slightly when cooked, but it still adds a nice visual element to dishes.
- Annie Oakley: This is a compact variety that’s well-suited for smaller gardens or container growing. It produces spineless, dark green pods and is known for its early maturity. If you live in a region with a shorter growing season, Annie Oakley might be a good choice for you.
- Red Burgundy: Similar to Burgundy but with a more intense red color, this variety adds a vibrant touch to the garden. It maintains its color well during cooking and is known for its tender pods.
Factors to Consider When Choosing a Variety:
- Climate: Some varieties are better suited to hot, humid climates, while others can tolerate cooler conditions. If you live in a region with a short growing season, choose an early-maturing variety.
- Disease Resistance: Look for varieties that are resistant to common okra diseases, such as Fusarium wilt and Verticillium wilt. This can save you a lot of trouble down the road.
- Pod Size and Color: Consider the size and color of the pods. Some varieties produce long, slender pods, while others produce shorter, thicker pods. The color can range from dark green to deep red.
- Spinelessness: If you prefer to avoid the prickly spines on some okra pods, choose a spineless variety.
Okra Variety Comparison
| Variety | Pod Color | Pod Length | Spineless | Best For |
| Clemson Spineless | Dark Green | 6-8 inches | Yes | Beginners, disease resistance |
| Emerald | Dark Green | Up to 10 inches | Yes | Long pods, tender texture |
| Burgundy | Deep Red | 6-8 inches | Yes | Visual interest, good flavor |
| Annie Oakley | Dark Green | Medium | Yes | Small gardens, short growing seasons |
| Red Burgundy | Intense Red | 6-8 inches | Yes | Vibrant color, tender pods |
By carefully considering these factors and choosing the right okra variety, you’ll set yourself up for a successful and abundant harvest. I’ve found that starting with a well-suited variety can significantly reduce the challenges you face later in the growing process.
Preparing the Soil for Okra
Now that you’ve chosen your okra variety, the next crucial step is preparing the soil. Okra, like many vegetables, thrives in specific soil conditions. Getting this right from the start will significantly impact your plant’s health and productivity. I’ve learned over the years that investing time in soil preparation is never wasted. It’s the foundation of a successful garden.
Ideal Soil Conditions for Okra:
- Well-Drained Soil: Okra hates soggy feet! It needs soil that drains well to prevent root rot. If you have heavy clay soil, amending it with organic matter is essential.
- Fertile Soil: Okra is a heavy feeder, meaning it requires a good supply of nutrients. Adding compost or well-rotted manure will provide the necessary nutrients for healthy growth.
- Soil pH: Okra prefers a slightly acidic to neutral soil pH between 6.0 and 7.0. You can test your soil pH with a simple home test kit or have it professionally tested.
How to Prepare Your Soil:
- Soil Testing: Start by testing your soil’s pH. This will tell you if you need to make any adjustments. You can find inexpensive soil test kits at most garden centers.
- Amend with Organic Matter: Regardless of your soil type, adding organic matter like compost, well-rotted manure, or leaf mold is highly beneficial. This improves drainage, aeration, and water retention, and provides essential nutrients. I usually work in a 2-4 inch layer of compost into the top 12 inches of soil.
- Tilling or Digging: If your soil is compacted, you’ll need to till or dig it to loosen it up. This will improve drainage and allow the roots to penetrate the soil more easily. Be careful not to over-till, as this can damage the soil structure.
- Fertilizing: Before planting, you can incorporate a balanced granular fertilizer into the soil. Look for a fertilizer with an NPK ratio of 10-10-10 or similar. Follow the instructions on the fertilizer package for application rates.
Specific Soil Amendments:
- Compost: This is my go-to soil amendment. It’s a great all-around soil conditioner that improves drainage, water retention, and nutrient content.
- Well-Rotted Manure: Manure is a rich source of nutrients, but make sure it’s well-rotted to avoid burning your plants.
- Leaf Mold: This is decomposed leaf litter that improves soil structure and water retention.
- Sand: If you have heavy clay soil, adding coarse sand can help improve drainage.
Soil Amendment Benefits
| Amendment | Benefits |
| Compost | Improves drainage, water retention, nutrient content, and soil structure. |
| Well-Rotted Manure | Provides essential nutrients, improves soil structure. |
| Leaf Mold | Improves soil structure and water retention. |
| Sand | Improves drainage in heavy clay soils. |
A Practical Example:
Last year, I was helping a friend who had terrible clay soil in her garden. We amended the soil with a generous amount of compost and some coarse sand. The difference was remarkable. Her okra plants thrived, producing a much larger harvest than she had ever had before. This experience reinforced for me the importance of proper soil preparation.
Key takeaway for you: Taking the time to prepare your soil properly is an investment that will pay off with a healthy and productive okra crop. By focusing on drainage, fertility, and pH, you’ll create the ideal environment for your okra plants to flourish.
How to Plant Okra Seeds or Transplants
Now that your soil is perfectly prepped, it’s time to get those okra seeds or transplants in the ground! This is where the magic really begins. I remember the first time I planted okra; I was so excited to see those little seedlings emerge from the soil. It’s a truly rewarding experience.
When to Plant Okra:
Okra is a warm-season crop, so it’s essential to wait until the soil has warmed up before planting. Here are some guidelines:
- Soil Temperature: The soil temperature should be at least 60°F (15°C) before planting. You can use a soil thermometer to check the temperature.
- Air Temperature: The air temperature should consistently be above 70°F (21°C).
- Last Frost: Make sure all danger of frost has passed before planting.
Starting Seeds Indoors (Optional):
If you live in a region with a short growing season, you can start your okra seeds indoors about 4-6 weeks before the last expected frost. Here’s how:
- Use Seed Starting Mix: Use a well-draining seed starting mix.
- Plant Seeds: Plant seeds about ½ inch deep in small pots or seed trays.
- Keep Warm and Moist: Keep the soil warm and moist. You can use a heat mat to help with germination.
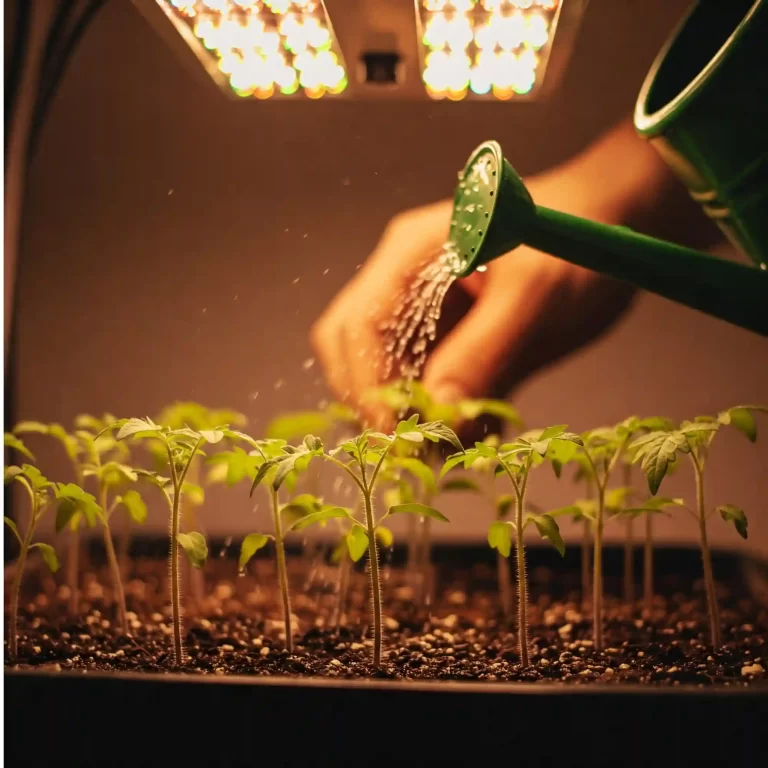
- Provide Light: Once the seedlings emerge, provide them with plenty of light. A sunny window or grow light works well.
Direct Sowing:
Direct sowing is the most common method for planting okra. Here’s how:
- Prepare the Soil: Make sure the soil is loose and well-drained.
- Plant Seeds: Plant seeds about ½ inch deep and 2-4 inches apart in rows.
- Water Well: Water the seeds well after planting.
Transplanting Seedlings:
If you started your seeds indoors, you’ll need to transplant them into the garden. Here’s how:
- Harden Off Seedlings: Before transplanting, gradually acclimate your seedlings to outdoor conditions by exposing them to increasing amounts of sunlight and wind over a week or two.
- Plant Seedlings: Plant seedlings at the same depth they were growing in their pots.
- Space Plants: Space plants 12-18 inches apart in rows.
- Water Well: Water the seedlings well after transplanting.
Tips for Planting Okra:
- Soak Seeds: Soaking okra seeds in warm water for a few hours before planting can improve germination rates.
- Plant in Full Sun: Okra needs at least 6-8 hours of sunlight per day.
- Choose a Well-Drained Location: Avoid planting okra in areas where water tends to pool.
A Personal Anecdote:
I remember one year I was eager to get my okra planted, and I planted the seeds a little too early. A late frost hit, and I lost all my seedlings. It was a disappointing experience, but I learned my lesson. Now, I always wait until the soil is warm enough before planting.
Key Takeaway for You:
Planting okra at the right time and using the proper techniques will give your plants a strong start and set them up for a productive season. Whether you choose to start seeds indoors or direct sow, make sure to provide your plants with plenty of sunlight and well-drained soil.
Watering and Fertilizing Okra Plants
Once your okra plants are established, proper watering and fertilization are crucial for their continued growth and productivity. Okra is a relatively drought-tolerant plant, but consistent watering, especially during hot weather, is essential for optimal pod production. I’ve noticed a significant difference in my yields when I maintain a consistent watering schedule.
Watering Okra:
- Frequency: Water deeply and regularly, especially during dry periods. Aim for about 1 inch of water per week. You can use a rain gauge to monitor rainfall.
- Method: Water at the base of the plant to avoid wetting the foliage, which can encourage fungal diseases. Soaker hoses or drip irrigation are excellent options.
- Timing: Water in the morning so the foliage has time to dry before nightfall.
Fertilizing Okra:
Okra is a heavy feeder, so regular fertilization is important. Here are some options:
- Side-Dressing: Apply a side-dressing of compost or well-rotted manure a few weeks after planting and again after the first harvest.
- Liquid Fertilizer: Use a balanced liquid fertilizer (like a 10-10-10) every 2-3 weeks during the growing season.
- Foliar Feeding: You can also apply a foliar feed of seaweed extract or fish emulsion to provide micronutrients.
Tips for Watering and Fertilizing:
- Mulching: Applying a layer of mulch around your okra plants helps retain moisture, suppress weeds, and regulate soil temperature.
- Observe Your Plants: Pay attention to your plants’ leaves. Wilting leaves can indicate underwatering, while yellowing leaves can indicate nutrient deficiencies.
- Avoid Over-Fertilizing: Over-fertilizing can lead to excessive foliage growth and reduced pod production.
A Helpful Observation:
I’ve found that using a combination of compost and liquid fertilizer works best for my okra plants. The compost provides a slow-release source of nutrients, while the liquid fertilizer gives them a quick boost when they need it most.
Key Takeaway for You:
Consistent watering and regular fertilization are essential for a bountiful okra harvest. By following these tips and observing your plants closely, you can ensure they receive the water and nutrients they need to thrive.
Controlling Okra Pests and Diseases
Even with the best care, your okra plants might encounter some pests and diseases. But don’t worry, with a little vigilance and the right approach, you can keep your plants healthy and productive. I’ve had my fair share of battles with garden pests, and I’ve learned that early detection and prevention are key.
Common Okra Pests:
- Aphids: These small, soft-bodied insects suck sap from plants, causing them to weaken and distort. You can control aphids with insecticidal soap, neem oil, or by introducing beneficial insects like ladybugs.
- Flea Beetles: These tiny beetles chew small holes in leaves, especially on young seedlings. You can use row covers to protect young plants or apply organic insecticides like pyrethrin.
- Corn Earworms: These caterpillars can bore into okra pods, causing damage. You can handpick them or use Bacillus thuringiensis (Bt), a natural bacteria that controls caterpillars.
- Root-Knot Nematodes: These microscopic worms attack plant roots, causing galls and hindering growth. You can improve soil health with organic matter and practice crop rotation to manage nematodes.
Common Okra Diseases:
- Fusarium Wilt: This fungal disease causes wilting and yellowing of leaves. You can prevent Fusarium wilt by choosing disease-resistant varieties and ensuring good soil drainage.
- Verticillium Wilt: Similar to Fusarium wilt, this fungal disease also causes wilting. You can manage Verticillium wilt by practicing crop rotation and avoiding planting okra in areas where susceptible crops like tomatoes or peppers have been grown.
Tips for Pest and Disease Control:
- Regular Inspection: Regularly inspect your plants for signs of pests or diseases. Early detection is crucial for effective control.
- Handpicking: For larger pests like corn earworms, handpicking can be an effective control method.
- Organic Solutions: Opt for organic pest and disease control methods whenever possible. This is better for your plants, your garden, and the environment.
- Crop Rotation: Rotating your crops each year can help prevent soilborne diseases from building up.
- Healthy Soil: Healthy soil leads to healthy plants, which are more resistant to pests and diseases.
A Practical Tip:
I always keep a close eye on my okra plants, especially during hot and humid weather, which can favor pest and disease outbreaks. I’ve found that a strong blast of water from the hose can often dislodge aphids and other small pests.
Key Takeaway for You:
By staying vigilant and using a combination of preventative measures and organic control methods, you can keep your okra plants healthy and free from pests and diseases. Remember, a healthy plant is a productive plant!
How to Harvest Okra at the Perfect Time
Harvesting okra at the right stage is crucial for enjoying its tender texture and delicious flavor. If you wait too long, the pods become tough and fibrous, making them less palatable. I’ve learned that timing is everything when it comes to harvesting okra.
When to Harvest Okra:
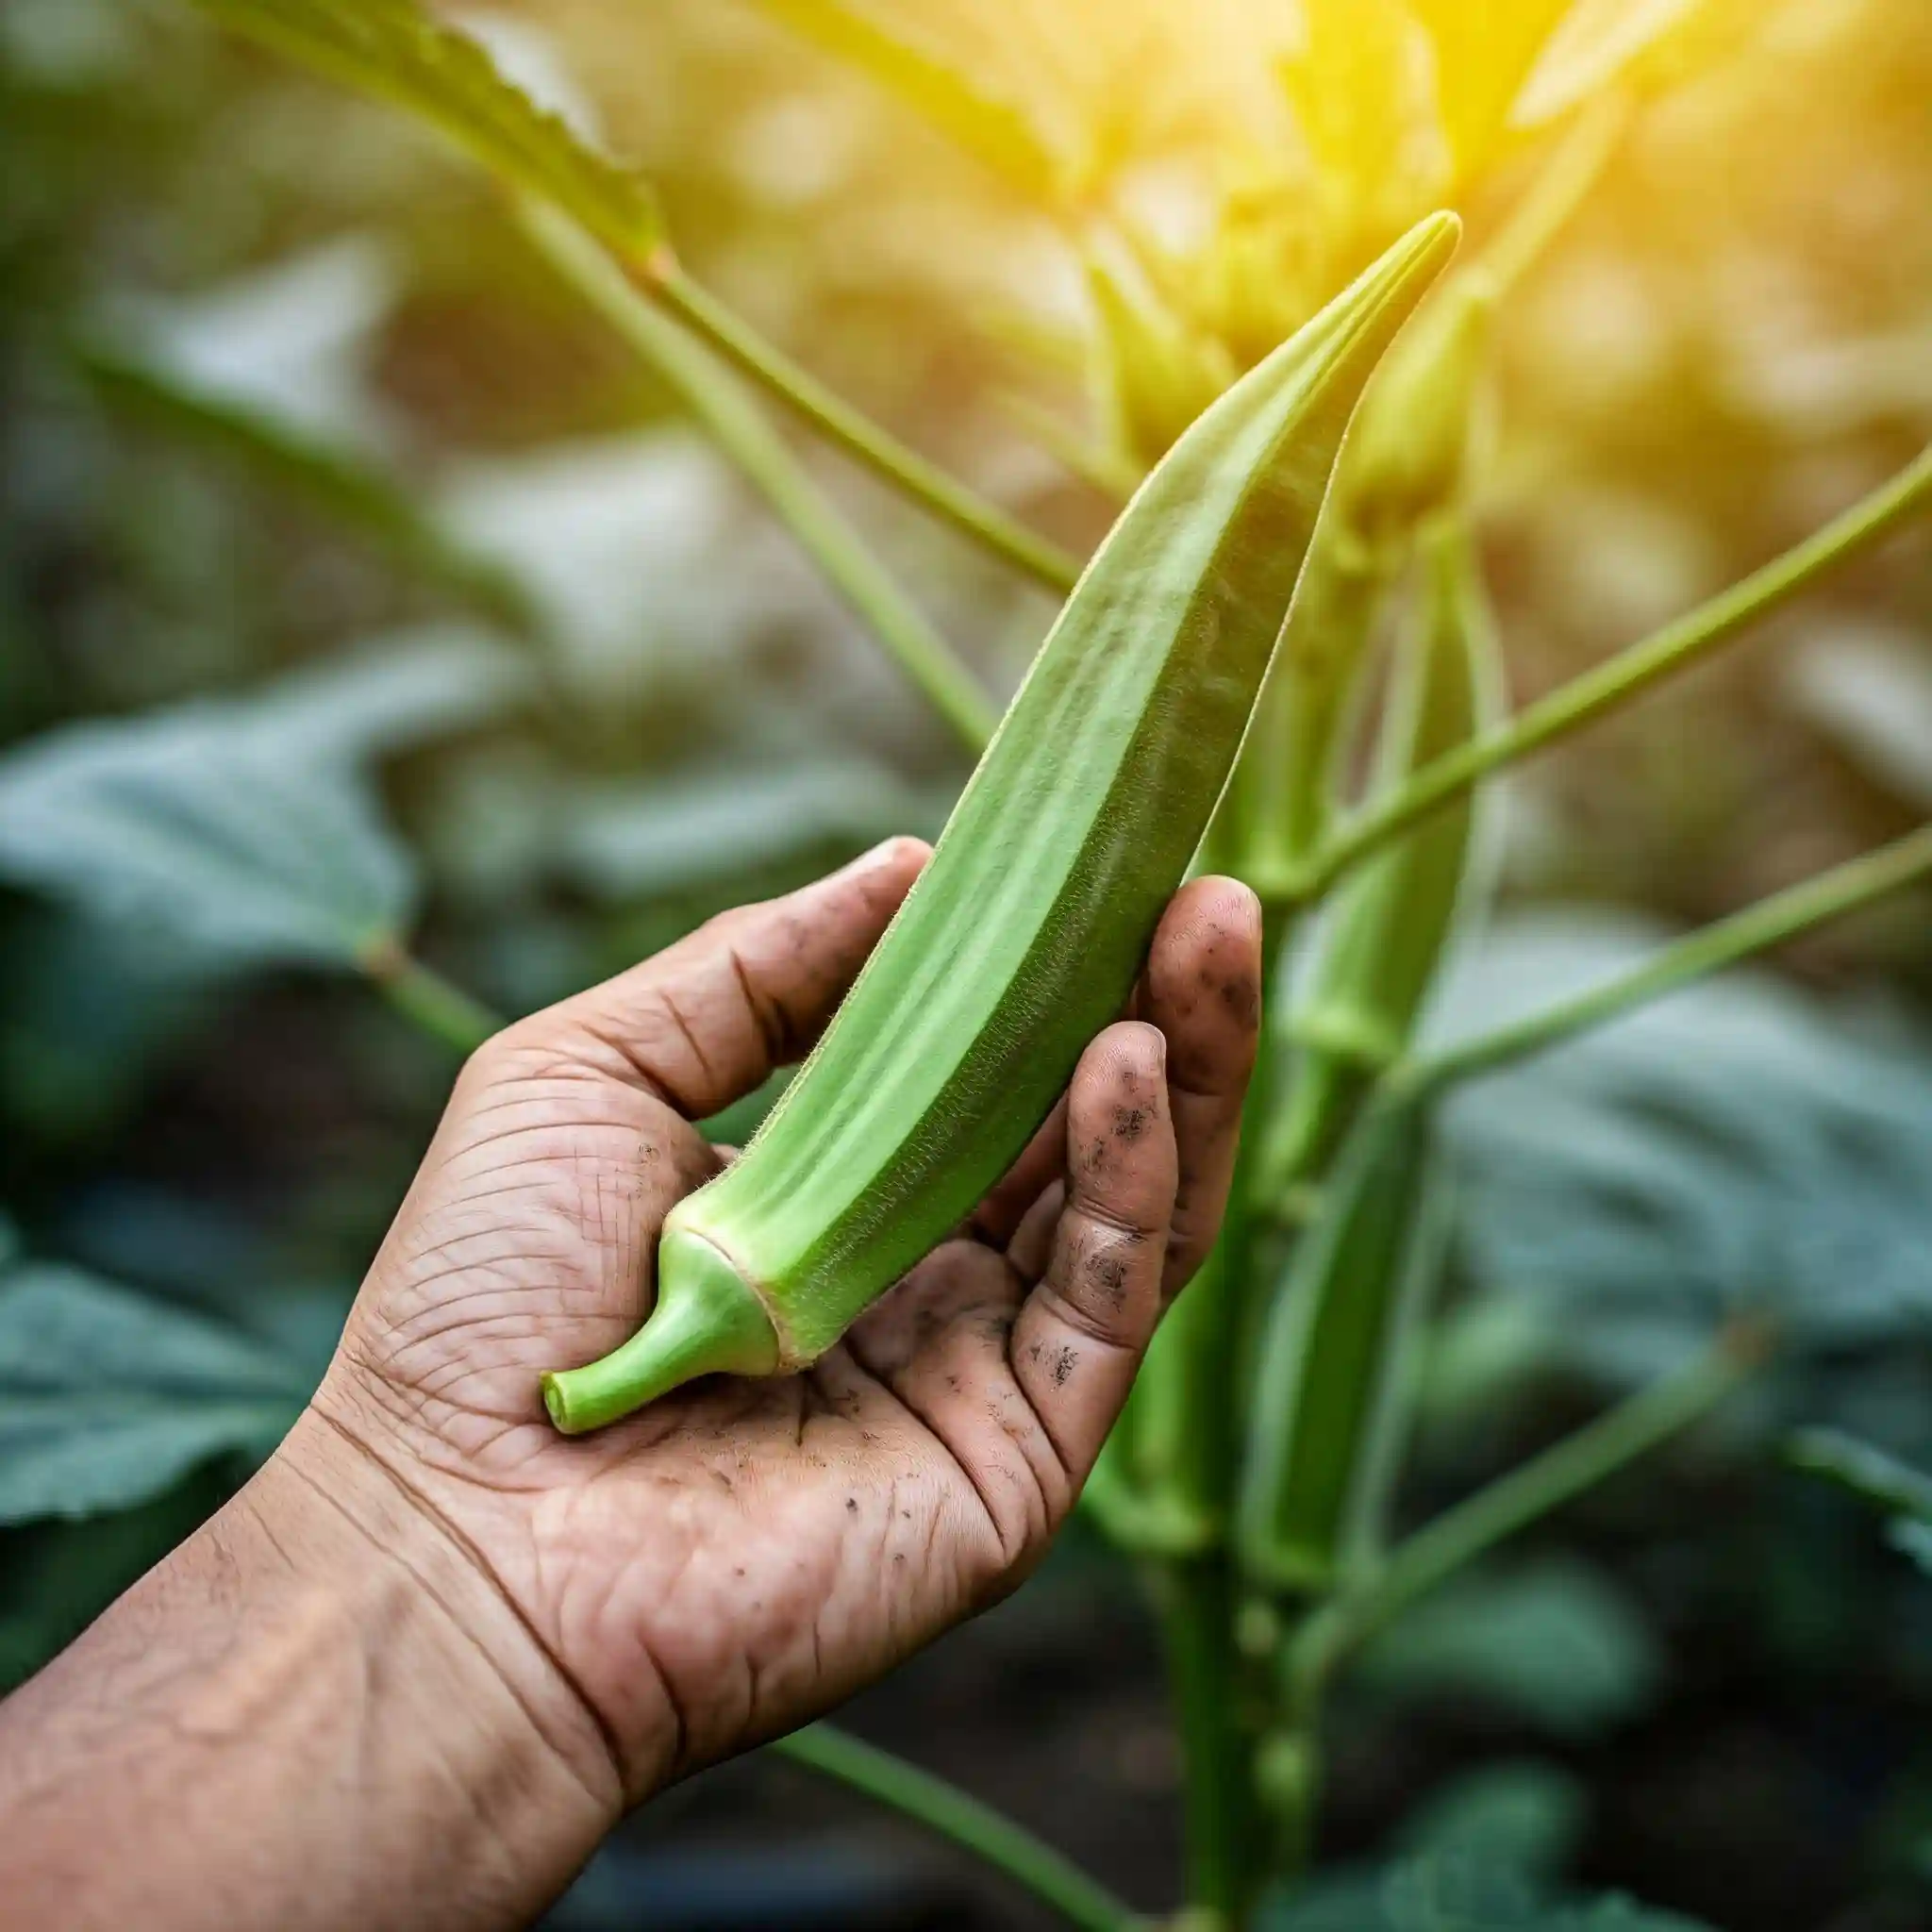
- Pod Size: Okra pods are typically ready for harvest when they are 2-4 inches long, depending on the variety.
- Tenderness: The pods should be firm but tender. You should be able to snap them off the plant easily.
- Timing: Okra pods mature quickly, so you’ll need to check your plants every day or two during the harvest season.
How to Harvest Okra:
- Use a Sharp Knife or Pruning Shears: Cut the pods off the plant at the stem, leaving about ½ inch of stem attached.
- Wear Gloves: Okra plants have small spines that can irritate your skin, so it’s a good idea to wear gloves when harvesting.
- Harvest Regularly: Regular harvesting encourages the plant to produce more pods.
Tips for Harvesting Okra:
- Harvest in the Morning: The pods are usually more tender in the morning.
- Don’t Let Pods Get Too Large: Overly large pods are tough and fibrous.
- Dispose of Old Pods: Remove any old or damaged pods from the plant to prevent disease and encourage new growth.
A Personal Tip:
I like to use a small knife to harvest my okra. I find it gives me more control and helps me avoid damaging the plant.
Key Takeaway for You:
Harvesting okra at the right time is essential for enjoying its tender texture and delicious flavor. By following these tips, you can ensure a bountiful harvest of this versatile vegetable.
Growing Okra in Containers
Even if you don’t have a traditional garden plot, you can still enjoy fresh okra by growing it in containers. This is a great option for those with limited space, such as apartment dwellers or those with small yards. I’ve successfully grown okra in containers on my balcony, and it’s surprisingly easy with the right approach.
Choosing the Right Container:
- Size: Select a container that is at least 5 gallons in size. This will provide enough room for the okra plant’s roots to grow.
- Drainage: Ensure the container has drainage holes to prevent waterlogging.
- Material: You can use containers made of various materials, such as plastic, terracotta, or fabric.
Preparing the Soil:
- Potting Mix: Use a well-draining potting mix specifically formulated for containers.
- Amendments: You can amend the potting mix with compost or other organic matter to improve fertility.
Planting and Care:
- Planting: Plant okra seeds or transplants in the container, following the same spacing guidelines as for in-ground planting.
- Sunlight: Place the container in a location that receives at least 6-8 hours of sunlight per day.
- Watering: Water regularly, especially during hot weather. Container-grown plants tend to dry out more quickly than those grown in the ground.
- Fertilizing: Fertilize regularly with a balanced liquid fertilizer.
Tips for Growing Okra in Containers:
- Choose a Compact Variety: Consider choosing a compact okra variety, such as ‘Baby Bubba’ or ‘Little Lucy,’ which are better suited for container growing.
- Provide Support: As the okra plant grows, it may need support, such as a stake or trellis.
- Monitor for Pests and Diseases: Regularly inspect your plants for pests and diseases, and take appropriate action if needed.
A Container Gardening Success:
I remember one year when I was living in an apartment with only a small balcony. I decided to try growing okra in containers, and I was amazed at how well it did. I harvested a surprising amount of okra from just a few plants.
Key Takeaway for You:
Growing okra in containers is a viable option for those with limited space. By choosing the right container, preparing the soil properly, and providing adequate care, you can enjoy a bountiful harvest of fresh okra, even in a small space.
Extending Your Okra Harvest
One of the great things about growing okra is that with a little planning, you can extend your harvest season. This means enjoying fresh okra for a longer period, which is a big plus in my book! I’ve used a few techniques over the years to keep my okra plants producing, and I’m happy to share them with you.
Succession Planting:
- What it is: Succession planting involves planting new okra seeds or seedlings every few weeks throughout the growing season. This ensures that you have a continuous supply of okra as older plants begin to decline.
- How to do it: Start by planting your first batch of okra after the danger of frost has passed and the soil has warmed up. Then, plant another batch every 3-4 weeks.
- Benefits: This method not only extends your harvest but also helps to prevent a glut of okra all at once.
Proper Harvesting Techniques:
- Regular Harvesting: As mentioned earlier, harvesting okra pods regularly encourages the plant to produce more. Don’t let the pods get too large, as this will reduce overall yield.
- Cutting vs. Snapping: Use a sharp knife or pruning shears to cut the pods from the plant. Avoid snapping them off, as this can damage the plant.
Plant Care During the Season:
- Watering and Fertilizing: Continue to water and fertilize your okra plants regularly throughout the growing season. This will keep them healthy and productive.
- Weeding: Keep the area around your okra plants free of weeds, which can compete for water and nutrients.
- Pest and Disease Control: Monitor your plants for pests and diseases, and take appropriate action if needed.
Specific Tips for Extending Harvest:
- Choose Early Maturing Varieties: Planting some early-maturing varieties alongside later-maturing ones can help you get a head start on your harvest.
- Provide Adequate Sunlight: Okra needs plenty of sunlight to produce well. Make sure your plants are getting at least 6-8 hours of sunlight per day.
- Protect from Cold: If you experience an early frost, you can protect your plants with row covers or blankets to extend the harvest a bit longer.
My Personal Experience:
I’ve found that succession planting is the most effective way to extend my okra harvest. By planting new seeds every few weeks, I can enjoy fresh okra for several months.
Key Takeaway for You:
By using these techniques, you can extend your okra harvest and enjoy fresh, homegrown okra for a longer period. This is a great way to maximize your gardening efforts and enjoy the fruits (or rather, the pods) of your labor!
Troubleshooting Common Okra Problems
Even the most experienced gardeners encounter occasional problems. Okra, while relatively easy to grow, can sometimes face challenges. I’ve certainly had my share of okra-growing mishaps, but I’ve learned that identifying and addressing problems early can make all the difference.
Common Okra Problems and Solutions:
- Yellowing Leaves:
- Possible Causes: Nutrient deficiencies (especially nitrogen), overwatering, or root rot.
- Solutions: Test your soil to identify any nutrient deficiencies and amend accordingly. Ensure proper drainage and avoid overwatering.
- Stunted Growth:
- Possible Causes: Poor soil, lack of sunlight, or pest infestations.
- Solutions: Improve soil quality with compost and ensure your plants are getting at least 6-8 hours of sunlight per day. Check for and control any pests.
- Blossom Drop:
- Possible Causes: High temperatures, lack of pollination, or stress due to drought or nutrient deficiencies.
- Solutions: Ensure adequate watering and fertilization. High temperatures are difficult to control, but you can try to provide some shade during the hottest part of the day.
- Small or Poorly Formed Pods:
- Possible Causes: Lack of pollination, nutrient deficiencies, or stress due to drought or pests.
- Solutions: Encourage pollinators by planting flowers near your okra. Ensure adequate watering and fertilization. Control any pests that may be affecting pollination.
- Pests and Diseases (as discussed in the previous section):
- Possible Causes: Various pests and diseases can affect okra.
- Solutions: Use appropriate organic pest and disease control methods.
Tips for Troubleshooting:
- Observe Your Plants Regularly: Regularly inspect your plants for any signs of problems.
- Identify the Problem: Try to identify the specific problem before taking action.
- Take Action Quickly: The sooner you address a problem, the better the chances of saving your plants.
A Troubleshooting Story:
One year, my okra plants were experiencing significant blossom drop. I was initially puzzled, but after some research, I realized it was due to a period of extremely hot weather. I started providing some afternoon shade for my plants, and the blossom drop decreased significantly.
Key Takeaway for You:
By being observant and proactive, you can overcome common okra-growing problems and ensure a healthy and productive harvest. Remember, every gardening challenge is an opportunity to learn and grow as a gardener.
Okra Companion Planting: Enhancing Your Okra Patch with Beneficial Companions
Companion planting, an age-old gardening practice, involves strategically planting different species together to create a mutually beneficial environment. This technique can significantly enhance your okra patch by deterring pests, attracting beneficial insects, improving soil health, and even increasing yields.
Good Companions for Okra: A Symbiotic Partnership
- Legumes (e.g., beans, peas): These plants, known for their nitrogen-fixing abilities, enrich the soil with this essential nutrient, promoting healthy okra growth.
- Aromatic Herbs (e.g., basil, thyme, dill): These fragrant herbs act as natural pest repellents, deterring common okra pests like aphids and flea beetles.
- Flowers (e.g., marigolds, zinnias): These vibrant blooms attract beneficial insects, such as ladybugs and hoverflies, which prey on okra pests, providing natural pest control.
- Peppers: These fiery fruits share similar growing conditions with okra, making them ideal companions.
Plants to Avoid Planting Near Okra: A Clash of Interests
- Brassicas (e.g., cabbage, cauliflower): These heavy feeders can compete with okra for nutrients, hindering its growth.
Benefits of Companion Planting: A Multifaceted Approach
- Pest Control: Companion plants can naturally repel pests, reducing the need for chemical interventions.
- Attracting Beneficial Insects: Flowers attract beneficial insects that prey on pests, providing natural pest control.
- Improved Soil Health: Legumes fix nitrogen in the soil, enhancing its fertility and benefiting okra growth.
- Increased Yields: Some companion plants can enhance okra’s growth and productivity, leading to bountiful harvests.
Key Takeaway: A Harmonious Garden Ecosystem
By incorporating companion planting into your okra patch, you can create a thriving ecosystem that promotes healthy growth, deters pests, and enhances yields.
Conclusion: Embracing the Okra Growing Journey
Growing okra can be a rewarding experience, providing you with a continuous supply of this nutritious and versatile vegetable throughout the warm season. By following the tips and techniques outlined in this guide, you can successfully cultivate okra in your own garden, regardless of your gardening experience.
Key Takeaways for a Successful Okra Harvest:
- Choose the right variety: Select a variety that suits your climate and growing conditions.
- Prepare the soil: Ensure the soil is well-drained, fertile, and slightly acidic to neutral.
- Plant at the right time: Wait until the soil is warm and all danger of frost has passed.
- Water and fertilize regularly: Provide consistent moisture and nutrients for optimal growth.
- Control pests and diseases: Regularly inspect your plants and take appropriate action.
- Harvest at the right stage: Harvest pods when they are young and tender.
- Extend the harvest: Use succession planting and proper plant care to prolong your harvest season.
- Troubleshoot common problems: Address issues promptly to prevent significant yield loss.
- Embrace companion planting: Enhance your okra patch with beneficial companions.
Additional Tips for Okra Enthusiasts:
- Explore different varieties: Experiment with different okra varieties to discover your favorites.
- Save seeds: Save seeds from your most successful plants to ensure a continuous supply for future seasons.
- Preserve your harvest: Explore different preservation methods, such as pickling, freezing, or drying, to enjoy your okra bounty year-round.
- Share your harvest: Share your okra with friends, family, and neighbors to spread the okra love.
Embrace the Okra Growing Journey:
Growing okra is not just about producing food; it’s about connecting with nature, nurturing life, and enjoying the fruits (or rather, the pods) of your labor. So, embrace the okra-growing journey, and may your garden be filled with abundance!
