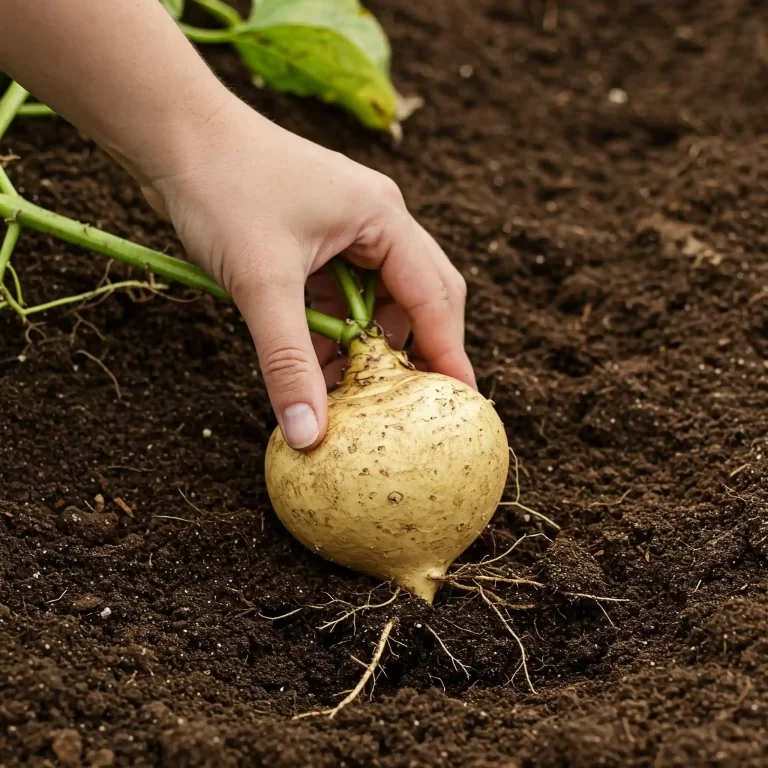
Are you tired of salads that lack a certain zing? Do you find yourself wishing for greens with a bit more personality? I know I used to feel the same way. The solution? Learning how to grow mustard greens vegetable in your own backyard. Trust me, it’s easier than you think, even if you’re just starting out. In this guide, I’ll share seven simple steps to cultivate these zesty greens, bringing a burst of flavor to your kitchen and a touch of green-thumb pride to your heart.
Step 1: Discover the Zest of Homegrown Mustard Greens
There’s something truly special about growing your own food, and mustard greens are a fantastic gateway into this rewarding world. I’ve found these leafy greens to be incredibly easy to grow, and they offer a unique flavor that I absolutely adore. Unlike some milder greens, mustard greens have a peppery, slightly pungent taste that adds a delightful kick to everything from salads and stir-fries to hearty soups and stews.
I still remember my first foray into growing mustard greens. I was a complete novice, unsure of where to begin. But with a bit of research and some hands-on learning, I quickly discovered how simple it could be. Now, I enjoy a thriving patch of mustard greens in my garden, providing me with fresh, flavorful greens throughout the growing season. And you can too!
Growing your own mustard greens offers a plethora of benefits. First and foremost, you get the freshest possible produce. The flavor of homegrown greens is noticeably more vibrant than anything you can find in a grocery store. Second, it’s a budget-friendly way to incorporate healthy greens into your diet. A packet of seeds is inexpensive and can yield a surprisingly abundant harvest. Finally, you have complete control over the growing process. You can choose to grow organically, avoiding harmful pesticides and ensuring the highest quality produce for yourself and your family.
Learning how to grow mustard greens vegetable is a skill that will continue to provide benefits for years to come. You’ll develop a deeper connection to nature, experience the satisfaction of nurturing your own food, and elevate your culinary creations with fresh, homegrown flavor. So, let’s dive into the exciting world of growing your own mustard greens!
Key Benefits of Homegrown Mustard Greens:
- Unmatched Freshness and Flavor: Homegrown mustard greens offer a more intense and nuanced flavor compared to store-bought ones.
- Budget-Friendly: Growing your own is a cost-effective way to enjoy fresh greens.
- Complete Control: You can choose organic methods and avoid harmful chemicals.
- Nature Connection: Gardening provides a therapeutic and rewarding connection to the natural world.
- Culinary Versatility: Mustard greens can be used in a wide array of dishes, from salads to stir-fries.
This introduction aims to capture the reader’s attention by highlighting the benefits of growing mustard greens and emphasizing the ease of cultivation. It also naturally incorporates the target keyword and related terms.
Step 2: Preparing the Ideal Growing Environment
Creating the right environment is crucial for successful mustard green growth. I’ve learned that these leafy greens are quite adaptable, but providing them with optimal conditions will result in a more abundant and flavorful harvest. You want to think about soil, sunlight, and location when you are learning how to grow mustard greens vegetable.
Soil: The Foundation of Growth
Mustard greens thrive in well-draining soil that is rich in organic matter. I recommend amending your garden soil with compost or well-rotted manure before planting. This will improve soil structure, drainage, and fertility. Aim for a soil pH between 6.0 and 7.0. You can test your soil pH with a simple at-home kit available at most garden centers. If your soil is too acidic (below 6.0), you can add lime to raise the pH. If it’s too alkaline (above 7.0), you can add sulfur to lower it. I’ve found that slightly acidic soil promotes the best growth and nutrient uptake for mustard greens.
Sunlight: Fueling Photosynthesis
Like most leafy greens, mustard greens need plenty of sunlight to thrive. I recommend aiming for at least 6 hours of direct sunlight per day. If you live in a particularly hot climate, some afternoon shade can be beneficial to prevent the leaves from wilting. I’ve noticed that plants receiving adequate sunlight produce more vibrant, deeply colored leaves with a more intense flavor.
Location: Choosing the Right Spot
You have several options when it comes to location. Mustard greens can be grown directly in the ground, in raised beds, or even in containers. Each method has its own advantages:
- In-Ground Planting: This is the most traditional method and works well if you have suitable garden soil. I’ve found that amending the soil with compost is especially important for in-ground plantings.
- Raised Beds: Raised beds offer excellent drainage and allow you to control the soil composition more easily. I often use raised beds for my mustard greens, as they warm up quickly in the spring, allowing for earlier planting.
- Containers: Growing in containers is a great option if you have limited space, such as a balcony or patio. I recommend using containers that are at least 6 inches deep to accommodate the root system. Ensure the containers have drainage holes to prevent waterlogging.
Factors Affecting Location Choice:
| Factor | In-Ground | Raised Beds | Containers |
| Drainage | Variable | Excellent | Good |
| Soil Control | Limited | Excellent | Excellent |
| Space Efficiency | Low | Medium | High |
| Pest Control | More | Moderate | Less |
| Warm-up Time | Slow | Fast | Moderate |
Preparing the Soil:
- Clear the Area: Remove any weeds, rocks, or debris from the planting area.
- Amend the Soil: Incorporate compost or well-rotted manure to improve soil fertility and structure.
- Loosen the Soil: Use a garden fork or tiller to loosen the soil to a depth of 12 inches.
- Level the Surface: Rake the area smooth to create a level planting surface.
By providing the right growing environment, you’ll set your mustard greens up for success. I’ve found that taking the time to prepare the soil and choose the right location is well worth the effort, resulting in healthier, more productive plants.
Step 3: Planting Mustard Greens Seeds
Now that you’ve prepared the ideal growing environment, it’s time to plant your mustard green seeds. I’ve found that this is a relatively straightforward process, but there are a few key things to keep in mind to ensure successful germination and healthy growth.
Direct Sowing vs. Starting Indoors
Mustard greens can be sown directly into the garden or started indoors and then transplanted. I personally prefer direct sowing, as it’s less work and the plants tend to establish themselves more quickly. However, starting indoors can be beneficial if you live in a colder climate with a shorter growing season.
Direct Sowing:
- Timing: The best time to direct sow mustard greens is in early spring or late summer/early fall. I usually aim for a soil temperature of at least 45°F (7°C).
- Preparation: Create shallow furrows in the soil about ½ inch deep and 12 inches apart.
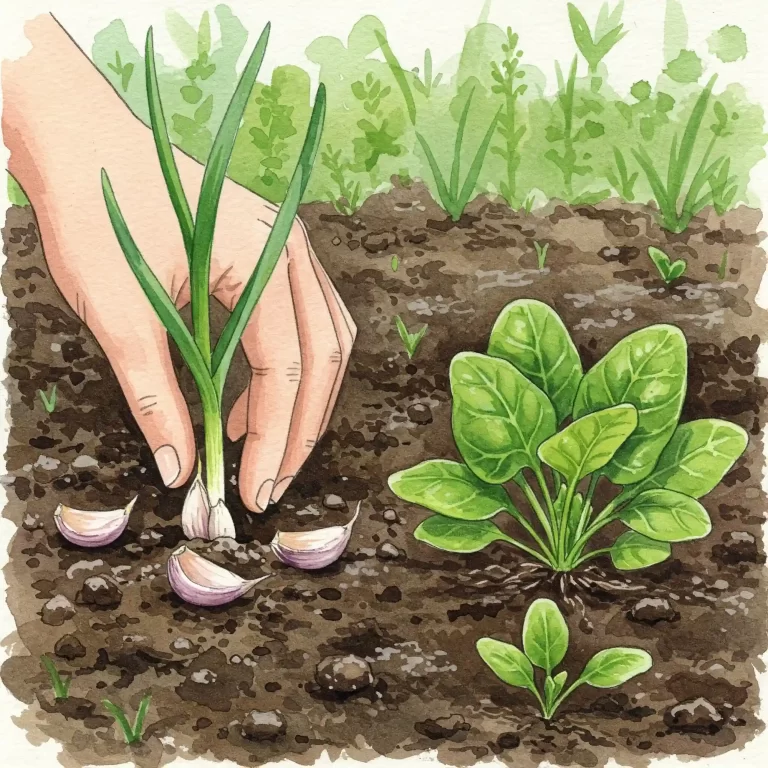
- Sowing: Sprinkle the seeds evenly in the furrows and cover them with a thin layer of soil.
- Watering: Gently water the area to ensure good seed-to-soil contact.
- Thinning: Once the seedlings emerge, thin them to about 6 inches apart to allow for proper growth.
Starting Indoors:
- Timing: Start seeds indoors about 4-6 weeks before the last expected frost in your area.
- Containers: Use seed starting trays or small pots filled with seed starting mix.
- Sowing: Sow seeds ¼ inch deep and keep the soil moist.
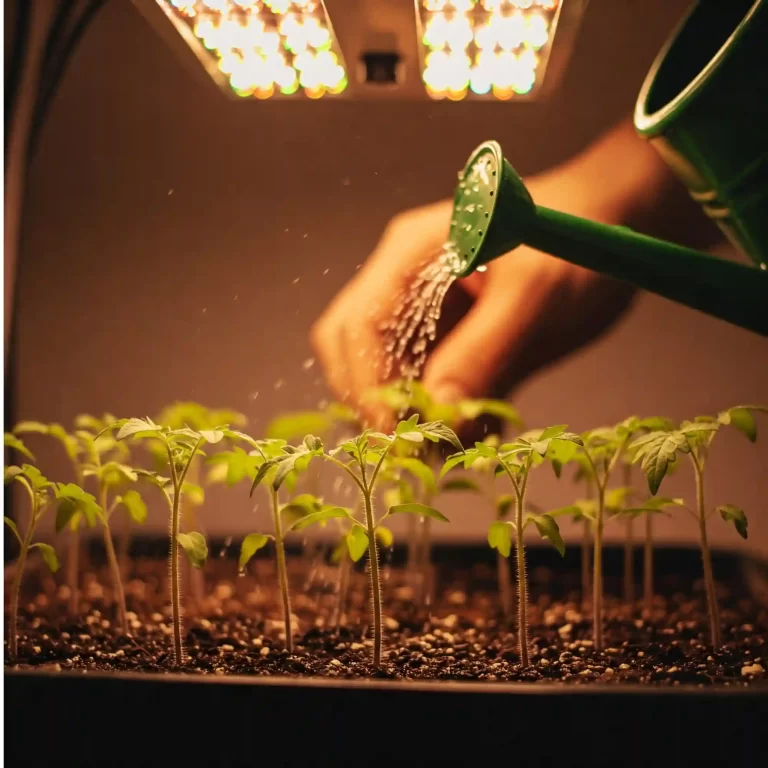
- Light: Provide seedlings with plenty of light, either from a sunny window or grow lights.
- Hardening Off: Before transplanting seedlings outdoors, gradually acclimate them to outdoor conditions by exposing them to increasing amounts of sunlight and wind over a period of 7-10 days.
Seed Spacing and Depth
Proper seed spacing is essential for healthy mustard green growth. I recommend spacing seeds about 1 inch apart in the furrows when direct sowing. Once the seedlings emerge, thin them to about 6 inches apart. This will provide adequate space for the plants to grow and prevent overcrowding.
When sowing seeds, whether directly or indoors, plant them about ¼ to ½ inch deep. This will ensure they have enough soil to germinate properly but are not buried too deep.
Planting Time and Considerations
The best time to plant mustard greens is in early spring or late summer/early fall. These cool-season crops prefer temperatures between 50°F (10°C) and 75°F (24°C). I’ve found that they can tolerate light frosts, but prolonged periods of freezing temperatures can damage the plants.
If you live in a warmer climate, you can grow mustard greens throughout the winter. However, they may bolt (go to seed) more quickly in hot weather. To prevent bolting, I recommend providing some afternoon shade and ensuring the plants receive consistent moisture.
By following these planting tips, you’ll be well on your way to growing a bountiful crop of mustard greens. Remember to choose the planting method that best suits your climate and gardening setup.
Step 4: Caring for Your Mustard Greens Plants
Once your mustard green seeds have germinated and the seedlings have emerged, it’s time to provide them with the care they need to thrive. I’ve found that consistent watering, occasional fertilization, and vigilant pest control are key to growing healthy, productive mustard green plants.
Watering: Maintaining Consistent Moisture
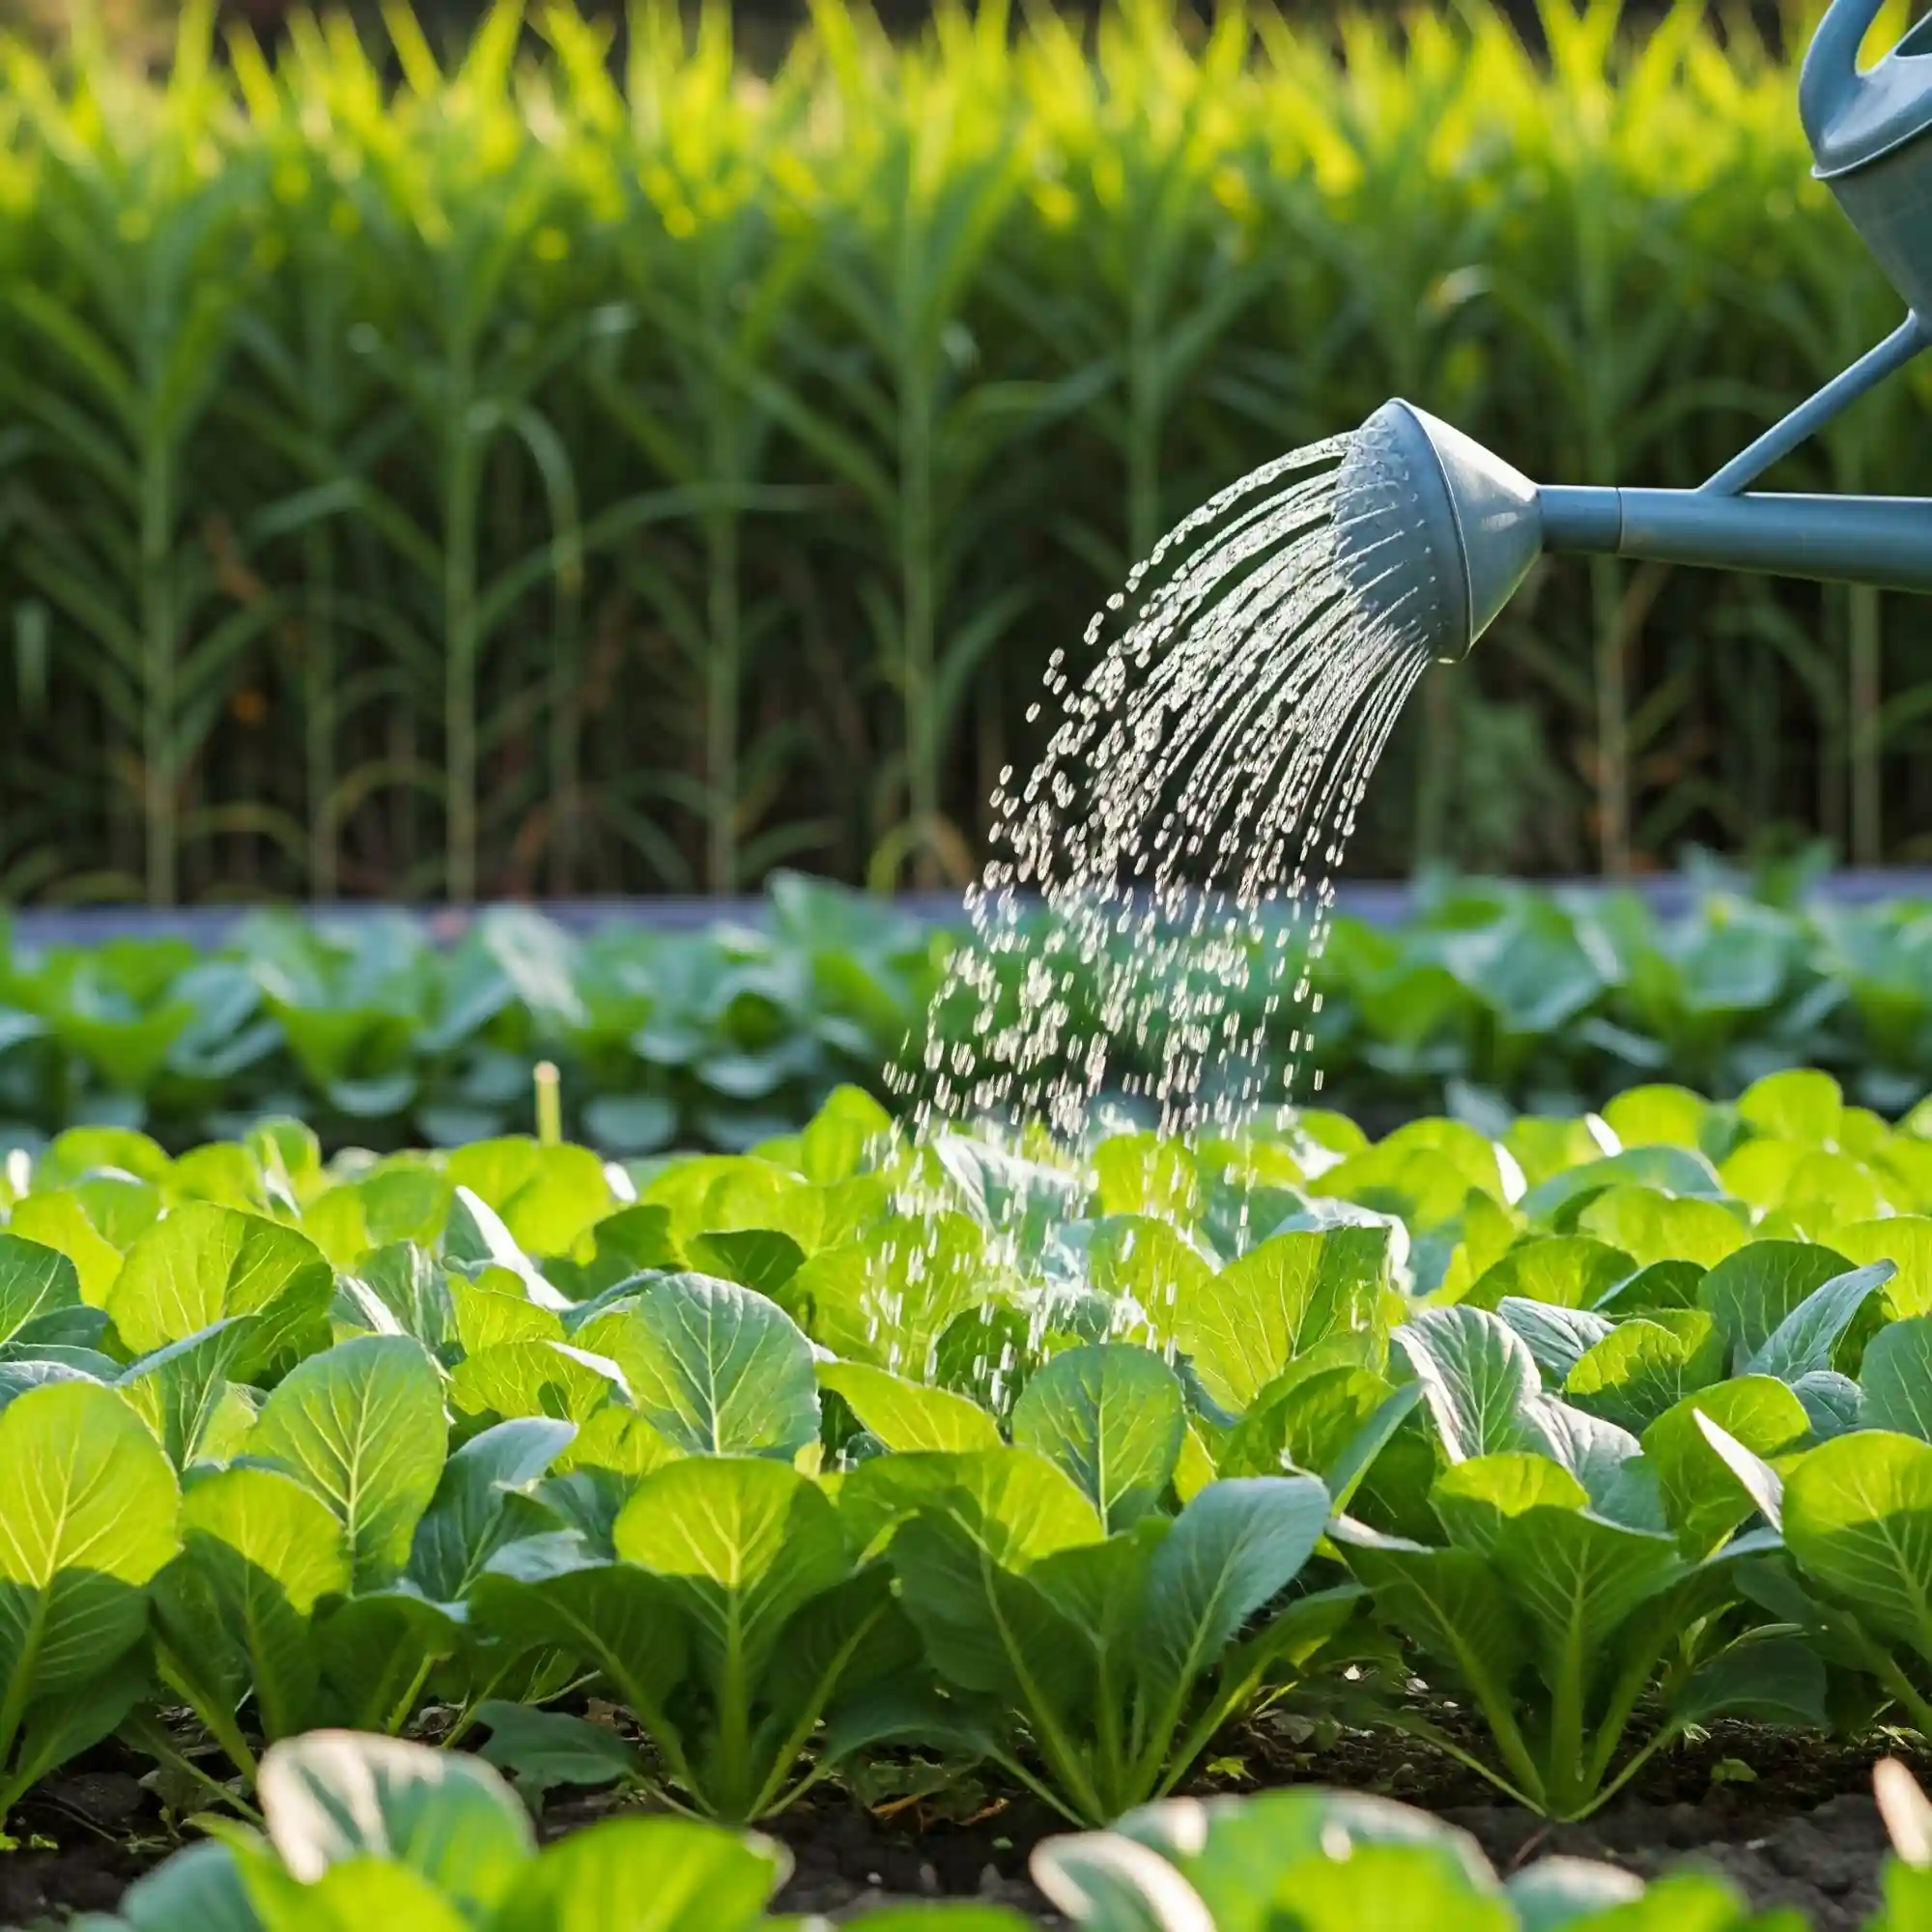
Mustard greens need consistent moisture to thrive, but it’s important to avoid overwatering, which can lead to root rot. I recommend watering deeply whenever the top inch of soil feels dry to the touch. Water at the base of the plants to avoid wetting the leaves, which can encourage fungal diseases.
Fertilizing: Providing Essential Nutrients
While mustard greens don’t require heavy fertilization, a light feeding can help boost their growth and productivity. I recommend using a balanced liquid fertilizer diluted to half strength. Apply the fertilizer every 2-3 weeks, following the instructions on the product label.
Weeding: Preventing Competition
Weeds can compete with your mustard greens for water, nutrients, and sunlight. It’s important to remove weeds regularly to ensure your plants have the resources they need to thrive. I recommend hand-weeding to avoid damaging the shallow roots of the mustard greens.
Pest Control: Protecting Your Plants
Mustard greens can be susceptible to certain pests, such as aphids, flea beetles, and cabbage worms. I’ve found that regular inspection and early intervention are the best ways to prevent pest problems.
Common Mustard Green Pests and Organic Solutions:
| Pest | Organic Solution |
| Aphids | Spray with a strong stream of water or use insecticidal soap. |
| Flea Beetles | Cover plants with row covers or use diatomaceous earth. |
| Cabbage Worms | Handpick caterpillars or use Bacillus thuringiensis (Bt). |
Additional Tips for Caring for Your Mustard Greens:
- Thinning: Once the seedlings have a few sets of true leaves, thin them to about 6 inches apart. This will provide adequate space for the plants to grow and prevent overcrowding.
- Mulching: Apply a layer of organic mulch around the plants to help retain moisture, suppress weeds, and regulate soil temperature.
- Crop Rotation: Rotate your mustard greens with other crops each season to prevent the buildup of soilborne diseases.
By following these care tips, you’ll be well on your way to growing a bountiful crop of mustard greens. Remember to observe your plants regularly and adjust your care as needed.
Step 5: Harvesting Your Fresh Mustard Greens
The moment you’ve been waiting for: harvesting your homegrown mustard greens! I always find this part incredibly satisfying—it’s the culmination of all your hard work and care. Knowing when and how to harvest correctly will ensure you enjoy the best flavor and encourage continued growth.
When to Harvest:
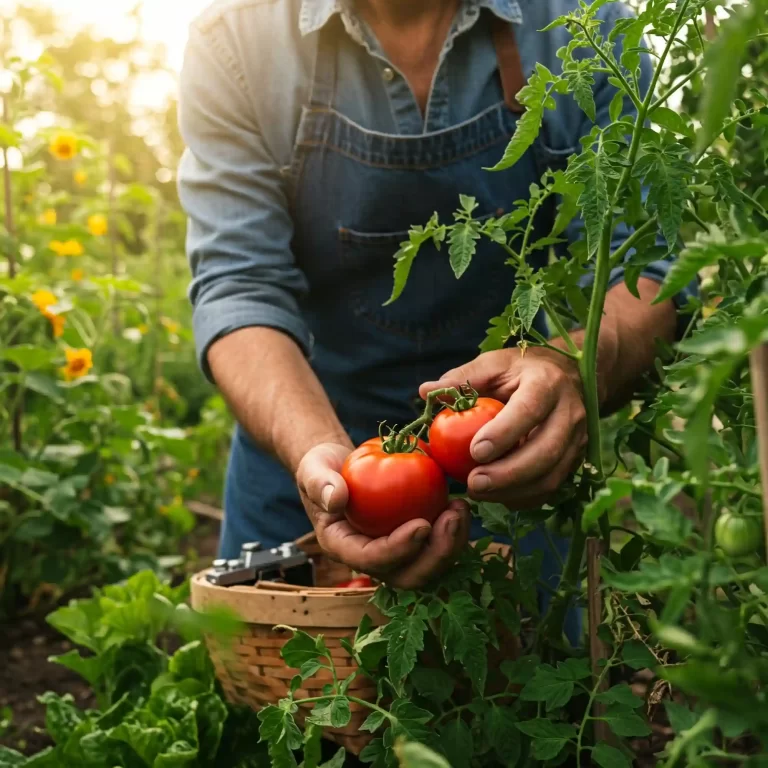
Mustard greens are typically ready for harvest about 40-50 days after planting. However, you can start harvesting individual leaves as soon as they are large enough to eat, usually around 6-8 inches long. I often begin harvesting outer leaves when the plants are still relatively young, allowing the inner leaves to continue growing.
How to Harvest:
There are two main methods for harvesting mustard greens:
- Cut-and-Come-Again: This method involves harvesting only the outer leaves, allowing the plant to continue producing new leaves from the center. I prefer this method for a continuous harvest throughout the growing season. To harvest, simply use a sharp knife or scissors to cut the outer leaves near the base of the plant, leaving the inner leaves intact.
- Whole Plant Harvest: If you need a larger harvest or if the plants are starting to bolt (go to seed), you can harvest the entire plant. To do this, cut the plant off at the base, just above the soil line.
Tips for Harvesting:
- Harvest in the Morning: I’ve found that harvesting in the morning, after the dew has dried, results in the freshest and crispest greens.
- Handle with Care: Mustard greens are delicate, so handle them gently to avoid bruising or damaging the leaves.
- Wash Thoroughly: Before using your harvested greens, wash them thoroughly to remove any dirt or debris.
Post-Harvest Care:
After harvesting, you can store your mustard greens in the refrigerator for up to a week. To keep them fresh, I recommend wrapping them in a damp paper towel and placing them in a plastic bag or container.
By following these harvesting tips, you’ll be able to enjoy fresh, flavorful mustard greens throughout the growing season. Whether you prefer the cut-and-come-again method or harvesting the whole plant, you’ll be rewarded with a bountiful supply of these zesty greens.
Step 6: Preventing Common Mustard Greens Problems
While mustard greens are relatively easy to grow, they can be susceptible to a few common problems. I’ve learned that being proactive and addressing these issues early on can prevent significant damage to your crop. Here are some of the most common problems you might encounter and how to prevent them:
Bolting (Premature Flowering):
Bolting occurs when mustard greens prematurely produce flowers and go to seed. This can be caused by several factors, including hot weather, drought stress, and nutrient deficiencies. Once a plant bolts, the leaves tend to become bitter and less palatable.
Prevention:
- Plant at the Right Time: Plant mustard greens in early spring or late summer/early fall to avoid the hottest part of the year.
- Provide Consistent Moisture: Ensure your plants receive consistent moisture, especially during hot weather.
- Fertilize Regularly: Provide your plants with a light feeding of balanced fertilizer every 2-3 weeks.
- Choose Bolt-Resistant Varieties: Some mustard green varieties are more resistant to bolting than others.
Pest Infestations:
Mustard greens can be targeted by various pests, including aphids, flea beetles, and cabbage worms. These pests can damage the leaves and reduce your harvest.
Prevention:
- Regular Inspection: Regularly inspect your plants for signs of pests.
- Handpicking: Handpick any visible pests, such as cabbage worms.
- Row Covers: Cover your plants with row covers to prevent pests from accessing them.
- Organic Pest Control: Use organic pest control methods, such as insecticidal soap or neem oil, to control infestations.
Downy Mildew:
Downy mildew is a fungal disease that can affect mustard greens, causing yellow spots on the leaves and a white, downy growth on the underside.
Prevention:
- Good Air Circulation: Ensure good air circulation around your plants by spacing them adequately.
- Avoid Overhead Watering: Water at the base of the plants to avoid wetting the leaves.
- Crop Rotation: Rotate your mustard greens with other crops each season.
Additional Tips for Preventing Problems:
- Start with Healthy Seeds: Use high-quality seeds from a reputable source.
- Provide Adequate Sunlight: Ensure your plants receive at least 6 hours of direct sunlight per day.
- Maintain Soil Health: Amend your soil with compost or well-rotted manure to improve its fertility and drainage.
By taking these preventative measures, you can minimize the risk of problems and ensure a healthy and productive mustard green crop. Remember to observe your plants regularly and address any issues promptly.
Step 7: Enjoying Your Homegrown Mustard Greens
Now for the best part – savoring the fruits (or rather, greens!) of your labor. Freshly harvested mustard greens have a vibrant flavor that can elevate a wide range of dishes. I love experimenting with them in the kitchen, and I’m excited to share some of my favorite ways to enjoy these homegrown delights.
Culinary Uses:
Mustard greens are incredibly versatile and can be used in various culinary applications:
- Salads: Young, tender mustard greens make a fantastic addition to fresh salads. Their peppery bite adds a pleasant contrast to sweeter ingredients like fruits and nuts.
- Stir-fries: Mustard greens can be quickly stir-fried with other vegetables, meats, or tofu for a flavorful and nutritious meal.
- Soups and Stews: Add mustard greens to soups and stews for a boost of flavor and nutrients. They wilt down nicely and add a pleasant peppery note to the broth.
- Sautéed Greens: Sauté mustard greens with garlic, olive oil, and a touch of lemon juice for a simple and delicious side dish.
- Pickled Mustard Greens: Pickling is a great way to preserve mustard greens and enjoy their unique flavor year-round.
Nutritional Benefits:
Besides their culinary versatility, mustard greens are also packed with nutrients:
- Vitamins: Mustard greens are an excellent source of vitamins A, C, and K.
- Minerals: They also contain essential minerals like calcium, iron, and potassium.
- Antioxidants: Mustard greens are rich in antioxidants, which can help protect your cells from damage.
Tips for Enjoying Mustard Greens:
- Wash Thoroughly: Always wash your mustard greens thoroughly before using them to remove any dirt or debris.
- Remove Tough Stems: If the stems are particularly tough, you can remove them before cooking.
- Don’t Overcook: Mustard greens cook quickly, so avoid overcooking them, which can make them bitter.
- Experiment with Flavors: Mustard greens pair well with various flavors, so don’t be afraid to experiment with different herbs, spices, and sauces.
I encourage you to get creative in the kitchen and discover your favorite ways to enjoy your homegrown mustard greens. With their vibrant flavor and nutritional benefits, they’re a fantastic addition to any meal.
Frequently Asked Questions (FAQs)
I’ve compiled a list of frequently asked questions to address any further queries you might have about growing mustard greens.
How to grow mustard greens vegetable in raised garden beds?
Growing mustard greens in raised beds is a great option, especially if you have poor soil quality or limited space. Here’s how:
- Choose a raised bed location that receives at least 6 hours of sunlight per day.
- Fill the raised bed with a well-draining soil mix that is rich in organic matter.
- Sow mustard green seeds directly into the raised bed, following the spacing and depth recommendations mentioned earlier.
- Water regularly and fertilize as needed.
- Harvest your mustard greens when they are ready.
How to grow mustard greens vegetable from seed indoors?
Starting mustard greens from seed indoors is a good idea if you live in a colder climate with a shorter growing season. Here’s how:
- Start seeds indoors about 4-6 weeks before the last expected frost in your area.
- Use seed starting trays or small pots filled with seed starting mix.
- Sow seeds ¼ inch deep and keep the soil moist.
- Provide seedlings with plenty of light, either from a sunny window or grow lights.
- Harden off seedlings before transplanting them outdoors.
How to grow mustard greens vegetable in hot summer climates?
Growing mustard greens in hot summer climates can be challenging, but it’s not impossible. Here are some tips:
- Plant mustard greens in a location that receives some afternoon shade.
- Ensure the soil is consistently moist.
- Choose bolt-resistant varieties.
- Harvest frequently to encourage new growth.
How to grow mustard greens vegetable without getting flea beetles?
Flea beetles are a common pest of mustard greens. Here are some ways to prevent them:
- Cover plants with row covers.
- Use diatomaceous earth.
- Companion plant with pest-repelling plants like marigolds.
How to grow organic mustard greens vegetable in containers?
Growing organic mustard greens in containers is a great way to avoid synthetic pesticides and fertilizers. Here’s how:
- Use organic seed starting mix and potting soil.
- Fertilize with organic fertilizers, such as compost tea or fish emulsion.
- Use organic pest control methods, such as handpicking or insecticidal soap.
Best way how to grow mustard greens vegetable in spring?
Spring is an ideal time to grow mustard greens. Here are some tips:
- Plant seeds as soon as the soil can be worked.
- Choose a location that receives full sun.
- Prepare the soil with compost or well-rotted manure.
- Water regularly and fertilize as needed.
How to grow mustard greens vegetable and prevent bolting?
Bolting can be a problem for mustard greens, especially in hot weather. Here are some ways to prevent it:
- Plant at the right time of year.
- Provide consistent moisture.
- Fertilize regularly.
- Choose bolt-resistant varieties.
How to grow mustard greens vegetable for beginner gardeners?
Mustard greens are a great choice for beginner gardeners. Here are some tips:
- Start with a small planting.
- Choose a sunny location with well-draining soil.
- Water regularly and fertilize as needed.
- Harvest frequently.
I hope these FAQs have answered any remaining questions you have about growing mustard greens. If you have any further queries, feel free to reach out, and I’ll be happy to assist you.
Conclusion: Reap the Rewards of Growing Your Own Mustard Greens
Growing your own mustard greens is a rewarding experience that offers numerous benefits. From the fresh, peppery flavor to the nutritional value and the satisfaction of nurturing your own food, there are many reasons to start growing these zesty greens.
I encourage you to give it a try. Whether you have a large garden, a small balcony, or just a few containers, you can successfully grow mustard greens with a little effort and care.
Key Takeaways:
- Mustard greens are easy to grow and offer a unique flavor.
- They can be grown in various settings, including gardens, raised beds, and containers.
- Proper care, including watering, fertilizing, and pest control, is essential for a bountiful harvest.
- Mustard greens are versatile in the kitchen and offer numerous nutritional benefits.
I hope this guide has provided you with the information and inspiration you need to start growing your own mustard greens. Happy gardening!
