Are you fascinated by unique succulents and looking for a new gardening challenge? Do you find yourself drawn to the intriguing shapes and textures of desert plants? Many gardeners, like you, are captivated by the Hoodia plant, a succulent native to the harsh landscapes of Southern Africa. However, you might be struggling to find clear, concise information on how to cultivate this unusual plant successfully. The internet is flooded with conflicting advice, making it difficult to know where to start. I understand this frustration. I’ve been there myself, sifting through countless articles and forums, trying to decipher the best approach to Hoodia cultivation. That’s why I’ve created this comprehensive guide, drawing on my years of experience growing succulents and my deep dive into the specific needs of Hoodia. Here, you’ll find everything you need to know, from propagation to ongoing care, presented in a clear, easy-to-understand format. So, if you’re ready to embark on this rewarding gardening journey, let’s dive into the world of Hoodia!
Understanding Hoodia Herbs: A Desert Native
While often referred to as “Hoodia herbs,” these fascinating plants aren’t herbs at all. They are succulents, belonging to the Apocynaceae family (the same family as milkweeds and plumerias). This distinction is important because it informs their care requirements. Unlike herbs that typically prefer moist soil and regular watering, Hoodia, as a succulent, thrives in dry conditions and well-draining soil.
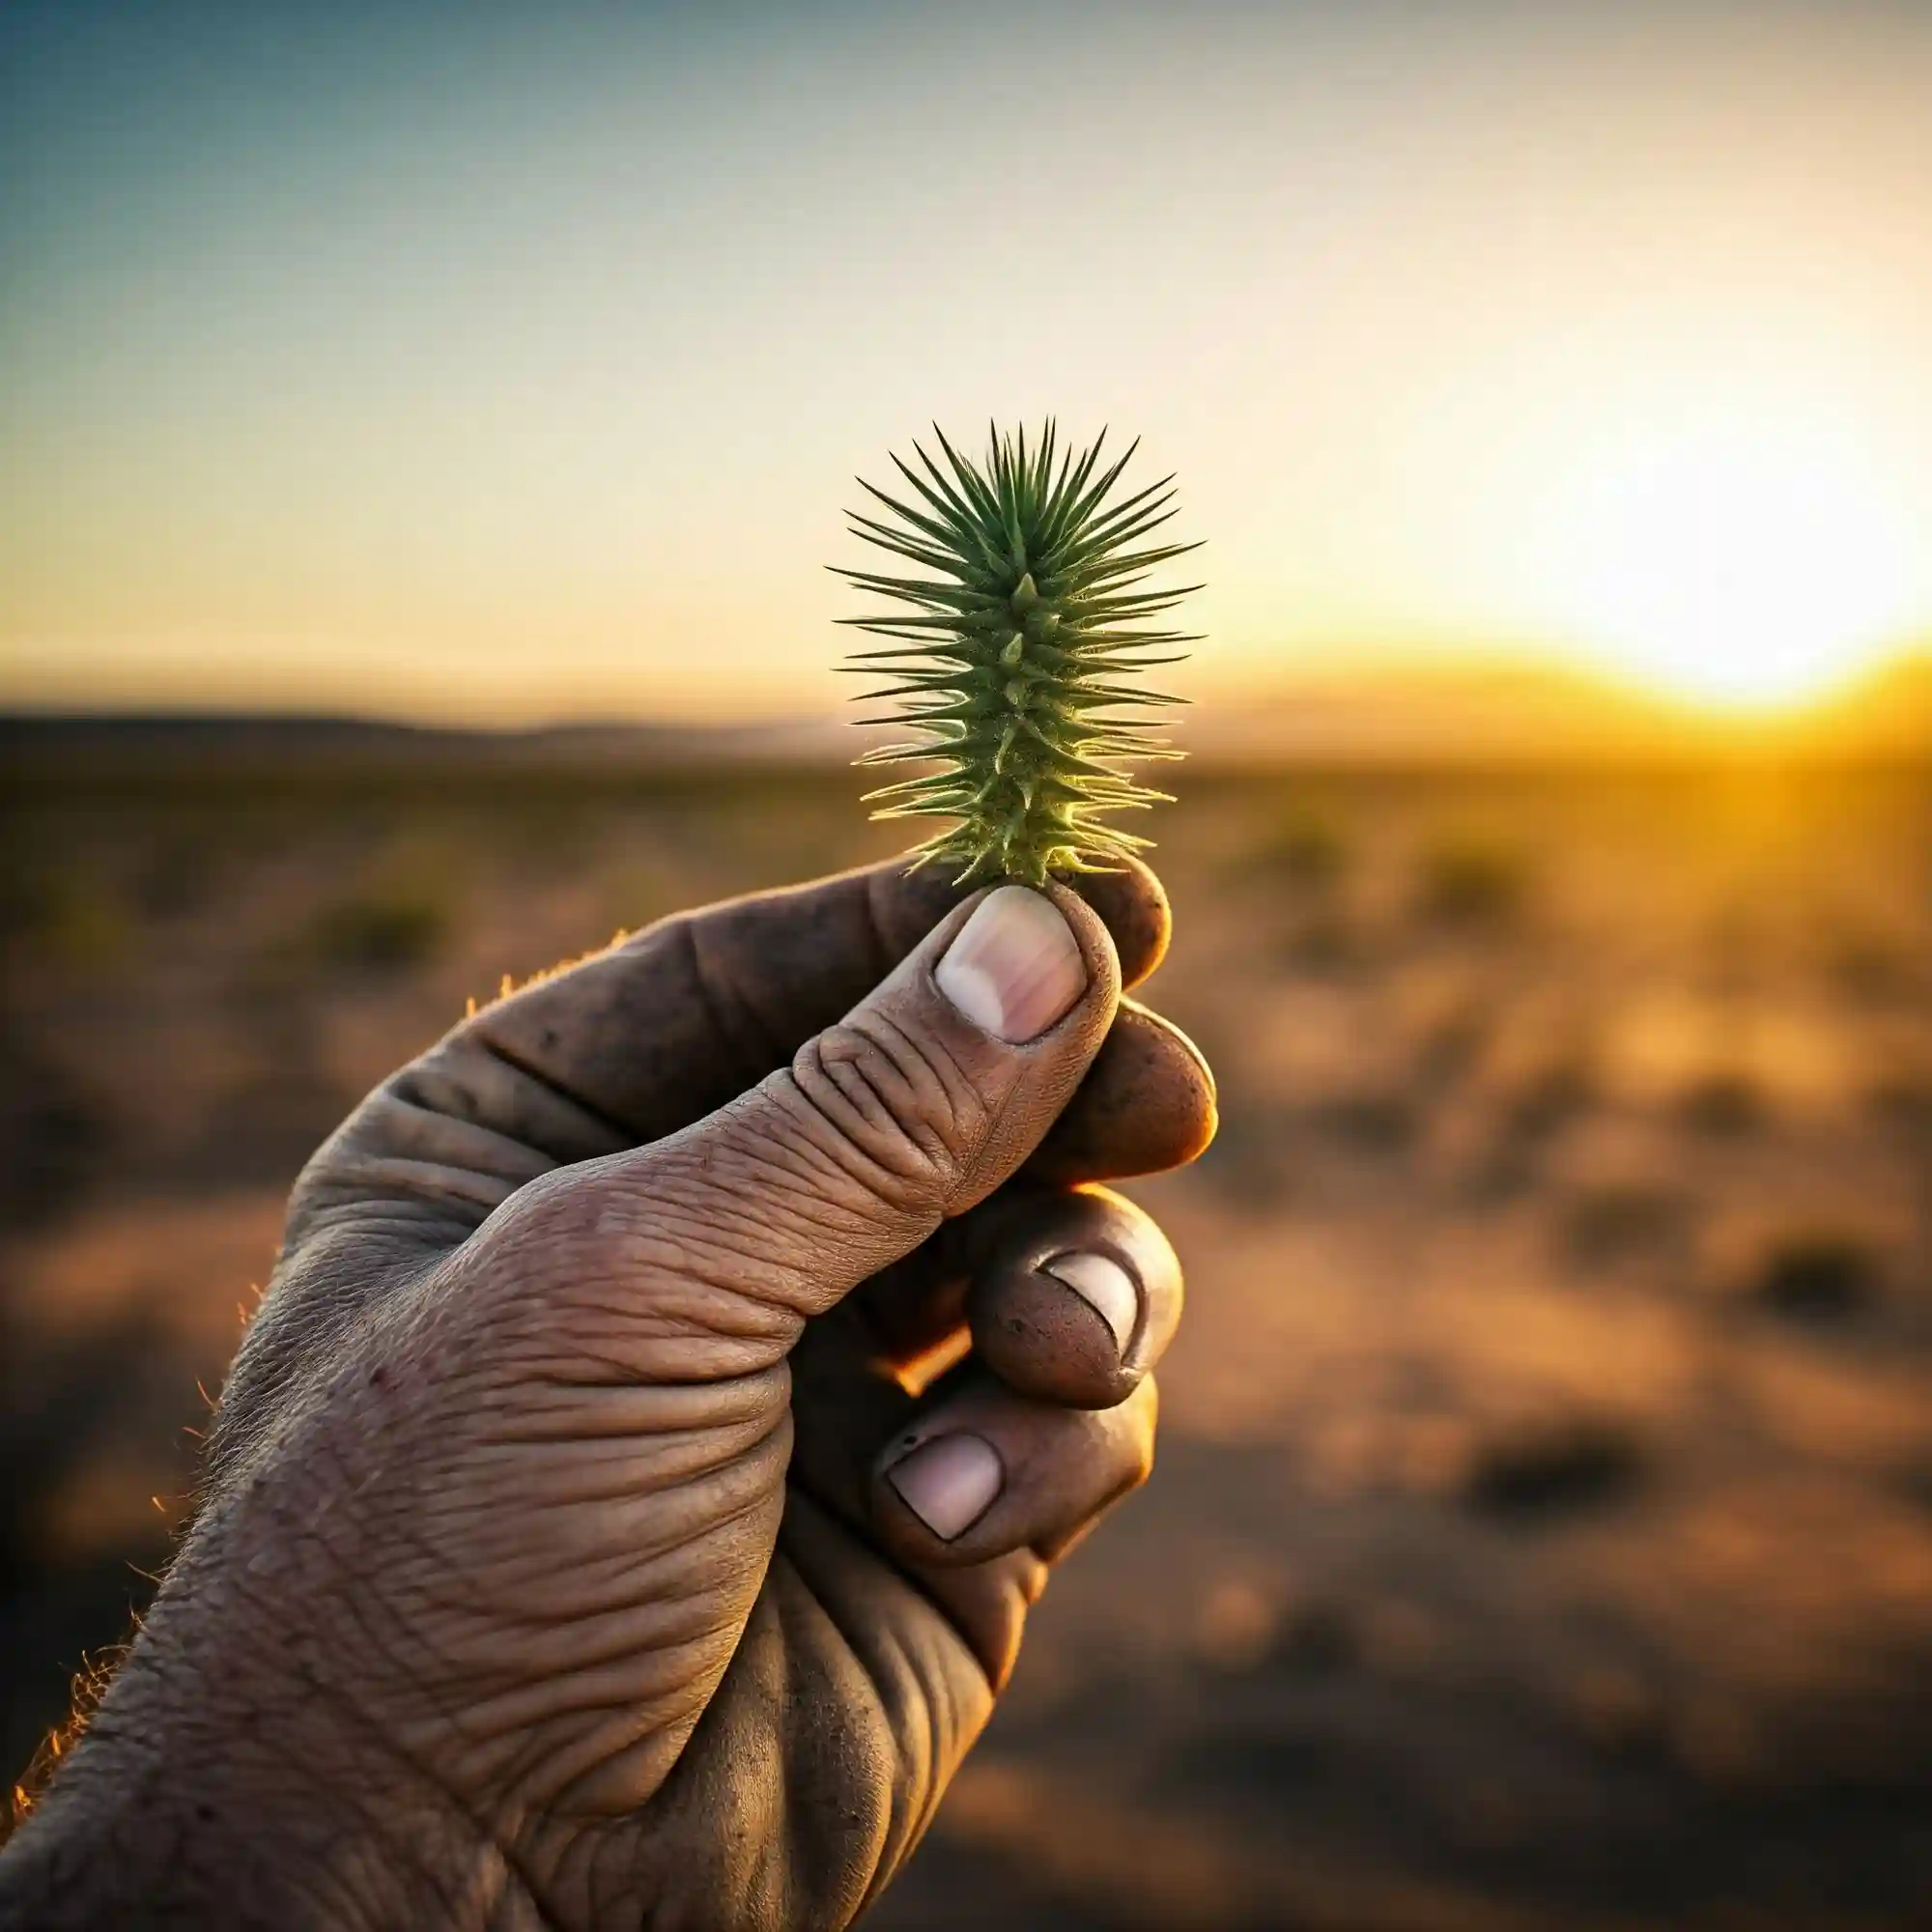
Hoodia’s natural home is the arid and semi-arid regions of Southern Africa, particularly the Kalahari Desert in Namibia and parts of South Africa, Angola, and Botswana. This harsh environment has shaped the plant’s unique characteristics. It has evolved thick, fleshy stems to store water and a waxy coating to minimize water loss. Understanding this natural habitat is crucial for successfully growing Hoodia in your own garden. You need to replicate these conditions as closely as possible to ensure your plants thrive.
The most well-known species is Hoodia gordonii, which has gained attention due to traditional uses by indigenous San people for suppressing appetite during long hunting trips. However, there are other species, such as Hoodia parviflora, though Hoodia gordonii is by far the most commonly cultivated.
One common misconception is that Hoodia is a type of cactus. While both are succulents and share some visual similarities, they belong to different plant families. Cacti are characterized by areoles (small, cushion-like structures from which spines grow), which Hoodia lacks. Hoodia’s stems are smooth and spineless, although some species may have small, tooth-like projections. This distinction is key to identifying and properly caring for your Hoodia plant. By understanding its true nature as a desert succulent, you can provide the ideal conditions for its growth and appreciate its unique adaptations.
Key Differences Between Hoodia and Cactus
| Feature | Hoodia | Cactus |
| Plant Family | Apocynaceae | Cactaceae |
| Spines/Areoles | Typically absent, sometimes small teeth | Present, growing from areoles |
| Stems | Smooth, fleshy | Varied, often ribbed or segmented |
| Native Habitat | Arid regions of Southern Africa | Primarily the Americas |
How to Propagate Hoodia: Starting Your Collection
Propagating Hoodia can be a rewarding way to expand your collection or share these unique plants with fellow gardening enthusiasts. There are two main methods: stem cuttings and seeds. While growing from seed is possible, it can be more challenging and time-consuming. I’ve found that stem cuttings are generally the easier and more reliable method, especially for beginners.
How to Propagate Hoodia from Cuttings:
- Selecting healthy cuttings: Choose healthy, mature stems from your existing Hoodia plant. Look for stems that are firm and free from any signs of disease or damage. A good cutting should be about 4-6 inches long.
- Callousing the cuttings: This is a crucial step in preventing rot. After taking the cuttings, allow them to dry out for several days in a warm, dry place. This allows the cut ends to callous over, forming a protective layer.
- Planting the cuttings in well-draining soil: Once the cuttings have calloused, plant them in a well-draining potting mix. A mixture of perlite and coarse sand works well. You can also use a commercial cactus or succulent mix.
- Providing proper humidity and warmth: Place the cuttings in a warm, bright location, but avoid direct sunlight. You can also create a humid environment by covering the pot with a plastic bag or placing it in a propagator.
How to Grow Hoodia from Seeds (More challenging):
- Obtaining viable seeds: Hoodia seeds can be difficult to find and may not always be viable. It’s important to source your seeds from a reputable supplier.
- Seed starting mix and conditions: Sow the seeds in a well-draining seed starting mix. Keep the soil moist but not soggy.
- Germination process and timeline: Hoodia seeds can take several weeks or even months to germinate. Be patient and keep the soil consistently moist.
- Transplanting seedlings: Once the seedlings are large enough to handle, transplant them into individual pots.
Tips for Success:
- Use a sharp, clean knife or pruning shears when taking cuttings.
- Allow the cuttings to callous for at least a week before planting.
- Water sparingly, especially during the rooting process.
- Provide plenty of sunlight once the cuttings have rooted.
- Be patient, as Hoodia can be slow-growing.
With a little patience and care, you can successfully propagate Hoodia and enjoy these fascinating plants in your own home.
How to Plant Hoodia: Creating the Ideal Environment
So, you’ve successfully propagated your Hoodia cuttings or seedlings – congratulations! Now comes the crucial step of planting them in the right environment. As a desert native, Hoodia has specific needs when it comes to its growing medium and container. Getting this right is essential for their long-term health and vitality.
Choosing the right pot:
When it comes to selecting a pot for your Hoodia, drainage is the most important factor. I highly recommend using terracotta pots. Terracotta is porous, allowing excess water to evaporate and preventing the soil from becoming waterlogged. This is crucial for Hoodia, as they are highly susceptible to root rot in overly moist conditions. You should also ensure the pot has drainage holes at the bottom to allow for proper water drainage.
The best soil mix for Hoodia:
Hoodia thrives in a well-draining, sandy soil mix that mimics its natural desert habitat. A good mix I’ve found is a combination of:
- 50% coarse sand
- 25% perlite or pumice
- 25% cactus or succulent potting mix
This combination provides excellent drainage and aeration, preventing water from pooling around the roots.
How to plant Hoodia cuttings or seedlings:
- Fill the pot with your chosen soil mix, leaving about an inch of space at the top.
- Make a small hole in the center of the soil.
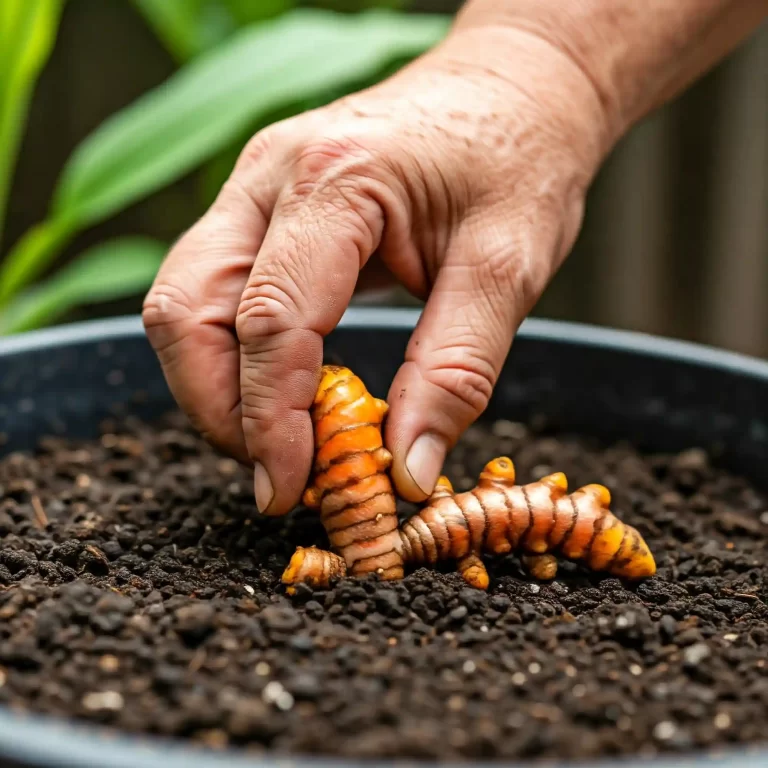
- Gently place the Hoodia cutting or seedling into the hole.
- Fill in the hole with soil, gently firming it around the base of the plant.
- Water lightly, allowing excess water to drain out of the bottom of the pot.
Repotting Hoodia as it grows:
As your Hoodia grows, you’ll need to repot it into a larger container. This is usually necessary every 1-2 years. When repotting, choose a pot that is only slightly larger than the previous one. This prevents the soil from retaining too much moisture.
Tips for Success:
- Avoid using garden soil or potting mixes that contain a lot of organic matter, as these can retain too much moisture.
- When repotting, handle the Hoodia plants carefully, as their stems can be brittle.
- After repotting, wait a few days before watering to allow any damaged roots to heal.
By providing the right pot and soil mix, you’ll create a thriving environment for your Hoodia plants, setting them up for healthy growth and a long life.
Caring for Your Hoodia: Essential Growing Tips
Now that your Hoodia is planted, let’s talk about ongoing care. Providing the right conditions is key to ensuring your Hoodia thrives. In my experience, the most common mistakes people make with Hoodia involve watering and light. So, let’s get those right!
How to Water Hoodia:
Watering is perhaps the trickiest aspect of Hoodia care. As desert plants, they are adapted to survive long periods without water. Overwatering is a surefire way to cause root rot, which can quickly kill your plant. I’ve learned this the hard way myself, losing a few Hoodia plants early on due to excessive watering. Now, I follow a strict “less is more” approach.
- Watering frequency: I generally water my Hoodia only when the soil is completely dry. You can check this by inserting your finger about an inch into the soil. If it feels dry, it’s time to water. During the active growing season (spring and summer), this might be every 2-3 weeks. In the dormant season (fall and winter), you may only need to water once a month or even less.
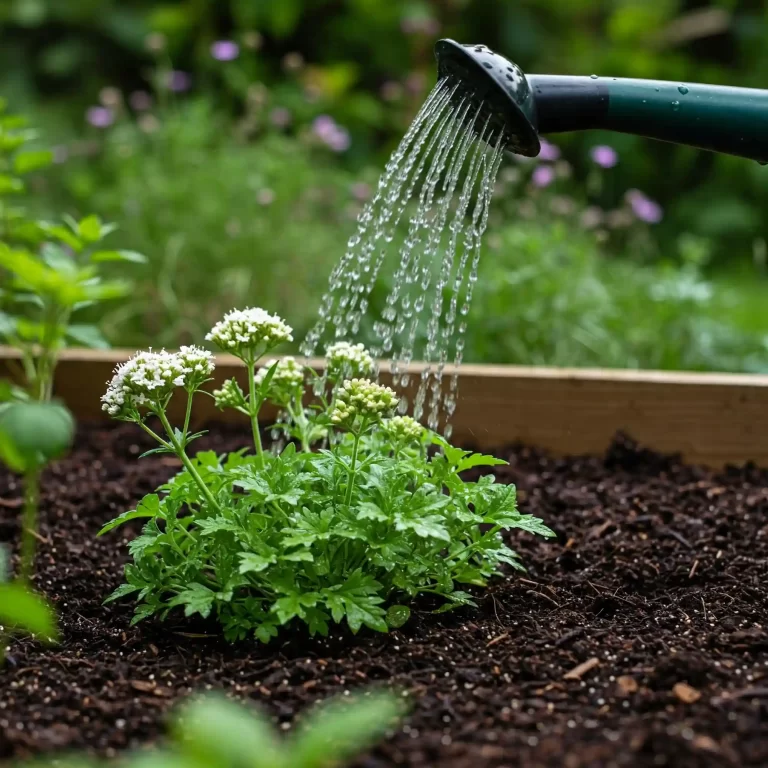
- Avoiding overwatering and root rot: The key to preventing root rot is excellent drainage. Make sure your pot has drainage holes and that your soil mix is well-draining. When you water, water thoroughly until water drains out of the bottom of the pot. Then, discard any excess water that accumulates in the saucer. Never let your Hoodia sit in standing water.
- Watering techniques: I sometimes use bottom watering for my Hoodia. This involves placing the pot in a saucer of water and allowing the soil to absorb the water from the bottom up. This can help prevent the stems from getting wet, which can also contribute to rot.
Light Requirements for Growing Hoodia:
Hoodia loves sunlight! In their natural desert habitat, they receive intense sun exposure. To replicate this, you should provide your Hoodia with as much direct sunlight as possible.
- Ideal sunlight exposure: A south-facing window is ideal for indoor growing. If you’re growing your Hoodia outdoors, choose a spot that receives at least 6-8 hours of direct sunlight per day.
- Indoor vs. outdoor growing light needs: If you’re growing your Hoodia indoors and don’t have a very sunny window, you may need to supplement with grow lights. This is especially important during the winter months when natural light is limited.
Temperature and Humidity:
Hoodia prefers warm temperatures and low humidity, mimicking their desert environment.
- Ideal temperature range: The ideal temperature range for Hoodia is between 70-90°F (21-32°C).
- Protecting from frost: Hoodia is not frost-tolerant. If you live in an area with cold winters, you’ll need to bring your plants indoors or provide adequate protection from frost.
- Humidity considerations: High humidity can contribute to rot. Ensure good air circulation around your plants.
Fertilizing Hoodia (Sparingly):
Hoodia doesn’t require a lot of fertilizer. In fact, over-fertilizing can be harmful.
- Choosing the right fertilizer: If you choose to fertilize, use a low-nitrogen, high-phosphorus fertilizer diluted to half strength.
- Fertilizing frequency: I usually only fertilize my Hoodia once or twice during the growing season.
By following these care tips, you’ll be well on your way to successfully growing Hoodia and enjoying these unique and fascinating plants.
Common Problems When Growing Hoodia and How to Solve Them
Even with the best care, you might encounter some challenges when growing Hoodia. I’ve certainly had my share of setbacks over the years, but through careful observation and research, I’ve learned how to address these common problems.
Root rot:
This is the most common issue with Hoodia, and it’s almost always caused by overwatering or poor drainage. The symptoms include soft, mushy stems, a foul odor, and wilting.
- Causes: Overwatering, poorly draining soil, lack of drainage holes in the pot.
- Prevention: Use a well-draining soil mix, choose a pot with drainage holes, and water sparingly.
- Treatment: If you catch root rot early, you might be able to save your plant. Remove the affected parts of the plant, allow the cut ends to callous over, and repot in fresh, dry soil.
Mealybugs:
These small, white, cottony insects can infest Hoodia, sucking sap from the stems and causing damage.
- Identification: Look for small, white, cottony masses on the stems or in the crevices of the plant.
- Control: You can remove mealybugs by hand using a cotton swab dipped in rubbing alcohol. For more severe infestations, you can use insecticidal soap or neem oil.
Other potential pests and diseases:
While less common, Hoodia can also be susceptible to other pests like aphids and scale insects, as well as fungal diseases. Regular inspection of your plants can help you catch these problems early.
Troubleshooting common Hoodia issues:
- Etiolation: This is when the plant stretches and becomes pale due to insufficient light. To prevent etiolation, provide your Hoodia with plenty of sunlight.
- Wilting: Wilting can be caused by both overwatering and underwatering. Check the soil moisture to determine the cause.
- Stunted growth: This can be caused by a variety of factors, including insufficient light, poor soil, or lack of nutrients.
By being aware of these potential problems and taking preventative measures, you can keep your Hoodia healthy and thriving. Remember, observation is key. Regularly inspect your plants for any signs of pests or diseases, and address any issues promptly. This proactive approach will help you avoid major problems and ensure the long-term health of your Hoodia collection.
Where to Buy Hoodia Plants and Seeds (Reputable Sources)
Finding reputable sources for Hoodia plants and seeds is crucial. Due to its popularity and the potential for misidentification, it’s essential to be cautious when purchasing Hoodia. I’ve learned from experience that not all vendors are created equal. Some may sell mislabeled plants or seeds with low viability.
Finding reputable nurseries or online vendors:
- Local nurseries: Check with local nurseries specializing in succulents or cacti. They may carry Hoodia or be able to order it for you from a trusted supplier.
- Online vendors: Many online vendors specialize in succulents and offer a wide variety of Hoodia species. Look for vendors with a good reputation and positive customer reviews.
- Specialty plant societies: Contacting local or national succulent or cactus societies can connect you with experienced growers who may have Hoodia plants or seeds for sale.
Avoiding scams and misidentified plants:
- Research the vendor: Before purchasing, research the vendor’s reputation and check for customer reviews.
- Look for clear labeling: Ensure the plants or seeds are clearly labeled with the correct species name (Hoodia gordonii).
- Be wary of low prices: If a deal seems too good to be true, it probably is. Hoodia plants and seeds can be expensive, so be cautious of unusually low prices.
Importance of sourcing ethically:
Hoodia is a protected species in its native habitat. It’s essential to ensure that the plants or seeds you purchase have been sourced ethically and legally.
- Look for CITES certification: The Convention on International Trade in Endangered Species (CITES) regulates the trade of Hoodia. Look for vendors who have CITES certification to ensure the plants have been legally obtained.
- Support sustainable harvesting: Choose vendors who support sustainable harvesting practices that protect wild Hoodia populations.
By following these tips, you can ensure you’re purchasing healthy, correctly identified Hoodia plants or seeds from reputable sources. This will give you the best chance of success in growing these fascinating succulents.
FAQ (Frequently Asked Questions)
- How often should I water Hoodia herbs in a desert climate garden?
In a desert climate, where temperatures are high and rainfall is scarce, Hoodia plants require careful watering to mimic their natural environment. During the active growing season (spring and summer), I recommend watering your Hoodia every 2-3 weeks, allowing the soil to dry out completely between waterings. In the dormant season (fall and winter), reduce watering to once a month or even less, depending on the specific conditions. - What is the best soil mix for growing Hoodia herbs in pots?
Hoodia thrives in a well-draining, sandy soil mix that mimics its native desert habitat. I’ve found that a mix of 50% coarse sand, 25% perlite or pumice, and 25% cactus or succulent potting mix provides the ideal balance of drainage and aeration. - How to care for Hoodia herbs during the winter months indoors?
During winter, Hoodia plants enter a dormant phase, requiring less water and cooler temperatures. If you’re growing your Hoodia indoors, reduce watering to once a month or even less, and provide a bright, cool location away from direct heat sources. - How to prevent root rot when growing Hoodia herbs in humid climates?
Root rot is a common problem for Hoodia in humid climates due to the increased moisture in the air. To prevent this, ensure your Hoodia is planted in a well-draining soil mix and a pot with drainage holes. Water sparingly, allowing the soil to dry out completely between waterings. - What are the light requirements for successfully growing Hoodia herbs outdoors?
Hoodia plants thrive in full sun, requiring at least 6-8 hours of direct sunlight per day. When growing Hoodia outdoors, choose a location that provides ample sunlight and protection from extreme weather conditions. - How to germinate Hoodia herb seeds and grow them into mature plants?
Germinating Hoodia seeds can be challenging, but with patience and care, it’s possible. Sow the seeds in a well-draining seed starting mix and keep the soil moist but not soggy. Germination can take several weeks or even months. Once the seedlings are large enough to handle, transplant them into individual pots. - What are the common pests and diseases affecting growing Hoodia herbs?
Hoodia plants are relatively pest and disease-free, but they can occasionally be affected by mealybugs, aphids, and scale insects. These pests can be controlled with insecticidal soap or neem oil. Root rot is the most common disease, caused by overwatering or poor drainage. - How to grow Hoodia herbs from stem cuttings at home?
Propagating Hoodia from stem cuttings is a relatively simple process. Select a healthy stem, allow it to callous for several days, and then plant it in a well-draining potting mix. Keep the soil moist but not soggy, and new roots should develop within a few weeks.
Conclusion: Cultivating Your Own Desert Gem
Growing Hoodia herbs, or rather, these fascinating succulents, can be a truly rewarding experience. It’s a journey that connects you with the resilience and beauty of desert flora. I remember the first time I successfully propagated a Hoodia cutting – the sense of accomplishment was immense. It’s a feeling I want you to experience too.
By following the guidelines I’ve shared in this comprehensive guide, you’ll be well-equipped to cultivate these unique plants in your own home or garden. From understanding their natural habitat to mastering propagation and ongoing care, you now have the knowledge to create a thriving environment for your Hoodia.
Remember these key takeaways:
- Mimic their natural habitat: Provide plenty of sunlight, well-draining soil, and infrequent watering.
- Prevent root rot: This is the biggest threat to Hoodia. Ensure proper drainage and avoid overwatering.
- Be patient: Hoodia is a slow-growing plant, so don’t be discouraged if you don’t see rapid growth.
- Source responsibly: Choose reputable vendors who prioritize ethical and sustainable harvesting practices.
Growing Hoodia is not just about cultivating a plant; it’s about connecting with a piece of natural history. These succulents have adapted to survive in some of the harshest conditions on Earth, and by understanding their needs, you can provide them with the perfect home.
I encourage you to embrace the challenge and enjoy the unique beauty of these desert gems. With a little patience and care, you’ll be rewarded with thriving Hoodia plants that will bring a touch of the Kalahari Desert to your own space. Now that you are equipped with this knowledge, I hope you will be able to successfully grow Hoodia herbs.
