| Key Takeaways |
| – Hibiscus is a beautiful and diverse flower that can be grown from seed with some patience and care. |
| – You will need some materials, such as seeds, pots, soil, water, fertilizer, etc., to start the germination process. |
| – You will need to sow the seeds, water them, provide adequate sun and temperature, and wait for them to sprout. |
| – You will need to transplant the seedlings to larger pots, harden them off, and water them regularly. |
| – You will need to fertilize, prune, and protect your hibiscus plants from pests and diseases. |
| – You will be rewarded with colorful and fragrant flowers that you can enjoy or use for various purposes. |
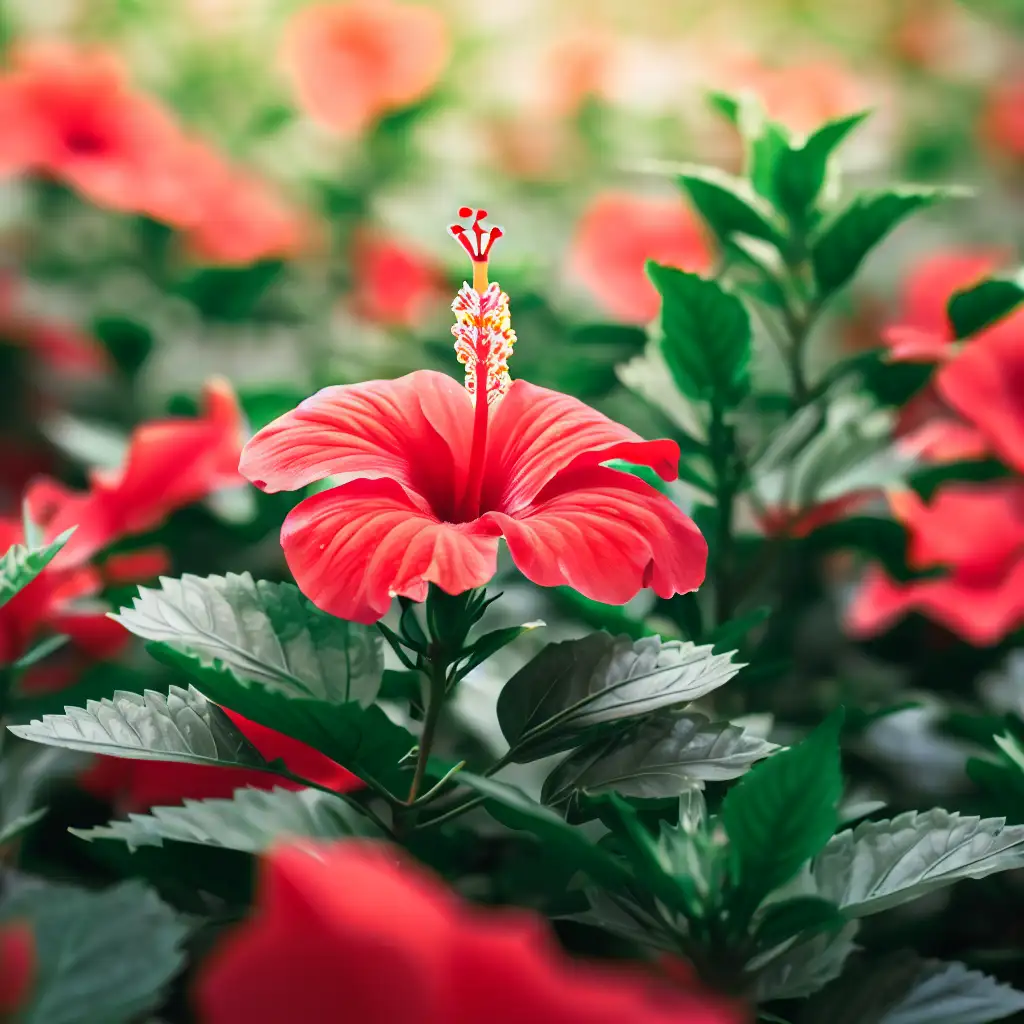
Hibiscus is one of the most stunning and versatile flowers in the world. It comes in a wide range of colors, shapes, and sizes, and it can be grown in different climates and conditions. Hibiscus flowers are not only beautiful to look at, but also useful for making tea, jam, or crafts.
If you love hibiscus and want to grow your own plants from seed, you have come to the right place. In this article, we will teach you how to grow hibiscus from seed step by step, from germination to flowering. We will also provide you with some tips and tricks on how to make your hibiscus plants thrive and bloom.
Materials Needed
Before you start growing hibiscus from seed, you will need some materials to prepare. Here is a list of what you will need:
- Hibiscus seeds: You can buy hibiscus seeds online or from nurseries, or you can collect them from existing plants. Hibiscus seeds are usually black or brown and have a hard coat that protects them from drying out.
- Pots: You will need small pots or trays for germinating the seeds, and larger pots for transplanting the seedlings. Make sure the pots have drainage holes at the bottom to prevent waterlogging.
- Soil: You will need a well-draining potting mix that is rich in organic matter for growing hibiscus. You can buy a ready-made mix or make your own by mixing equal parts of peat moss, perlite, and compost.
- Water: You will need clean water for watering your hibiscus seeds and plants. Avoid using tap water that is too hard or chlorinated, as it may harm your plants.
- Fertilizer: You will need a balanced fertilizer that contains nitrogen, phosphorus, and potassium for feeding your hibiscus plants. You can use a liquid or granular fertilizer that is specially formulated for flowering plants.
- Other tools: You will also need some tools, such as a knife, a spoon, a spray bottle, a heating mat, a thermometer, a pair of scissors, etc., for sowing, germinating, transplanting, and pruning your hibiscus plants.
There are many varieties of hibiscus that you can grow from seed, depending on your preference and climate. Some of the most popular ones are:
- Hardy hibiscus: These are perennial plants that can survive cold winters and produce large flowers in summer. They come in colors such as white, pink, red, or purple.
- Tropical hibiscus: These are evergreen shrubs that need warm temperatures and humidity to grow and bloom year-round. They come in colors such as yellow, orange, peach, or coral.
- Rose of Sharon: These are deciduous shrubs that lose their leaves in winter and produce small flowers in late summer or early fall. They come in colors such as blue, lavender, or magenta.
Germination Process
The germination process of hibiscus seeds is not very difficult, but it may take some time and patience. Here are the steps to follow:
- Prepare the seeds: The first step is to prepare the seeds for germination by breaking their hard coat. This will help them absorb water and sprout faster. There are two ways to do this:
- Soaking: You can soak the seeds in warm water overnight or for 24 hours before sowing them. This will soften their coat and activate their enzymes.
- Scarifying: You can scarify the seeds by nicking or scratching their coat with a knife or a nail file. This will create a small opening for water to enter.
- Sow the seeds: The next step is to sow the seeds in small pots or trays filled with moist potting mix. You can use a spoon to make shallow holes in the soil, about 1/4 inch deep, and place one seed in each hole. Then, cover the seeds lightly with soil and press gently to firm them.
- Water the seeds: The third step is to water the seeds gently with a spray bottle or a watering can. You want to keep the soil moist but not soggy, as too much water can cause the seeds to rot or mold. You can check the soil moisture by inserting your finger into it. If it feels dry, water it; if it feels wet, let it drain.
- Provide adequate sun and temperature: The fourth step is to provide adequate sun and temperature for the seeds to germinate. You can place the pots or trays in a sunny spot, such as a windowsill or a greenhouse, where they can receive at least 6 hours of direct sunlight per day. You can also use a heating mat or a lamp to maintain a warm temperature, between 70°F and 85°F, for the seeds. You can use a thermometer to monitor the temperature and adjust it as needed.
- Wait for the seeds to sprout: The last step is to wait for the seeds to sprout, which may take anywhere from 2 weeks to 2 months, depending on the variety and the conditions. You will see tiny green shoots emerging from the soil, which are the first leaves of your hibiscus plants.
Here are some tips and tricks on how to speed up or improve the germination rate of hibiscus seeds:
- Use fresh seeds: Fresh seeds have a higher germination rate than old seeds, as they have more viability and vigor. You can check the expiration date on the seed packet or test the seeds for freshness by floating them in water. Fresh seeds will sink, while old seeds will float.
- Use quality seeds: Quality seeds have a higher germination rate than poor seeds, as they have more purity and health. You can buy quality seeds from reputable sources or select healthy seeds from your own plants. Quality seeds are usually large, plump, and uniform in shape and color.
- Use sterile soil: Sterile soil has a higher germination rate than contaminated soil, as it has less pathogens and pests that can harm your seeds. You can buy sterile potting mix or sterilize your own soil by baking it in an oven at 200°F for 30 minutes.
Transplanting Process
The transplanting process of hibiscus seedlings is not very hard, but it may require some care and attention. Here are the steps to follow:
- When to transplant: The best time to transplant your hibiscus seedlings is when they have at least two sets of true leaves, which are the leaves that look like hibiscus leaves, not the cotyledons, which are the first leaves that look like grass. This may take anywhere from 4 to 8 weeks after germination, depending on the variety and the conditions. You want to transplant your seedlings before they become root-bound or overcrowded in their pots or trays.
- How to choose the right pot and soil: The next step is to choose the right pot and soil for your hibiscus seedlings. You want to choose a pot that is at least twice as big as the current pot, and has drainage holes at the bottom. You also want to choose a well-draining potting mix that is rich in organic matter, similar to the one you used for germination. You can add some slow-release fertilizer or compost to the soil to boost its nutrients.
- How to handle the roots: The third step is to handle the roots of your hibiscus seedlings gently and carefully. You want to avoid damaging or disturbing the roots as much as possible, as they are delicate and sensitive. You can use a knife or a pair of scissors to cut around the edge of the pot or tray, and then lift the seedling out with a spoon or your fingers. You can also tap or squeeze the pot or tray lightly to loosen the soil and release the seedling.
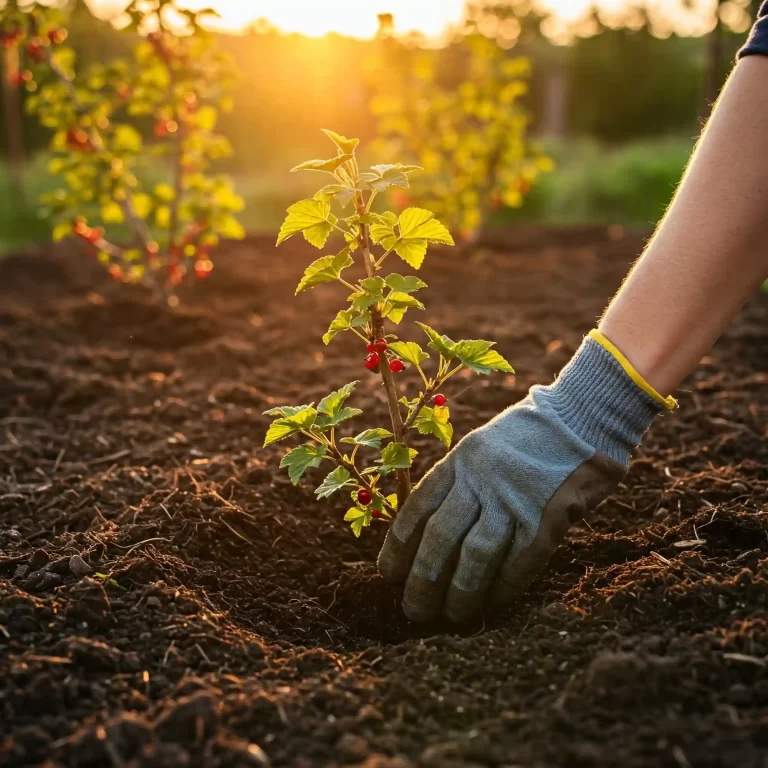
- How to transplant: The fourth step is to transplant your hibiscus seedling into its new pot. You want to fill the new pot with some soil, leaving enough space for the root ball of the seedling. You can make a hole in the center of the soil, and place the seedling in it, making sure that the top of the root ball is level with the surface of the soil. Then, you can fill in the gaps with more soil, and press gently to firm it.
- How to water: The last step is to water your transplanted hibiscus seedling thoroughly and deeply. You want to soak the soil until water drains out of the bottom of the pot. You can also mist the leaves lightly with a spray bottle to reduce transpiration and stress.
Here are some tips and tricks on how to avoid transplant shock or damage to hibiscus seedlings:
- Harden them off gradually: Hardening off is a process of acclimating your hibiscus seedlings to outdoor conditions, such as sun, wind, temperature, etc., before transplanting them. This will help them adapt and survive better in their new environment. You can harden them off gradually by exposing them to outdoor conditions for a few hours per day, increasing the duration and intensity each day, for about a week or two before transplanting them.
- Prune them lightly: Pruning is a process of trimming or cutting off some parts of your hibiscus plants, such as leaves, stems, or flowers, to improve their shape, health, or growth. This will help them focus their energy on developing their roots and establishing themselves in their new pots. You can prune them lightly by removing any dead, damaged, or diseased parts, or any parts that are too long or too crowded.
- Use a rooting hormone: A rooting hormone is a substance that stimulates or enhances root growth in plants. This will help your hibiscus seedlings develop stronger and faster roots in their new pots. You can use a rooting hormone by dipping or brushing the cut end of your seedling’s stem into a powder or liquid form of rooting hormone before planting it.
Care Tips
The care tips for hibiscus plants grown from seed are not very complicated, but they may require some regularity and consistency. Here are the steps to follow:
- How to fertilize: The first step is to fertilize your hibiscus plants regularly and adequately. You want to feed your plants with a balanced fertilizer that contains nitrogen, phosphorus, and potassium, as well as some micronutrients, such as iron, magnesium, or calcium. You can use a liquid or granular fertilizer that is specially formulated for flowering plants, and follow the instructions on the label for the dosage and frequency. You can also use some organic fertilizers, such as compost, manure, or worm castings, to enrich the soil and improve its structure.
- How to prune: The second step is to prune your hibiscus plants occasionally and moderately. You want to trim or cut off some parts of your plants, such as leaves, stems, or flowers, to improve their shape, health, or growth. You can prune your plants in early spring or late fall, when they are dormant or less active. You can also prune your plants after they finish blooming, to encourage more flowers in the next season. You can use a sharp and clean pair of scissors or pruners to make clean and smooth cuts.
- How to protect: The third step is to protect your hibiscus plants from pests and diseases. You want to prevent or treat any problems that may affect your plants, such as insects, mites, fungi, bacteria, or viruses. You can use some natural or organic methods, such as spraying with water, soap, oil, vinegar, or neem oil, to deter or kill the pests. You can also use some chemical or synthetic methods, such as applying insecticides, fungicides, or antibiotics, to control or cure the diseases. You can also use some cultural or mechanical methods, such as removing infected parts, cleaning tools and pots, or improving air circulation and drainage, to reduce the risk of infection.
Here are some suggestions on how to enjoy or use hibiscus flowers:
- Make tea: Hibiscus tea is a delicious and healthy drink that you can make from fresh or dried hibiscus flowers. It has a tart and fruity flavor and a deep red color. It is rich in antioxidants and vitamin C, and it can help lower blood pressure and cholesterol levels.
- Make jam: Hibiscus jam is a sweet and tangy spread that you can make from fresh or dried hibiscus flowers. It has a bright pink color and a floral aroma. It is great for toast, pancakes, or scones.
- Make crafts: Hibiscus crafts are fun and creative projects that you can make from fresh or dried hibiscus flowers. You can make wreaths, garlands, bouquets, or arrangements with hibiscus flowers. You can also use hibiscus petals to dye fabric, paper, or candles.
Conclusion
You have learned how to grow hibiscus from seed in this article. We have covered the materials needed, the germination process, the transplanting process, and the care tips for hibiscus plants. We have also given you some suggestions on how to enjoy or use hibiscus flowers.
Growing hibiscus from seed is a rewarding and enjoyable hobby that can bring you many benefits. You can have beautiful flowers that brighten up your garden or home, save money that you would otherwise spend on buying plants or cut flowers, or have fun with your family or friends by making tea, jam, or crafts with hibiscus flowers.
We hope you found this article helpful and informative. We encourage you to try growing hibiscus from seed and share your results or feedback with us. Happy gardening!
