Have you ever craved the unique, slightly bitter crunch of fresh frisee in your salad, only to be disappointed by the wilted, overly bitter offerings at the grocery store? I know I have! It’s frustrating to pay a premium for produce that lacks the vibrant flavor and texture you’re after. But what if I told you that growing your own frisee is easier than you think? You can enjoy crisp, fresh frisee straight from your garden, controlling the growing process and ensuring a delicious, less bitter harvest. This guide will provide you with the secrets to successfully growing frisee vegetable at home, from seed to harvest.
Understanding Frisee and Its Growing Needs
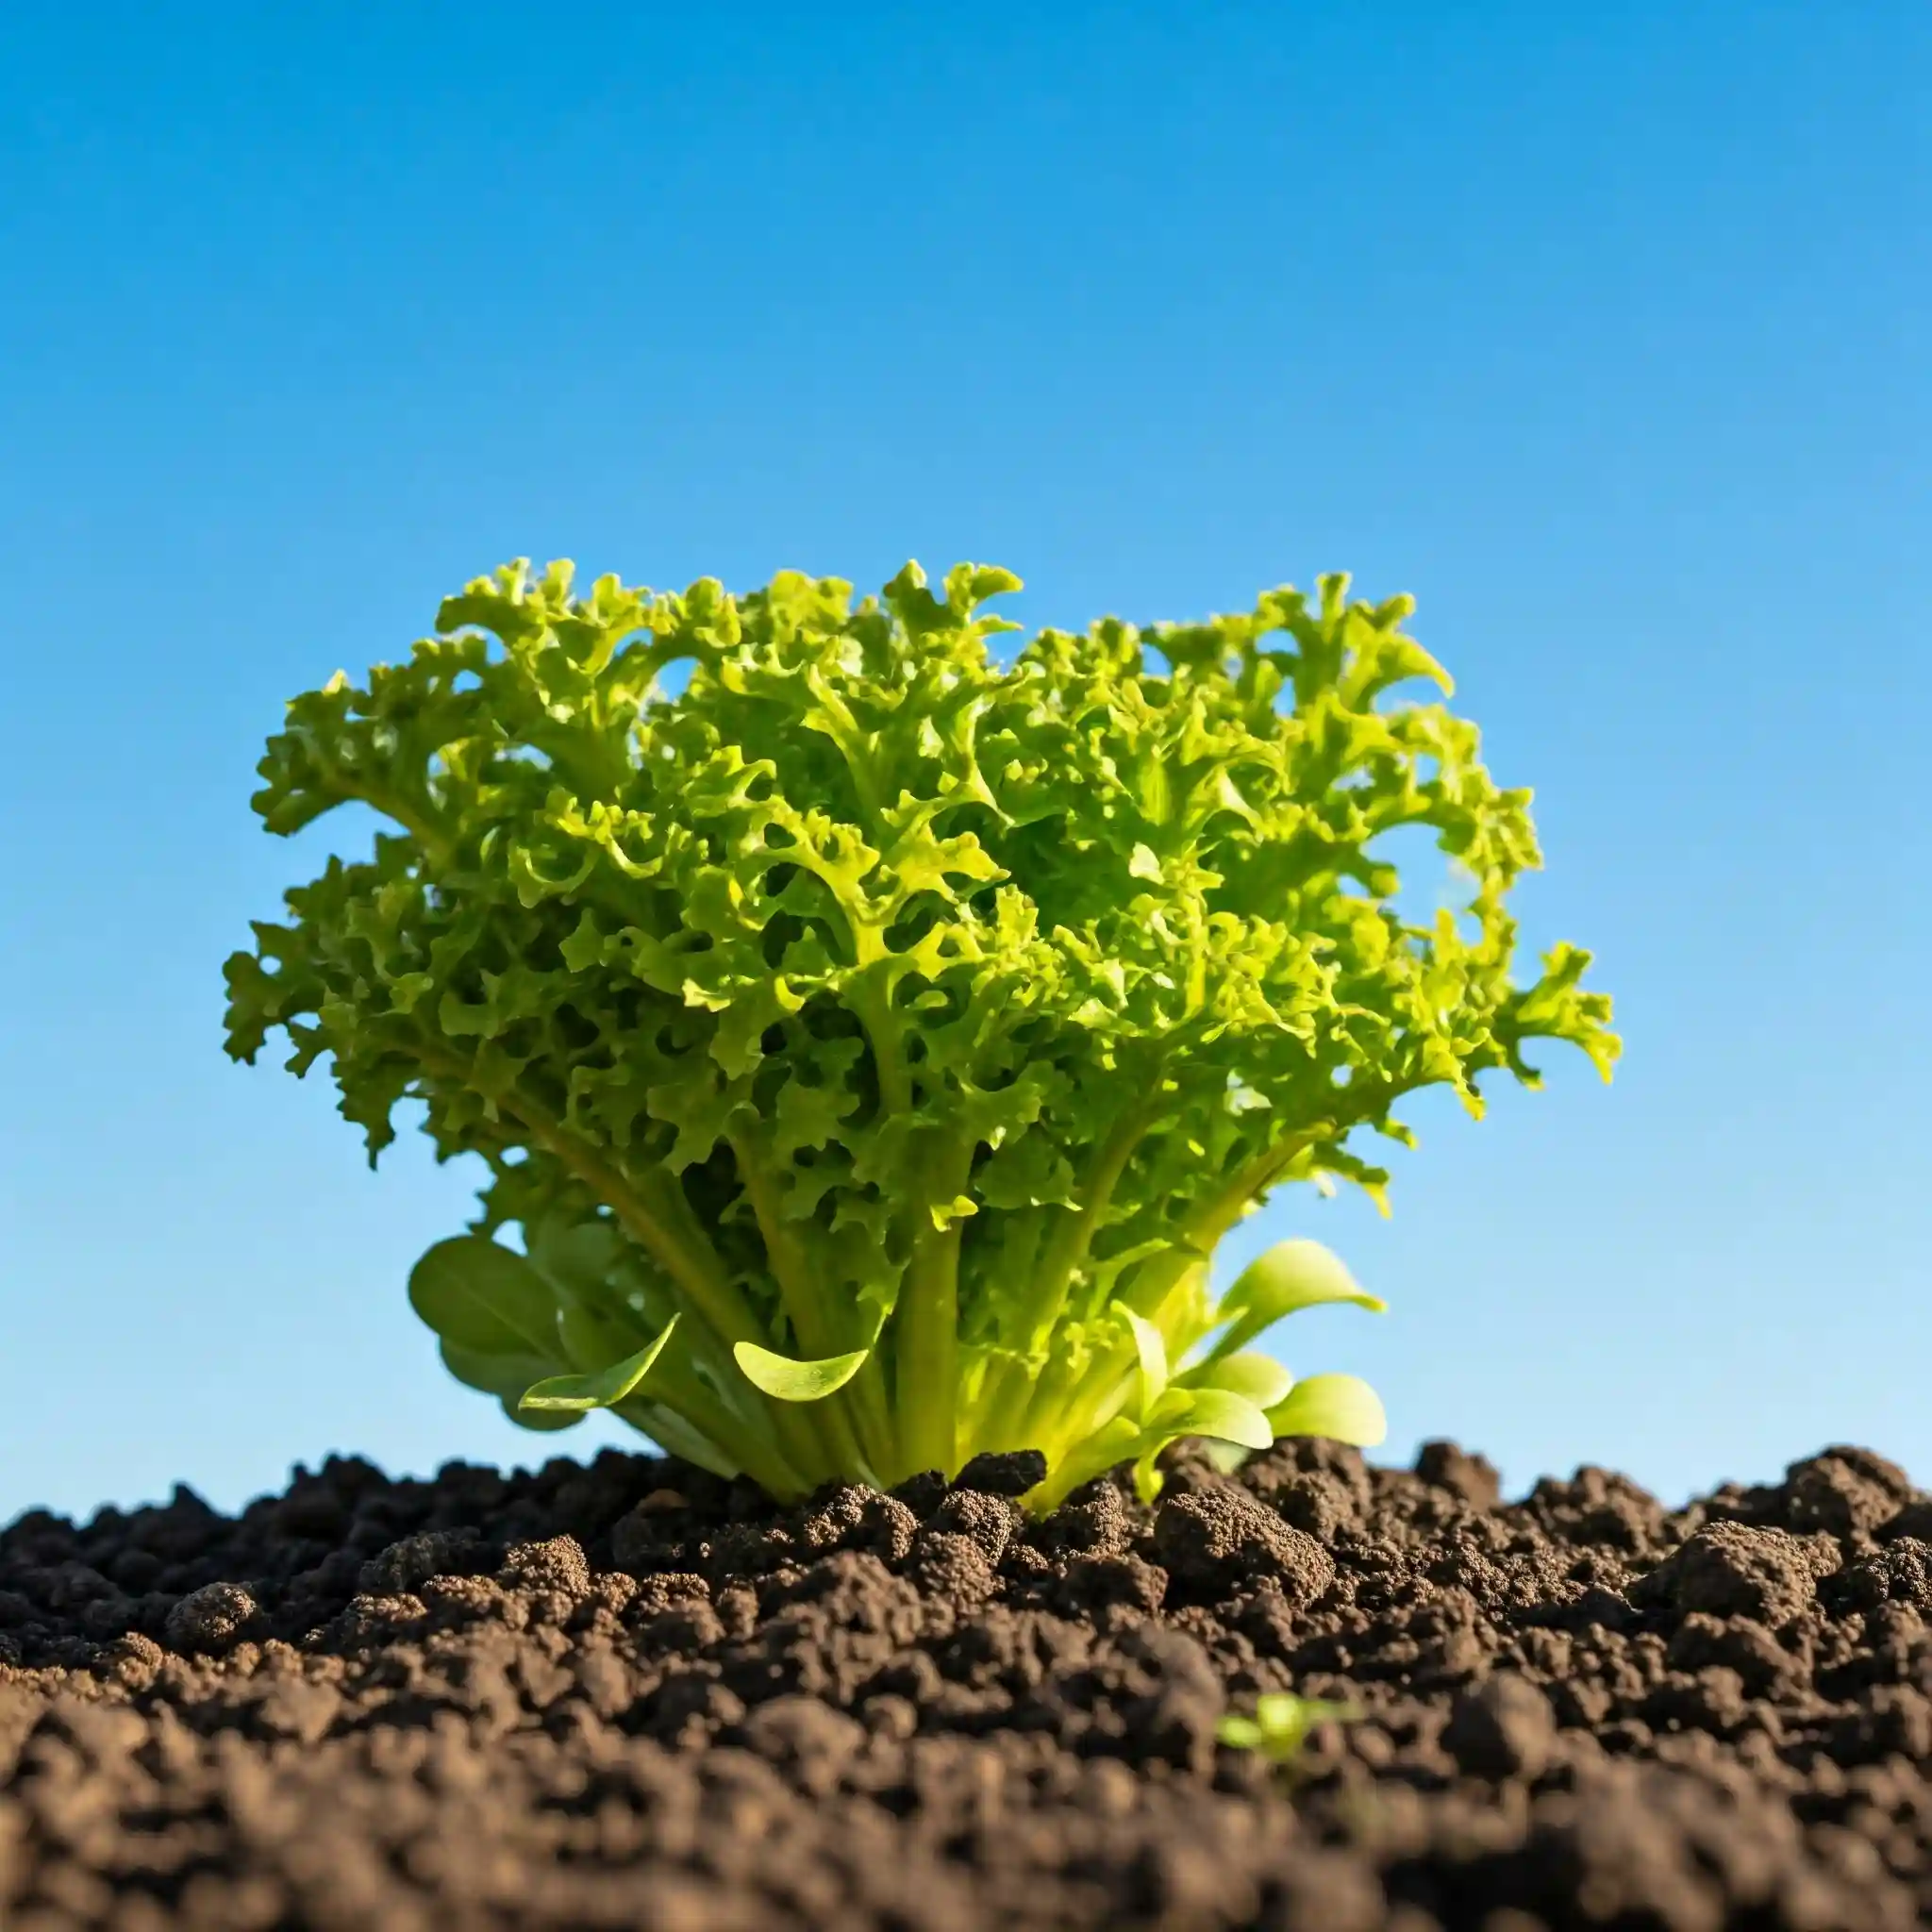
Let’s dive into the world of frisee and explore what it needs to thrive. Frisee ( Cichorium endivia var. crispum) is a member of the endive family, which also includes escarole. It’s often mistaken for lettuce due to its leafy appearance, but it has a distinctively bitter taste and a slightly coarser texture. The characteristic curly, fringed leaves give it a unique visual appeal, making it a popular addition to salads and other dishes.
I’ve found that understanding a plant’s origins and preferences is key to successful cultivation. Frisee, like other endives, prefers cooler temperatures and well-drained soil. It’s a cool-season crop, meaning it grows best in spring and fall. This is an important consideration for you when planning your garden. If you live in a region with hot summers, you’ll want to avoid planting frisee during the hottest months, as high temperatures can cause it to bolt (go to seed prematurely), resulting in a bitter flavor.
Why Grow Frisee?
Beyond its unique flavor and texture, there are several compelling reasons to grow your own frisee:
- Freshness: You can harvest frisee just minutes before you need it, ensuring maximum freshness and flavor. You simply can’t beat that homegrown taste.
- Cost Savings: Growing your own produce can significantly reduce your grocery bill over time.
- Control over Growing Practices: You can choose to grow your frisee organically, avoiding synthetic pesticides and fertilizers. This is something I value greatly in my own garden.
- Nutritional Benefits: Frisee is a good source of vitamins A and K, as well as folate and fiber.
Ideal Growing Conditions for Frisee
Creating the right environment is crucial for successful frisee cultivation. Here are the key factors to consider:
- Climate: Frisee thrives in cool weather, with ideal temperatures ranging from 60-70°F (15-21°C).
- Sunlight: Frisee prefers full sun (6-8 hours per day), but it can tolerate partial shade, especially in warmer climates. I’ve noticed that providing some afternoon shade can prevent bolting in hot weather.
- Temperature: As mentioned earlier, high temperatures can cause bolting. Aim to keep the soil temperature below 75°F (24°C).
- Soil: Frisee prefers well-drained, fertile soil with a pH between 6.0 and 7.0.
Soil Requirements for Frisee
The quality of your soil plays a vital role in the health and productivity of your frisee plants. Here’s what you need to know:
- pH: Frisee prefers slightly acidic to neutral soil. You can test your soil pH using a home test kit or by sending a sample to a local lab.
- Drainage: Well-drained soil is essential to prevent root rot. If your soil is heavy clay, you can improve drainage by adding organic matter such as compost or well-rotted manure. This is a practice I highly recommend for all gardeners.
- Fertility: Frisee is a moderate feeder, meaning it requires a moderate amount of nutrients. You can improve soil fertility by adding compost or using a balanced organic fertilizer.
Understanding Soil Types
Different soil types have different characteristics that can affect plant growth. Here’s a brief overview:
- Sandy Soil: Drains quickly, warms up fast, but doesn’t retain nutrients well.
- Clay Soil: Retains water and nutrients well, but drains poorly and can be slow to warm up.
- Silty Soil: Has a good balance of drainage and water retention.
- Loamy Soil: Considered the ideal soil type for most plants, as it has a good balance of sand, silt, and clay, along with organic matter.
Soil Amendment Recommendations
| Soil Type | Amendment | Benefits |
| Sandy | Compost, aged manure, peat moss | Improves water and nutrient retention |
| Clay | Compost, coarse sand, gypsum | Improves drainage and aeration |
| Silty | Compost | Improves structure and fertility |
I always recommend amending your soil with compost regardless of its type. It’s a fantastic way to improve soil structure, drainage, and fertility.
How to Plant Frisee
Now that you understand the ideal growing conditions for frisee, let’s get into the specifics of planting. There are two main ways to start your frisee crop: from seed or by transplanting seedlings. I’ll cover both methods, giving you the information you need to choose the best approach for your garden.
Starting Frisee from Seed
Starting from seed gives you the most control over the growing process and is often the most economical option. You can either start seeds indoors or direct sow them into your garden.
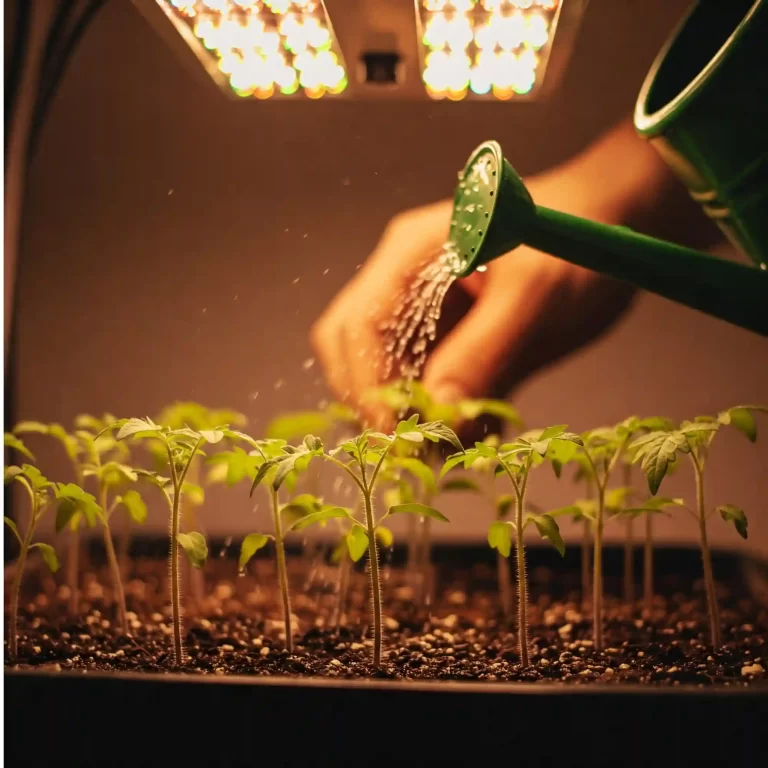
- Starting Indoors: Starting seeds indoors is a great option if you live in a region with a short growing season or if you want to get a head start on your harvest. I often start my frisee indoors about 4-6 weeks before the last expected frost in my area. This gives the seedlings a chance to develop a strong root system before they are transplanted into the garden.
- Materials you’ll need: Seed starting trays or containers, seed starting mix, frisee seeds, a spray bottle or watering can, and a grow light (optional).
- Step-by-step guide:
- Fill your seed starting trays or containers with seed starting mix.
- Moisten the mix with water.
- Sow the frisee seeds about ¼ inch deep.
- Gently cover the seeds with the mix.
- Water the seeds gently with a spray bottle or watering can.
- Place the trays or containers in a warm, bright location. If you’re using a grow light, position it a few inches above the trays.
- Keep the mix moist but not soggy.
- Once the seedlings have developed a few sets of true leaves, they are ready to be transplanted.
- Direct Sowing: Direct sowing involves planting the seeds directly into your garden bed. This method is best suited for regions with mild climates and longer growing seasons.
- When to direct sow: You can direct sow frisee seeds in early spring or late summer, depending on your climate. The soil temperature should be at least 40°F (4°C) for germination.
- Step-by-step guide:
- Prepare your garden bed by loosening the soil and removing any weeds or debris.
- Sow the frisee seeds about ¼ inch deep and space them according to the recommendations on the seed packet (usually about 6-12 inches apart).
- Gently cover the seeds with soil.
- Water the seeds gently.
- Keep the soil moist until the seeds germinate.
When to Plant Frisee
Timing is crucial when it comes to planting frisee. As a cool-season crop, frisee prefers cooler temperatures and can bolt (go to seed) in hot weather.
- Spring Planting: Plant frisee in early spring, as soon as the soil can be worked. This will allow you to harvest your frisee before the heat of summer sets in.
- Fall Planting: In regions with mild winters, you can also plant frisee in late summer for a fall or winter harvest.
Step-by-Step Guide to Planting Frisee Seeds
Whether you’re starting indoors or direct sowing, here’s a more detailed look at the planting process:
- Prepare the Soil: Ensure the soil is loose, well-drained, and amended with compost or other organic matter.
- Sow the Seeds: Sow seeds ¼ inch deep.
- Spacing: Space seeds or seedlings 6-12 inches apart to allow for proper air circulation and growth.
- Watering: Water gently after planting to ensure good seed-to-soil contact.
How to Transplant Frisee Seedlings
If you started your frisee indoors, you’ll need to transplant the seedlings into your garden.
- Hardening Off: Before transplanting, it’s essential to harden off your seedlings. This process acclimates them to outdoor conditions. Gradually expose them to increasing amounts of sunlight and outdoor temperatures over a period of 7-10 days.
- Transplanting: Choose a cloudy day to transplant your seedlings to minimize stress. Dig holes slightly larger than the root ball and gently place the seedlings in the holes. Backfill with soil and water thoroughly.
How to Plant Frisee in Containers
Growing frisee in containers is a great option for those with limited space or poor garden soil.
- Choosing the Right Container: Select a container that is at least 6 inches deep and has drainage holes.
- Soil Mix: Use a high-quality potting mix that drains well.
- Planting: Follow the same planting instructions as for garden beds, ensuring proper spacing between plants.
How to Care for Frisee
Once your frisee is planted, proper care is essential to ensure a healthy and abundant harvest. I’ve learned from experience that consistent attention to watering, fertilizing, and pest control can make a huge difference in the quality of your frisee. Let’s explore the key aspects of frisee care.
Watering Frisee
Consistent moisture is crucial for frisee, but overwatering can lead to problems like root rot. Here are some watering tips:
- Frequency: Water deeply when the top inch of soil feels dry to the touch. I usually water my frisee every 2-3 days, but this can vary depending on the weather and soil conditions.
- Amount: Water thoroughly, ensuring the water reaches the roots. Avoid shallow watering, as this can encourage shallow root growth.
- Method: Water at the base of the plant to avoid wetting the leaves, which can increase the risk of fungal diseases.
- Timing: Water in the morning to allow the leaves to dry before nightfall.
Fertilizing Frisee
Frisee is a moderate feeder, meaning it benefits from regular fertilization. Here are some options:
- Compost: Adding compost to your soil before planting is a great way to provide a slow-release source of nutrients.
- Organic Fertilizers: You can use a balanced organic fertilizer, such as fish emulsion or compost tea, to provide additional nutrients during the growing season.
- Application: Follow the instructions on the fertilizer packaging for application rates and frequency.
Weeding and Mulching Around Frisee
Weeds can compete with your frisee for water and nutrients, so it’s important to keep your garden bed weed-free. Mulching can help suppress weeds and conserve moisture.
- Weeding: Regularly remove any weeds that appear around your frisee plants.
- Mulching: Apply a layer of organic mulch, such as straw or wood chips, around your frisee plants to help suppress weeds and retain moisture.
Protecting Frisee from Pests and Diseases
Frisee can be susceptible to certain pests and diseases. Here are some common problems and how to address them:
- Pests: Aphids, slugs, and snails are common pests that can attack frisee. You can control these pests using organic methods such as handpicking, introducing beneficial insects, or using organic pesticides.
- Diseases: Downy mildew and bottom rot are fungal diseases that can affect frisee. You can prevent these diseases by providing good air circulation, avoiding overwatering, and using disease-resistant varieties.
How to Prevent Frisee from Bolting
Bolting, or premature flowering, is a common problem with frisee, especially in hot weather. Here are some strategies to prevent bolting:
- Plant at the Right Time: Plant frisee in early spring or late summer to avoid the hottest months.
- Provide Shade: In hot climates, provide some afternoon shade to protect your frisee from the intense sun.
- Water Regularly: Consistent watering can help prevent stress, which can trigger bolting.
- Choose Bolt-Resistant Varieties: Some frisee varieties are more resistant to bolting than others.
By following these care tips, you can ensure a healthy and productive frisee crop. Consistent attention to watering, fertilizing, and pest control will reward you with crisp, delicious frisee throughout the growing season.
How to Harvest Frisee
After nurturing your frisee plants, the most rewarding part is finally here: harvesting! Knowing when and how to harvest frisee correctly will ensure you enjoy the best flavor and texture. From my experience, a little patience and the right technique go a long way.
When to Harvest Frisee
Knowing when your frisee is ready for harvest is key to enjoying its optimal flavor and texture. Here are some signs of maturity:
- Size: The frisee head should be a good size, typically around 6-8 inches in diameter.
- Color: The outer leaves should be a vibrant green, while the inner leaves will be lighter in color, often yellowish or white.
- Texture: The leaves should be crisp and tender.
How to Harvest Frisee
Harvesting frisee is a simple process:
- Use a sharp knife: A sharp knife will ensure a clean cut and prevent damage to the plant.
- Cut at the base: Cut the frisee head at the base, just above the soil line.
- Remove outer leaves (optional): You can remove any damaged or wilted outer leaves before storing or using the frisee.
Storing Harvested Frisee
Proper storage is essential to keep your harvested frisee fresh and crisp:
- Wash and dry: Gently wash the frisee to remove any dirt or debris. Then, thoroughly dry it using a salad spinner or by patting it dry with paper towels.
- Store in a plastic bag: Place the dried frisee in a plastic bag and store it in the crisper drawer of your refrigerator.
- Use within a week: For best quality, use your harvested frisee within a week.
How to Grow Frisee for a Continuous Harvest
If you want to enjoy fresh frisee throughout the growing season, you can use succession planting:
- Succession planting: This involves planting new frisee seeds every few weeks. This will ensure you have a continuous supply of frisee as the older plants are harvested.
Harvesting in Different Stages
You can also harvest frisee at different stages of maturity, depending on your preference:
- Baby frisee: You can harvest young frisee leaves for salads when they are just a few inches long. These leaves
Troubleshooting Common Frisee Growing Problems
Even with the best care, you might encounter some challenges while growing frisee. I’ve certainly had my share of setbacks over the years, but I’ve learned that understanding common problems and their solutions can help you navigate these hurdles and still achieve a successful harvest. Let’s discuss some frequent frisee growing issues and how you can address them.
Bolting (Premature Flowering)
Bolting is a common problem with frisee, especially during hot weather. It occurs when the plant prematurely sends up a flower stalk and goes to seed. This process can make the leaves bitter and unpalatable.
- Causes of Bolting:
- High temperatures
- Water stress (inconsistent watering)
- Long days (especially in late spring and summer)
- Preventing Bolting:
- Plant at the right time: Plant frisee in early spring or late summer to avoid the hottest months.
- Provide shade: In hot climates, provide some afternoon shade using shade cloth or by planting frisee near taller plants.
- Water consistently: Consistent watering is crucial to prevent water stress.
- Choose bolt-resistant varieties: Some frisee varieties are bred to be more resistant to bolting.
Pests
Several pests can target frisee, including:
- Aphids: These small, soft-bodied insects suck sap from the leaves, causing them to wilt and distort.
- Control: You can control aphids by spraying them with a strong stream of water, introducing beneficial insects like ladybugs, or using insecticidal soap or neem oil.
- Slugs and Snails: These mollusks can chew holes in the leaves, especially young seedlings.
- Control: You can control slugs and snails by handpicking them, using slug bait (use pet-safe options), or creating barriers like copper tape.
Diseases
Frisee can be susceptible to fungal diseases like:
- Downy Mildew: This fungal disease causes yellow spots on the upper surface of the leaves and a white, downy growth on the underside.
- Prevention: Provide good air circulation by spacing plants properly, avoid overhead watering, and use disease-resistant varieties.
- Control: If downy mildew occurs, you can use organic fungicides.
- Bottom Rot: This fungal disease causes the base of the plant to rot, leading to wilting and death.
- Prevention: Ensure good drainage, avoid overwatering, and practice crop rotation.
- Control: Remove infected plants immediately.
Bitter Taste
Frisee is naturally slightly bitter, but certain factors can enhance this bitterness:
- Bolting: As mentioned earlier, bolting can make the leaves very bitter.
- Heat stress: High temperatures can also contribute to bitterness.
- Maturity: Older leaves tend to be more bitter than younger leaves.
Mitigating Bitterness:
- Blanching: Some gardeners blanch frisee by covering the inner leaves to exclude light. This can reduce bitterness.
- Harvesting young: Harvesting frisee at a younger stage can result in a milder flavor.
Troubleshooting Frisee Problems
| Problem | Cause | Solution |
| Bolting | High temperatures, water stress, long days | Plant at the right time, provide shade, water consistently, choose bolt-resistant varieties |
| Aphids | Infestation of aphids | Spray with water, introduce beneficial insects, use insecticidal soap or neem oil |
| Slugs and Snails | Presence of slugs and snails | Handpick, use slug bait (pet-safe), create barriers |
| Downy Mildew | Fungal disease | Provide good air circulation, avoid overhead watering, use disease-resistant varieties, use organic fungicides |
| Bottom Rot | Fungal disease | Ensure good drainage, avoid overwatering, practice crop rotation, remove infected plants |
| Bitter Taste | Bolting, heat stress, maturity | Prevent bolting, provide shade, harvest young, blanch |
By understanding these common problems and their solutions, you can be well-prepared to handle any challenges that may arise while growing your frisee. With a little attention and care, you can overcome these obstacles and enjoy a bountiful harvest.
Frequently Asked Questions (FAQs)
I’ve compiled a list of frequently asked questions based on data we discussed earlier. These questions address specific concerns and scenarios that you, as a home gardener, might encounter while growing frisee. Let’s dive in:
How to grow frisee lettuce in raised garden beds?
Growing frisee in raised beds offers several advantages, including improved drainage, better soil control, and easier access for tending and harvesting. Here’s how:
- Prepare the raised bed: Fill the raised bed with a well-draining potting mix or a blend of garden soil and compost.
- Planting: Follow the same planting instructions as for in-ground planting, ensuring proper spacing between plants.
- Watering: Monitor the moisture level in the raised bed more closely, as raised beds tend to dry out faster than in-ground gardens.
- Fertilizing: Fertilize regularly with a balanced organic fertilizer.
How to grow frisee vegetable from seed indoors for transplanting?
Starting frisee indoors is a great way to get a head start on the growing season. Here’s a quick recap:
- Sow seeds indoors: 4-6 weeks before the last expected frost in your area.
- Use seed starting mix: and keep it moist but not soggy.
- Provide light: Use a grow light or place the seedlings in a sunny window.
- Harden off seedlings: Before transplanting, gradually acclimate them to outdoor conditions.
How to grow frisee vegetable in hot weather without bolting?
Bolting is a major concern in hot weather. Here are some strategies to prevent it:
- Plant at the right time: Avoid planting during the hottest months.
- Provide shade: Use shade cloth or plant frisee in a partially shaded area.
- Water consistently: to prevent water stress.
- Choose bolt-resistant varieties: Some varieties are more heat-tolerant.
How to grow frisee vegetable organically and prevent common pests naturally?
Organic gardening focuses on using natural methods to promote plant health and control pests and diseases. Here are some tips:
- Amend the soil with compost: to improve soil health and fertility.
- Use organic fertilizers: like fish emulsion or compost tea.
- Introduce beneficial insects: like ladybugs and lacewings, to control aphids.
- Use organic pesticides: like neem oil or insecticidal soap, if necessary.
What is the best way to grow frisee vegetable for a continuous harvest?
Succession planting is the key to a continuous harvest. Plant new frisee seeds every 2-3 weeks to ensure a steady supply.
How to grow frisee vegetable in containers on a balcony or patio?
Growing frisee in containers is ideal for those with limited space. Here are some key considerations:
- Choose the right container: Select a container that is at least 6 inches deep and has drainage holes.
- Use a well-draining potting mix:
- Provide adequate sunlight: Place the container in a sunny location.
- Water regularly: Containers tend to dry out faster than garden beds.
How to grow frisee vegetable in zone [Specific USDA Zone]?
This question emphasizes the importance of understanding your local climate. Research the specific planting times and growing conditions for your USDA plant hardiness zone.
How to grow frisee vegetable from seed to harvest step by step guide?
This article provides a comprehensive step-by-step guide, covering everything from seed starting to harvesting and storage.
How to grow frisee vegetable and prevent it from becoming bitter?
Bitterness can be influenced by several factors, including bolting, heat stress, and maturity. Here’s how to minimize bitterness:
- Prevent bolting: By planting at the right time, providing shade, and watering consistently.
- Harvest young: For a milder flavor.
- Blanching: Can also help reduce bitterness.
How to grow frisee vegetable alongside companion plants for pest control?
Companion planting involves growing different plants together to benefit each other. Some good companion plants for frisee include:
- Carrots: Repel some pests.
- Radishes: Act as a trap crop for flea beetles.
- Marigolds: Repel nematodes and other pests.
This FAQ section addresses the most common questions you might have about growing frisee. Remember, gardening is a learning process, and it’s okay to experiment and find what works best for you and your garden.
Conclusion: Enjoying Your Homegrown Frisee
Growing your own frisee can be a rewarding experience, providing you with fresh, flavorful greens right from your backyard. By following the tips and techniques outlined in this guide, you can successfully cultivate frisee and enjoy its unique taste and texture in your salads and other culinary creations.
Remember, the key to success lies in understanding frisee’s growing needs, providing proper care, and being prepared to address any challenges that may arise. With a little patience and attention, you’ll be harvesting crisp, delicious frisee in no time.
I encourage you to give it a try and experience the satisfaction of growing your own food. Happy gardening!
