Are you longing to cultivate your own supply of fragrant elderflowers and antioxidant-rich elderberries? Many gardeners find themselves frustrated by the lack of clear, concise information on successfully growing European elder (Sambucus nigra). They struggle with understanding the plant’s specific needs, leading to disappointing harvests or even plant failure. I understand this frustration – I’ve been there myself. That’s why I’ve put together this comprehensive guide. In this article, I will share my years of experience and provide you with all the essential knowledge you need to confidently grow thriving European elder herbs in your own garden. From planting and care to harvesting and using your bounty, I’ll walk you through every step, ensuring you enjoy the rewards of this versatile and beautiful plant.
How to Grow European Elder Herbs: A Complete Guide
European elder (Sambucus nigra), often called black elder or elderberry, is a deciduous shrub or small tree native to Europe and parts of Asia and North Africa. It’s also naturalized in North America. This versatile plant offers both beautiful, fragrant flowers (elderflowers) and dark purple berries (elderberries), both of which have been used for centuries for culinary and medicinal purposes. I’ve always been fascinated by the rich history and diverse uses of this plant. You’ll find that it adds a touch of wild beauty to any garden.
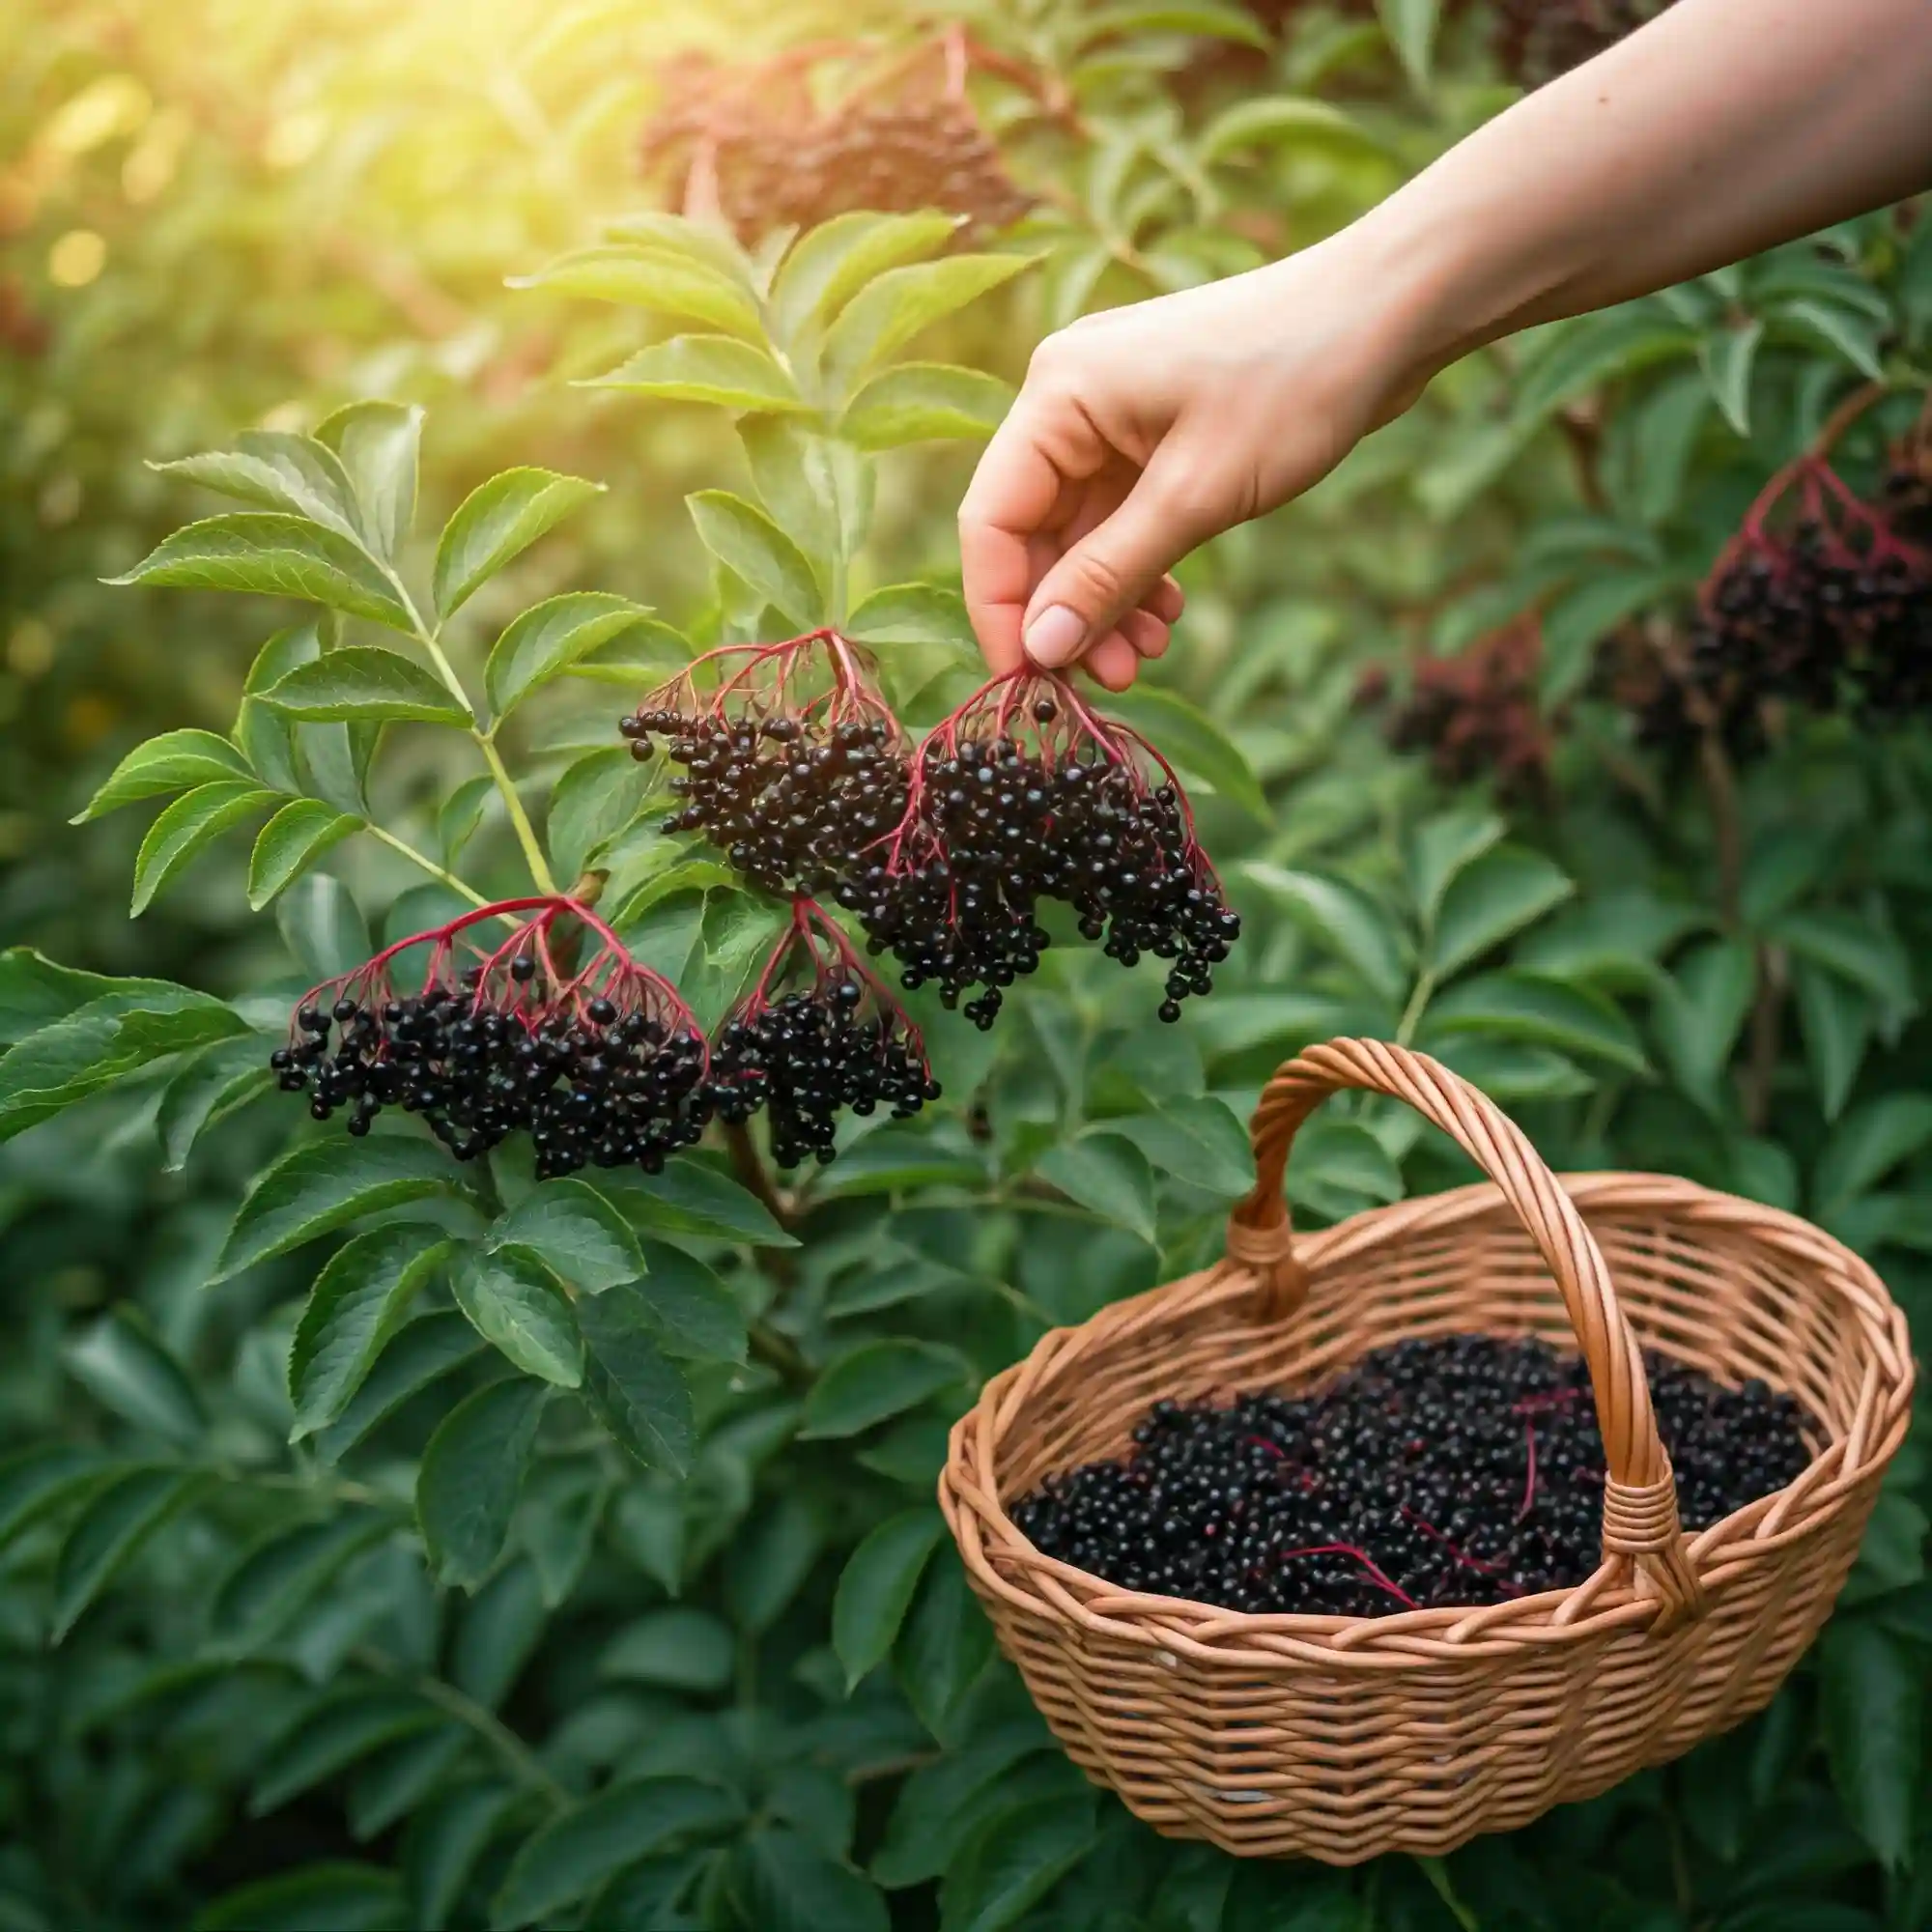
One of the first things you’ll want to know is how to distinguish European elder from other elder species. It’s crucial to differentiate it from the American elderberry (Sambucus canadensis) and the red elderberry (Sambucus racemosa), as the latter’s berries are considered toxic when raw. European elder has characteristic dark purple to black berries and creamy-white flowers. The American elderberry has similar dark berries but typically smaller flower clusters. Red elderberry, as the name suggests, has bright red berries. This is a crucial distinction, so always double-check your plant identification.
European elder typically grows to a height and spread of 10-20 feet (3-6 meters), though some varieties can reach even larger sizes. Its growth habit is relatively fast, especially in favorable conditions. You’ll find that it prefers full sun to partial shade and well-drained soil. It’s important to understand your local climate and hardiness zone (usually USDA zones 3-8) to ensure your elder thrives. This knowledge will guide you in providing the best possible environment for your plant.
Key Characteristics of European Elder (Sambucus nigra):
| Feature | Description |
| Plant Type | Deciduous shrub or small tree |
| Height | 10-20 feet (3-6 meters) |
| Spread | 10-20 feet (3-6 meters) |
| Flower Color | Creamy-white |
| Berry Color | Dark purple to black |
| Hardiness Zones | 3-8 (USDA) |
| Sun Exposure | Full sun to partial shade |
| Soil | Well-drained, adaptable to various soil types but prefers slightly acidic to neutral pH (6.0-7.0) |
| Growth Rate | Moderate to fast |
| Uses | Culinary (syrup, jam, wine, fritters), medicinal (traditional remedies for colds, flu, and other ailments), ornamental (attractive foliage and flowers) |
| Distinguishing Features | Dark purple to black berries, creamy-white flowers, compound leaves with 5-7 leaflets. Be sure to differentiate from red elderberry, which has red berries and is toxic when raw. |
This detailed overview of European elder should provide you with a solid foundation for successfully growing this rewarding plant. Understanding its characteristics is key to providing the right care and ensuring a bountiful harvest.
Planting European Elder: Setting the Stage for Success
Now that you understand the basics of European elder, let’s dive into the planting process. This is where your elder’s journey truly begins, and setting the stage correctly is crucial for its long-term health and productivity. I’ve learned from experience that a little preparation goes a long way.
Choosing the Right Location
One of the most important factors in successfully growing European elder is choosing the right location. You’ll want to consider several key elements:
- Sunlight: European elder thrives in full sun, which means at least 6 hours of direct sunlight per day. However, it can also tolerate partial shade, especially in hotter climates. You might find that in very hot regions, some afternoon shade can actually be beneficial to prevent leaf scorch.
- Soil: This plant prefers well-drained soil that is rich in organic matter. While it can adapt to various soil types, I’ve found that it truly flourishes in slightly acidic to neutral soil with a pH between 6.0 and 7.0. You can easily test your soil’s pH with a simple home test kit.
- Space: Remember that European elder can grow quite large, reaching up to 20 feet in both height and spread. Therefore, you’ll want to give it ample space to grow and avoid planting it too close to buildings or other plants. I recommend a spacing of at least 6-8 feet between plants.
Soil Preparation
Proper soil preparation is essential for providing your elder with the nutrients and drainage it needs. Here are some steps I recommend:
- Amend the soil: If your soil is heavy clay or sandy, you’ll want to amend it with organic matter such as compost or well-rotted manure. This will improve drainage and provide essential nutrients.
- Test the pH: As mentioned earlier, testing your soil’s pH is crucial. If it’s too alkaline, you can amend it with sulfur or peat moss to lower the pH.
- Dig a hole: Dig a hole that is twice as wide and just as deep as the root ball of your plant.
- Planting Methods
You can plant European elder in several ways, each with its own advantages:
- From Cuttings: This is a popular method as it’s relatively easy and allows you to propagate desirable traits from a specific plant. I’ve had great success with taking hardwood cuttings in late winter or early spring. You’ll want to select healthy, one-year-old stems and cut them into 10-12 inch sections. Remove the lower leaves and plant the cuttings in a well-draining potting mix.
- From Seeds: While growing from seed is possible, it can be a bit more challenging. Elder seeds require stratification, which is a period of cold, moist conditions to break dormancy. You can achieve this by storing the seeds in a refrigerator for 2-3 months before planting.
- Bare Root Planting: Bare root plants are typically available in late winter or early spring. When planting bare root elder, you’ll want to soak the roots in water for a few hours before planting. Dig a hole large enough to accommodate the roots and spread them out evenly before backfilling with soil.
Best Time to Plant
The best time to plant European elder is typically in the late fall or early spring, when the plant is dormant. This allows it to establish its root system before the onset of extreme temperatures. However, if you live in a mild climate, you can plant it at other times of the year as long as you provide adequate care.
By carefully considering these factors and following these steps, you’ll provide your European elder with the best possible start and set it up for a long and productive life in your garden.
Caring for European Elder: Nurturing Your Plant
Once your European elder is planted, proper care is essential to ensure its continued health and productivity. I’ve found that consistent attention to a few key areas makes all the difference.
Watering
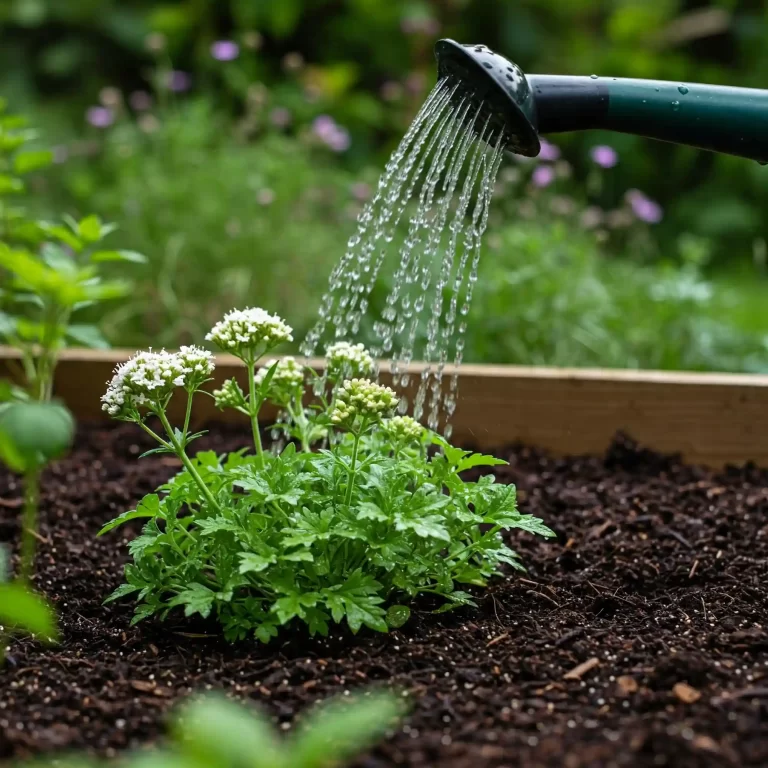
Watering is crucial, especially during the first year as your elder establishes its root system. You’ll want to water deeply and regularly, especially during dry periods. I recommend watering at the base of the plant to avoid wetting the foliage, which can encourage fungal diseases. Once established, your elder will be more drought-tolerant, but regular watering during extended dry spells will still be beneficial. A good rule of thumb is to water when the top inch of soil feels dry to the touch.
Fertilizing
While European elder isn’t a heavy feeder, a light application of fertilizer in the spring can promote healthy growth and abundant berry production. I prefer using a balanced organic fertilizer, such as compost or well-rotted manure. You can also use a commercial fertilizer with a balanced NPK ratio (e.g., 10-10-10). Avoid over-fertilizing, as this can lead to excessive foliage growth at the expense of flowers and berries.
Mulching
Applying a layer of mulch around your elder has several benefits. It helps retain moisture in the soil, suppress weeds, and regulate soil temperature. I recommend using organic mulch such as wood chips, bark, or straw. Be sure to keep the mulch a few inches away from the base of the plant to prevent rot.
Pruning
Pruning is essential for maintaining the health and shape of your elder and encouraging berry production. I recommend pruning in late winter or early spring, before new growth begins. You’ll want to remove any dead, damaged, or crossing branches. You can also prune to control the size and shape of your plant. For optimal berry production, focus on removing older wood to encourage new growth.
Winter Care
In colder climates, you’ll want to provide some winter protection for your elder. This can include mulching around the base of the plant to insulate the roots and wrapping young plants with burlap to protect them from frost. Once established, your elder will be quite hardy and require minimal winter care.
By following these care tips, you’ll ensure that your European elder thrives and provides you with years of enjoyment and abundant harvests.
Harvesting European Elder: Gathering Your Bounty
After nurturing your European elder through the seasons, the time will finally come to reap the rewards of your labor: harvesting the elderflowers and elderberries. This is a truly satisfying moment for any gardener, and I always feel a sense of accomplishment when I gather my harvest.
When to Harvest Elderflowers
Elderflowers typically bloom in late spring or early summer, depending on your climate. You’ll know they’re ready for harvest when the flowers are fully open, creamy white in color, and emitting their characteristic sweet fragrance. I recommend harvesting them on a dry, sunny morning after the dew has evaporated.
How to Harvest Elderflowers
Harvesting elderflowers is a delicate process. You’ll want to carefully clip the flower heads using sharp scissors or pruning shears. Avoid pulling or tearing the flowers, as this can damage the plant. I recommend harvesting only the flower heads you need and leaving some for the bees and other pollinators.
When to Harvest Elderberries
Elderberries typically ripen in late summer or early fall. You’ll know they’re ready for harvest when they turn a deep, dark purple or black color and are slightly soft to the touch. It’s important to note that unripe elderberries are slightly toxic, so be sure to harvest them only when they are fully ripe.
How to Harvest Elderberries
Harvesting elderberries is relatively simple. You can either clip off the entire fruit cluster or gently strip the berries from the stems by hand. I recommend wearing gloves to avoid staining your hands with the dark berry juice.
Post-Harvest Handling and Storage
Once you’ve harvested your elderflowers and elderberries, it’s important to handle and store them properly to preserve their flavor and quality.
- Elderflowers: You can use elderflowers fresh or dry them for later use. To dry them, spread them out on a clean cloth or screen in a cool, dry place. Once they are fully dry, you can store them in an airtight container.
- Elderberries: Elderberries can be used fresh, frozen, or dried. To freeze them, spread them out on a baking sheet and freeze them until solid. Then, you can transfer them to a freezer bag or container. To dry them, you can use a dehydrator or spread them out on a tray in a warm, dry place.
By following these harvesting and handling tips, you’ll ensure that you get the most out of your European elder harvest and can enjoy its delicious and beneficial properties for months to come.
Common Problems and Solutions: Keeping Your Elder Healthy
Even with the best care, your European elder might encounter some common problems. I’ve learned over the years that early detection and prompt action are key to keeping your plant healthy and thriving. You’ll want to be vigilant and regularly inspect your elder for any signs of trouble.
Pests
Several pests can affect European elder, but some of the most common include:
- Aphids: These small, soft-bodied insects suck sap from the plant’s leaves and stems, causing them to become distorted and stunted. I’ve found that a strong spray of water from a garden hose can often dislodge aphids. You can also use insecticidal soap or neem oil for more severe infestations.
- Spider Mites: These tiny mites are difficult to see with the naked eye, but their presence is often indicated by fine webbing on the leaves. They also suck plant sap, causing leaves to become speckled and eventually drop off. You can control spider mites with insecticidal soap or horticultural oil.
Diseases
European elder is also susceptible to a few diseases, including:
- Powdery Mildew: This fungal disease appears as a white or grayish powdery coating on the leaves and stems. It thrives in humid conditions and can be prevented by ensuring good air circulation around the plant. You can treat powdery mildew with fungicides or by pruning affected branches.
- Verticillium Wilt: This soilborne fungal disease can cause wilting, yellowing, and eventual death of the plant. Unfortunately, there is no cure for verticillium wilt. The best way to prevent it is to plant your elder in well-drained soil and avoid overwatering.
Organic Pest and Disease Control Methods
I always prefer using organic methods for pest and disease control whenever possible. Here are a few effective options:
- Neem Oil: This natural oil derived from the neem tree is effective against a wide range of pests and diseases.
- Insecticidal Soap: This soap-based spray is effective against soft-bodied insects like aphids and spider mites.
- Horticultural Oil: This oil-based spray smothers insects and mites.
- Copper Fungicide: This fungicide is effective against various fungal diseases, including powdery mildew.
Preventative Measures
Prevention is always better than cure. Here are a few preventative measures you can take to keep your elder healthy:
- Plant in a suitable location: Choose a location with well-drained soil and adequate sunlight.
- Provide good air circulation: Space plants adequately to ensure good air circulation.
- Water properly: Avoid overwatering and water at the base of the plant.
- Regularly inspect your plant: Look for any signs of pests or diseases.
By being proactive and addressing any problems promptly, you can keep your European elder healthy and productive for many years to come.
Propagating European Elder: Expanding Your Elder Patch
If you’re like me, once you’ve successfully grown one European elder, you’ll likely want more! Fortunately, propagating European elder is relatively easy, allowing you to expand your elder patch or share plants with friends and family. I’ve found that taking cuttings is the most reliable and straightforward method.
Taking Cuttings
The best time to take cuttings is in late winter or early spring, before new growth begins. You’ll want to select healthy, one-year-old stems that are about 10-12 inches long. Here’s a step-by-step guide:
- Select healthy stems: Choose stems that are free from disease and damage.
- Make the cuts: Use sharp, clean pruning shears to make a cut just below a node (the point where a leaf or branch grows from the stem).
- Remove lower leaves: Remove the leaves from the bottom half of the cutting.
- Plant the cuttings: You can root the cuttings in water or directly in a well-draining potting mix.
Rooting Cuttings in Water
To root cuttings in water, simply place them in a jar or glass filled with water, ensuring that the lower nodes are submerged. Change the water every few days to prevent bacterial growth. Within a few weeks, you should see roots developing. Once the roots are a few inches long, you can plant the cuttings in pots filled with potting mix.
Rooting Cuttings in Soil
To root cuttings directly in soil, dip the cut end in rooting hormone (optional) and plant them in a pot filled with well-draining potting mix. Keep the soil moist but not waterlogged. You can also create a mini-greenhouse by covering the pot with a plastic bag or placing it in a propagator. This will help to retain moisture and humidity.
Other Propagation Methods
While taking cuttings is the most common method, you can also propagate European elder from seed. However, as mentioned earlier, this method is more challenging and requires stratification. You can also propagate by layering, which involves bending a branch down and covering a portion of it with soil until it roots.
By using these propagation methods, you can easily expand your collection of European elder and enjoy its beauty and bounty for years to come.
Using Your European Elder Harvest: From Garden to Table (and More)
After all your hard work, the most exciting part arrives – using your bountiful harvest of elderflowers and elderberries! I always look forward to this stage, as it’s when you can truly appreciate the versatility and value of this wonderful plant.
Culinary Uses of Elderflowers
Elderflowers have a delicate, sweet fragrance and flavor that makes them a delightful addition to various culinary creations. Some popular uses include:
- Elderflower Syrup: This fragrant syrup can be used to flavor drinks, desserts, and even savory dishes.
- Elderflower Fritters: These light and crispy fritters are a delicious treat, especially when served with a dusting of powdered sugar.
- Elderflower Cordial: A refreshing drink made by infusing elderflowers in water with sugar and lemon.
Culinary Uses of Elderberries
Elderberries are rich in antioxidants and have a slightly tart flavor that pairs well with sweet and savory dishes. Some common uses include:
- Elderberry Syrup: This syrup is not only delicious but also known for its immune-boosting properties.
- Elderberry Jam: A flavorful jam that can be enjoyed on toast, scones, or as a filling for pastries.
- Elderberry Wine: A homemade wine with a unique flavor profile.
Medicinal Uses of Elderberries and Elderflowers
Both elderberries and elderflowers have been used in traditional medicine for centuries. Elderberries are particularly known for their potential to:
- Boost the immune system: They are rich in antioxidants and vitamins that can help strengthen the body’s defenses.
- Relieve cold and flu symptoms: Some studies suggest that elderberry extract may help reduce the duration and severity of cold and flu symptoms.
Elderflowers are traditionally used for their potential to:
- Reduce inflammation: They contain compounds that may help reduce inflammation in the body.
- Act as a diuretic: They may help increase urine production, which can be beneficial for certain conditions.
It’s important to note that while elderberries and elderflowers have been used traditionally for medicinal purposes, it’s always best to consult with a healthcare professional before using them to treat any specific health condition.
By exploring these various uses, you can fully appreciate the versatility of European elder and enjoy its benefits in many different ways.
FAQ:
I’ve compiled a list of frequently asked questions to address any remaining question you might have about growing European elder herbs.
How to grow European elder herbs in containers indoors?
Growing European elder herbs in containers indoors requires careful attention to specific needs. Choose a large container with drainage holes to accommodate the plant’s mature size. Use well-draining potting mix and provide bright, indirect light. Water regularly, allowing the soil to dry slightly between waterings. Fertilize lightly in spring and prune to maintain desired size.
How to grow European elder herbs from cuttings for beginners?
For beginners, propagating European elder herbs from cuttings is a straightforward method. Take 4-6 inch cuttings from healthy, new growth in spring or early summer. Remove lower leaves and dip the cut end in rooting hormone. Plant cuttings in moist potting mix and cover with plastic to retain humidity. Roots should develop in a few weeks.
How to grow European elder herbs organically in your backyard garden?
Growing European elder herbs organically involves using natural methods. Amend the soil with compost before planting and mulch with organic matter to retain moisture and suppress weeds. Water deeply and regularly, and fertilize with compost tea or organic fertilizer. Control pests with natural predators or organic sprays like neem oil.
How to grow European elder herbs in zone 6 for best berry production?
In zone 6, European elder herbs thrive with proper care. Plant in a sunny location with well-drained soil. Prune annually to remove dead or damaged wood and encourage new growth. Provide winter protection by mulching around the base of the plant.
How to grow European elder herbs and protect them from common pests?
Protecting European elder herbs from common pests involves regular monitoring and preventative measures. Encourage beneficial insects like ladybugs and lacewings, which prey on aphids and mites. Use insecticidal soap or neem oil for infestations.
How to grow European elder herbs for making homemade elderberry syrup?
Growing European elder herbs for homemade elderberry syrup requires patience and care. Harvest ripe berries in late summer or early fall. Use a gentle hand to remove the berries from the stems and simmer them with water and sugar to create a delicious and healthful syrup.
How to grow European elder herbs in partial shade in clay soil?
Growing European elder herbs in partial shade in clay soil requires amending the soil with organic matter to improve drainage. Choose a location that receives morning sun and afternoon shade. Water deeply and regularly, and mulch to retain moisture.
How to grow European elder herbs from seed to harvest in detail?
Growing European elder herbs from seed to harvest involves several steps. Start seeds indoors in late winter, providing warmth and moisture. Transplant seedlings outdoors after the last frost. Water regularly and fertilize lightly. Harvest flowers in spring and berries in late summer or early fall.
How to grow European elder herbs successfully in the Pacific Northwest?
In the Pacific Northwest, European elder herbs thrive in the region’s mild, wet climate. Plant in a sunny location with well-drained soil. Prune annually to maintain shape and remove dead or damaged wood.
How to grow European elder herbs and use them for traditional remedies?
Growing European elder herbs for traditional remedies involves harvesting flowers and berries at their peak ripeness. Dry flowers for tea or tinctures, and use fresh or dried berries for syrups, jams, or extracts. Consult a healthcare professional before using elderberry for medicinal purposes.
Conclusion: Cultivate Your Own Elder Bounty
Growing European elder herbs is a rewarding endeavor that offers a multitude of benefits. By following the tips and techniques outlined in this comprehensive guide, you can successfully cultivate your own thriving elder plants and enjoy their beauty, versatility, and healthful properties.
Remember, patience and consistent care are key to success in gardening. As you nurture your elder plants, you’ll not only reap the rewards of their fragrant flowers and antioxidant-rich berries but also develop a deeper connection with nature and the cycles of growth and renewal.
So, embrace the journey of growing European elder herbs, and let your garden flourish with the beauty and bounty of this remarkable plant.
