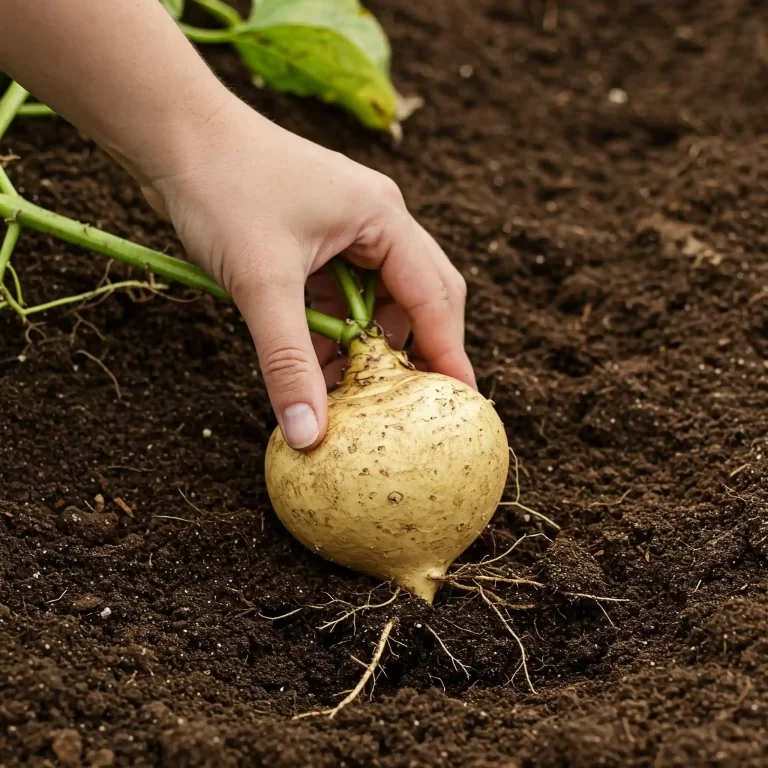
Are you tired of the same old salad greens? Do you crave a fresh, slightly bitter bite that adds depth and complexity to your meals? I know I used to feel that way. I was looking for something different, something I could grow myself, and that’s when I discovered endive. Many gardeners I’ve spoken with express a desire for more diverse and interesting greens in their gardens. They often find themselves stuck in a rut, planting the same lettuce and spinach year after year. This can lead to culinary boredom and a missed opportunity to explore the rich world of edible plants. You might be experiencing this right now, yearning for a new gardening challenge and a unique flavor to enhance your dishes. That’s precisely why I’m excited to share my knowledge on growing endive. It’s a rewarding experience that offers delicious, versatile greens you can enjoy in countless ways. Learning how to grow endive vegetable at home can bring fresh, crisp, slightly bitter greens to your table. This guide offers a complete overview of the process, from selecting the right variety to harvesting your own homegrown endive.
Understanding Endive: Types and Characteristics
Endive, scientifically known as Cichorium endivia, is a member of the chicory family, a group of plants known for their slightly bitter flavor. This bitterness, however, is what makes endive so appealing, adding a pleasant contrast to sweeter or more bland ingredients. I’ve found that this subtle bitterness becomes even more pronounced when the plant is stressed, such as during periods of drought. You’ll find that there are several distinct types of endive, each with its own unique characteristics:
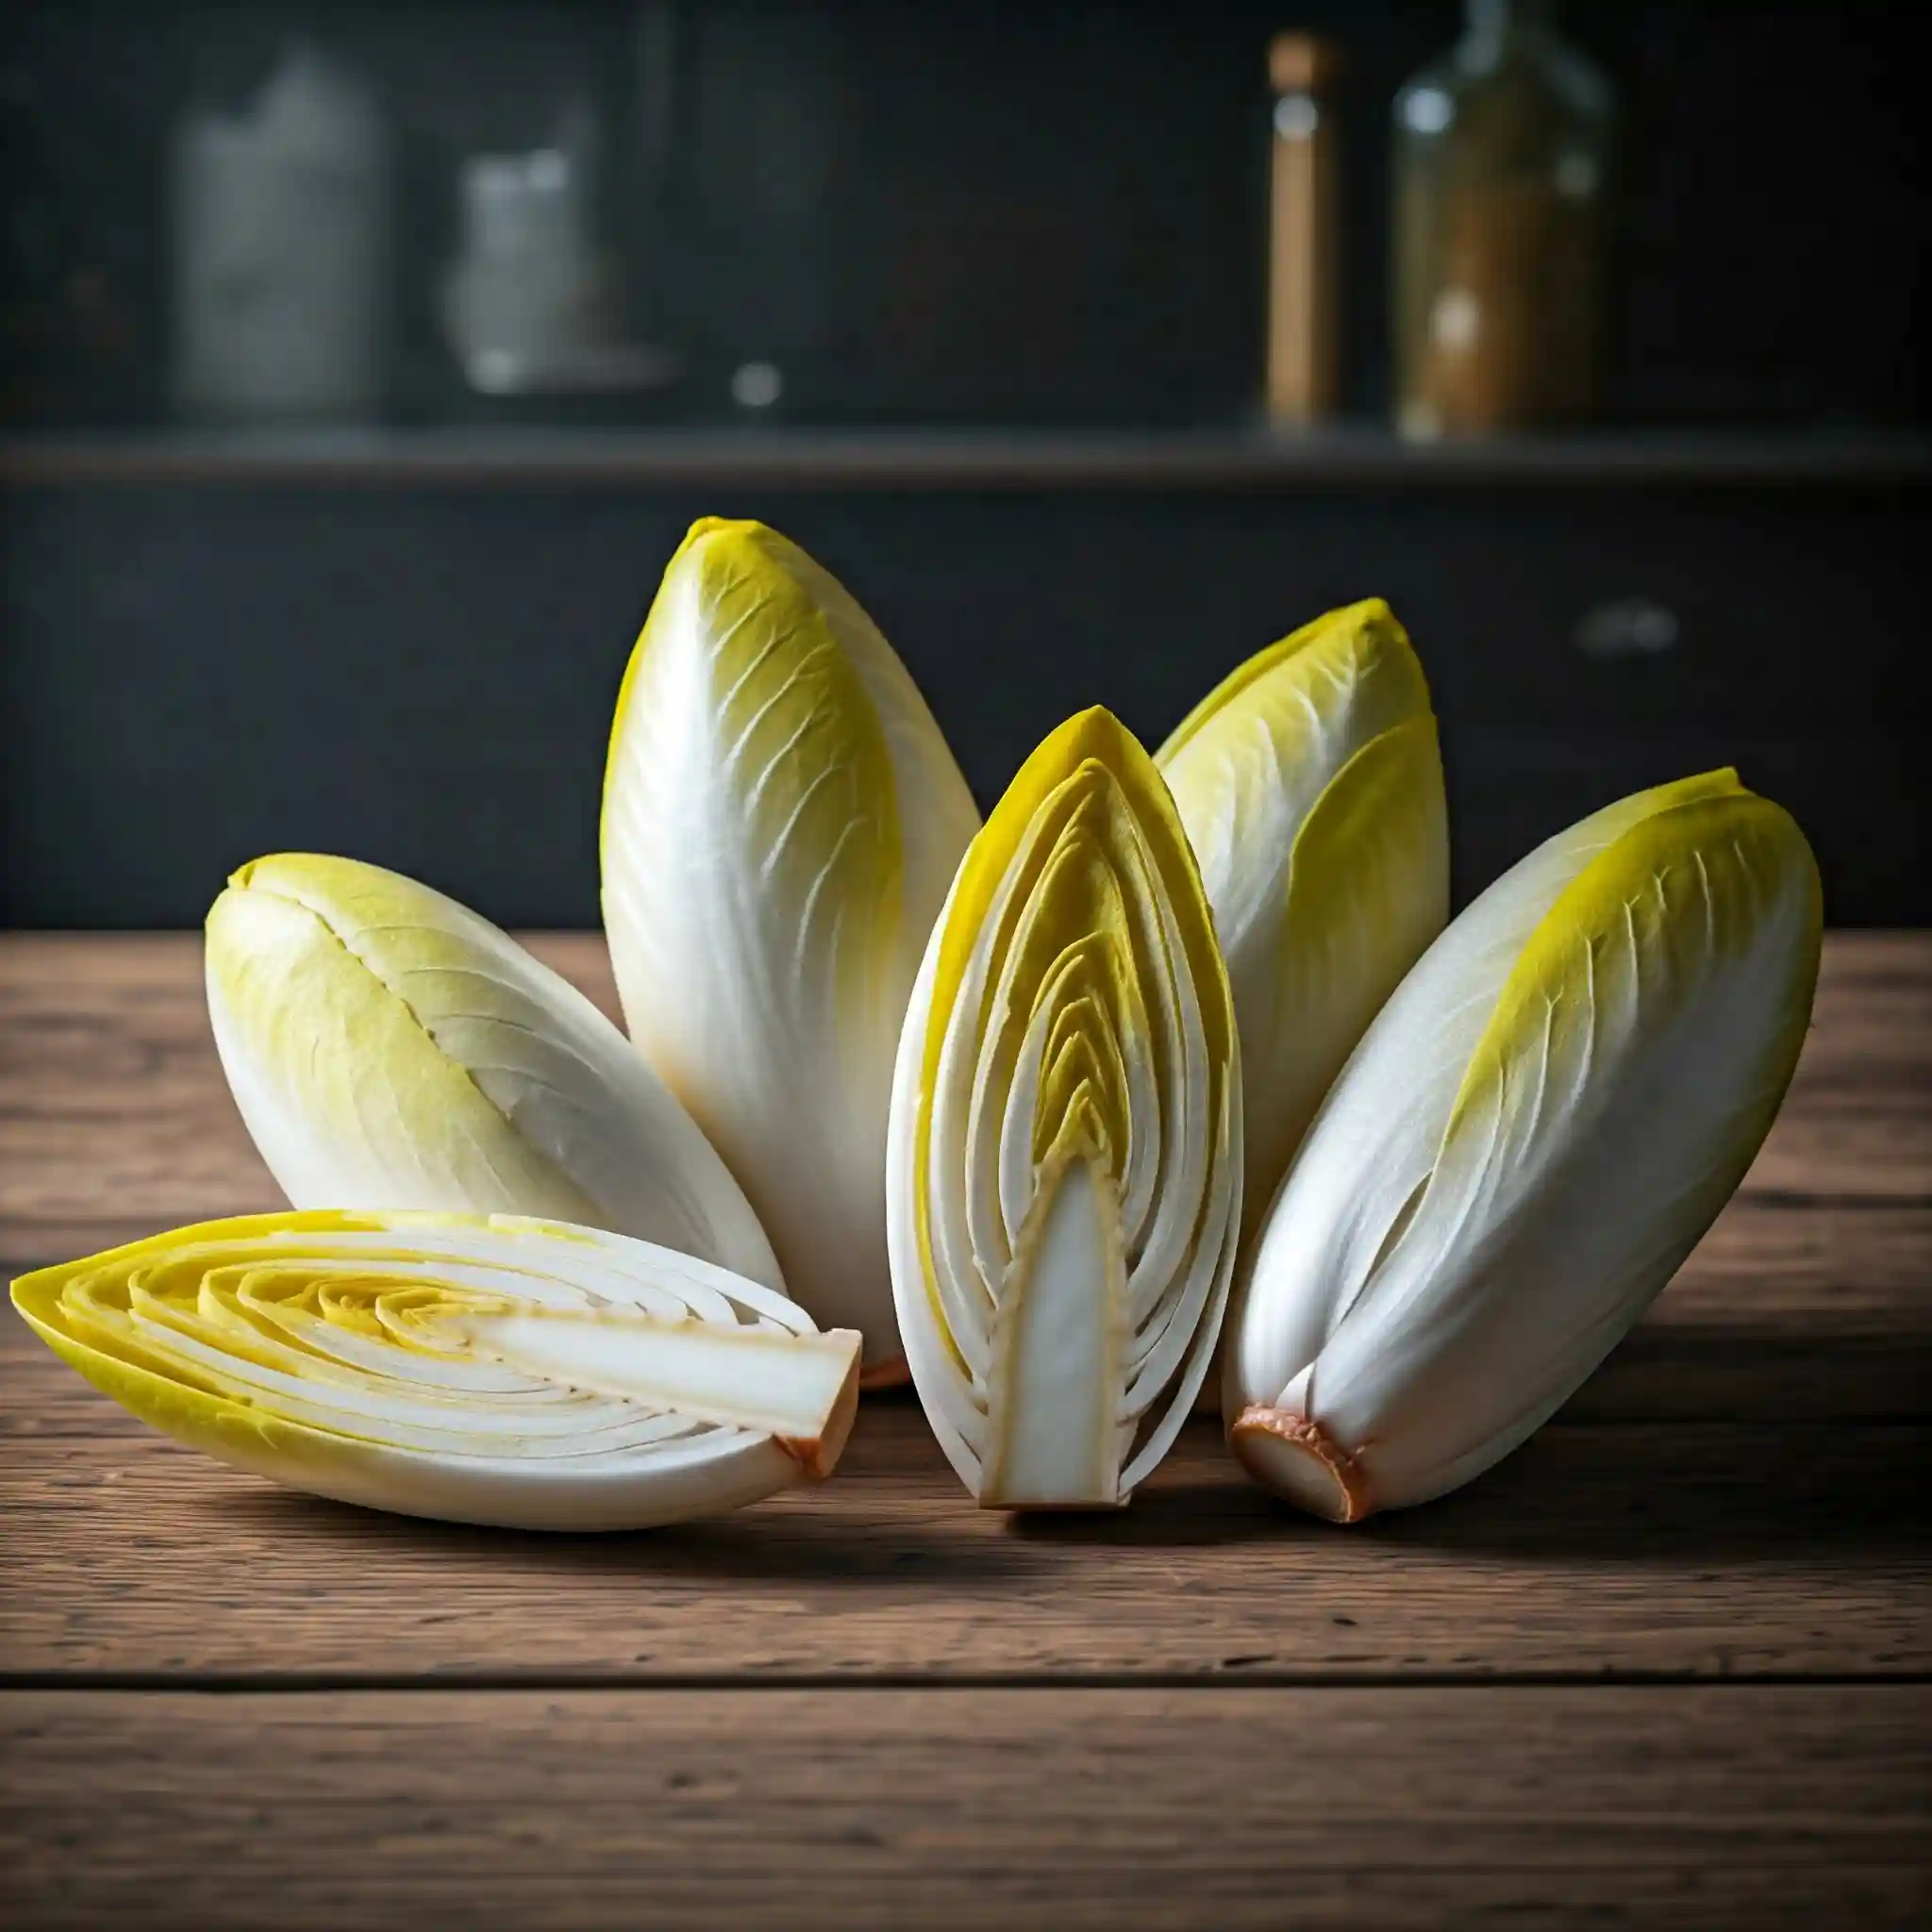
- Belgian Endive (Witloof): This variety is perhaps the most recognizable, with its tightly packed, pale yellow or white leaves forming a torpedo-shaped head. I’ve found that growing Belgian endive is a two-step process: first, you grow the roots, and then you “force” them in darkness to produce the characteristic pale leaves. This forcing process reduces chlorophyll production, hence the pale color. You’ll often see these referred to as “chicons”.
- Escarole: Escarole has broader, slightly ruffled leaves that are less tightly packed than Belgian endive. The outer leaves are typically darker green and more bitter, while the inner leaves are lighter and milder. I find that escarole is more tolerant of heat than other endive varieties.
- Frisée: Also known as curly endive, frisée has finely divided, feathery leaves that create a delicate, almost airy texture. It has a pronounced bitter flavor, which I personally enjoy in salads with strong vinaigrettes.
Endive’s flavor profile is described as bitter, but it’s not an unpleasant bitterness. I often describe it as a refreshing bitterness, especially when paired with complementary flavors like citrus, nuts, or cheese. The bitterness comes from compounds called sesquiterpene lactones. The intensity of this bitterness can vary depending on the specific variety, growing conditions, and even the time of year.
Nutritionally, endive is a powerhouse. It’s low in calories but packed with vitamins and minerals. I often recommend it to friends looking to add more nutrients to their diet without increasing their calorie intake. Here’s a brief nutritional overview:
Nutritional Value of Endive (per 100g)
| Nutrient | Amount |
| Calories | 17 |
| Vitamin K | 231% DV |
| Vitamin A | 93% DV |
| Folate | 34% DV |
| Fiber | 3.1g |
(DV = Daily Value)
As you can see, endive is an excellent source of Vitamin K, essential for blood clotting and bone health. It’s also a good source of Vitamin A, important for vision and immune function, and folate, crucial for cell growth and development. The fiber content contributes to digestive health.
Growing endive offers several advantages. The most obvious is access to fresh, high-quality greens right from your backyard. I’ve noticed a significant difference in taste between homegrown endive and store-bought varieties. The homegrown endive is crisper, fresher, and has a more vibrant flavor. You also have complete control over the growing process, ensuring that your endive is grown without harmful pesticides or chemicals. This is especially important to me as I strive to maintain an organic garden. And let’s not forget the cost savings! Growing your own endive can be significantly cheaper than buying it from the store, especially if you plan on enjoying it regularly.
Preparing to Grow Endive: Location, Soil, and Timing
Now that you understand the different types of endive and their characteristics, let’s dive into the practical aspects of growing them. The success of any gardening endeavor hinges on proper preparation, and growing endive is no exception. In my experience, three key factors play a crucial role: location, soil, and timing.
Location:
Endive, like many leafy greens, prefers a location that receives ample sunlight. However, unlike some sun-worshipping vegetables, endive benefits from some shade, especially during the hottest part of the day. I’ve found that providing about 4-6 hours of sunlight per day is ideal. This helps prevent the leaves from wilting or becoming too bitter. If you live in a particularly hot climate, providing afternoon shade is essential.
When choosing a location, consider the following:
- Sunlight: Aim for a spot that receives morning sun and afternoon shade.
- Protection from wind: Strong winds can damage the delicate leaves of endive.
- Accessibility: Choose a location that is easily accessible for watering, weeding, and harvesting.
Soil:
Endive thrives in well-draining soil that is rich in organic matter. I always amend my garden soil with compost or well-rotted manure before planting any leafy greens. This improves the soil’s structure, drainage, and nutrient content.
Here are some key soil considerations:
- Soil type: Loamy soil is ideal, but endive can tolerate other soil types as long as they are well-draining.
- Soil pH: Aim for a soil pH between 6.0 and 7.0. You can test your soil pH using a simple home test kit.
- Organic matter: Amend the soil with compost or manure to improve its fertility and water retention.
Timing:
Timing is crucial when growing endive. Endive is a cool-season crop, meaning it prefers cooler temperatures. I’ve had the best success planting endive in the spring or fall.
Here’s a general guideline for planting times:
- Spring planting: Plant after the last frost has passed.
- Fall planting: Plant 6-8 weeks before the first expected frost.
If you live in a climate with mild winters, you may be able to grow endive throughout the winter. However, in colder climates, you’ll need to protect your plants from frost.
Now, let’s delve into the specifics of planting endive, both from seeds and transplants.
How to Plant Endive: Seeds and Transplants
There are two main ways to start growing endive: from seeds or from transplants. Both methods have their advantages, and the best choice for you will depend on your experience level, available time, and resources. I’ve used both methods successfully in my garden, and I’m happy to share my insights with you.
Starting from Seeds:
Starting endive from seeds gives you the most control over the growing process, from germination to harvest. It’s also a more economical option, especially if you plan on growing a large number of plants. However, it requires a bit more patience and attention to detail.
Here’s a step-by-step guide to starting endive from seeds:
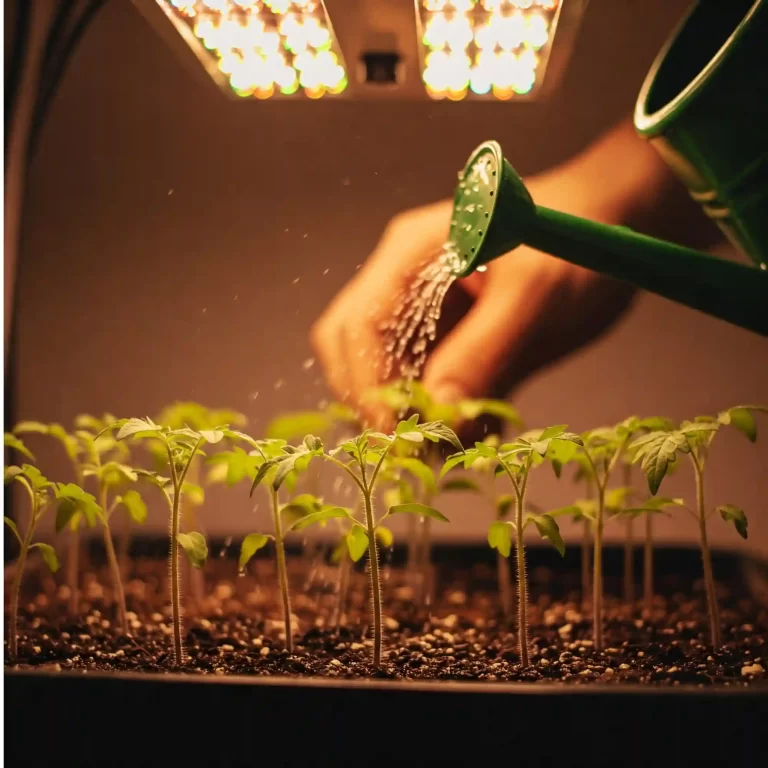
- Start indoors (optional): You can start endive seeds indoors about 4-6 weeks before the last expected frost. This gives your plants a head start and allows you to control the growing environment. I recommend using seed starting trays or small pots filled with a seed starting mix.
- Sow the seeds: Sow the seeds about ¼ inch deep and keep the soil moist but not soggy. Germination typically takes 7-10 days.
- Provide adequate light: Once the seedlings emerge, provide them with plenty of light. A sunny windowsill or grow lights will work well.
- Harden off the seedlings: Before transplanting your seedlings outdoors, you’ll need to “harden them off.” This process acclimates the plants to outdoor conditions. Gradually expose them to longer periods of outdoor sunlight and wind over a period of 7-10 days.
Using Transplants:
Using transplants is a quicker and easier option, especially if you’re new to gardening or don’t have the time to start seeds indoors. You can purchase endive transplants from most garden centers or nurseries.
Here’s how to plant endive transplants:
- Prepare the garden bed: Make sure the soil is loose, well-draining, and amended with compost or manure.
- Dig holes: Dig holes slightly larger than the root ball of the transplants.
- Plant the transplants: Gently remove the transplants from their containers and place them in the holes. Make sure the top of the root ball is level with the soil surface.
- Water thoroughly: Water the transplants immediately after planting.
Spacing:
Proper spacing is essential for healthy endive growth. I recommend spacing plants about 12-18 inches apart. This allows them plenty of room to grow and prevents overcrowding, which can lead to disease problems.
Here’s a quick recap of planting considerations:
- Seeds: Start indoors 4-6 weeks before the last frost or direct sow after the last frost.
- Transplants: Purchase from a reputable nursery and plant after the last frost.
- Spacing: 12-18 inches apart.
Now that your endive is planted, it’s time to focus on providing the care it needs to thrive.
Caring for Endive Plants: Watering, Fertilizing, and Weeding
Once your endive plants are in the ground, consistent care is key to a successful harvest. In my experience, the most important aspects of endive care are watering, fertilizing, and weeding.
Watering:
Endive needs consistent moisture to thrive, but it’s important to avoid overwatering, which can lead to root rot. I recommend watering deeply and regularly, especially during dry periods.
Here are some watering tips:
- Water deeply: Water deeply enough to moisten the soil to a depth of several inches.
- Water regularly: Water whenever the top inch of soil feels dry to the touch.
- Avoid overhead watering: Overhead watering can promote disease problems. Water at the base of the plants instead.
Fertilizing:
Endive benefits from regular fertilization, especially if your soil is not particularly rich in nutrients. I recommend using a balanced organic fertilizer.
Here are some fertilizing tips:
- Apply fertilizer at planting time: Mix a balanced organic fertilizer into the soil before planting.
- Side-dress with fertilizer: Side-dress your plants with fertilizer every few weeks during the growing season.
Weeding:
Weeds compete with endive plants for water and nutrients, so it’s important to keep your garden bed weed-free. I recommend weeding regularly by hand or using a hoe.
Here are some weeding tips:
- Weed regularly: Weed whenever you see weeds emerging.
- Mulch: Apply a layer of mulch around your plants to help suppress weeds.
By following these care tips, you’ll be well on your way to a bountiful harvest of fresh, delicious endive.
Protecting Endive from Pests and Diseases
Like all garden plants, endive can be susceptible to pests and diseases. However, with proper preventative measures and prompt action when problems arise, you can keep your endive plants healthy and productive. I’ve learned over the years that vigilance is key when it comes to pest and disease management in the garden.
Common Pests:
- Aphids: These small insects can suck the sap from endive leaves, causing them to wilt and yellow.
- Slugs and snails: These slimy pests can chew holes in endive leaves.
- Cutworms: These caterpillars can damage young endive plants by chewing through their stems.
Organic Pest Control Methods:
- Handpicking: Remove pests by hand and drop them into a bucket of soapy water.
- Insecticidal soap: Spray plants with insecticidal soap to control aphids and other soft-bodied insects.
- Slug and snail bait: Use organic slug and snail bait to protect your plants.
- Row covers: Cover your plants with row covers to prevent pests from reaching them.
Common Diseases:
- Downy mildew: This fungal disease can cause white or grayish patches on endive leaves.
- Root rot: This fungal disease can cause endive roots to rot.
Disease Prevention Strategies:
- Provide good air circulation: Space plants properly to allow for good air circulation.
- Avoid overhead watering: Water at the base of the plants to prevent fungal diseases.
- Remove infected leaves: Remove any infected leaves promptly to prevent the spread of disease.
By taking these preventative measures and addressing any pest or disease problems promptly, you can ensure a healthy and productive endive crop.
Harvesting and Storing Endive
The moment you’ve been waiting for – harvest time! Knowing when and how to harvest your endive is crucial for enjoying its optimal flavor and texture. I’ve found that the timing of the harvest can significantly impact the bitterness of the leaves.
When to Harvest Endive:
You can begin harvesting endive leaves once they reach a usable size, typically when the heads are about 4-6 inches in diameter. The outer leaves are usually harvested first, allowing the inner leaves to continue growing.
How to Harvest Endive Leaves:
- Use a sharp knife: Cut the outer leaves off at the base of the plant.
- Harvest in the morning: Harvest endive in the morning, after the dew has dried.
How to Store Endive:
Endive can be stored in the refrigerator for up to two weeks.
Here are some storage tips:
- Wrap in a damp paper towel: Wrap the endive in a damp paper towel and place it in a plastic bag.
- Store in the crisper drawer: Store the bag in the crisper drawer of your refrigerator.
By following these harvesting and storage tips, you can enjoy fresh, homegrown endive for weeks.
Forcing Belgian Endive: Growing Witloof
Belgian endive, also known as Witloof chicory, requires a special growing process called “forcing.” This process involves growing the roots in the garden and then forcing them to produce the characteristic pale leaves in a dark environment. I find this process fascinating, as it transforms the humble root into a delicate and flavorful vegetable.
Explanation of the Forcing Process:
The forcing process involves excluding light from the endive roots, which prevents chlorophyll production and results in the pale color of the leaves. This process also reduces the bitterness of the endive.
Step-by-Step Instructions on Forcing Belgian Endive:
- Grow the roots: Plant Belgian endive seeds in the spring and allow the plants to grow throughout the summer.
- Harvest the roots: In the fall, dig up the roots and trim the tops to about 1 inch.
- Force the roots: Place the roots in a dark container filled with moist sand or soil.
- Cover the container: Cover the container with a lid or black plastic to exclude light.
- Maintain moisture: Keep the sand or soil moist but not soggy.
- Harvest the chicons: After about 3-4 weeks, the chicons (pale leaves) will be ready to harvest.
By following these instructions, you can enjoy fresh, homegrown Belgian endive throughout the winter months.
I hope this comprehensive guide has provided you with all the information you need to successfully grow endive in your garden. With a little patience and care, you’ll be enjoying fresh, crisp, and slightly bitter greens in no time.
FAQ (Frequently Asked Questions)
I’ve compiled a list of frequently asked questions to address some common concerns and provide further clarification on growing endive:
- How to grow endive vegetable in raised garden beds?
Growing endive in raised beds is a great option, especially if you have poor soil or limited space. Here are some tips:- Choose a raised bed that is at least 12 inches deep.
- Fill the bed with a well-draining potting mix or a combination of garden soil and compost.
- Plant your endive seedlings or transplants according to the spacing recommendations mentioned earlier.
- Water regularly and fertilize as needed.
- How to grow endive vegetable from seed indoors for winter harvest?
Starting endive from seed indoors is a great way to get a head start on the growing season or to ensure a winter harvest. Here’s how:- Start your seeds indoors about 4-6 weeks before the last expected frost or about 10-12 weeks before your desired harvest time.
- Sow the seeds in seed starting trays or small pots filled with a seed starting mix.
- Keep the soil moist and provide adequate light.
- Once the seedlings have developed a few sets of true leaves, transplant them into larger pots or into your garden bed.
- Best way to grow endive vegetable in hot summer climates?
Growing endive in hot summer climates can be challenging, but it’s not impossible. Here are some tips:- Choose a location that provides some afternoon shade.
- Water regularly to keep the soil moist but not soggy.
- Mulch around your plants to help retain moisture and keep the soil cool.
- Consider growing heat-tolerant varieties like escarole.
- Easy steps on how to grow endive vegetable in containers on a patio?
Growing endive in containers is a great option for those with limited space. Here are some easy steps:- Choose a container that is at least 12 inches deep and has drainage holes.
- Fill the container with a well-draining potting1 mix.
- Plant your endive seedlings or transplants according to the spacing recommendations mentioned earlier.
- Water regularly and fertilize as needed.
- How to grow endive vegetable and prevent it from bolting in spring?
Bolting, or premature flowering, can be a problem for endive, especially in warm weather. Here are some tips to prevent bolting:- Plant endive in the spring or fall, when temperatures are cooler.
- Provide some afternoon shade.
- Water regularly to keep the soil moist.
- Harvest your endive promptly once it’s ready.
- How to grow endive vegetable and protect it from slugs and snails?
Slugs and snails can be a nuisance for endive growers. Here are some tips to protect your plants:- Handpick slugs and snails and drop them into a bucket of soapy water.
- Use organic slug and snail bait.
- Create barriers around your plants using copper tape or crushed eggshells.
Conclusion
Growing endive can be a rewarding experience, providing you with fresh, flavorful greens throughout the growing season. By following the tips and techniques outlined in this guide, you can successfully grow endive in your own garden, regardless of your experience level or climate. So, why not give it a try? You might just discover a new favorite vegetable!
