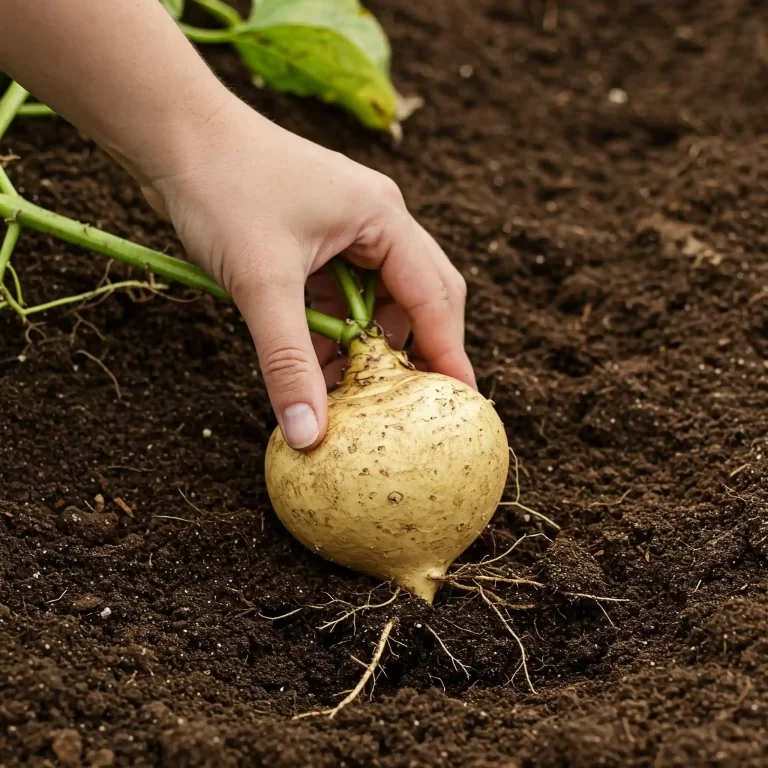
Are you tired of bland, store-bought greens that lack flavor and freshness? Do you dream of harvesting your own vibrant, nutritious vegetables right from your backyard? I understand the frustration of wanting fresh produce but not knowing where to start. Many new gardeners feel overwhelmed by the process, unsure of the right techniques and worried about potential pitfalls. But growing your own food, especially something as easy and rewarding as chard, doesn’t have to be daunting. I’m here to tell you that with a few simple steps, you can cultivate a thriving chard patch and enjoy fresh, delicious greens all season long. In this guide, I’ll share my experience and knowledge on how to grow chard vegetable, offering practical tips and advice to help you succeed, even if you’re a complete beginner.
Choosing the Right Chard Variety
Choosing the right variety is the first step towards a successful chard harvest. I’ve grown several different types over the years, and I’ve found that each has its own unique characteristics. You might be surprised by the sheer variety available! From vibrant rainbow chard to the robust Fordhook Giant, there’s a chard out there for every garden and palate.
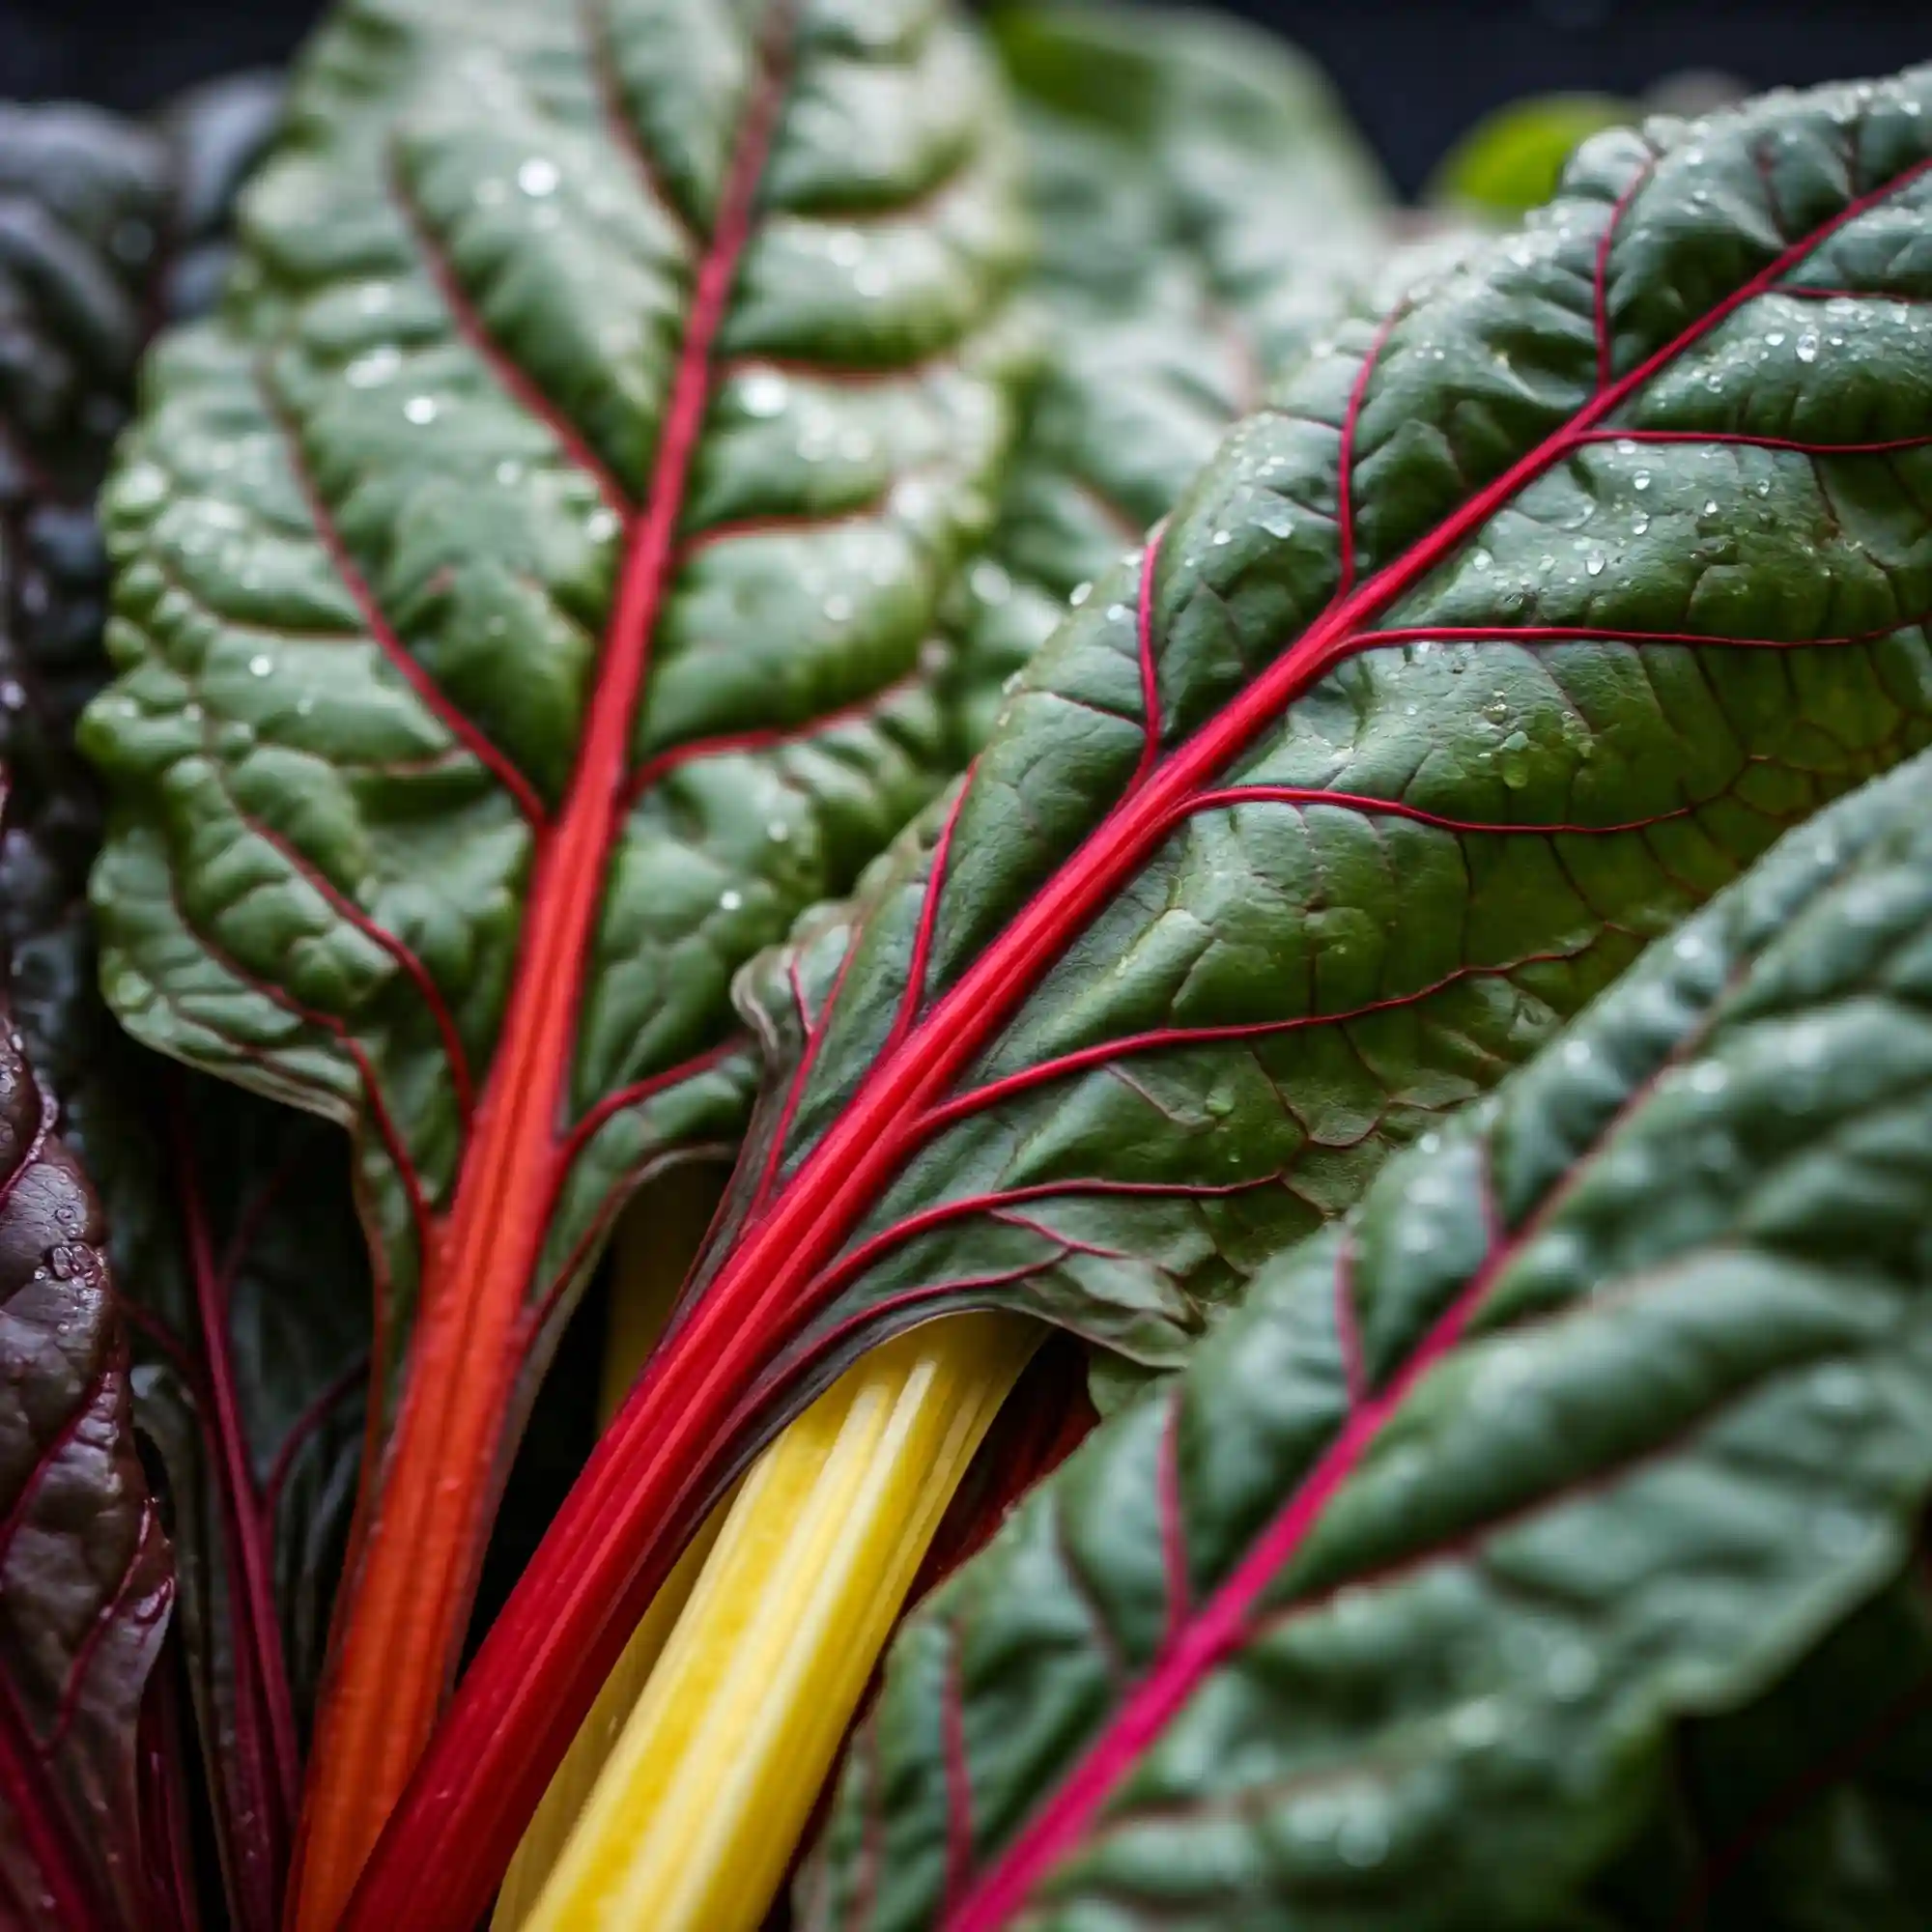
Rainbow Chard: This variety is a feast for the eyes, boasting stems in a spectrum of colors—red, yellow, orange, pink, and white. It’s not just about looks, though; Rainbow Chard is known for its mild flavor and tender leaves, making it a great choice for salads and sautés. I’ve found it to be particularly resilient in my garden, holding up well even during periods of fluctuating weather.
Fordhook Giant: As the name suggests, this variety produces large, dark green leaves with thick, white stalks. It has a slightly stronger flavor than Rainbow Chard and is excellent for cooking. If you’re looking for a chard that can stand up to stir-fries or hearty stews, Fordhook Giant is a solid bet. I remember one year when I planted Fordhook Giant; the leaves were so big I could barely fit them in my salad spinner!
Lucullus: This is a classic green chard variety with crinkled leaves and a mild, spinach-like flavor. It’s a reliable producer and a good choice for those who prefer a more traditional chard taste. I often recommend Lucullus to beginner gardeners because it’s relatively low-maintenance and consistently yields a good harvest.
Other Notable Varieties:
- Bright Lights: Similar to Rainbow Chard but with even more vibrant stem colors.
- Rhubarb Chard: Features deep red stalks and green leaves, adding a splash of color to any garden.
When selecting your chard variety, consider your local climate and growing conditions. Some varieties are more heat-tolerant, while others thrive in cooler temperatures. You should also think about how you plan to use your chard. If you primarily want it for salads, a tender variety like Rainbow Chard is a good choice. If you’re planning to cook it, a heartier variety like Fordhook Giant might be better.
Here’s a quick comparison of some popular chard varieties:
| Variety | Leaf Color | Stem Color | Flavor | Best Use |
| Rainbow Chard | Green | Mixed (Red, Yellow, Orange, Pink, White) | Mild | Salads, Sautéing |
| Fordhook Giant | Dark Green | White | Slightly Stronger | Cooking, Stews |
| Lucullus | Green | White | Mild, Spinach-like | Versatile |
| Bright Lights | Green | Mixed (More Vibrant than Rainbow) | Mild | Salads, Sautéing |
| Rhubarb Chard | Green | Deep Red | Mild, Earthy | Cooking, Ornamental |
I always recommend trying a couple of different varieties to see which ones perform best in your garden and which flavors you prefer. It’s a fun way to experiment and discover new favorites. Remember, growing chard is about enjoying the process and reaping the rewards of fresh, homegrown produce. You can find seed packets at your local garden center or order them online.
Planting Chard: Seeds vs. Seedlings
While choosing the right variety sets the stage, the way you plant your chard significantly impacts its growth. You have two main options: starting from seeds or transplanting seedlings. Each has its own advantages, and I’ve used both methods successfully in my garden.
Starting from Seeds:
Starting from seed gives you more control over the entire growing process. It’s also generally more economical. Here’s how I approach it:
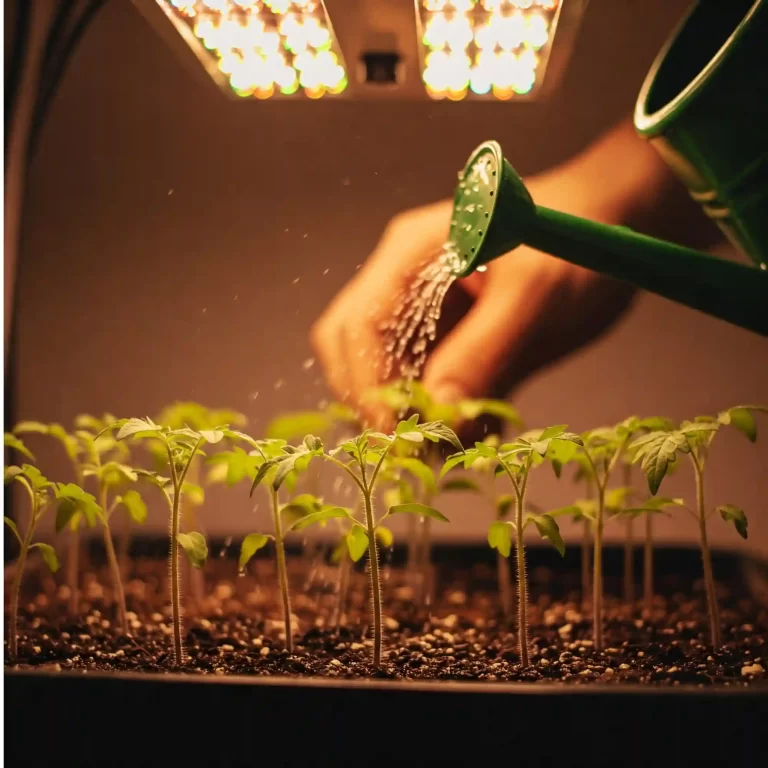
- Indoor Starting (Optional): If you live in a region with a short growing season, starting your chard seeds indoors 4-6 weeks before the last expected frost can give them a head start. I use seed starting trays and a well-draining seed starting mix. Plant the seeds about ½ inch deep and keep the soil consistently moist. You’ll want to place the trays in a warm location, ideally with grow lights, until the seedlings are ready to transplant.
- Direct Sowing: Once the danger of frost has passed and the soil has warmed up to at least 50°F (10°C), you can direct sow chard seeds into your garden bed. I prepare the bed by loosening the soil and amending it with compost. Create shallow furrows about ½ inch deep and space them 12-18 inches apart. Sow the seeds about 1 inch apart within the furrows.
- Germination: Chard seeds typically germinate within 7-14 days. Keep the soil consistently moist during this period. Once the seedlings emerge, thin them to 6-12 inches apart, depending on the variety. This gives them enough room to grow and prevents overcrowding.
Transplanting Seedlings:
If you prefer a quicker start, you can purchase chard seedlings from a local nursery or garden center. When transplanting, I follow these steps:
- Harden Off Seedlings: If you started your seedlings indoors, gradually acclimate them to outdoor conditions by placing them in a sheltered spot for a few hours each day over the course of a week. This process, known as “hardening off,” helps them adjust to the sun, wind, and temperature fluctuations.
- Prepare the Planting Hole: Dig a hole slightly larger than the seedling’s root ball.
- Gently Remove Seedling: Carefully remove the seedling from its container, being mindful not to damage the roots.
- Plant at the Same Depth: Place the seedling in the hole, ensuring that the top of the root ball is level with the surrounding soil.
- Water Thoroughly: Water the newly transplanted seedling thoroughly to help it settle in.
Timing is Key:
The best time to plant chard depends on your local climate. In most regions, you can plant chard in early spring for a summer harvest or in late summer for a fall/winter harvest in milder climates. I’ve found that chard can tolerate light frosts, which makes it a great option for extending the growing season.
Whether you choose to start from seed or transplant seedlings, remember that consistent moisture and well-prepared soil are essential for successful chard growth. I always encourage you to experiment and find what works best for your garden.
Creating the Ideal Growing Conditions for Chard
Just like us, chard plants have certain preferences when it comes to their living environment. Providing the right conditions is crucial for them to thrive and produce those delicious, vibrant leaves we’re after. Over the years, I’ve learned that three key factors play a significant role: sunlight, soil, and pH.
Sunlight: Finding the Sweet Spot
Chard is a sun-loving plant, but it’s also quite adaptable. Ideally, it prefers full sun, which means at least 6 hours of direct sunlight per day. However, I’ve found that it can also tolerate partial shade, especially in hotter climates. If you live in a region with intense summer heat, providing some afternoon shade can prevent the leaves from wilting or scorching.
Soil: The Foundation of Growth
The type of soil you have in your garden can greatly impact your chard’s growth. Chard prefers well-draining soil that is rich in organic matter. This type of soil retains moisture while also allowing excess water to drain away, preventing root rot. If your soil is heavy clay or sandy, you can amend it with compost or other organic matter to improve its structure and fertility.
pH: Maintaining the Balance
Soil pH is a measure of its acidity or alkalinity. Chard thrives in soil with a slightly acidic to neutral pH, ranging from 6.0 to 7.0. You can test your soil’s pH using a simple home test kit or by sending a sample to your local agricultural extension office. If your soil is too acidic, you can add lime to raise the pH. If it’s too alkaline, you can add sulfur to lower it.
Additional Tips for Creating Ideal Growing Conditions:
- Location, Location, Location: When choosing a location for your chard, consider factors such as sunlight, drainage, and proximity to a water source.
- Soil Preparation: Before planting, loosen the soil and remove any rocks or debris. Amend the soil with compost or other organic matter to improve its fertility.
- Watering: Water your chard regularly, especially during dry periods. Aim to keep the soil consistently moist but not waterlogged.
- Mulching: Apply a layer of mulch around your chard plants to help retain moisture, suppress weeds, and regulate soil temperature.
By providing the right growing conditions, you can ensure that your chard plants thrive and produce a bountiful harvest of nutritious and delicious leaves.
Caring for Your Chard Plants
Once your chard is planted and thriving in its ideal environment, a little ongoing care will ensure a continuous harvest of fresh, tender leaves. Think of it as nurturing a friendship – consistent attention and a bit of understanding go a long way. From my experience, the key aspects of chard care are watering, fertilizing, and protecting your plants from unwanted guests.
Watering: Finding the Right Balance
Chard enjoys consistent moisture, but like many of us, it doesn’t appreciate being waterlogged. I’ve learned that the key is to water deeply and regularly, especially during dry periods. Aim for about 1 inch of water per week, either from rainfall or irrigation. When watering, try to avoid wetting the leaves, as this can encourage fungal diseases. Instead, focus on watering the soil at the base of the plant. A good rule of thumb is to water when the top inch of soil feels dry to the touch.
Fertilizing: Providing a Nutritional Boost
To encourage healthy growth and abundant leaves, I like to give my chard plants a nutritional boost. You can do this bySide dress plants with compost or well-rotted manure, or by using a balanced organic fertilizer. I usually fertilize every 4-6 weeks during the growing season. If you’re using a liquid fertilizer, dilute it according to the instructions on the package to avoid burning the plants.
Weeding and Mulching: Keeping Things Tidy
Weeds can compete with your chard for water and nutrients, so it’s important to keep your garden bed weed-free. I find that regular hand-weeding is the most effective method. You can also apply a layer of mulch around your plants to help suppress weeds and retain moisture in the soil. Mulch also helps regulate soil temperature, which can be beneficial during hot summer months.
Pest and Disease Control: Protecting Your Crop
While chard is relatively pest-resistant, there are a few common culprits to watch out for. Aphids, slugs, and snails can sometimes be a nuisance. I prefer to use organic methods to control these pests, such as hand-picking them off the plants or using natural predators like ladybugs. For fungal diseases, good air circulation and avoiding overhead watering can help prevent problems. If you do encounter a serious pest or disease issue, consult your local garden center for advice on appropriate treatments.
Additional Tips for Caring for Your Chard:
- Remove yellowing leaves: This encourages new growth and keeps your plants looking tidy.
- Monitor for bolting: Bolting is when the plant prematurely goes to seed, usually due to heat stress. If your chard starts to bolt, you can still harvest the leaves, but they may become slightly bitter.
- Extend your harvest: By succession planting (planting new seeds every few weeks), you can enjoy a continuous harvest of chard throughout the growing season.
Harvesting Your Chard
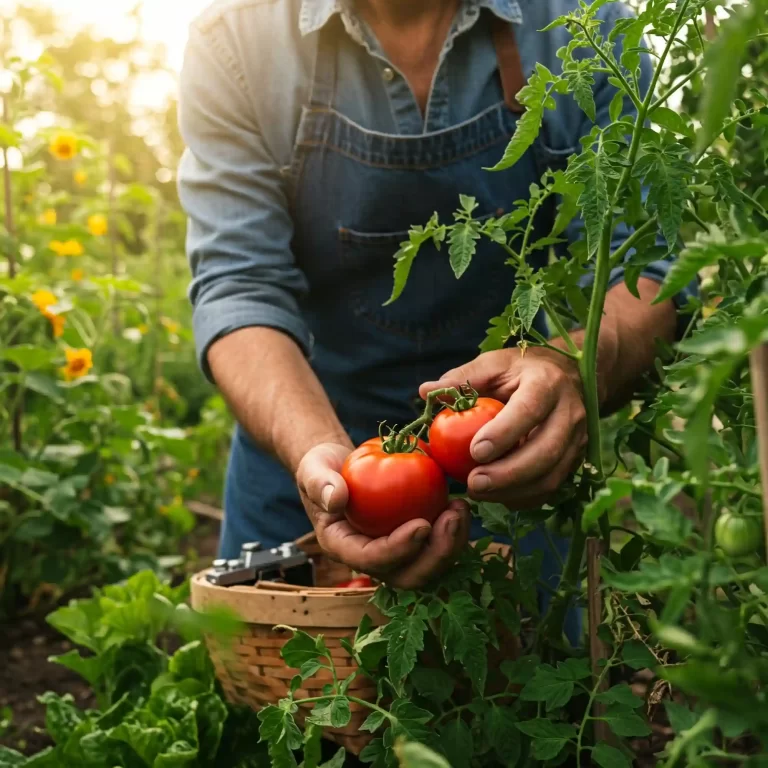
After all your hard work, the most rewarding part of growing chard is finally here – harvesting those beautiful, nutritious leaves! I remember the first time I harvested chard from my own garden; there’s something truly special about bringing fresh produce from your backyard to your table. Knowing you nurtured it from seed to harvest adds an extra layer of satisfaction to the meal.
When to Harvest:
You can start harvesting chard as soon as the outer leaves are about 6 inches long. Baby chard leaves are incredibly tender and perfect for salads. For cooked dishes, you can wait until the leaves are larger and more mature. I usually harvest when the leaves are about 10-12 inches long.
How to Harvest:
The best way to harvest chard is to cut the outer leaves near the base of the plant, about 1-2 inches above the ground. This allows the inner leaves to continue growing, providing you with a continuous harvest for several weeks or even months. Avoid cutting the central bud, as this will prevent the plant from producing new leaves.
Tips for Extending the Harvest Season:
- Succession Planting: Plant new chard seeds every few weeks to ensure a continuous supply of fresh leaves throughout the growing season.
- Cut-and-Come-Again Harvesting: By harvesting the outer leaves regularly, you encourage the plant to produce new growth, extending your harvest period.
- Overwintering: In mild climates, you can overwinter your chard plants by protecting them with a layer of mulch. This will allow you to harvest leaves throughout the winter and into the following spring.
Post-Harvest Care:
After harvesting, you can store your chard leaves in the refrigerator for up to a week. To keep them fresh, wrap them in a damp cloth or store them in a plastic bag with a few air holes.
Enjoying Your Harvest:
Chard is a versatile vegetable that can be used in a variety of dishes. You can enjoy it raw in salads, sautéed with garlic and olive oil, or added to soups, stews, and frittatas. The stems are also edible and can be cooked like asparagus.
Additional Tips for Harvesting Chard:
- Harvest in the morning: The leaves are crisper and more hydrated in the morning.
- Use a sharp knife or shears: This will ensure a clean cut and prevent damage to the plant.
- Handle with care: Chard leaves can be delicate, so handle them gently to avoid bruising.
By following these simple tips, you can enjoy a bountiful harvest of fresh, homegrown chard all season long.
Frequently Asked Questions (FAQ)
I’ve compiled a list of frequently asked questions to address any remaining curiosities you might have about growing chard.
- How to grow chard vegetable in raised garden beds?
Raised garden beds offer excellent drainage and allow you to control the soil quality more easily. When growing chard in raised beds, ensure the bed is at least 12 inches deep to accommodate the plant’s root system. You can follow the same planting and care instructions as for growing chard in the ground.
- How to grow chard vegetable from seed in containers?
Chard thrives in containers, making it an excellent option for those with limited space. Choose a container that is at least 12 inches deep and has drainage holes. Use a well-draining potting mix and follow the same planting and care instructions as for growing chard in the ground.
- How to grow chard vegetable organically without using pesticides?
Organic chard growing involves using natural methods to fertilize and protect your plants. You can use compost, well-rotted manure, or organic fertilizers to provide nutrients. For pest control, you can hand-pick pests off the plants or use natural predators like ladybugs.
- How to grow chard vegetable in hot climates with full sun?
Chard can tolerate full sun, but in hot climates, it benefits from some afternoon shade. You can provide shade by planting it near taller plants or using shade cloth. Ensure the soil is consistently moist, as chard is more susceptible to wilting in hot weather.
- How to grow chard vegetable for beginners with simple tips?
Growing chard is relatively easy, even for beginners. Start with well-draining soil, provide consistent moisture, and fertilize regularly. Harvest the outer leaves as needed, and you’ll have a continuous supply of fresh chard throughout the growing season.
- How to grow chard vegetable and protect it from common pests?
Chard is relatively pest-resistant, but a few common pests to watch out for include aphids, slugs, and snails. You can control these pests by hand-picking them off the plants or using organic pest control methods.
- How to grow chard vegetable during the summer heat effectively?
To grow chard effectively during the summer heat, provide some afternoon shade and ensure the soil is consistently moist. You can also apply a layer of mulch to help retain moisture and regulate soil temperature.
- How to grow chard vegetable in small spaces like balconies or patios?
Chard is well-suited for small spaces, as it can be grown in containers. Choose a container that is at least 12 inches deep and has drainage holes. Use a well-draining potting mix and follow the same planting and care instructions as for growing chard in the ground.
- How to grow chard vegetable indoors during the winter months?
To grow chard indoors during the winter months, you’ll need to provide adequate light. A sunny windowsill or grow lights can provide the necessary light. Ensure the soil is consistently moist and fertilize regularly.
- How to grow chard vegetable successfully and harvest large healthy leaves?
To grow chard successfully and harvest large, healthy leaves, provide well-draining soil, consistent moisture, and regular fertilization. Harvest the outer leaves as needed, and you’ll have a continuous supply of fresh chard throughout the growing season.
Conclusion
Growing chard is a rewarding experience that can provide you with a continuous supply of fresh, nutritious greens throughout the growing season. Whether you’re a seasoned gardener or just starting out, I encourage you to give it a try. With a little care and attention, you can enjoy the delicious flavors and health benefits of homegrown chard.
Further Reading
I hope this article has provided you with the information you need to start growing your own chard. If you have any further questions, please feel free to leave a comment below.
