Are you longing for a garden that not only looks beautiful but also offers a sense of peace and tranquility? Do you find yourself drawn to the idea of growing your own herbs, but feel overwhelmed by where to start? Many people, just like you, dream of having a thriving herb garden, but the initial steps can seem daunting. You might be struggling with limited space, unsure of which herbs are easy to grow, or perhaps you’ve tried before with little success. The thought of nurturing plants from seed to harvest can feel like a big commitment, especially with busy schedules.
Imagine wanting to unwind after a long day with a soothing cup of herbal tea, only to realize you don’t have the fresh ingredients on hand. Or perhaps you’ve spent money on store-bought dried herbs, only to find they lack the vibrant flavor and aroma of homegrown ones. This can be frustrating, especially when you consider the potential health benefits and the sheer joy of harvesting your own produce. You may have even tried growing herbs before, only to be met with disappointment when they fail to thrive. This can lead to feelings of discouragement and a reluctance to try again.
I’m here to tell you that growing your own chamomile herbs is not only achievable but also incredibly rewarding. It’s a fantastic starting point for any aspiring herb gardener. Chamomile is relatively easy to grow, even for beginners, and it offers a multitude of benefits, from its calming properties when brewed as tea to its delicate beauty in the garden. In this comprehensive guide, I will share my years of experience and knowledge, providing you with step-by-step instructions on how to grow chamomile herbs successfully. You’ll learn everything from seed starting and propagation to caring for mature plants and harvesting their fragrant flowers. By the end of this guide, you’ll be well-equipped to cultivate your own chamomile patch and enjoy the many rewards it brings. Learning how to grow chamomile herbs can be a simple and satisfying way to bring a touch of nature’s tranquility into your life.
Growing chamomile herbs is a rewarding experience, bringing a touch of tranquility to your garden and a soothing cup of tea to your day. This guide will walk you through everything you need to know about how to grow chamomile herbs successfully, whether you’re a seasoned gardener or just starting out. We’ll cover planting, caring for, and harvesting this versatile herb, ensuring you have a flourishing chamomile patch. This guide focuses on How to Grow Chamomile Herbs, making it your go-to resource.
How to Grow Chamomile Herbs: A Complete Guide
Growing chamomile is a simple and rewarding process. I’ve found that with a little care and attention, you can easily cultivate these cheerful flowers in your own garden. Chamomile, known for its calming properties and delicate, apple-like fragrance, is a wonderful addition to any herb garden. Whether you’re planning to brew soothing teas, create fragrant potpourris, or simply enjoy its beauty, understanding how to grow chamomile herbs is a valuable skill. In this comprehensive guide, I’ll share my insights and practical tips on how to grow chamomile herbs, covering everything from seed starting to harvesting, ensuring you have a thriving chamomile patch. You can grow chamomile herbs successfully by following these steps.
Chamomile Varieties:
Before diving into the specifics of how to grow chamomile herbs, it’s important to understand there are two main types you’ll encounter: German chamomile (Matricaria recutita) and Roman chamomile (Chamaemelum nobile). While both offer similar benefits, there are key differences that might influence your choice.
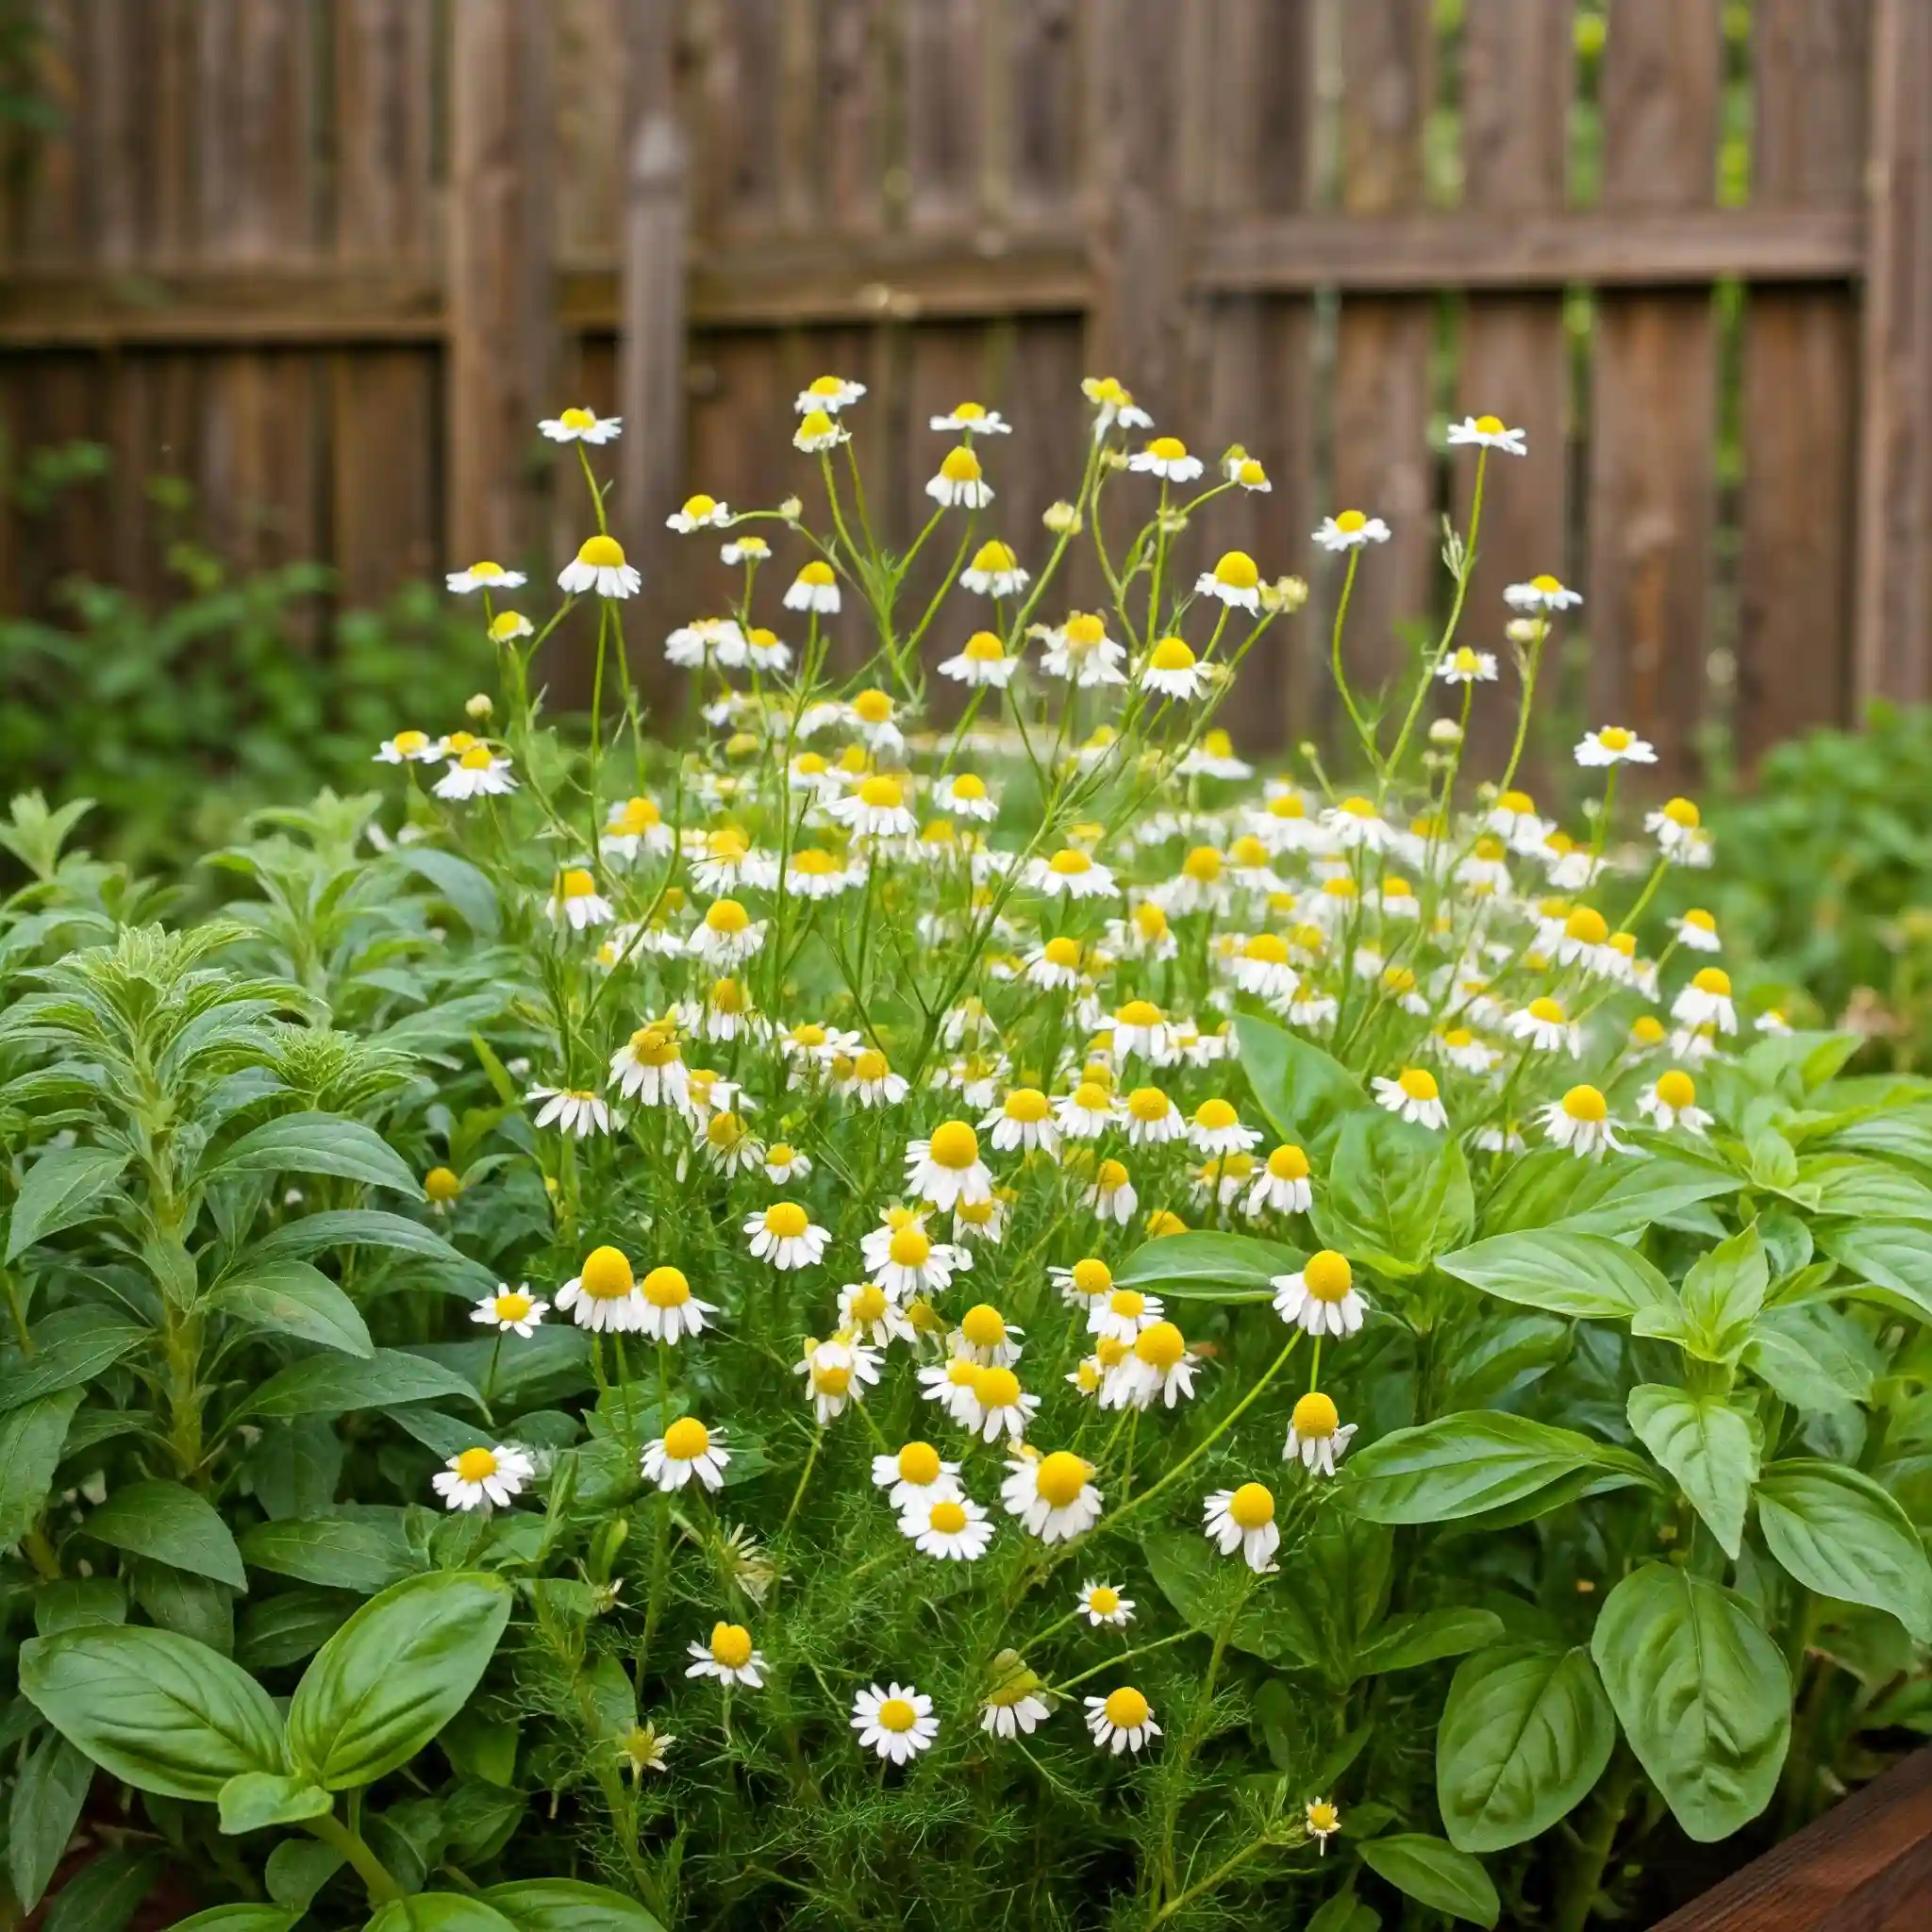
- German Chamomile (Matricaria recutita): This is the variety most commonly used for making tea. It’s an annual plant, meaning it completes its life cycle in one year. German chamomile grows taller, reaching up to two feet, and produces more abundant flowers. I’ve found it to be particularly vigorous, often self-seeding in my garden.
- Roman Chamomile (Chamaemelum nobile): This is a perennial plant, meaning it lives for multiple years. Roman chamomile grows lower to the ground, forming a creeping mat, making it suitable for ground cover. It has a slightly less intense flavor than German chamomile. I sometimes use it to create a fragrant, walkable lawn.
Key Differences Between German and Roman Chamomile
| Feature | German Chamomile (Matricaria recutita) | Roman Chamomile (Chamaemelum nobile) |
| Life Cycle | Annual | Perennial |
| Growth Habit | Upright, taller (up to 2 feet) | Creeping, low-growing |
| Flower Abundance | More abundant flowers | Fewer flowers |
| Flavor | Stronger, more intense | Milder |
| Best Use | Tea, medicinal purposes | Ground cover, ornamental uses |
Knowing these differences is crucial when considering how to grow chamomile herbs in your specific garden.
Why Grow Chamomile?
Beyond its ease of cultivation, chamomile offers a plethora of reasons to include it in your garden. I’ve personally experienced many of these benefits, and I encourage you to discover them for yourself.
- Soothing Tea: Chamomile tea is renowned for its calming properties. I often brew a cup before bed to promote relaxation and improve sleep. You can do this too.
- Medicinal Uses: Chamomile has been used for centuries in traditional medicine to treat various ailments, including anxiety, digestive issues, and skin irritations.
- Pollinator Attraction: The small, daisy-like flowers attract beneficial insects like bees and butterflies to your garden, promoting biodiversity.
- Companion Planting: Chamomile is a good companion plant for many other garden vegetables and herbs, as it is believed to have beneficial effects on their growth.
- Aesthetic Appeal: The delicate white flowers with yellow centers add a touch of charm to any garden setting.
Getting Started with Growing Chamomile:
Now that you understand the basics of chamomile, let’s get into the practical steps of how to grow chamomile herbs. You have two primary options for starting your chamomile patch: seeds or cuttings.
Growing Chamomile from Seed:
Starting from seed is a cost-effective way to establish a large chamomile patch. Here’s how I approach it:
- Timing: I typically start my chamomile seeds indoors about 6-8 weeks before the last expected frost in my area. This gives the seedlings a head start before transplanting them outdoors. You should check your local frost dates to determine the best time for your region.
- Sowing: Chamomile seeds are very small and require light to germinate. I sprinkle them lightly on the surface of a seed-starting mix, gently pressing them down but not covering them with soil.
- Germination: I keep the soil consistently moist but not waterlogged. Placing a clear plastic cover over the seed tray can help retain moisture. Germination usually takes about 7-14 days. You’ll know they’re sprouting when you see tiny green shoots emerging.
- Light: Once the seedlings emerge, I provide them with plenty of light, either from a sunny windowsill or grow lights. This is crucial for their healthy development.
- Transplanting: Once the seedlings have developed a few sets of true leaves (usually after 4-6 weeks), and after the danger of frost has passed, I carefully transplant them into their permanent location in the garden.
Propagating Chamomile from Cuttings:
If you have access to an established chamomile plant, propagating from cuttings is a faster way to get new plants. This method also ensures that the new plants will be identical to the parent plant. Here’s how I do it:
- Taking Cuttings: I select healthy, non-flowering stems and cut them to about 4-6 inches in length. I remove the lower leaves, leaving only a few at the top.
- Rooting: I can root the cuttings in two ways: either by placing them in a glass of water or by planting them directly in a moist rooting medium, such as perlite or vermiculite.
- Care: I keep the cuttings in a warm, bright location, but out of direct sunlight. If rooting in water.
How to Plant Chamomile Herbs: Seeds vs. Cuttings
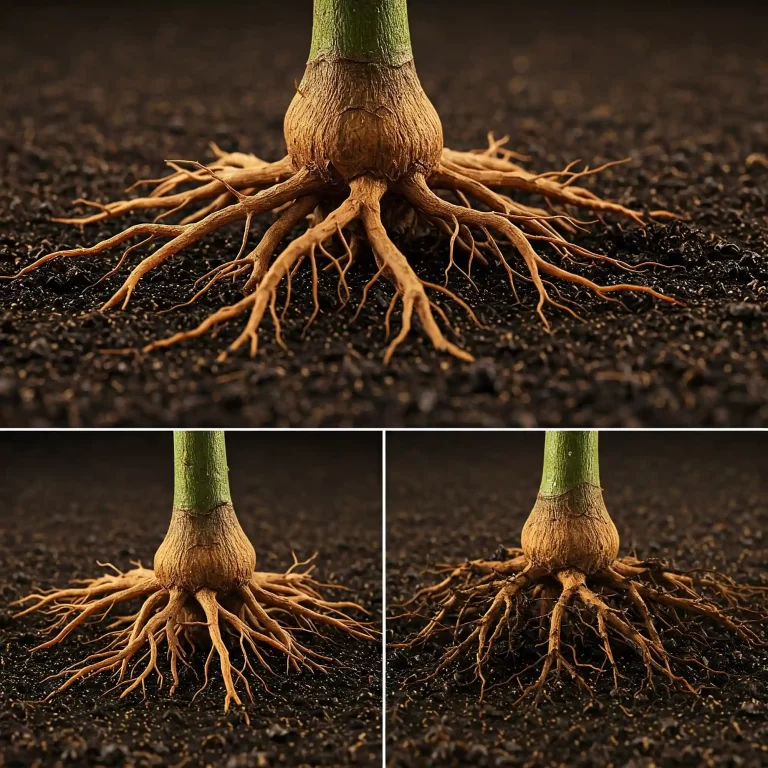
I change the water every few days. If rooting in a medium, I keep it consistently moist. Roots usually develop within a couple of weeks. 4. Planting: Once the cuttings have developed a good root system, I transplant them into pots or directly into the garden.
Choosing the Right Location for Your Chamomile:
Chamomile thrives in a sunny location with well-drained soil. I’ve found that it can tolerate some partial shade, especially in hotter climates, but for the best flower production, aim for at least 6 hours of sunlight per day. When I’m preparing the planting area, I make sure the soil is loose and free of weeds. You can amend the soil with compost to improve drainage and fertility.
Caring for Your Chamomile Plants:
Once your chamomile is planted, it’s relatively low-maintenance. Here are a few tips I’ve learned over the years:
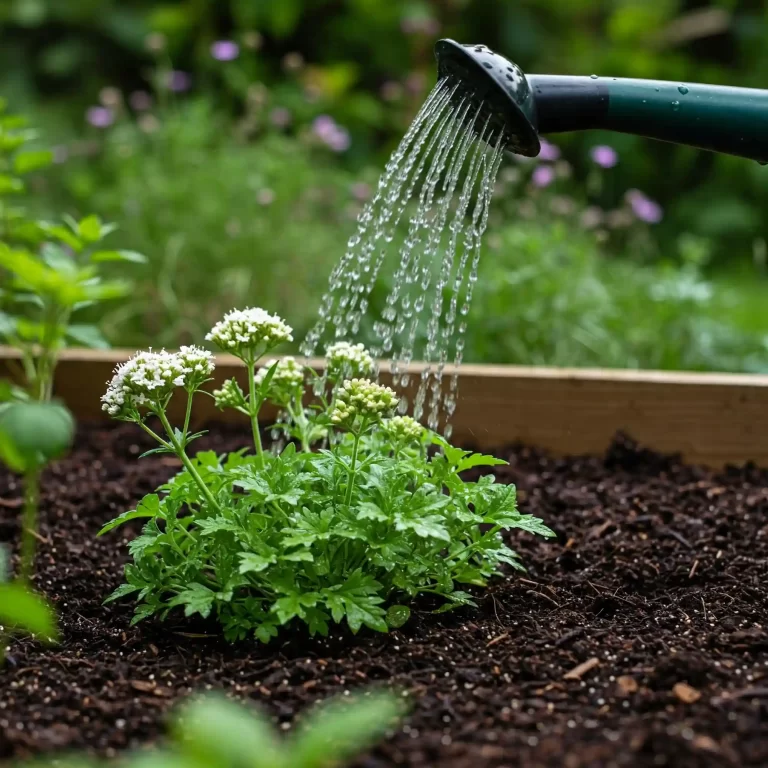
- Watering: I water my chamomile regularly, especially during dry periods. However, I avoid overwatering, as this can lead to root rot. You can check the soil moisture by sticking your finger about an inch into the soil. If it feels dry, it’s time to water.
- Fertilizing: Chamomile doesn’t require heavy fertilization. I usually give it a light feeding with a balanced organic fertilizer in the spring.
- Deadheading: To encourage continuous blooming, I deadhead the spent flowers regularly. This prevents the plant from going to seed and encourages it to produce more flowers.
- Pest and Disease Control: Chamomile is generally pest and disease-free. However, occasionally, I’ve encountered aphids or powdery mildew. You can usually control these with natural methods, such as spraying with insecticidal soap or a solution of baking soda and water.
Harvesting Your Chamomile:
The best time to harvest chamomile flowers is when they are fully open but before they start to brown. I usually harvest in the morning after the dew has dried. You can simply pluck the flower heads off the plant with your fingers.
Drying and Storing Chamomile:
After harvesting, I dry the chamomile flowers to preserve them for later use. You can do this by spreading them out on a screen or tray in a warm, dry place. It usually takes about a week for them to dry completely. Once dry, I store them in an airtight container in a cool, dark place.
Using Your Homegrown Chamomile:
There are many ways to use your homegrown chamomile. Here are a few of my favorites:
- Chamomile Tea: This is the most common use for chamomile. Simply steep a few dried flowers in hot water for 5-10 minutes to make a soothing and relaxing tea.
- Chamomile Infused Oil: You can infuse chamomile flowers in oil to create a soothing massage oil or skin treatment.
- Chamomile in the Garden: Chamomile is a great companion plant for many other garden vegetables and herbs. It is believed to have beneficial effects on their growth and can also help to repel certain pests.
Troubleshooting Chamomile Growing Problems:
While chamomile is relatively easy to grow, you may encounter some problems along the way. Here are a few common issues and how to address them:
- Seedlings damping off: This is a fungal disease that can affect young seedlings. To prevent this, make sure to use a sterile seed-starting mix and avoid overwatering.
- Plants not flowering: This can be caused by a lack of sunlight or poor soil conditions. Make sure your chamomile is getting at least 6 hours of sunlight per day and that the soil is well-drained and fertile.
- Pests and diseases: As mentioned earlier, chamomile is generally pest and disease-free. However, if you do encounter any problems, you can usually control them with natural methods.
Enjoying the Fruits of Your Labor:
Growing chamomile is a rewarding experience that can bring a touch of tranquility to your life. By following these tips, you can successfully grow your own chamomile and enjoy its many benefits. Whether you’re sipping a cup of chamomile tea before bed or simply enjoying its beauty in the garden, I hope you find as much joy in growing chamomile as I do.
How to Grow Chamomile Herbs in Containers
Growing chamomile in containers is a great option if you have limited space, such as a balcony or patio. It also allows you to move your chamomile plants around to follow the sun or protect them from harsh weather. Here are some tips for growing chamomile in containers:
- Choose the right pot: Select a pot with drainage holes to prevent water from accumulating at the bottom, which can lead to root rot. The pot should be large enough to accommodate the mature size of your chamomile plant.
- Use a suitable potting mix: Chamomile prefers well-drained soil, so choose a potting mix that is light and airy. You can amend the mix with perlite or vermiculite to improve drainage.
- Plant your chamomile: If starting from seed, sow the seeds directly into the pot. If transplanting seedlings or cuttings, make a small hole in the soil and gently place the plant in the hole. Firm the soil around the base of the plant.
- Watering: Water your chamomile regularly, allowing the soil to dry out slightly between waterings. Avoid overwatering, as this can lead to root rot.
- Fertilizing: Chamomile is not a heavy feeder, so you don’t need to fertilize it often. A light feeding in the spring is usually sufficient.
- Pruning: Deadhead spent flowers to encourage continuous blooming. You can also prune back the plant if it becomes leggy or overgrown.
- Overwintering: If you live in a cold climate, you may need to overwinter your chamomile plants indoors. Bring the pot indoors before the first frost and place it in a sunny location. Water sparingly during the winter months.
With proper care, your container-grown chamomile will thrive and provide you with fragrant flowers and soothing tea for many months to come.
Harvesting and Drying Chamomile Flowers
Harvesting your chamomile at the right time and drying it properly is crucial for preserving its flavor and aroma. Here’s how I approach it:
- When to Harvest: I harvest my chamomile flowers when they are fully open but before the petals start to droop or turn brown. This is when they contain the highest concentration of essential oils. The best time of day to harvest is in the morning after the dew has dried.
- How to Harvest: I gently pluck the flower heads off the plant with my fingers. You can also use small scissors or pruning shears. Be careful not to damage the plant while harvesting.
- Drying Methods: There are several ways to dry chamomile flowers:
- Air Drying: I spread the flowers out in a single layer on a clean screen or tray. I place the tray in a warm, dry, and well-ventilated area. It usually takes about a week for the flowers to dry completely.
- Using a Dehydrator: If you have a food dehydrator, you can dry chamomile flowers more quickly. I set the dehydrator to a low temperature (around 95°F or 35°C) and dry the flowers for several hours, or until they are completely dry.
- Checking for Dryness: The flowers are dry when they feel papery and brittle to the touch. They should also crumble easily when crushed.
- Storing Dried Chamomile: Once the flowers are completely dry, I store them in an airtight container in a cool, dark place. This will help to preserve their flavor and aroma for up to a year.
Tips for Harvesting and Drying:
- Harvest on a dry day to prevent mold growth during drying.
- Handle the flowers gently to avoid bruising them.
- Don’t dry chamomile flowers in direct sunlight, as this can cause them to lose their color and flavor.
- Check the flowers regularly during the drying process to ensure they are not molding.
By following these tips, you can harvest and dry your chamomile flowers successfully and enjoy their soothing benefits for months to come.
Common Chamomile Problems and Solutions
While chamomile is generally a hardy and low-maintenance herb, you might encounter a few issues while growing it. I’ve certainly had my share of challenges over the years, and I’ve learned that early detection and proper management are key to keeping your chamomile healthy. Here are some common problems you might face and how I typically address them:
1. Seedling Damping Off:
This is a fungal disease that often affects young seedlings, causing them to wilt and collapse. I’ve found that it’s more prevalent in overly moist conditions and poorly ventilated environments.
- Prevention: To prevent damping off, I always use a sterile seed-starting mix and ensure good drainage in my seed trays or pots. I also avoid overwatering and provide adequate ventilation by keeping the air circulating.
- Solution: If damping off occurs, I remove the affected seedlings immediately to prevent the spread of the disease. I also allow the soil to dry out slightly before watering again.
2. Lack of Flowering:
If your chamomile plants are not producing flowers, it could be due to several factors.
- Insufficient Sunlight: Chamomile needs plenty of sunlight to flower. I make sure my plants receive at least 6 hours of direct sunlight per day.
- Poor Soil Conditions: Chamomile prefers well-drained soil that is not overly fertile. I avoid using excessive amounts of fertilizer, as this can encourage leafy growth at the expense of flowers.
- Solution: If your plants are not flowering, try moving them to a sunnier location or amending the soil with some compost to improve drainage.
3. Pests:
While chamomile is relatively pest-resistant, a few common garden pests might occasionally bother it.
- Aphids: These small insects can suck sap from the leaves and stems of your chamomile plants. I usually control aphids by spraying them with a strong stream of water or using insecticidal soap.
- Spider Mites: These tiny mites can cause the leaves of your chamomile plants to become speckled and discolored. I control spider mites by spraying the plants with water or using horticultural oil.
4. Diseases:
Chamomile is generally resistant to diseases, but certain fungal diseases can sometimes occur.
- Powdery Mildew: This fungal disease appears as a white powdery coating on the leaves and stems of your chamomile plants. I control powdery mildew by improving air circulation around the plants and spraying them with a fungicide if necessary.
- Root Rot: This fungal disease can occur in overly wet soil conditions. I prevent root rot by ensuring good drainage and avoiding overwatering.
5. Environmental Stress:
Chamomile can also be affected by environmental factors such as extreme heat or drought.
- Heat Stress: In hot climates, chamomile plants may wilt or stop flowering during the hottest part of the summer. I provide some shade during the hottest part of the day to help them cope with the heat.
- Drought Stress: Chamomile needs regular watering, especially during dry periods. If the plants are not getting enough water, they may wilt and their growth may be stunted. I make sure to water my chamomile regularly, especially during hot, dry weather.
By being aware of these potential problems and taking appropriate action, you can keep your chamomile plants healthy and thriving. Remember, a little observation and preventative care can go a long way in ensuring a bountiful chamomile harvest.
Using Your Homegrown Chamomile
Growing chamomile is not just about enjoying its beauty in your garden; it’s also about harnessing its many benefits. I find immense satisfaction in using my homegrown chamomile in various ways, from brewing soothing teas to incorporating it into my skincare routine. Here are some of the ways I use my homegrown chamomile and how you can do the same:
1. Chamomile Tea:
This is perhaps the most well-known use for chamomile. I often brew a cup of chamomile tea before bed to unwind and promote relaxation. The process is simple:
- Fresh Chamomile Tea: I use about 2 tablespoons of fresh chamomile flowers per cup of boiling water. I steep the flowers for 5-10 minutes, then strain and enjoy.
- Dried Chamomile Tea: For dried chamomile, I use about 1 tablespoon of flowers per cup of boiling water. The steeping time is the same.
2. Chamomile Infused Oil:
Chamomile-infused oil is a wonderful way to extract the beneficial properties of chamomile for topical use. I use it for massage, skincare, and even as a hair treatment. Here’s how I make it:
- Drying the Flowers: I start by drying the chamomile flowers completely, as described in the previous section.
- Infusing the Oil: I place the dried flowers in a clean glass jar and cover them with a carrier oil, such as olive oil, almond oil, or jojoba oil. I make sure the flowers are fully submerged in the oil.
- Steeping: I seal the jar and place it in a warm, sunny location for several weeks, shaking it occasionally.
- Straining: After several weeks, I strain the oil through a cheesecloth or fine-mesh sieve to remove the flowers. I store the infused oil in a clean, airtight container.
3. Chamomile in the Garden:
Chamomile is not only beneficial for humans but also for other plants in your garden. I often use it as a companion plant to help repel pests and improve the growth of other plants.
- Companion Planting: Chamomile is known to be a good companion for many garden vegetables and herbs, including basil, onions, and cabbage.
- Chamomile Tea for Seedlings: I sometimes use diluted chamomile tea to water seedlings, as it is believed to help prevent damping off.
4. Other Uses:
Beyond tea, infused oil, and companion planting, there are many other ways to use your homegrown chamomile.
- Bath Soak: I add dried chamomile flowers to a warm bath for a relaxing and soothing soak.
- Potpourri: Chamomile flowers can be added to potpourri mixes for their pleasant fragrance.
- Natural Dye: Chamomile flowers can be used to create a natural yellow dye.
By exploring these different uses, you can fully appreciate the versatility of chamomile and make the most of your homegrown harvest.
FAQ: Addressing Your Chamomile Growing Questions
I’ve compiled a list of frequently asked questions about growing chamomile, drawing from my experience and the common queries I encounter from fellow gardeners. I hope these answers provide further clarity and help you overcome any challenges you might face:
1. How to grow chamomile herbs in containers indoors for tea?
Growing chamomile indoors for tea is entirely feasible, especially if you have limited outdoor space. I recommend using German chamomile for this purpose, as it tends to have a stronger flavor. Choose a pot that is at least 6 inches in diameter and has drainage holes. Use a well-draining potting mix and place the pot in a sunny windowsill or under grow lights. Water regularly, allowing the soil to dry out slightly between waterings. You can harvest the flowers as needed for your tea.
2. How to grow chamomile herbs from seed in a raised garden bed?
Raised garden beds provide excellent drainage and allow you to control the soil conditions, making them ideal for growing chamomile from seed. I prepare the raised bed by loosening the soil and amending it with compost. I then sow the chamomile seeds directly onto the surface of the soil and gently press them down. I keep the soil moist until the seeds germinate, which usually takes about 7-14 days. Once the seedlings are established, I thin them out to provide adequate spacing.
3. How to grow chamomile herbs organically without using chemical fertilizers?
Growing chamomile organically is a great way to ensure you’re enjoying the purest possible tea. I avoid using chemical fertilizers and instead rely on natural methods to nourish my chamomile plants. I amend the soil with compost before planting and use organic fertilizers, such as compost tea or worm castings, during the growing season. I also practice natural pest and disease control methods, such as handpicking pests and using natural sprays like neem oil.
4. How to grow chamomile herbs in hot climates with minimal watering?
Chamomile is relatively drought-tolerant once established, but it does require regular watering, especially in hot climates. I’ve found that providing some afternoon shade can help to reduce water stress. I also mulch around the plants to help retain moisture in the soil.
5. How to grow chamomile herbs for beginners with step-by-step instructions?
Growing chamomile is a great starting point for beginner gardeners. Here’s a quick recap of the key steps:
- Choose a sunny location with well-drained soil.
- Start seeds indoors or sow directly into the garden.
- Water regularly, but avoid overwatering.
- Deadhead spent flowers to encourage more blooms.
- Harvest flowers when they are fully open.
- Dry and store flowers for later use.
With these simple steps, you can successfully grow your own chamomile and enjoy its many benefits.
Conclusion: Embrace the Calming Power of Chamomile in Your Garden
Growing chamomile is more than just adding another plant to your garden; it’s about cultivating a sense of peace and tranquility. From the delicate fragrance of its flowers to the soothing properties of its tea, chamomile offers a wealth of benefits for both your garden and your well-being. I encourage you to embark on this rewarding journey and experience the joy of growing your own chamomile.
By following the tips and guidance I’ve shared in this comprehensive guide, you’ll be well-equipped to nurture a thriving chamomile patch. Whether you’re a seasoned gardener or just starting out, remember that patience and observation are key. Pay attention to your plants’ needs, and they will reward you with their beauty and bounty.
As you harvest your chamomile flowers and brew a cup of tea, take a moment to appreciate the simple pleasures of gardening. Connect with nature, enjoy the calming aroma, and savor the soothing taste of your homegrown chamomile. You’ve earned it!
