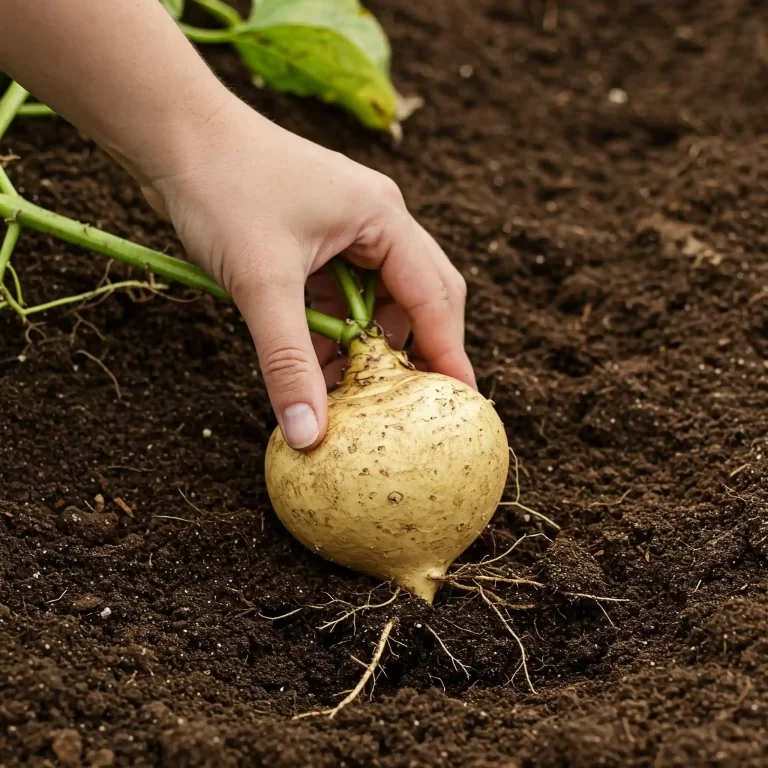
Have you ever dreamt of walking into your garden and harvesting a crisp, white cauliflower, ready for a delicious meal? I know I have. But perhaps you’ve tried growing cauliflower before and ended up with tiny heads, or plants that bolted before they even matured. It can be frustrating to put in the effort and not see the results you’re hoping for. The good news is, with the right knowledge and a bit of care, growing cauliflower successfully is absolutely achievable. In this guide, I’ll share my experience and insights on how to grow cauliflower vegetable, taking you through each step, from seed to harvest, so you can enjoy a truly rewarding gardening experience. You will learn the best methods for achieving a perfect crop, and I will share some common pitfalls to avoid.
How to Grow Cauliflower Vegetable: A Step-by-Step Guide
Growing cauliflower, while sometimes perceived as challenging, can be a highly rewarding experience. I’ve found that by understanding the plant’s needs and following some key steps, you can cultivate beautiful, healthy heads right in your own backyard. In this comprehensive guide, I’ll break down the process of how to grow cauliflower vegetable into manageable steps, covering everything from choosing the right variety to troubleshooting common problems.
Choosing the Right Cauliflower Variety
Choosing the right cauliflower variety is the first crucial step in learning how to grow cauliflower vegetable successfully. It’s a bit like choosing the right tool for a job – the right variety can make all the difference. I’ve experimented with many types over the years, and I’ve learned that selecting varieties suited to your specific climate and growing season is paramount. You want to consider several factors:
- Climate: Some varieties are more heat-tolerant, while others thrive in cooler conditions. For instance, if you live in a region with hot summers, heat-tolerant varieties like ‘Snow Crown’ or ‘Cheddar’ are excellent choices. If you experience colder climates, you may want to focus on varieties that mature quickly.
- Growing Season: Cauliflower is typically classified into early, mid, and late-season varieties. Early varieties mature in about 50-60 days, mid-season varieties in 60-75 days, and late varieties can take 75-90 days or more. Choosing a variety that fits your growing season length is essential to ensure a successful harvest.
- Head Size and Color: Cauliflower comes in various colors, from the traditional white to vibrant purple, orange, and even green. The head size also varies between varieties. Some produce large, dense heads, while others have smaller, more delicate ones.
Here’s a quick overview of some popular cauliflower varieties:
Popular Cauliflower Varieties
| Variety | Color | Maturity | Characteristics |
| Snowball Y | White | Early | Reliable, produces medium-sized heads, good for beginners. |
| Cheddar | Orange | Mid | Rich in beta-carotene, mild flavor, good heat tolerance. |
| Graffiti | Purple | Late | Beautiful vibrant purple color, mild flavor, adds visual interest to the garden. |
| Romanesco | Green | Late | Unique fractal appearance, nutty flavor. |
| Amazing | White | Early | Very early maturing, good for short growing seasons. |
| Veronica | Green | Late | Another fractal variety, similar to Romanesco but with slightly different spiral pattern. |
I’ve found that starting with a reliable variety like ‘Snowball Y’ is a great way for beginners to learn how to grow cauliflower vegetable. Once you’ve gained some experience, you can experiment with other varieties and find what works best for you and your local conditions. Remember, the right variety can significantly impact your success in growing cauliflower.
Understanding Cauliflower’s Growth Cycle
To truly understand how to grow cauliflower vegetable, it’s beneficial to understand its growth cycle. Cauliflower, Brassica oleracea var. botrytis, goes through several distinct stages:
- Seed Germination: This is the initial stage where the seed sprouts and begins to grow. It requires proper moisture and temperature.
- Seedling Stage: The young plant develops its first true leaves and establishes its root system.
- Vegetative Growth: The plant focuses on growing its leaves and stem, preparing for head formation.
- Heading (Curd Formation): This is the crucial stage where the edible head, or curd, begins to form.
- Maturity: The head reaches its full size and is ready for harvest.
Understanding these stages will help you provide the right care at each phase of the plant’s life.
Starting Cauliflower Seeds or Using Transplants
Now that you’ve chosen the perfect variety, you have two main options for starting your cauliflower plants: starting from seed or using transplants. Both methods have their advantages, and the best choice for you will depend on your experience level, available time, and resources.
Starting from Seed:
Starting cauliflower from seed gives you complete control over the growing process from the very beginning. It can be particularly satisfying to watch a tiny seed develop into a mature plant that produces a delicious head of cauliflower. Here are some key steps for starting cauliflower seeds indoors:
- Timing: Start your seeds indoors about 4-6 weeks before the last expected frost in your area. This will give the seedlings enough time to develop before they are transplanted into the garden.
- Seed Starting Mix: Use a high-quality seed starting mix that is light, well-draining, and sterile. This will help prevent damping-off disease, which can be fatal to young seedlings.
- Containers: Sow seeds in small containers, such as seed trays or peat pots. Make sure the containers have drainage holes to prevent waterlogging.
- Sowing: Sow the seeds about ¼ inch deep and gently water them. Keep the soil moist but not soggy.
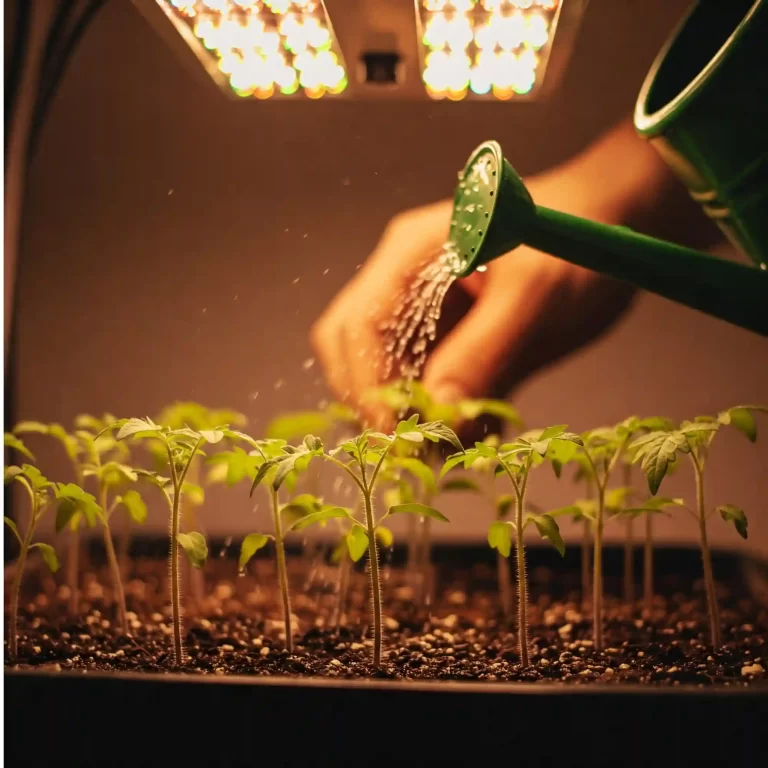
- Warmth and Light: Place the containers in a warm location with plenty of light. A sunny windowsill or a grow light can provide the necessary light.
- Germination: The seeds should germinate in about 7-10 days. Once the seedlings emerge, provide them with adequate air circulation to prevent fungal diseases.
Hardening Off Seedlings:
Before transplanting your seedlings into the garden, it’s essential to harden them off. This process gradually acclimates the seedlings to the outdoor conditions, making them less susceptible to shock. Here’s how to harden off your cauliflower seedlings:
- Gradual Exposure: Start by placing the seedlings outdoors in a sheltered location for a few hours each day. Gradually increase the amount of time they spend outdoors over the course of a week.
- Protection: Protect the seedlings from direct sunlight, wind, and frost during the hardening-off process.
- Watering: Water the seedlings regularly, but avoid overwatering.
Using Transplants:
Using transplants is a convenient option, especially if you’re new to gardening or don’t have the time or space to start seeds indoors. You can purchase healthy cauliflower transplants from a local nursery or garden center. When selecting transplants, look for plants that are:
- Healthy and Vigorous: Choose plants that are sturdy, with healthy green leaves and a well-developed root system.
- Free from Pests and Diseases: Avoid plants that show signs of pests or diseases.
- Appropriate Size: Select transplants that are about 4-6 weeks old and have 4-6 true leaves.
Planting Transplants:
When planting transplants, follow these guidelines:
- Timing: Transplant seedlings into the garden after the last expected frost in your area.
- Spacing: Space the transplants 18-24 inches apart to allow for adequate growth.
- Planting Depth: Plant the transplants at the same depth they were growing in their containers.
- Watering: Water the transplants thoroughly after planting.
Whether you choose to start from seed or use transplants, providing the right care during the early stages of growth is crucial for a successful cauliflower crop.
Preparing the Garden Bed for Cauliflower
Preparing the garden bed is a critical step in learning how to grow cauliflower vegetable successfully. I’ve learned from experience that cauliflower thrives in specific conditions, and taking the time to prepare the soil properly will pay off with a bountiful harvest. Here are the key factors to consider:
- Soil Requirements:
- Well-Draining Soil: Cauliflower needs well-draining soil to prevent root rot. If your soil is heavy clay, I recommend amending it with compost or other organic matter to improve drainage.
- Fertile Soil: Cauliflower is a heavy feeder, meaning it requires a lot of nutrients to grow properly. Amending the soil with compost or well-rotted manure will provide the necessary nutrients.
- pH: The ideal soil pH for cauliflower is between 6.0 and 7.0. You can test your soil pH with a home testing kit or by sending a sample to your local extension office.
- Sunlight Requirements:
- Direct Sunlight: Cauliflower needs at least 6 hours of direct sunlight per day. Choose a location in your garden that receives full sun.
- Soil Amendments:
- Compost: Adding compost to the soil improves its structure, drainage, and fertility. I recommend adding a 2-3 inch layer of compost to the garden bed before planting.
- Well-Rotted Manure: Well-rotted manure is another excellent soil amendment that provides essential nutrients. Be sure to use well-rotted manure, as fresh manure can burn the plants.
- Spacing:
- Proper Spacing: Proper spacing between plants is essential to allow for adequate growth and air circulation. I recommend spacing cauliflower plants 18-24 inches apart.
Additional Tips for Preparing the Garden Bed:
- Remove Weeds: Remove any weeds from the garden bed before planting. Weeds can compete with cauliflower plants for water and nutrients.
- Loosen the Soil: Loosen the soil to a depth of 12-15 inches to improve drainage and allow the roots to penetrate deeply.
- Create a Raised Bed: If your soil is heavy clay or poorly draining, consider creating a raised bed. Raised beds improve drainage and warm up more quickly in the spring.
By taking the time to prepare the garden bed properly, you’ll provide your cauliflower plants with the best possible start and increase your chances of a successful harvest.
Planting Cauliflower in the Garden
Now that your garden bed is prepared, it’s time to plant your cauliflower. Whether you started from seed or purchased transplants, the planting process is relatively straightforward. However, there are a few key things to keep in mind to ensure your cauliflower plants get off to a good start. From my experience, paying attention to timing, planting depth, and initial watering can significantly impact the plant’s overall health and yield.
Timing:
- Transplants: The ideal time to transplant cauliflower seedlings into the garden is after the last expected frost in your area. You can usually find this information from your local weather service or extension office. I’ve found that waiting until the soil has warmed up a bit also helps the transplants establish more quickly.
- Direct Sowing: If you’re direct sowing seeds into the garden, you’ll want to do so a few weeks before the last expected frost. This will give the seeds time to germinate and the seedlings time to develop before the weather gets too cold. However, this is less common than starting with transplants.
Planting Depth:
- Transplants: When planting transplants, it’s crucial to plant them at the same depth they were growing in their containers. Planting them too deep can lead to stem rot, while planting them too shallow can cause the roots to dry out.
- Direct Sowing: If you’re direct sowing, plant the seeds about ½ inch deep.
Spacing:
- Proper Spacing: Proper spacing is essential for cauliflower to thrive. I recommend spacing plants 18-24 inches apart. This allows for adequate air circulation, which helps prevent fungal diseases, and gives each plant enough room to grow and develop a large head.
Planting Process:
- Dig Holes: Dig holes that are slightly larger than the root ball of your transplants.
- Amend the Soil (Optional): If your soil is particularly poor, you can add a small amount of compost or fertilizer to the bottom of each hole.
- Place the Transplant: Gently remove the transplant from its container and place it in the hole.
- Fill with Soil: Fill the hole with soil, gently firming it around the base of the plant.
- Water Thoroughly: Water the transplants thoroughly after planting to settle the soil and help the roots establish.
Additional Tips for Planting:
- Plant on a Cloudy Day: If possible, plant your cauliflower on a cloudy day or in the late afternoon. This will help reduce transplant shock.
- Protect from Pests: Young cauliflower plants are susceptible to pests like flea beetles and cabbage root maggots. Consider using row covers to protect them.
- Water Regularly: Keep the soil consistently moist, especially during the first few weeks after planting.
By following these tips, you can ensure your cauliflower plants get a strong start in the garden, setting them up for a successful harvest.
Caring for Your Growing Cauliflower
Once your cauliflower plants are in the ground, consistent care is essential for them to thrive. I’ve found that regular attention to watering, fertilizing, and pest control can make a significant difference in the size and quality of the heads. Here’s a breakdown of how to care for your growing cauliflower:
Watering:
- Consistent Moisture: Cauliflower needs consistent moisture to develop properly. I recommend watering deeply and regularly, especially during dry periods. Aim for about 1-1.5 inches of water per week.
- Water at the Base: Water at the base of the plant to avoid wetting the leaves, which can encourage fungal diseases.
- Mulching: Applying a layer of mulch around the plants can help retain moisture and suppress weeds.
Fertilizing:
- Regular Feeding: Cauliflower is a heavy feeder and benefits from regular fertilization. I recommend using a balanced fertilizer, such as a 10-10-10, and applying it according to the package directions.
- Side-Dressing: You can also side-dress the plants with compost or well-rotted manure a few weeks after planting.
Weeding:
- Regular Weeding: Keep the area around your cauliflower plants free of weeds. Weeds compete with the plants for water and nutrients.
- Careful Cultivation: When weeding, be careful not to damage the shallow roots of the cauliflower plants.
Pest and Disease Control:
- Common Pests: Cauliflower is susceptible to several pests, including cabbage white butterflies, cabbage loopers, aphids, and flea beetles.
- Pest Prevention: I recommend using row covers to protect young plants from pests. You can also handpick pests off the plants or use organic pest control methods, such as insecticidal soap or neem oil.
- Common Diseases: Cauliflower can also be affected by diseases such as clubroot and black rot.
- Disease Prevention: To prevent diseases, practice crop rotation, ensure good air circulation, and avoid overhead watering.
Blanching (for White Varieties):
- Why Blanch? Blanching is the process of excluding light from the developing head to keep it white.
- How to Blanch: When the head is about 2-3 inches in diameter, you can begin blanching by tying the outer leaves together over the head with twine or rubber bands.
- Timing: Check the head regularly and harvest when it reaches the desired size.
By following these care tips, you can ensure your cauliflower plants stay healthy and produce large, delicious heads.
Harvesting Your Cauliflower
After all your hard work and care, the most rewarding part of growing cauliflower is finally here – harvesting! Knowing when and how to harvest your cauliflower correctly is crucial for enjoying its optimal flavor and texture. From my experience, timing is everything. Harvest too early, and you’ll have small, underdeveloped heads. Harvest too late, and the heads may become loose, grainy, or develop an off-flavor.
When to Harvest:
- Days to Maturity: Check your seed packet or plant tag for the specific days to maturity for your chosen variety. This will give you a general idea of when to expect your cauliflower to be ready for harvest.
- Head Size and Appearance: The most reliable way to determine if your cauliflower is ready for harvest is to check the head itself. The head should be firm, compact, and of good size for the variety you’re growing. The curds (the white part of the head) should be tightly packed together.
- Avoid Overmaturity: If the curds start to separate or the head begins to elongate, it’s a sign that the cauliflower is overmature. Harvest it immediately to prevent it from becoming grainy or developing an off-flavor.
How to Harvest:
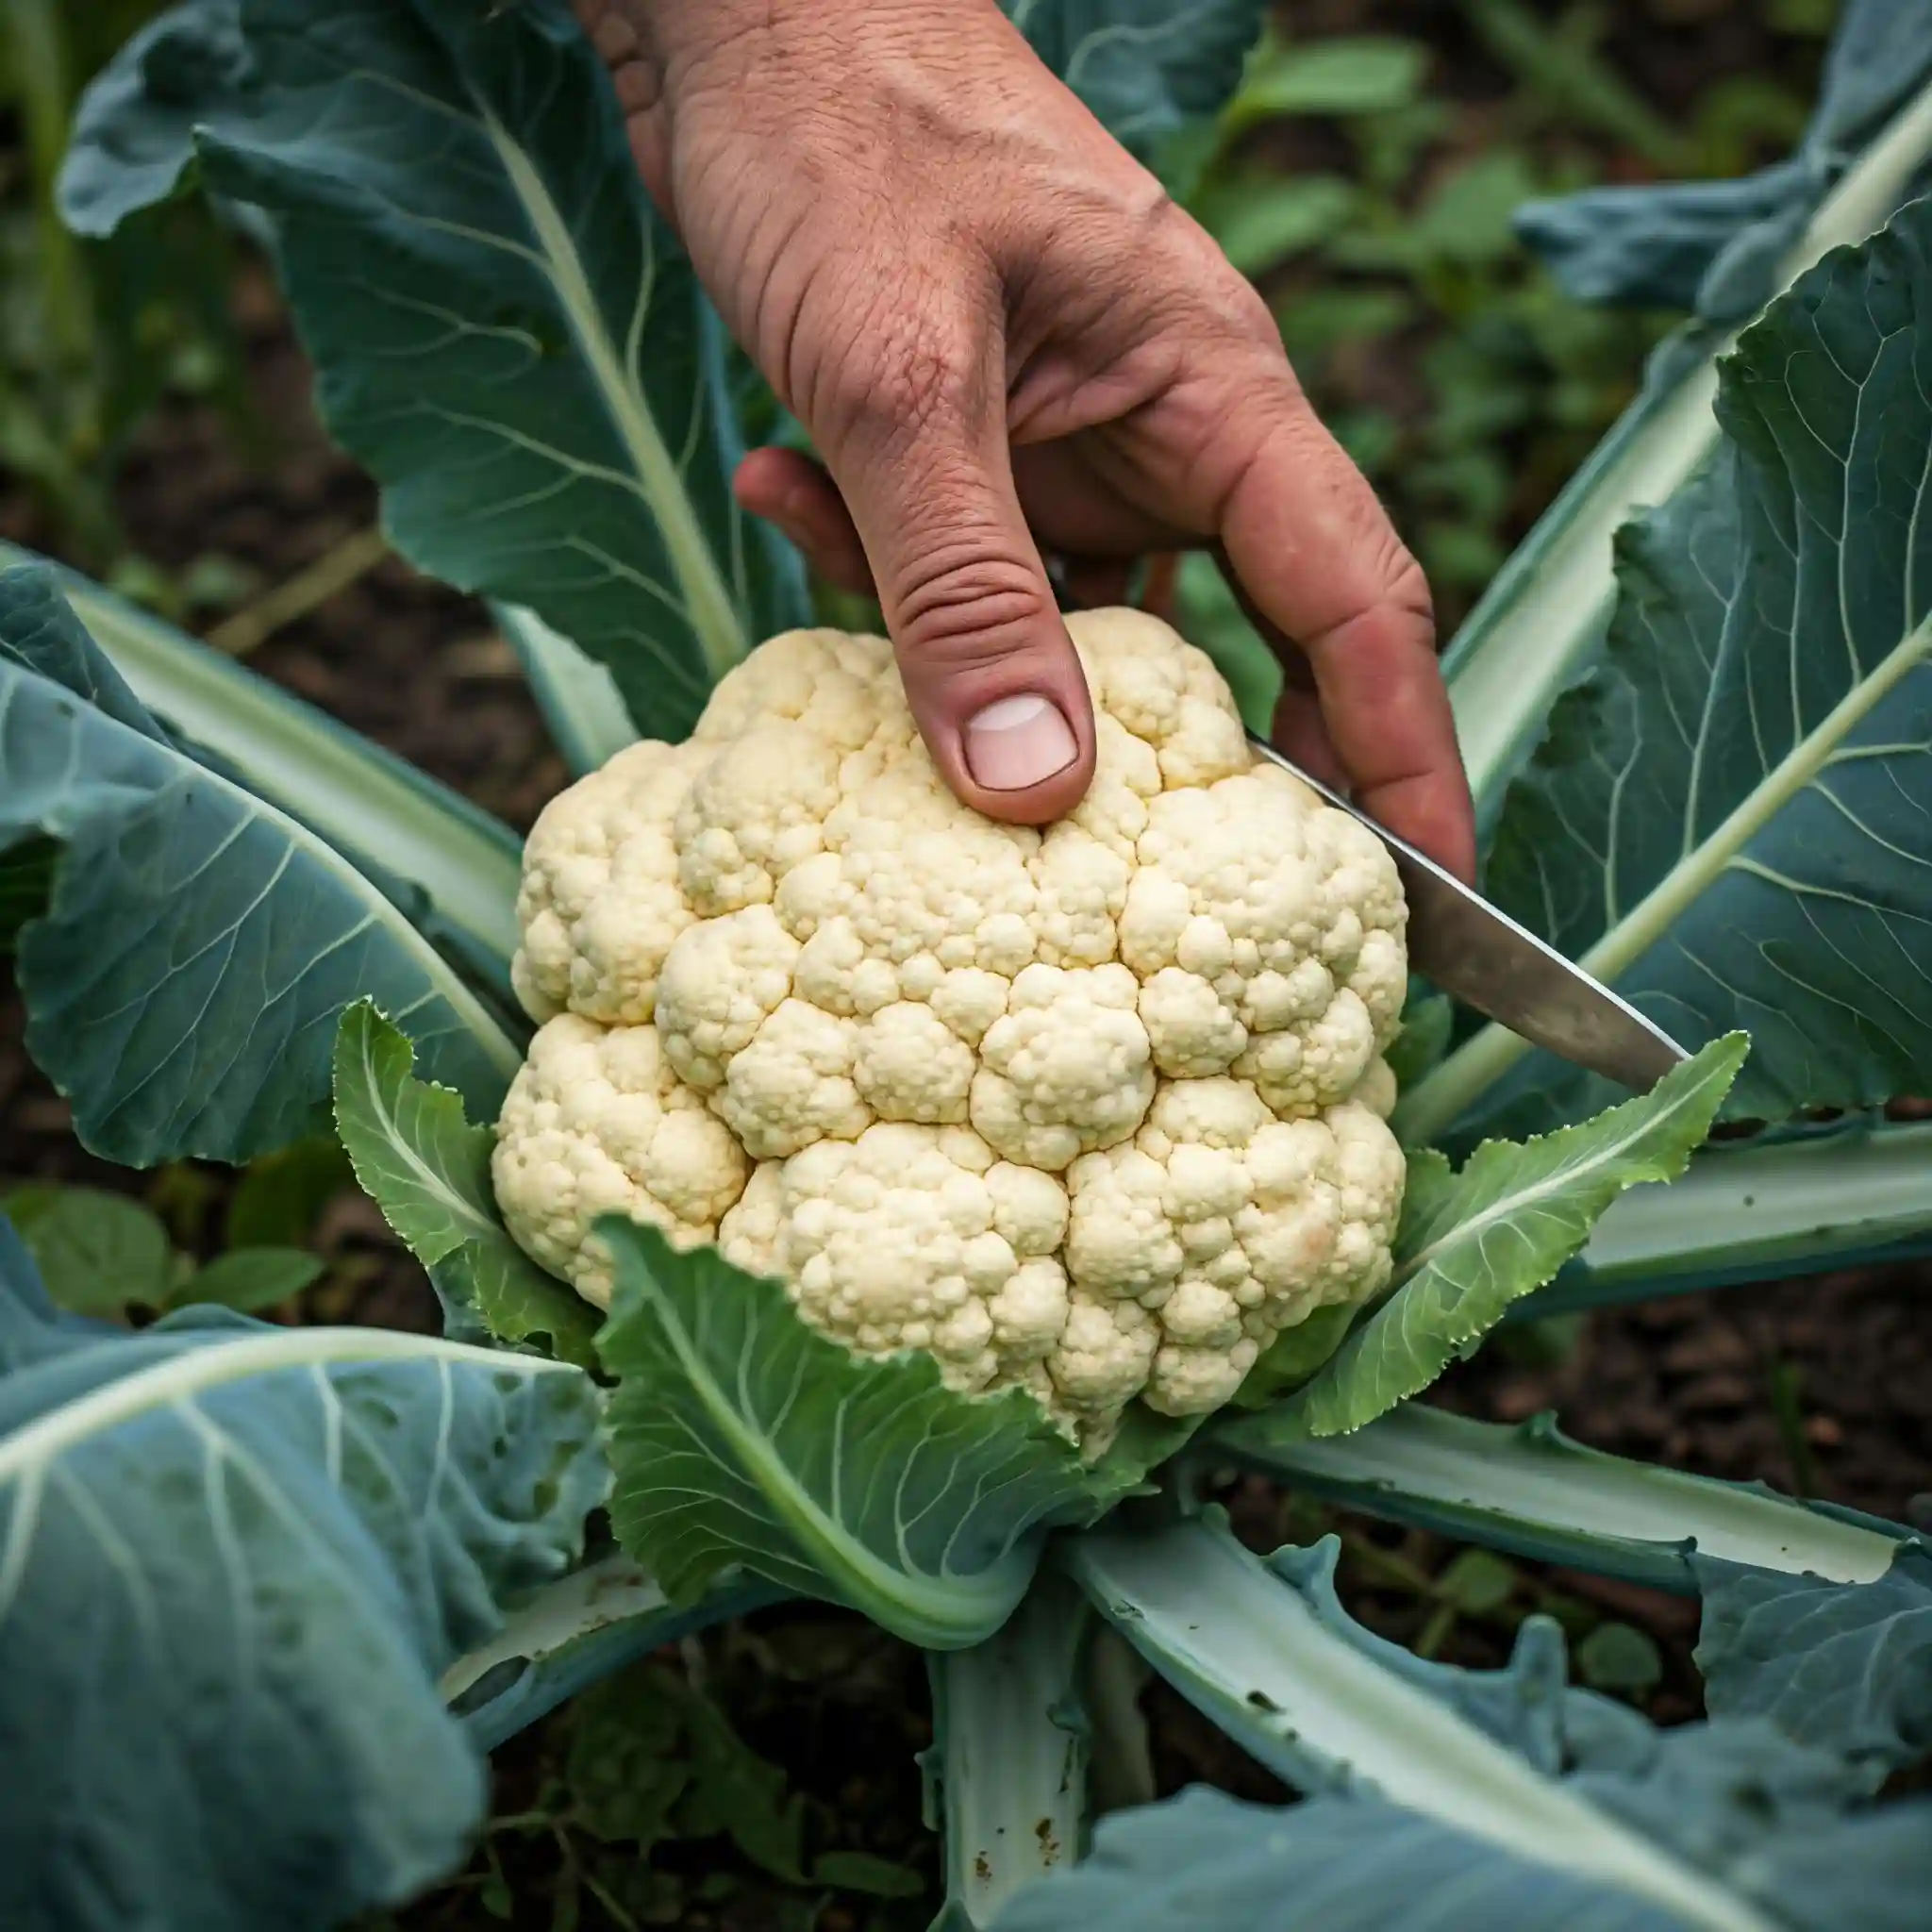
- Use a Sharp Knife: Use a sharp knife to cut the head from the plant.
- Cut Below the Head: Make the cut about 2 inches below the head, leaving a few wrapper leaves attached. These leaves will help protect the head during storage.
- Harvest in the Morning: I recommend harvesting cauliflower in the morning, after the dew has dried. This will help prevent fungal diseases.
Post-Harvest Handling:
- Cool Immediately: After harvesting, cool the cauliflower head immediately. You can do this by placing it in a refrigerator or a cool, shady location.
- Storage: Cauliflower can be stored in the refrigerator for up to a week. To store it for longer, you can blanch and freeze it.
Additional Tips for Harvesting:
- Check Regularly: Once your cauliflower heads start to develop, check them regularly for signs of maturity.
- Harvest at the Right Size: Don’t wait too long to harvest your cauliflower. Harvesting at the right size will ensure the best flavor and texture.
By following these harvesting tips, you can enjoy the fruits (or rather, vegetables) of your labor and savor the delicious taste of homegrown cauliflower.
Troubleshooting Common Cauliflower Problems
Even with the best care, you might encounter some challenges when growing cauliflower. I’ve certainly had my share of setbacks over the years, from pest infestations to weather-related issues. But don’t worry! Most problems are easily addressed with a little knowledge and prompt action. Here are some common cauliflower problems and how to troubleshoot them:
Buttoning (Premature Heading):
- What is it? Buttoning occurs when the cauliflower head forms prematurely, resulting in a small, underdeveloped head.
- Causes: Buttoning can be caused by various factors, including stress from lack of water or nutrients, temperature fluctuations, or transplant shock.
- Prevention: To prevent buttoning, ensure your cauliflower plants receive consistent watering and fertilization. Avoid transplanting during extreme weather conditions and harden off seedlings properly before planting them in the garden.
Bolting (Premature Flowering):
- What is it? Bolting is when the cauliflower plant prematurely sends up a flower stalk, preventing the head from developing properly.
- Causes: Bolting is typically caused by temperature stress, such as a sudden cold snap or prolonged periods of hot weather.
- Prevention: Choose varieties that are suited to your climate and avoid planting too early in the spring or too late in the fall.
Pest and Disease Issues:
- Common Pests: Cauliflower is susceptible to several pests, including:
- Cabbage White Butterfly: The larvae of this butterfly can cause significant damage to cauliflower leaves.
- Cabbage Looper: These green caterpillars also feed on cauliflower leaves.
- Aphids: These small insects can suck sap from the plants, weakening them.
- Flea Beetles: These tiny beetles can create small holes in the leaves.
- Root Maggots: These maggots feed on the roots of cauliflower plants, causing them to wilt and die.
- Pest Control: I recommend using row covers to protect young plants from pests. You can also handpick pests off the plants or use organic pest control methods, such as insecticidal soap, neem oil, or Bacillus thuringiensis (Bt).
- Common Diseases: Cauliflower can also be affected by diseases such as:
- Clubroot: This soilborne disease causes the roots to become swollen and distorted.
- Black Rot: This bacterial disease can cause dark lesions on the leaves and heads.
- Disease Prevention: To prevent diseases, practice crop rotation, ensure good air circulation, and avoid overhead watering. If you notice signs of disease, remove affected plants immediately.
Lack of Head Formation:
- Possible Causes: Several factors can contribute to a lack of head formation, including:
- Insufficient Sunlight: Cauliflower needs at least 6 hours of direct sunlight per day to form a head.
- Lack of Nutrients: Cauliflower is a heavy feeder and requires adequate nutrients to develop properly.
- Improper Spacing: Plants that are too closely spaced may not have enough room to develop heads.
- Solutions: Ensure your cauliflower plants receive adequate sunlight, fertilize them regularly, and provide proper spacing.
By being aware of these common problems and taking preventative measures, you can increase your chances of a successful cauliflower harvest.
Enjoying Your Cauliflower Harvest
After all the effort you’ve put into learning how to grow cauliflower vegetable, it’s time to savor the fruits (or rather, vegetables!) of your labor. Freshly harvested cauliflower from your garden is a true delight, offering a crisp texture and a mild, slightly sweet flavor that store-bought cauliflower simply can’t match.
Ways to Enjoy Your Cauliflower
Cauliflower is incredibly versatile in the kitchen, lending itself to a wide range of culinary creations. Here are just a few ideas to inspire you:
- Roasted Cauliflower: Toss cauliflower florets with olive oil, herbs, and spices, then roast them in the oven until tender and slightly caramelized.
- Cauliflower Mash: A healthy and delicious alternative to mashed potatoes.
- Cauliflower Rice: A low-carb substitute for rice, made by pulsing raw cauliflower florets in a food processor.
- Cauliflower Soup: A creamy and comforting soup, perfect for chilly evenings.
- Cauliflower Steaks: Thick slices of cauliflower that are seasoned and pan-fried or grilled.
- Pickled Cauliflower: A tangy and flavorful condiment.
- Raw in Salads: Adds a satisfying crunch to fresh salads.
Tips for Storing Cauliflower
- Refrigeration: Freshly harvested cauliflower can be stored in the refrigerator for up to a week. To keep it fresh, store it in a loosely sealed plastic bag or wrapped in a damp cloth.
- Freezing: For longer storage, you can blanch and freeze cauliflower. To blanch, cut the cauliflower into florets and boil them for 3-5 minutes. Then, immediately plunge them into ice water to stop the cooking process. Drain the florets and freeze them in a single layer on a baking sheet. Once frozen, transfer them to a freezer bag or container.
Nutritional Benefits of Cauliflower
Besides its culinary versatility, cauliflower is also a nutritional powerhouse. It’s an excellent source of:
- Vitamin C: An important antioxidant that supports immune function.
- Vitamin K: Essential for blood clotting and bone health.
- Fiber: Promotes healthy digestion and helps you feel full.
- Folate: Important for cell growth and development.
- Antioxidants: Compounds that protect your cells from damage.
By growing your own cauliflower, you not only get to enjoy its delicious flavor but also reap its many health benefits.
A Rewarding Gardening Experience
Growing cauliflower vegetable can be a truly rewarding experience. From selecting the perfect variety to nurturing the plants and finally harvesting your own homegrown cauliflower, each step of the process brings its own satisfaction. And with the knowledge and tips I’ve shared in this guide, you’re well on your way to a successful cauliflower harvest. So get out there, get your hands dirty, and enjoy the delicious rewards of your gardening efforts!
Frequently Asked Questions (FAQs) About Growing Cauliflower
I’ve compiled a list of frequently asked questions to further assist you in your cauliflower-growing journey. These questions address specific concerns and common queries I’ve encountered over the years, and I hope they provide valuable insights to help you achieve a successful harvest.
- How to grow cauliflower vegetable in raised garden beds?
Growing cauliflower in raised beds offers several advantages, including improved drainage and warmer soil temperatures. When growing in raised beds, I recommend using a well-draining potting mix amended with compost. Ensure the bed is deep enough (at least 12 inches) to accommodate the cauliflower’s root system. Space plants according to the variety’s recommendations. - How to grow cauliflower vegetable from seed in containers?
Growing cauliflower in containers is a great option for those with limited garden space. Choose a container that is at least 12 inches in diameter and depth. Use a high-quality potting mix and ensure the container has drainage holes. Water regularly and fertilize every few weeks. - How to grow cauliflower vegetable organically in hot climates?
Growing cauliflower in hot climates can be challenging, but it’s possible with the right approach. Choose heat-tolerant varieties and provide shade during the hottest part of the day. Water deeply and regularly, and mulch around the plants to help retain moisture. - How to grow cauliflower vegetable and prevent common diseases?
Preventing diseases is crucial for a healthy cauliflower crop. Practice crop rotation, ensure good air circulation, and avoid overhead watering. Choose disease-resistant varieties if available. - Best way to grow cauliflower vegetable for large heads?
To encourage large heads, provide your cauliflower plants with consistent watering and fertilization. Ensure they receive at least 6 hours of direct sunlight per day and space them adequately. - How to grow cauliflower vegetable without getting root maggots?
Root maggots can be a serious pest of cauliflower. To prevent them, use row covers to protect young plants. You can also use beneficial nematodes or apply diatomaceous earth around the base of the plants. - How to grow cauliflower vegetable and blanch for white heads?
Blanching is the process of excluding light from the developing head to keep it white. When the head is about 2-3 inches in diameter, tie the outer leaves together over the head with twine or rubber bands. - How to grow cauliflower vegetable in small urban gardens?
In small urban gardens, consider growing cauliflower in containers or using space-saving techniques like intercropping. Choose compact varieties that are well-suited for container growing. - How to grow cauliflower vegetable with limited sunlight exposure?
If you have limited sunlight, choose varieties that are more tolerant of partial shade. Try to maximize the available light by planting in a sunny location and using reflective surfaces. - How to grow cauliflower vegetable to avoid buttoning or premature heading?
To prevent buttoning, ensure your cauliflower plants receive consistent watering and fertilization. Avoid transplanting during extreme weather conditions and harden off seedlings properly before planting them in the garden.
By addressing these common questions, I aim to provide you with the knowledge and confidence to tackle any challenges you might encounter while growing cauliflower.
Additional Tips and Considerations for Growing Cauliflower
While the previous sections covered the essential steps of growing cauliflower, there are a few additional tips and considerations that can further enhance your success:
- Crop Rotation: Practicing crop rotation is crucial for preventing soilborne diseases. Avoid planting cauliflower in the same location year after year. Rotate with other crops, such as legumes or leafy greens.
- Companion Planting: Certain plants can be beneficial companions for cauliflower. Consider planting herbs like rosemary, thyme, or sage nearby, as they can help repel pests.
- Soil Testing: Regularly testing your soil can help you determine its nutrient levels and pH. This will allow you to amend the soil accordingly and provide your cauliflower plants with the optimal growing conditions.
- Succession Planting: To extend your harvest season, consider succession planting. This involves planting new cauliflower seedlings every few weeks, ensuring a continuous supply of fresh cauliflower.
- Record Keeping: Keeping a garden journal can be incredibly helpful. Note down planting dates, varieties, weather conditions, and any problems you encounter. This will help you learn from your experiences and improve your cauliflower-growing skills over time.
Conclusion
Growing cauliflower can be a truly rewarding experience, and with the knowledge and tips I’ve shared in this guide, you’re well on your way to a successful harvest. Remember to be patient, observe your plants regularly, and adapt your approach as needed. Happy gardening!
