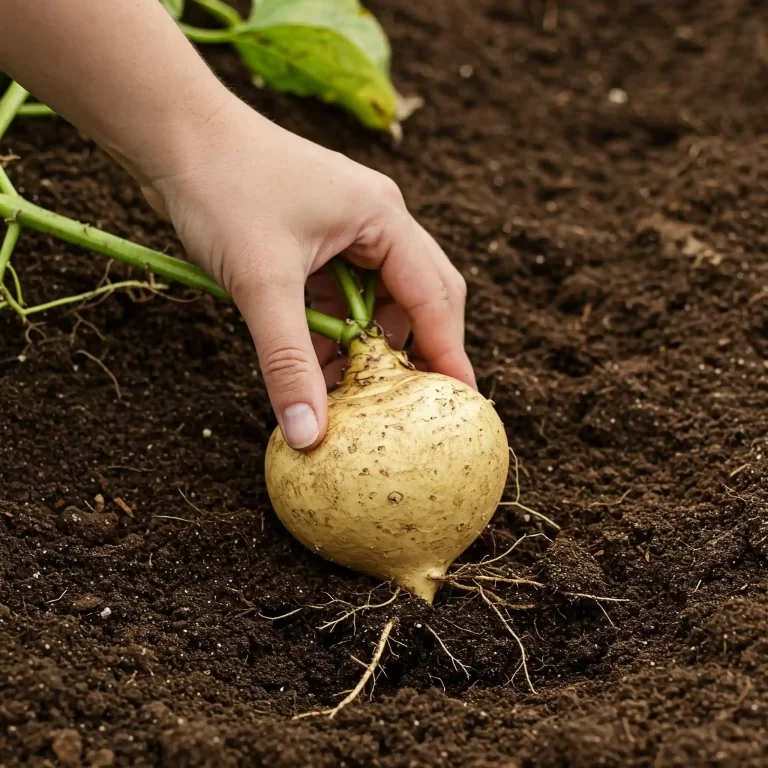
Have you ever envisioned stepping out into your garden and harvesting a crisp, fresh cabbage, ready to be transformed into a delicious meal? I know I have, and the satisfaction of growing your own food is truly unparalleled. But perhaps you’ve tried growing cabbage before and faced challenges – maybe the heads didn’t form properly, pests ravaged your plants, or they simply didn’t thrive. It can be frustrating to put in the effort and not see the results you’re hoping for. I’ve been there myself. That’s why I’ve put together this comprehensive guide on how to grow cabbage vegetables. This isn’t just a surface-level overview; it’s a deep dive into the art and science of cabbage cultivation, designed to equip you with the knowledge and confidence to nurture thriving cabbages, no matter your experience level. Whether you’re a seasoned gardener looking to refine your techniques or a beginner eager to get your hands dirty, this guide will provide you with the essential steps and insights you need to succeed. So, let’s get started and embark on this rewarding journey of growing your own cabbage.
1. Choosing the Right Cabbage Variety for Your Garden: Tailoring Your Crop to Your Needs
Choosing the right cabbage variety is the first crucial step towards a successful harvest. It’s like choosing the right tool for a job – using a hammer to screw in a bolt just won’t work. Similarly, planting a late-season cabbage in a region with short summers is setting yourself up for disappointment. I’ve learned this firsthand over the years. I once tried growing a large, late-maturing variety in my small urban garden, and it simply didn’t have enough time to develop before the first frost hit. It was a valuable lesson in matching variety to environment. Just as you carefully consider factors like climate, space, and intended use when selecting any tool or product, you should apply the same thought process when selecting your cabbage varieties.
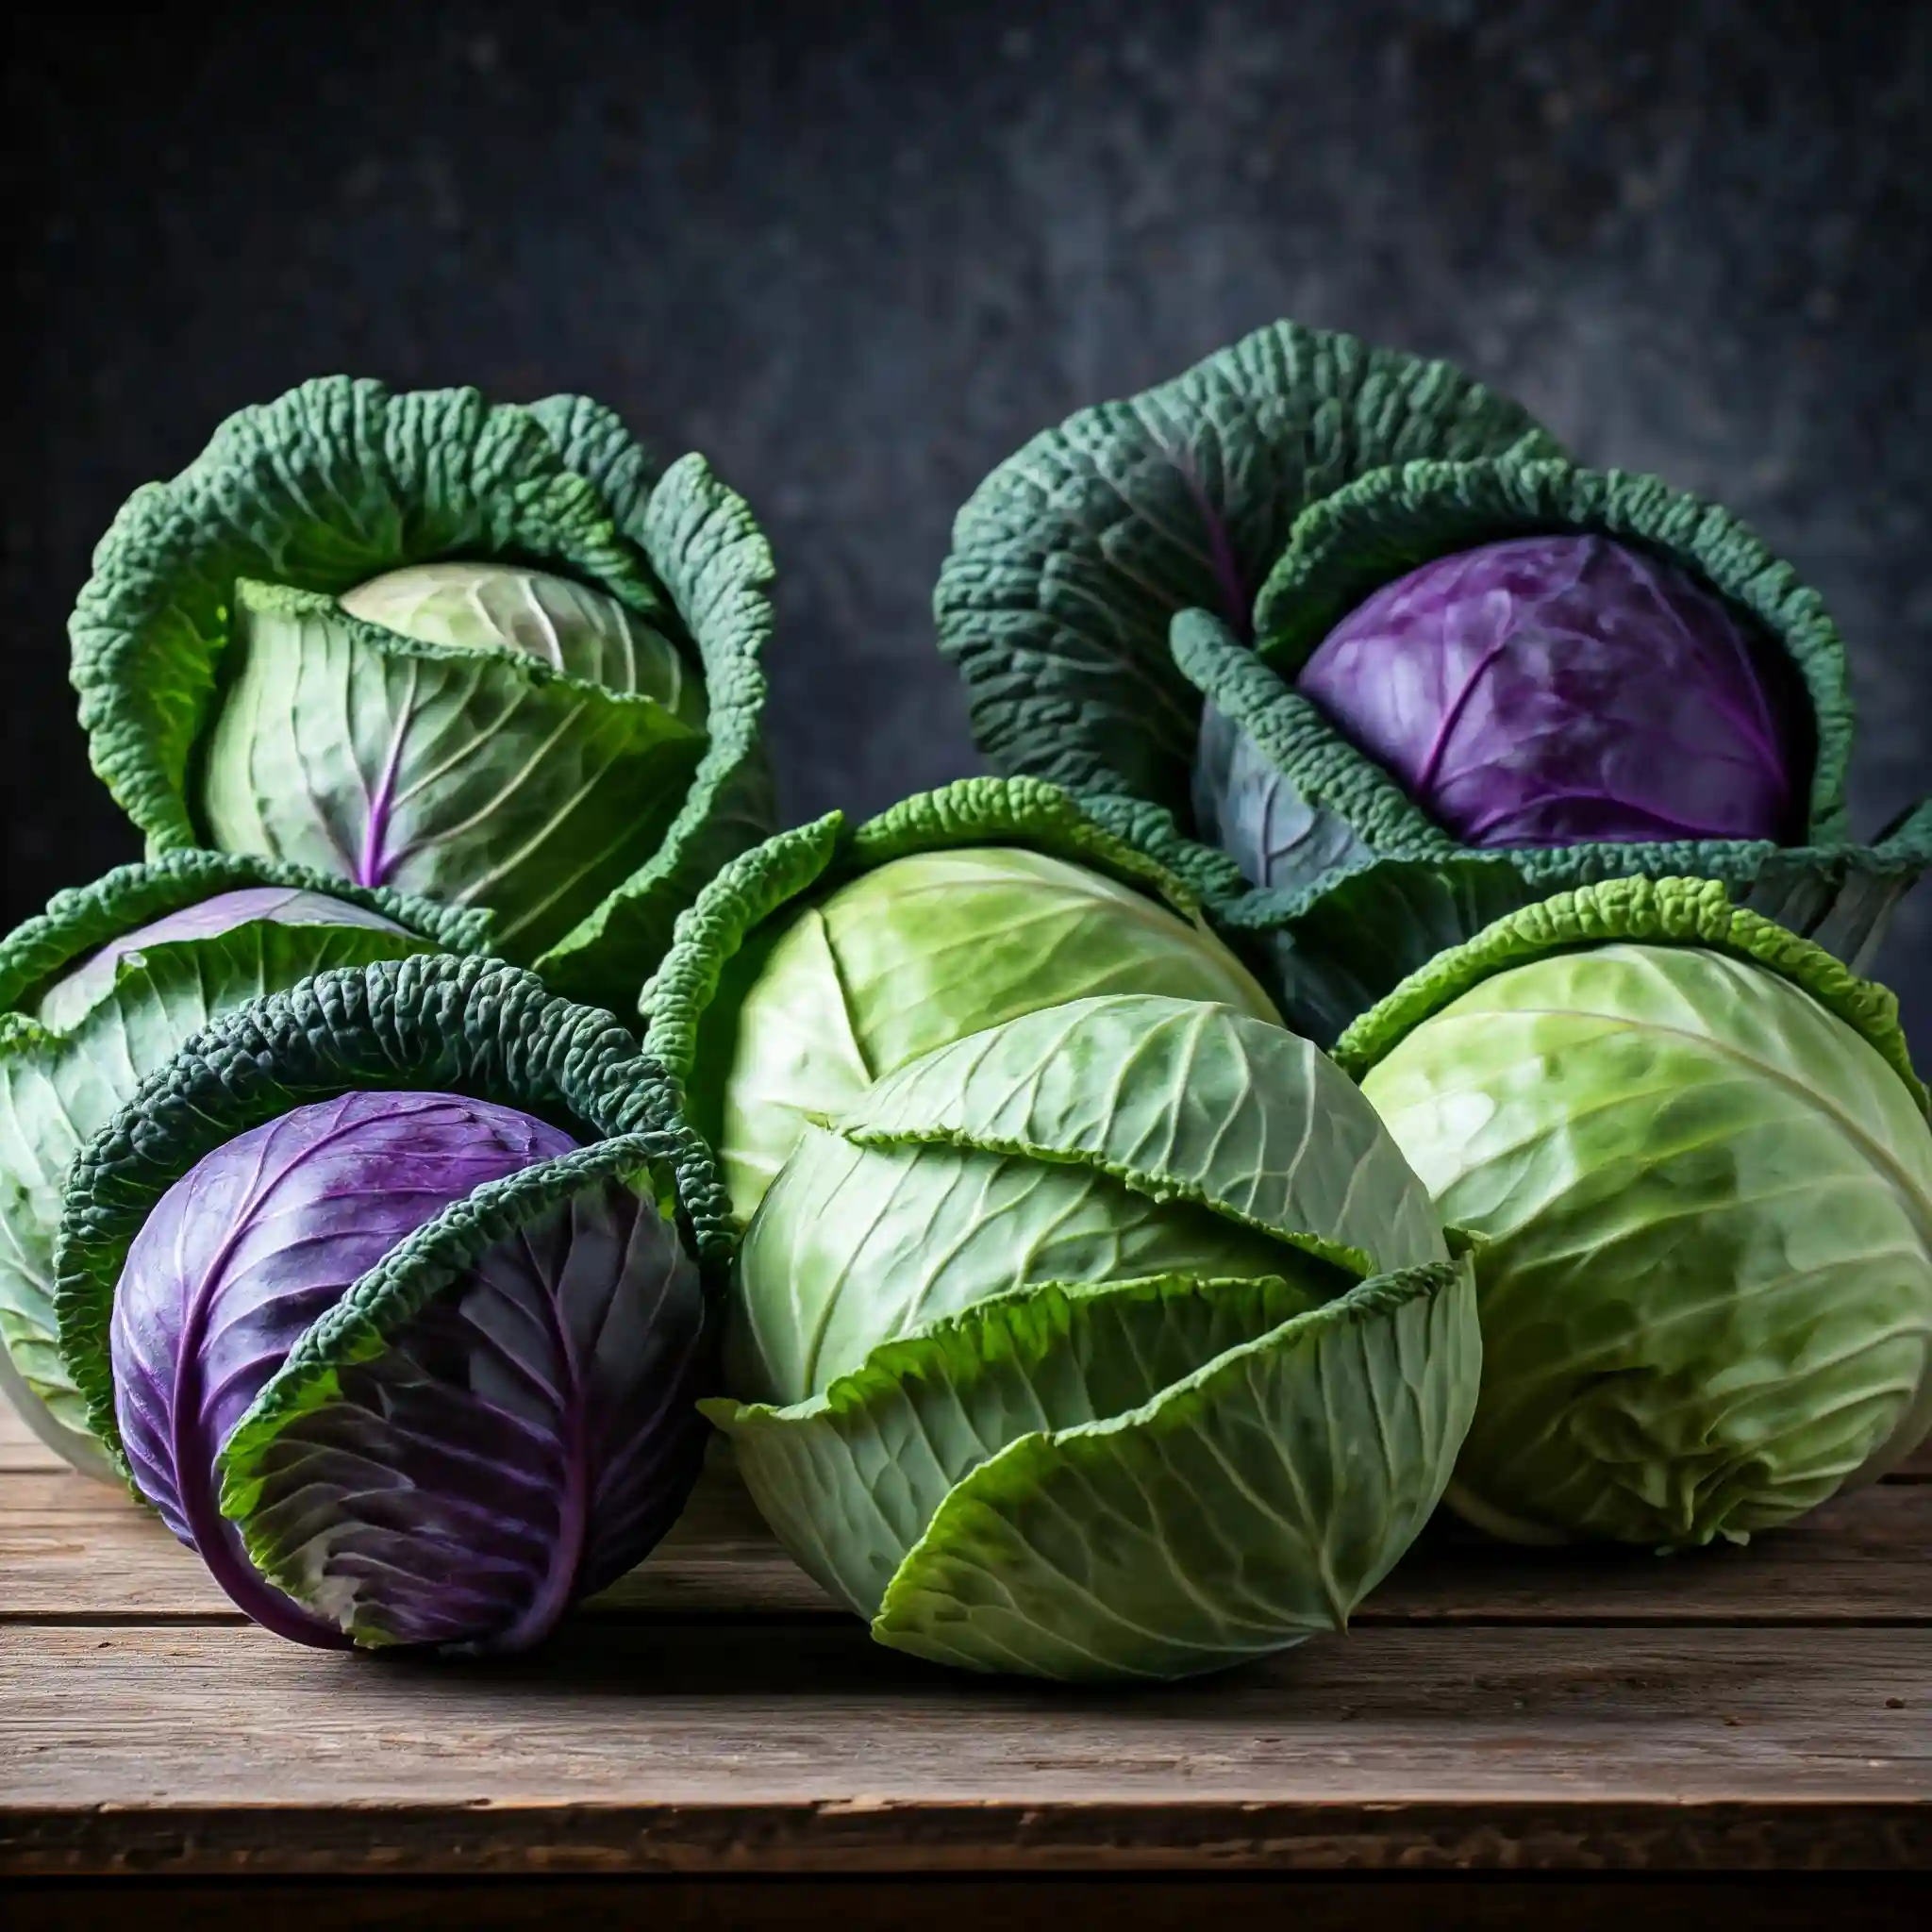
There are three main categories of cabbage varieties: early, mid-season, and late.
- Early Varieties: These are your sprinters. They mature quickly, typically in 50-60 days from transplanting. This makes them ideal for gardeners in regions with short growing seasons or those eager for an early harvest. Some popular early varieties include ‘Golden Acre’, ‘Early Jersey Wakefield’, and ‘Copenhagen Market’. They often produce smaller heads, but what they lack in size, they make up for in speed and tenderness. I often recommend these to new gardeners for the quick gratification they provide.
- Mid-Season Varieties: These offer a balance between growth time and head size, maturing in 70-80 days. They are a versatile option, suitable for most gardens. ‘Market Prize’ and ‘Stonehead’ are examples of reliable mid-season varieties. If you’re unsure which type to choose, these are often a safe bet.
- Late Varieties: These are the marathon runners of the cabbage world, requiring 80-100 days or more to mature. They are best suited for regions with long growing seasons and are often chosen for winter storage. ‘Danish Ballhead’, ‘Storage No. 4’, and ‘January King’ are popular late varieties known for their dense heads and excellent keeping qualities. If you are looking to have cabbage for months to come, these are the way to go.
Beyond maturity time, there are other factors to consider:
- Climate: Some varieties are more heat-tolerant, while others are better suited to cooler climates. I remember one summer when a heatwave hit my garden, and my heat-sensitive cabbages bolted (went to seed) prematurely. Now, I always research heat tolerance before choosing my varieties.
- Available Space: If you have a small garden or are growing in containers, choose compact varieties that won’t take up too much space.
- Intended Use: Are you planning to eat your cabbage fresh, use it for pickling, or make sauerkraut? Some varieties are better suited for certain uses than others. For example, red cabbages are often preferred for pickling due to their vibrant color.
Cabbage Variety Characteristics
| Variety Category | Maturity (Days) | Head Size | Best Use | Climate Suitability |
| Early | 50-60 | Small to Medium | Fresh Eating | Short Growing Seasons, Cooler Climates |
| Mid-Season | 70-80 | Medium to Large | Versatile | Most Climates |
| Late | 80-100+ | Large | Storage | Long Growing Seasons |
This table summarizes the key characteristics of the different cabbage variety categories, making it easier for you to choose the right one for your garden.
By carefully considering these factors, you can select the perfect cabbage variety for your specific needs and increase your chances of a bountiful harvest. I know the feeling of harvesting a perfect cabbage head, and I want you to experience that same joy.
2. How to Plant Cabbage: Starting Seeds or Transplants
You can start cabbage from seeds indoors or purchase transplants from a nursery. Each method has its own set of advantages and considerations. I’ve personally used both methods, and I’ve found that starting from seeds gives you more control over the process, while using transplants can save you time and effort.
Starting Seeds Indoors:
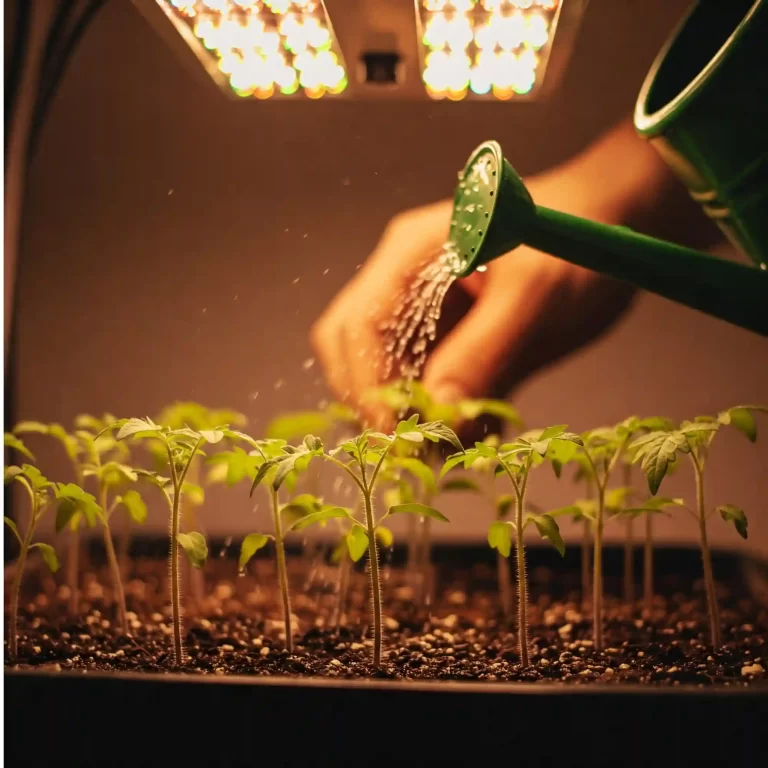
Starting your cabbage seeds indoors is like giving them a head start in life. It allows you to get a jump on the growing season, especially if you live in a region with a short growing season. Here’s how I do it:
- Timing: Start your seeds 6-8 weeks before the last expected frost in your area. This will give them enough time to develop into sturdy seedlings before they’re transplanted into the garden.
- Seed Starting Mix: Use a seed starting mix, not regular garden soil. Seed starting mix is lighter and provides better drainage, which is crucial for preventing damping-off, a fungal disease that can kill young seedlings.
- Containers: You can use seed trays, peat pots, or even recycled containers like yogurt cups. Just make sure they have drainage holes.
- Sowing: Sow the seeds about ¼ inch deep and keep the soil moist but not soggy.
- Light: Place the containers in a sunny window or under grow lights. Seedlings need about 12-16 hours of light per day.
- Temperature: Keep the temperature between 65-70°F (18-21°C).
- Hardening Off: Before transplanting the seedlings into the garden, you’ll need to harden them off. This means gradually acclimating them to outdoor conditions. Start by placing them in a sheltered spot outdoors for a few hours each day, gradually increasing the amount of time they spend outside.
Transplanting Seedlings:
If you choose to purchase transplants from a nursery, make sure to select healthy-looking plants with sturdy stems and no signs of pests or diseases. Here are some tips for transplanting:
- Timing: Transplant seedlings into the garden after the last frost, when the soil has warmed up.
- Spacing: Space plants 12-24 inches apart, depending on the variety.
- Planting Depth: Plant the seedlings at the same depth they were growing in their containers.
- Watering: Water the seedlings thoroughly after transplanting.
Direct Sowing:
In some climates, you can sow cabbage seeds directly into the garden after the last frost. This method is best suited for regions with long growing seasons. Here are some tips for direct sowing:
- Soil Preparation: Prepare the soil by loosening it and adding compost or aged manure.
- Sowing: Sow the seeds about ½ inch deep and space them according to the variety.
- Thinning: Once the seedlings emerge, thin them to the strongest plant per spacing.
By following these tips, you can successfully start your cabbage plants, whether you choose to start from seeds or use transplants. I’ve found that the key is to be patient and attentive to their needs. With a little care, you’ll be well on your way to a bountiful harvest.
3. Preparing the Ideal Growing Environment for Cabbage
Cabbage, like any other plant, has specific needs when it comes to its growing environment. Providing the right conditions is crucial for healthy growth and a successful harvest. I’ve learned that neglecting these fundamental requirements can lead to stunted growth, disease, and disappointment. Let’s delve into the key aspects of creating the perfect home for your cabbage:
Soil: The Foundation of Growth
The soil is the foundation upon which your cabbage plants will thrive. It provides essential nutrients, water, and support for the roots. Cabbage prefers well-drained soil that is rich in organic matter. This type of soil retains moisture while allowing excess water to drain away, preventing root rot. To improve your soil, I recommend amending it with compost or aged manure. These organic materials not only improve drainage but also provide essential nutrients for your plants.
The pH of the soil is another crucial factor. Cabbage thrives in slightly acidic to neutral soil, with a pH range of 6.0-7.0. You can test your soil’s pH using a simple home test kit or by sending a sample to your local agricultural extension office. If your soil is too acidic, you can add lime to raise the pH. If it’s too alkaline, you can add sulfur to lower it.
Sunlight: The Energy Source
Sunlight is the energy source that fuels plant growth through photosynthesis. Cabbage needs at least 6 hours of sunlight per day to thrive. Choose a location in your garden that receives full sun. If you live in a particularly hot climate, some afternoon shade can be beneficial to prevent the plants from overheating.
Location: The Right Spot
The location you choose for your cabbage plants should also have good air circulation. This helps to prevent fungal diseases. Avoid planting cabbage in areas where water tends to puddle or where air is stagnant.
Creating the Ideal Environment: A Summary
To summarize, here’s what you need to create the ideal growing environment for your cabbage:
- Well-drained soil rich in organic matter
- A soil pH of 6.0-7.0
- At least 6 hours of sunlight per day
- Good air circulation
By providing these conditions, you’ll create a welcoming home for your cabbage plants, setting them up for healthy growth and a bountiful harvest.
4. How to Water and Fertilize Cabbage Plants
Water and nutrients are the lifeblood of your cabbage plants. Proper watering ensures that the plants have enough moisture to grow and develop, while fertilization provides them with the essential nutrients they need to thrive. I’ve learned that a consistent watering schedule and a balanced fertilization plan are key to producing large, healthy cabbage heads.
Watering: Keeping Your Plants Hydrated
Cabbage needs consistent moisture, especially during dry periods. I recommend watering deeply and regularly, ensuring that the soil is moist but not waterlogged. Avoid overhead watering, as this can promote fungal diseases. Instead, water at the base of the plants, focusing on the root zone.
The frequency of watering will depend on several factors, including the weather, soil type, and the size of your plants. As a general rule, I water my cabbage plants every 2-3 days during dry weather. However, you may need to water more frequently during hot, sunny weather or if your soil is sandy and drains quickly.
To check if your cabbage plants need water, stick your finger about an inch into the soil. If the soil feels dry, it’s time to water. If it feels moist, you can wait a day or two.
Fertilizing: Providing Essential Nutrients
Fertilizing your cabbage plants provides them with the essential nutrients they need to grow and develop. I recommend applying a balanced fertilizer at planting time. This will give your plants a good start. You can then side-dress with nitrogen fertilizer a few weeks later. Nitrogen is particularly important for leafy green vegetables like cabbage.
There are many different types of fertilizers available, both organic and synthetic. I prefer to use organic fertilizers, such as compost or aged manure, as they are more environmentally friendly and provide a slow release of nutrients.
When applying fertilizer, be sure to follow the instructions on the product label. Too much fertilizer can burn your plants.
Watering and Fertilizing: A Summary
To summarize, here are some key points to remember about watering and fertilizing your cabbage plants:
- Water deeply and regularly, especially during dry periods.
- Avoid overhead watering.
- Water at the base of the plants, focusing on the root zone.
- Apply a balanced fertilizer at planting time.
- Side-dress with nitrogen fertilizer a few weeks later.
- Use organic fertilizers whenever possible.
- Follow the instructions on the product label.
By following these tips, you can ensure that your cabbage plants receive the water and nutrients they need to thrive.
5. Protecting Your Cabbage from Pests and Diseases
Cabbage, unfortunately, is a tasty treat not just for us, but for a variety of pests and diseases as well. I’ve had my fair share of battles with these garden invaders, and I’ve learned that a proactive approach is the best defense. By understanding the common threats and implementing preventive measures, you can protect your cabbage patch and ensure a healthy harvest.
Common Pests:
- Cabbage White Butterfly: These fluttering white butterflies may seem harmless, but their caterpillars, known as cabbage worms, can wreak havoc on your cabbage leaves. They munch on the leaves, leaving behind unsightly holes.
- Cabbage Looper: These green caterpillars are another common pest that feeds on cabbage leaves. They can quickly defoliate your plants if left unchecked.
- Aphids: These tiny insects suck the sap from cabbage leaves, causing them to curl and distort. They can also transmit diseases.
- Flea Beetles: These small, jumping beetles create tiny holes in the leaves, giving them a shot-hole appearance.
Organic Pest Control Methods:
- Row Covers: These lightweight fabrics create a physical barrier, preventing pests from reaching your plants.
- Companion Planting: Planting certain herbs and flowers alongside your cabbage can help repel pests. For example, marigolds repel cabbage white butterflies, while thyme deters cabbage loopers.
- Handpicking: Regularly inspect your plants and handpick any pests you find. This is a simple but effective way to control small infestations.
- Organic Insecticides: If necessary, you can use organic insecticides such as Bacillus thuringiensis (Bt) or neem oil to control pests.
Common Diseases:
- Black Rot: This bacterial disease causes dark, V-shaped lesions on the leaves. It can be spread by infected seeds or splashing water.
- Clubroot: This fungal disease causes the roots to become swollen and distorted, preventing the plant from absorbing water and nutrients.
Preventing Cabbage Diseases:
- Crop Rotation: Avoid planting cabbage in the same location year after year. This helps to prevent the buildup of disease-causing organisms in the soil.
- Good Drainage: Ensure that your soil is well-drained to prevent water from pooling around the roots.
- Disease-Resistant Varieties: Choose cabbage varieties that are resistant to common diseases.
By implementing these preventive measures and staying vigilant, you can protect your cabbage patch from pests and diseases and ensure a bountiful harvest.
6. When and How to Harvest Your Cabbage
There’s nothing quite like the feeling of harvesting a cabbage you’ve nurtured from seed to maturity. Knowing when and how to harvest your cabbage is essential for enjoying its optimal flavor and ensuring proper storage. I’ve learned that patience is key – harvesting too early or too late can affect the quality of your cabbage.
Harvest Time: Signs of Ripeness
Cabbage is typically ready to harvest when the heads are firm and solid to the touch. The size of the head will vary depending on the variety, but it should feel dense and heavy for its size. Another sign of ripeness is that the outer leaves may start to loosen or pull away from the head.
Harvesting Technique: A Clean Cut
To harvest your cabbage, use a sharp knife to cut the head at the base, just above the lowest leaves. Make a clean, angled cut to prevent water from collecting in the stem and causing rot.
Post-Harvest Care: Preparing for Storage
After harvesting, remove any loose or damaged outer leaves. You can then store your cabbage in the refrigerator or a cool, dark place.
Extending the Harvest: Succession Planting
To enjoy a continuous harvest of cabbage throughout the season, consider succession planting. This involves planting new seedlings every few weeks, ensuring that you have a steady supply of mature cabbages.
Harvesting and Enjoying Your Cabbage: A Rewarding Experience
Harvesting your cabbage is the culmination of your efforts and a truly rewarding experience. By following these simple tips, you can ensure that you harvest your cabbage at the peak of ripeness and enjoy its fresh, delicious flavor.
Growing your own cabbage can be a fulfilling and rewarding experience. By following these simple steps, you can nurture your cabbage plants from seed to harvest and enjoy the fresh, homegrown flavor of your own produce. With a little care and attention, you’ll be well on your way to a thriving cabbage patch and a bountiful harvest.
7. Storing Your Harvested Cabbage for Freshness
Once you’ve harvested your beautiful cabbages, the next step is to store them properly to maintain their freshness and flavor. I’ve experimented with various storage methods over the years, and I’ve found that the best approach depends on how long you plan to keep your cabbages.
Short-Term Storage: Keeping it Crisp in the Fridge
If you plan to use your cabbages within a few weeks, the refrigerator is your best bet. Here’s how I store them in the fridge:
- Remove any loose or damaged outer leaves.
- Wrap the cabbage tightly in plastic wrap or place it in a resealable plastic bag.
- Store the cabbage in the crisper drawer of your refrigerator.
Stored this way, your cabbages should stay fresh for up to a few weeks.
Long-Term Storage: Extending the Shelf Life
If you want to store your cabbages for several months, you’ll need to create a cool, dark, and dry environment. Here are a few options:
- Root Cellar: A root cellar is an ideal place to store cabbages for long periods. The cool, consistent temperature and high humidity help to keep the cabbages fresh.
- Cold Storage: If you don’t have a root cellar, you can use an unheated garage or basement. The key is to keep the temperature between 32-40°F (0-4°C) and the humidity high.
- Freezing: You can also freeze cabbage, but it’s important to blanch it first to preserve its texture and flavor. To blanch cabbage, cut it into wedges and boil it for 2-3 minutes. Then, immediately plunge it into ice water to stop the cooking process. Drain the cabbage well and then freeze it in freezer bags or containers.
Choosing the Right Storage Method: A Summary
To summarize, here’s a quick guide to choosing the right storage method for your cabbages:
| Storage Method | Storage Time | Ideal Conditions |
| Refrigerator | Up to a few weeks | Cool, humid |
| Root cellar | Several months | Cool, dark, humid |
| Cold storage | Several months | Cool, dark, humid |
| Freezer | Several months | Frozen |
By following these tips, you can extend the shelf life of your harvested cabbages and enjoy their fresh flavor for months to come.
FAQ: Answering Your Cabbage-Growing Questions
Throughout this guide, I’ve aimed to provide you with comprehensive information on how to grow cabbage vegetables. However, I know that you may still have some specific questions. Here are some frequently asked questions that I’ve encountered over the years:
How to grow organic cabbage vegetables in raised beds?
Growing organic cabbage in raised beds is a great way to improve drainage, control soil conditions, and protect your plants from soilborne pests and diseases. Here are some tips:
- Choose a sunny location for your raised bed.
- Fill the bed with a well-drained soil mix that is rich in organic matter.
- Amend the soil with compost or aged manure before planting.
- Space your cabbage plants according to the variety.
- Water regularly, but avoid overhead watering.
- Use organic pest control methods, such as row covers and handpicking.
How to grow cabbage vegetables from seed to harvest in spring?
Starting your cabbage from seed in the spring allows you to get a head start on the growing season. Here’s how:
- Start your seeds indoors 6-8 weeks before the last expected frost in your area.
- Use a seed starting mix and keep the soil moist but not soggy.
- Place the seedlings in a sunny window or under grow lights.
- Harden off the seedlings before transplanting them into the garden.
- Transplant the seedlings into the garden after the last frost, when the soil has warmed up.
- Water and fertilize regularly.
- Harvest your cabbage when the heads are firm and solid.
What is the best way to grow cabbage vegetables in containers?
Growing cabbage in containers is a great option if you have limited space or want to protect your plants from soilborne pests and diseases. Here are some tips:
- Choose a container that is at least 12 inches deep and wide.
- Fill the container with a well-drained potting mix.
- Plant one cabbage plant per container.
- Water regularly, as containers tend to dry out quickly.
- Fertilize regularly with a balanced fertilizer.
- Place the container in a sunny location.
How to prevent common pests when growing cabbage vegetables organically?
There are several organic methods you can use to prevent pests from damaging your cabbage plants:
- Use row covers to create a physical barrier.
- Plant companion plants that repel pests, such as marigolds and thyme.
- Handpick pests off your plants.
- Use organic insecticides, such as Bacillus thuringiensis (Bt) and neem oil.
How to grow large, healthy cabbage vegetables in a small garden?
Even if you have a small garden, you can still grow large, healthy cabbages. Here are some tips:
- Choose compact varieties that are well-suited for small spaces.
- Space your plants properly to allow for adequate growth.
- Maximize sunlight by planting in a sunny location.
- Provide regular water and fertilizer.
- Use vertical gardening techniques, such as trellising or staking, to save space.
How to grow cabbage vegetables in hot climates with minimal bolting?
Bolting, or premature flowering, can be a problem for cabbage grown in hot climates. Here are some tips to minimize bolting:
- Choose heat-tolerant varieties.
- Plant in a location that receives some afternoon shade.
- Water regularly to keep the soil cool and moist.
- Mulch around the plants to help retain moisture and regulate soil temperature.
- Harvest your cabbage as soon as it is mature.
How to grow and harvest cabbage vegetables for winter storage?
If you want to store your cabbages for the winter, you’ll need to choose late-maturing varieties and harvest them properly. Here are some tips:
- Choose late-maturing varieties that are known for their good storage qualities.
- Harvest your cabbage when the heads are firm and solid.
- Remove any loose or damaged outer leaves.
- Store the cabbages in a cool, dark, and dry place, such as a root cellar or unheated garage.
How to grow different varieties of cabbage vegetables in the home garden?
Growing different varieties of cabbage can add interest and variety to your garden and your meals. Here are some tips:
- Choose varieties that are suited to your climate and growing conditions.
- Plant different varieties at different times to extend your harvest season.
- Label your plants so you know which variety is which.
- Experiment with different varieties to find your favorites.
How to grow disease-resistant cabbage vegetables without chemical pesticides?
Choosing disease-resistant varieties is a great way to prevent diseases without using chemical pesticides. Here are some other tips:
- Practice crop rotation.
- Ensure good drainage.
- Water at the base of the plants to avoid wetting the leaves.
- Remove any diseased plants from the garden immediately.
- Use organic fungicides if necessary.
How to grow early cabbage vegetables for a spring harvest in zone 6?
Starting your cabbage early in the spring can be a challenge in zone 6, but it’s definitely possible. Here are some tips:
- Start your seeds indoors 8-10 weeks before the last expected frost.
- Use a cold frameor greenhouse to protect your seedlings from frost.
- Harden off the seedlings before transplanting them into the garden.
- Choose early-maturing varieties.
- Provide extra protection from frost, such as row covers or blankets.
How to grow healthy cabbage vegetables with minimal watering during drought?
Growing cabbage during a drought can be challenging, but there are some things you can do to conserve water and keep your plants healthy:
- Choose drought-tolerant varieties.
- Amend the soil with compost or other organic matter to improve its water-holding capacity.
- Water deeply and less frequently.
- Mulch around the plants to help retain moisture.
- Use drip irrigation or soaker hoses to water at the base of the plants.
Step-by-step guide on how to grow cabbage vegetables at home.
Here is a step-by-step guide on how to grow cabbage vegetables at home:
- Choose the right variety for your climate and growing conditions.
- Start your seeds indoors or purchase transplants from a nursery.
- Prepare the soil by amending it with compost or aged manure.
- Plant your cabbage plants in a sunny location with well-drained soil.
- Water and fertilize regularly.
- Protect your plants from pests and diseases.
- Harvest your cabbage when the heads are firm and solid.
How to grow cabbage vegetables and protect them from cabbage white butterfly.
Cabbage white butterflies can be a major pest of cabbage. Here are some ways to protect your plants:
- Use row covers to prevent the butterflies from laying their eggs on your plants.
- Handpick any caterpillars you find on your plants.
- Use organic insecticides, such as Bacillus thuringiensis (Bt), to control caterpillars.
How to grow delicious and healthy cabbage vegetables for cooking recipes.
Growing your own cabbage is a great way to ensure that you have a supply of fresh, delicious vegetables for your favorite recipes. Here are some tips:
- Choose varieties that are suited for the dishes you want to make.
- Harvest your cabbage at the peak of ripeness.
- Store your cabbage properly to maintain its freshness.
- Experiment with different cooking methods to find your favorites.
I hope these FAQs have answered any questions you had about growing cabbage vegetables. If you have any further questions, please feel free to leave a comment below.
Conclusion: From Garden to Table
Growing your own cabbage can be a fulfilling and rewarding experience. By following these simple steps, you can nurture your cabbage plants from seed to harvest and enjoy the fresh, homegrown flavor of your own produce. With a little care and attention, you’ll be well on your way to a thriving cabbage patch and a bountiful harvest.
Additional Tips for Growing Cabbage
- Choose the right variety for your climate. Some varieties of cabbage are more heat-tolerant than others. If you live in a hot climate, choose a heat-tolerant variety.
- Start with healthy seedlings. If you’re not starting your cabbage from seed, purchase healthy seedlings from a reputable nursery.
- Plant your cabbage in well-drained soil. Cabbage does not like to sit in waterlogged soil. Make sure the soil is well-drained before planting.
- Water your cabbage regularly. Cabbage needs consistent moisture to grow well. Water deeply and regularly, especially during dry periods.
- Fertilize your cabbage regularly. Cabbage is a heavy feeder. Fertilize regularly with a balanced fertilizer.
- Protect your cabbage from pests and diseases. Cabbage is susceptible to a variety of pests and diseases. Take steps to protect your plants, such as using row covers or organic pest control methods.
- Harvest your cabbage at the right time. Cabbage is ready to harvest when the heads are firm and solid.
- Store your cabbage properly. Cabbage can be stored in the refrigerator for several weeks.
With a little care and attention, you can grow your own delicious cabbage at home.
