Are you tired of bland, store-bought berries that lack that intense, tangy sweetness? Do you dream of harvesting your own vibrant, antioxidant-packed fruit right from your backyard? You’re not alone. Many gardeners, like myself, crave the unique flavor of wild berries, and bilberries, with their deep blue hue and concentrated taste, are a true treasure. But the problem is, finding fresh, high-quality bilberries can be difficult and expensive. The solution? Learn how to grow bilberry herbs in your own garden! In this guide, I’ll share my years of experience and provide you with a step-by-step approach to cultivating these delightful berries, ensuring you enjoy a bountiful harvest year after year.
Understanding Bilberry Plants: A Quick Overview
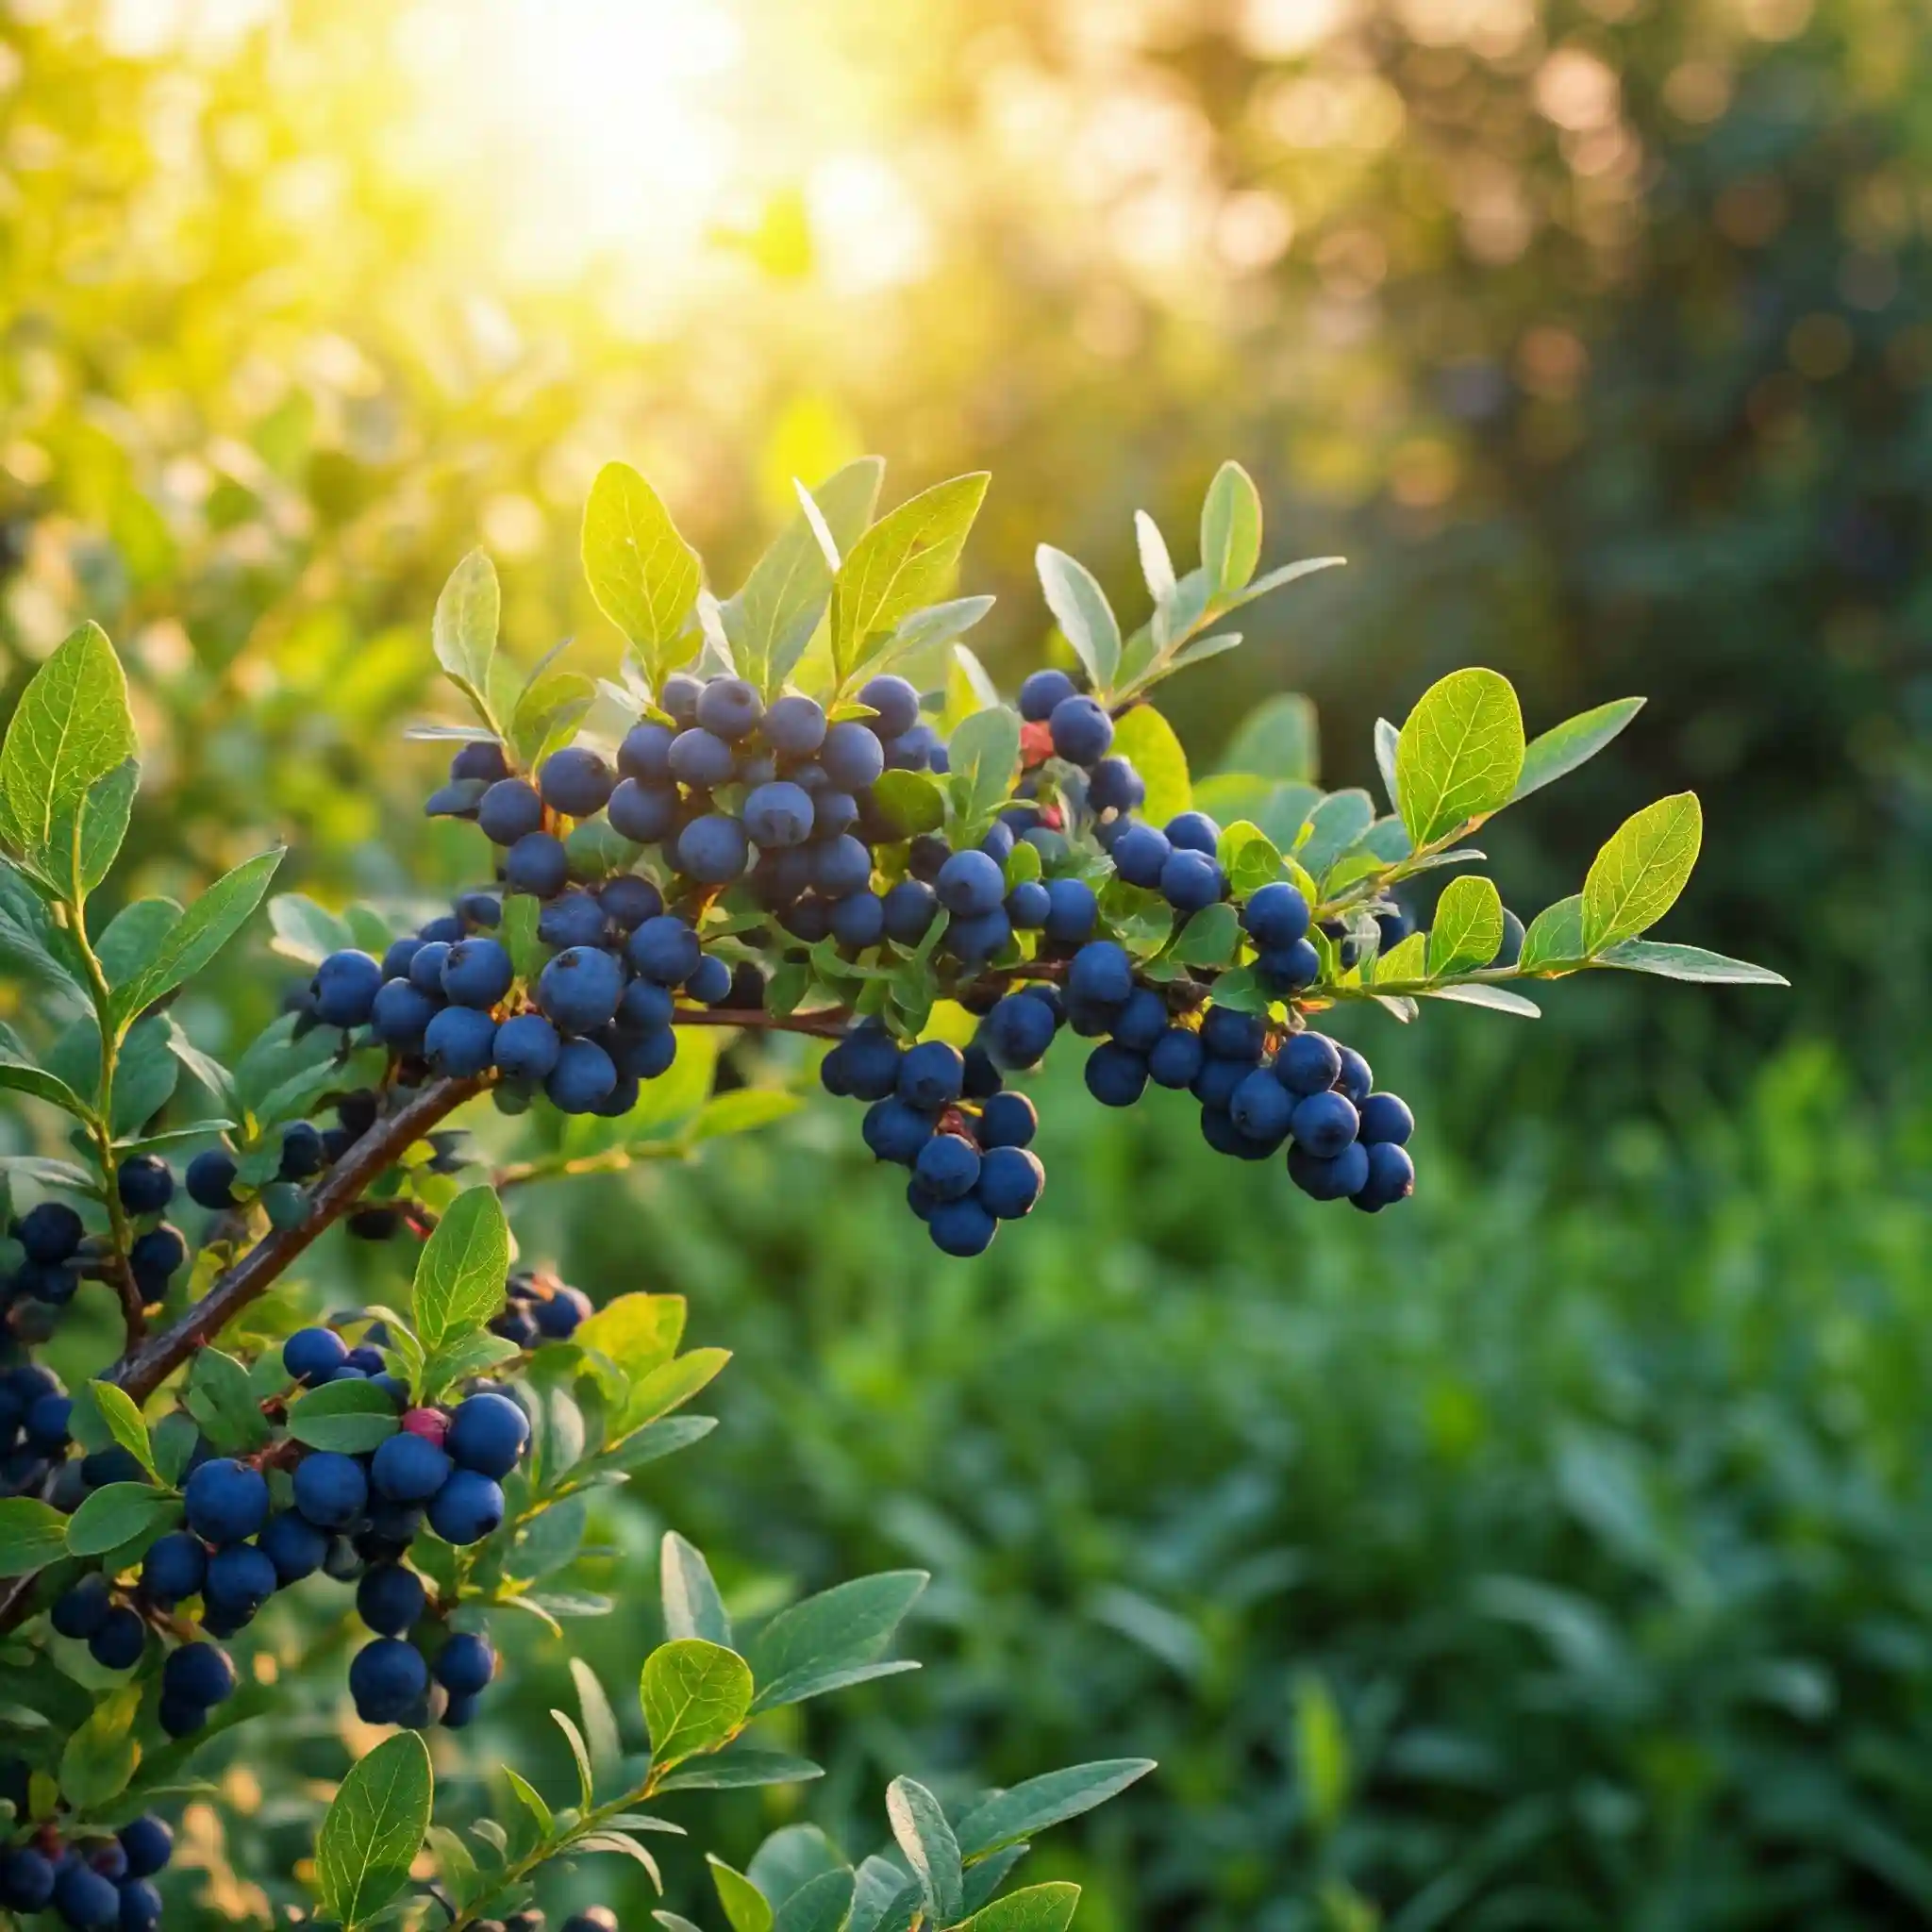
Before we get into the “how-to,” let’s talk about what bilberries actually are. Knowing your plant is crucial for successful cultivation. Bilberries (Vaccinium myrtillus), sometimes called European blueberries or whortleberries, are small, dark blue berries native to Europe. They are closely related to blueberries, cranberries, and huckleberries, all belonging to the Vaccinium genus within the Ericaceae (Heath) family. This family is known for its preference for acidic soil, a key factor we’ll discuss later.
One of the key differences between bilberries and blueberries, which you might be more familiar with, is that bilberries are generally smaller, darker, and have a more intense flavor. The inside of a bilberry is also darker, almost staining, whereas blueberries have a lighter, greenish pulp. This difference in pigmentation contributes to bilberries’ higher antioxidant content.
From my experience, understanding the plant’s natural habitat is crucial. Bilberries thrive in cool, temperate climates and are often found growing in woodlands and heaths, where the soil is acidic and rich in organic matter. They prefer dappled sunlight or partial shade, mimicking the conditions of their natural woodland environment. This information is key when choosing a location for your bilberry patch.
Here are some key characteristics of bilberry plants:
- Shrub Size: Typically grows to be 1-2 feet tall.
- Leaves: Small, oval, and deciduous (they lose their leaves in the fall).
- Flowers: Small, bell-shaped, and white or pinkish.
- Fruit: Small, dark blue berries, about ¼ inch in diameter.
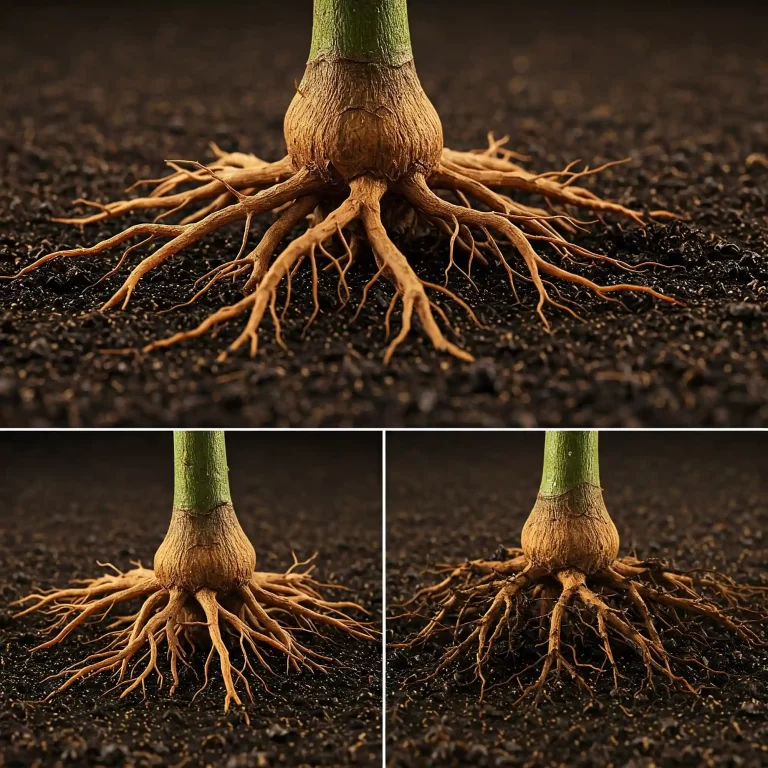
- Root System: Shallow and spreading.
Understanding these characteristics helps you provide the optimal conditions for your bilberries to flourish. For instance, knowing they have a shallow root system tells us that consistent watering is essential, especially during dry periods.
Bilberry Varieties
While Vaccinium myrtillus is the most common species, there are some variations and cultivated varieties you might encounter. These might offer slight differences in berry size, yield, or growth habit. However, the basic growing requirements remain largely the same.
Why Grow Bilberries?
Beyond their delicious taste, bilberries are packed with health benefits. They are a rich source of antioxidants, particularly anthocyanins, which have been linked to various health benefits, including improved vision, cognitive function, and cardiovascular health. This makes growing your own bilberries not only a rewarding gardening experience but also a great way to boost your health.
7 Steps: How to Grow Bilberry Herbs Successfully
Now that you understand the basics of bilberry plants, let’s dive into the practical steps of growing them. From my experience, following these steps will significantly increase your chances of success and lead to a bountiful harvest of these delicious berries.
1. Choosing the Right Location and Soil:
Bilberries are particular about their growing conditions, and getting this right is crucial. They thrive in acidic soil with a pH between 4.0 and 5.5. You can test your soil using a simple soil test kit available at most garden centers. If your soil is not acidic enough, you can amend it with sulfur or peat moss.
In terms of sunlight, bilberries prefer a sunny spot with some afternoon shade, especially in warmer climates. This mimics their natural woodland habitat, where they grow under the canopy of trees.
2. Planting Your Bilberry Plants:
You can start with bare-root plants, container-grown plants, or even try propagating from cuttings. Bare-root plants are typically available in late winter or early spring, while container-grown plants can be planted throughout the growing season.
When planting, dig a hole that is twice as wide as the root ball and just as deep. Gently loosen the roots and place the plant in the hole.1 Backfill with soil and firm it gently around the base of the plant. Water thoroughly after planting.
3. Watering and Mulching:
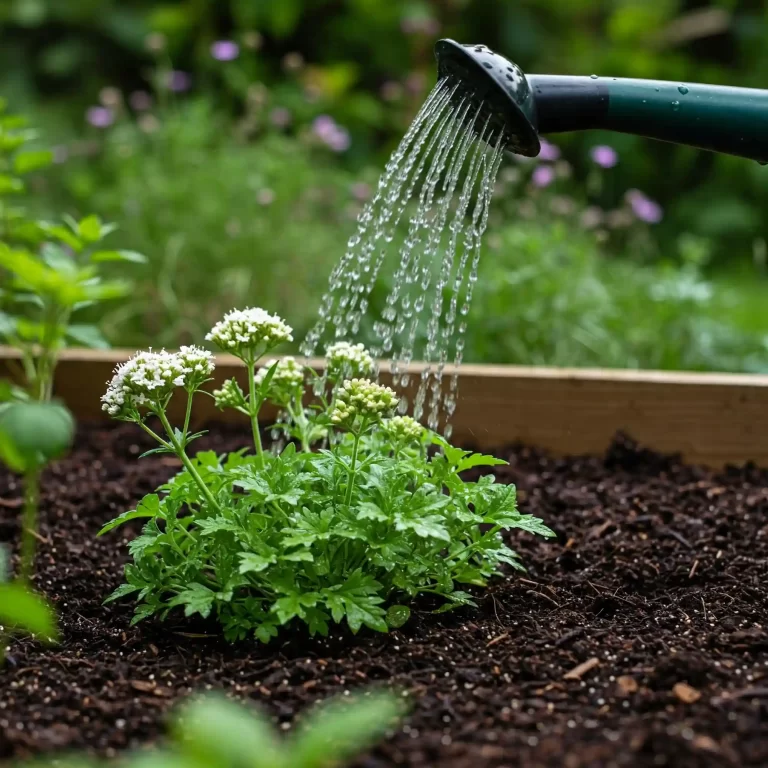
Consistent moisture is crucial for bilberries, especially during the first year. Water deeply and regularly, especially during dry periods. Mulching with pine needles or wood chips helps retain moisture, suppress weeds, and regulate soil temperature.
4. Fertilizing for Healthy Growth:
Bilberries benefit from regular fertilization, especially during the growing season. Use an acid-loving fertilizer specifically formulated for azaleas or rhododendrons. Fertilize in early spring and again in late spring.
5. Pruning for Better Yields:
Pruning is essential for maintaining the health and productivity of your bilberry bushes. Prune in late winter or early spring to remove dead, damaged, or crossing branches. This will encourage new growth and improve air circulation.
6. Protecting from Pests and Diseases:
Bilberries are relatively pest and disease-free, but they can be susceptible to certain issues. Keep an eye out for common pests like aphids and spider mites. Proper air circulation and good drainage can help prevent fungal diseases.
7. Harvesting Your Bilberry Crop:
Bilberries are typically ready for harvest in mid-summer. The berries should be deep blue and easily detach from the plant. Pick them regularly to encourage continued production.
Growing Bilberry Herbs in Containers: A Guide for Urban Gardeners
Growing bilberries in containers is a fantastic option if you have limited space, such as a balcony, patio, or small urban garden. I’ve had great success growing bilberries in pots, and I’m happy to share my tips with you.
Choosing the Right Pot:
The size of the pot is important. Choose a pot that is at least 18 inches in diameter to accommodate the bilberry’s root system. Make sure the pot has drainage holes to prevent waterlogging, which can be detrimental to bilberries.
Selecting the Right Potting Mix:
Bilberries require acidic soil, so choose a potting mix specifically formulated for acid-loving plants like azaleas or rhododendrons. You can also amend a general-purpose potting mix with peat moss or sulfur to increase acidity.
Planting Your Bilberry in a Container:
Plant your bilberry in the pot, ensuring the top of the root ball is level with the soil surface. Water thoroughly after planting.
Caring for Your Container-Grown Bilberry:
Place the pot in a sunny location that receives at least 6 hours of sunlight per day. Water regularly, especially during dry periods. Fertilize in early spring and again in late spring with an acid-loving fertilizer.
Additional Tips for Growing Bilberries in Containers:
- Repotting: Repot your bilberry every 2-3 years to replenish the potting mix and provide more room for the roots to grow.
- Winter Protection: In colder climates, protect your container-grown bilberry from freezing temperatures by moving it to a sheltered location or wrapping the pot in burlap.
Growing bilberries in containers is a rewarding experience that allows you to enjoy these delicious berries even if you have limited space. With proper care and attention, you can successfully grow bilberries in pots and enjoy a bountiful harvest.
Common Problems and How to Fix Them
Even with the best care, you might encounter some problems while growing bilberries. From my experience, early detection and prompt action are key to resolving these issues and keeping your plants healthy. Here are some common problems and how to fix them:
1. Yellowing Leaves (Chlorosis):
- Problem: Yellowing leaves, especially between the veins, can indicate a nutrient deficiency, usually iron. This is often caused by high soil pH, which prevents the plant from absorbing iron.
- Solution: Test your soil pH. If it’s above 5.5, amend the soil with sulfur or use an acidifying fertilizer. You can also apply chelated iron to the soil or foliage.
2. Lack of Fruit Production:
- Problem: Several factors can contribute to a lack of fruit, including insufficient sunlight, poor pollination, or frost damage to the flowers.
- Solution: Ensure your plants receive at least 6 hours of sunlight per day. If pollination is an issue, you can hand-pollinate the flowers using a small brush. Protect the plants from late frosts by covering them with a frost blanket.
3. Pests:
- Problem: Bilberries can be susceptible to certain pests, such as aphids, spider mites, and blueberry maggots.
- Solution: Monitor your plants regularly for signs of pests. For aphids and spider mites, you can use insecticidal soap or neem oil. For blueberry maggots, you can use traps or insecticides.
4. Diseases:
- Problem: Fungal diseases, such as leaf spot and fruit rot, can affect bilberries, especially in humid conditions.
- Solution: Ensure good air circulation around the plants by pruning regularly. Avoid overhead watering and water at the base of the plants. You can also use fungicides if necessary.
5. Poor Growth:
- Problem: Stunted growth or weak plants can be caused by various factors, including poor soil drainage, insufficient watering, or nutrient deficiencies.
- Solution: Ensure the soil is well-draining and water regularly, especially during dry periods. Fertilize with an acid-loving fertilizer in early spring and late spring.
Troubleshooting Table
| Problem | Possible Causes | Solutions |
| Yellowing Leaves | High soil pH, nutrient deficiency (iron) | Test soil pH, amend with sulfur or use acidifying fertilizer, apply chelated iron. |
| Lack of Fruit | Insufficient sunlight, poor pollination, frost damage | Ensure 6+ hours of sunlight, hand-pollinate flowers, protect from frost. |
| Pests | Aphids, spider mites, blueberry maggots | Insecticidal soap, neem oil, traps, insecticides. |
| Diseases | Fungal diseases (leaf spot, fruit rot) | Improve air circulation, avoid overhead watering, use fungicides. |
| Poor Growth | Poor drainage, insufficient watering, nutrient deficiencies | Ensure well-draining soil, water regularly, fertilize with acid-loving fertilizer. |
By being aware of these common problems and their solutions, you can keep your bilberry plants healthy and productive. Remember, prevention is always the best approach. By providing the right growing conditions and practicing good plant care, you can minimize the risk of problems and enjoy a bountiful harvest of bilberries.
Frequently Asked Questions (FAQs)
I’ve compiled a list of frequently asked questions about growing bilberry herbs to further assist you. These are questions I often get from fellow gardeners, and I hope they clarify any remaining doubts you might have.
- How long does it take for bilberries to produce fruit?
From my experience, bilberries typically start producing fruit 2-3 years after planting. This can vary depending on the growing conditions and the variety. - How to grow bilberry herbs in zone 6 with cold winters?
In colder climates like zone 6, winter protection is essential. I recommend mulching heavily in the fall to protect the roots from freezing temperatures. You can also cover the plants with a frost blanket for added protection. - How to grow bilberry herbs from cuttings for beginners?
Taking softwood cuttings in late spring is the easiest method. Dip the cut ends in rooting hormone and plant them in a moist rooting medium. Keep them in a humid environment until they root. - How to grow bilberry herbs in containers on a patio?
Use a large pot with good drainage and an acidic potting mix. Place the pot in a sunny location and water regularly. Fertilize with an acid-loving fertilizer. - How to grow bilberry herbs organically without using pesticides?
I prefer using natural pest control methods like handpicking pests or introducing beneficial insects. You can also use organic sprays like neem oil. - What is the best way to grow bilberry herbs in raised beds?
Amend the soil in the raised bed with peat moss or sulfur to increase acidity. Ensure good drainage and provide consistent watering. - How to grow bilberry herbs for making jams and preserves?
Harvest the ripe berries in mid-summer. They should be deep blue and easily detach from the plant. Use your favorite jam or preserve recipe. - How to grow bilberry herbs from seed and care for seedlings?
Bilberry seeds require cold stratification for several months before planting. Plant them in a seed-starting mix and keep them moist. Once they germinate, provide them with plenty of light.
These FAQs should address most of your questions about growing bilberries. If you have any further questions, feel free to reach out to me or consult other resources.
Conclusion: Embark on Your Bilberry Growing Journey
Growing bilberry herbs is a rewarding endeavor that brings the taste of the wild to your backyard. With their unique flavor, health benefits, and relatively easy cultivation, bilberries are a great addition to any garden. By following the tips and techniques I’ve shared in this guide, you can successfully grow these delightful berries and enjoy a bountiful harvest year after year.
Remember, the key to success lies in understanding the plant’s needs and providing the right growing conditions. From choosing the right location and soil to protecting your plants from pests and diseases, every step is crucial. But with a little patience and care, you’ll be rewarded with a thriving bilberry patch that provides you with delicious and healthy berries for years to come.
So, are you ready to embark on your bilberry growing journey? I encourage you to give it a try. With a little effort, you can transform your backyard into a bilberry haven and enjoy the taste of these wild berries right at home. Happy gardening!
