Are you tired of the same old, boring salads and sandwiches? Do you crave a fresh, healthy boost to your meals without spending a fortune? I understand. You want something convenient, nutritious, and easy to incorporate into your busy lifestyle. Many of us struggle to find quick, healthy additions to our diets, often relying on expensive store-bought options that can lack freshness and flavor.
This is where growing your own alfalfa sprouts comes in. It’s a simple, affordable, and incredibly rewarding way to add a burst of nutrients and texture to your meals. Learning how to grow alfalfa sprouts vegetable at home is easier than you might think, and I’m here to guide you through the process.
Alfalfa sprouts, those delicate little greens, are packed with vitamins, minerals, enzymes, and antioxidants. They’re a fantastic source of Vitamin K, Vitamin C, iron, and calcium, just to name a few. These tiny powerhouses offer a wealth of health benefits, from supporting digestion and boosting the immune system to potentially lowering cholesterol and regulating blood sugar. Plus, they add a delightful crunch and fresh flavor to salads, sandwiches, smoothies, and wraps.
I remember the first time I tried growing alfalfa sprouts. I was amazed at how quickly and easily they sprouted, transforming from tiny seeds into a vibrant, edible crop in just a few days. It’s a truly satisfying experience to nurture something from seed to table, and I’m excited to share my knowledge with you.
In this guide, I’ll walk you through seven simple steps on how to grow alfalfa sprouts vegetable at home. Whether you’re a seasoned gardener or a complete beginner, you’ll find this guide easy to follow and incredibly rewarding. So, let’s get started and discover the joy of growing your own fresh, nutritious alfalfa sprouts!
Gathering Your Supplies for Sprouting Alfalfa
Before you begin your sprouting journey, you’ll need to gather a few essential supplies. I’ve found that having everything organized beforehand makes the process much smoother and more enjoyable. You will need:
- Alfalfa seeds: Opt for high-quality, certified organic alfalfa seeds specifically intended for sprouting. These are readily available at most health food stores, garden centers, and online retailers. Avoid seeds treated with chemicals, as these are not suitable for consumption.
- Wide-mouth jars or sprouting trays: I prefer using wide-mouth mason jars because they’re easy to find, clean, and provide good air circulation. You can also use specialized sprouting trays, which are designed with drainage and ventilation in mind.
- Mesh lids or cheesecloth: You’ll need a breathable cover for your jars or trays to allow for air circulation and drainage. Mesh lids are convenient and reusable, while cheesecloth is a readily available alternative.
- Clean water: Use fresh, clean water for soaking and rinsing your sprouts. Filtered water is ideal, but tap water is fine as long as it’s safe to drink.
Importance of Quality Seeds and Clean Equipment
Using high-quality seeds and maintaining clean equipment is crucial for successful sprouting. Contaminated seeds or dirty equipment can lead to mold growth, which can ruin your sprouts and pose a health risk. I always recommend inspecting your seeds before sprouting and discarding any that look discolored or damaged.
Where to Purchase Supplies
You can find sprouting supplies at various locations, including:
- Local garden centers: These often carry a selection of sprouting seeds, jars, and trays.
- Health food stores: These typically stock organic sprouting seeds and other sprouting supplies.
- Online retailers: Online marketplaces offer a wide variety of sprouting supplies, often at competitive prices.
Step 1: Soaking the Alfalfa Seeds
Soaking the alfalfa seeds is the first crucial step in the sprouting process. This rehydrates the seeds and triggers the germination process, awakening them from their dormant state. I’ve found that proper soaking is essential for achieving a high germination rate and preventing issues like uneven sprouting or mold growth.
Here’s how I soak my alfalfa seeds:
- Measure the seeds: I typically start with 1-2 tablespoons of alfalfa seeds for a quart-sized jar. Keep in mind that the sprouts will expand significantly, so don’t overcrowd the jar. You can adjust the amount depending on the size of your jar and your desired yield.
- Place the seeds in a jar: Pour the measured seeds into a clean, wide-mouth jar.
- Cover with cool, clean water: Add enough cool, clean water to completely cover the seeds. I usually add about three times the volume of water to the seeds to ensure they have enough to absorb.
- Soak for 4-6 hours or overnight: Allow the seeds to soak for at least 4-6 hours, or preferably overnight. This gives them ample time to absorb the water and begin the germination process. I usually soak them before I go to bed and then proceed with the next step in the morning.
Why Soaking Is Crucial for Germination
Soaking serves several important purposes:
- Rehydration: Dry seeds need to absorb water to initiate the metabolic processes required for germination. Soaking provides the necessary moisture for this to occur.
- Enzyme activation: Soaking activates enzymes within the seeds that are essential for breaking down stored food reserves and providing energy for the growing sprout.
- Removal of germination inhibitors: Some seeds contain natural compounds that inhibit germination. Soaking helps to leach out these inhibitors, promoting more uniform and successful sprouting.
By following these simple soaking instructions, you’ll set your alfalfa sprouts up for success and be well on your way to enjoying fresh, homegrown sprouts in just a few days.
Step 2: Draining and Rinsing
After the soaking period, the next crucial step in how to grow alfalfa sprouts vegetable is draining and rinsing. This process removes excess water, which can lead to mold growth, and provides the sprouts with the fresh moisture they need to continue germinating. I’ve learned that consistent and thorough rinsing is key to preventing problems and ensuring healthy, vibrant sprouts.
Here’s how I drain and rinse my alfalfa sprouts:
- Drain the soaking water: Carefully pour off all the soaking water from the jar. I use the mesh lid or cheesecloth to prevent the seeds from escaping. It’s important to drain as much water as possible to avoid excess moisture.
- Rinse with fresh water: Add fresh, cool water to the jar, enough to cover the seeds. Gently swirl the jar to rinse the sprouts thoroughly. This removes any remaining germination inhibitors and keeps the sprouts hydrated.
- Drain again completely: Pour off all the rinse water, ensuring that no water remains in the jar. Again, I use the mesh lid or cheesecloth to keep the sprouts contained.
- Repeat 2-3 times per day: I rinse and drain my sprouts 2-3 times a day, every day, until they are ready to harvest. This keeps them moist but not waterlogged, preventing mold and promoting healthy growth.
Why Thorough Draining Is Essential
Thorough draining is essential for several reasons:
- Prevents mold growth: Excess moisture creates an ideal environment for mold to thrive. Proper draining removes this excess moisture, significantly reducing the risk of mold.
- Ensures proper air circulation: Draining allows air to circulate around the sprouts, which is essential for their respiration and prevents them from becoming suffocated.
- Promotes even growth: Consistent rinsing and draining distribute moisture evenly among the sprouts, promoting uniform growth and preventing some sprouts from drying out while others remain too wet.
By following these simple draining and rinsing instructions, you’ll create the ideal environment for your alfalfa sprouts to thrive.
Step 3: Sprouting the Alfalfa
Now that your alfalfa seeds have been soaked and rinsed, it’s time for the actual sprouting process. This is where the magic happens, as those tiny seeds transform into nutritious and delicious sprouts. I’ve found that providing the right conditions during this stage is essential for optimal growth and preventing problems like mold or uneven sprouting.
Here’s how I sprout my alfalfa seeds:
- Place the jar at an angle: After the final rinse, I place the jar upside down at a 45-degree angle in a bowl or on a dish rack. This allows any excess water to drain out and promotes air circulation within the jar.
- Rinse and drain 2-3 times per day: I continue to rinse and drain the sprouts 2-3 times a day, every day, until they are ready to harvest. This keeps them moist but not waterlogged, preventing mold and promoting healthy growth.
- Provide indirect light: While alfalfa sprouts don’t need direct sunlight, they do benefit from some indirect light. I usually place the jar on a kitchen counter or windowsill where it receives indirect light during the day.
- Maintain room temperature: Alfalfa sprouts thrive in a room temperature environment, ideally between 70-75°F (21-24°C). Avoid placing the jar in direct sunlight or near heat sources, as this can cause the sprouts to overheat and dry out.
Ideal Conditions for Sprouting
Providing the right conditions during the sprouting process is essential for success. Here are some key factors to keep in mind:
- Air circulation: Good air circulation is crucial for preventing mold growth. The angled position of the jar and the frequent rinsing and draining help to ensure adequate airflow.
- Moisture: Alfalfa sprouts need consistent moisture to grow, but they don’t want to be waterlogged. The rinsing and draining process provides the necessary moisture while preventing excess water from accumulating.
- Temperature: Maintaining a consistent room temperature is important for optimal germination and growth. Avoid extreme temperatures or fluctuations, as this can stress the sprouts and make them more susceptible to problems.
By following these simple sprouting instructions and providing the right conditions, you’ll be well on your way to enjoying a bountiful harvest of fresh, homegrown alfalfa sprouts.
Step 4: Monitoring and Preventing Mold
One of the most common concerns when learning how to grow alfalfa sprouts vegetable at home is the potential for mold growth. I’ve encountered this issue myself a few times, and I know how frustrating it can be to see your sprouts go bad. However, with proper monitoring and preventative measures, you can minimize the risk of mold and ensure a healthy harvest.
How to Identify Mold
Mold typically appears as fuzzy white or grayish patches on the sprouts or seeds. It can also have a musty or unpleasant odor. It’s important to distinguish mold from the fine, white root hairs that alfalfa sprouts naturally develop. Root hairs are thin, delicate, and hair-like, while mold is thicker, fuzzier, and often clumped together.
Tips for Preventing Mold
- Use clean equipment: Always start with clean jars, lids, and other equipment. Wash them thoroughly with soap and hot water before each use.
- Use high-quality seeds: Opt for certified organic sprouting seeds from a reputable source. These seeds are less likely to carry mold spores.
- Rinse and drain thoroughly: Consistent and thorough rinsing and draining are crucial for preventing excess moisture, which creates an ideal environment for mold growth.
- Ensure good air circulation: Proper air circulation helps to dry out the sprouts and prevent moisture from accumulating. The angled position of the jar and the frequent rinsing and draining help to ensure adequate airflow.
- Avoid overcrowding: Don’t overcrowd the jar with too many seeds. This can restrict airflow and increase the risk of mold.
- Maintain proper temperature: Avoid extreme temperatures or fluctuations, as this can stress the sprouts and make them more susceptible to mold.
What to Do if Mold Appears
If you notice mold on your sprouts, it’s important to take action immediately.
- Remove affected sprouts: Carefully remove any sprouts that show signs of mold.
- Rinse remaining sprouts: Rinse the remaining sprouts thoroughly with fresh water.
- Increase rinsing frequency: Increase the frequency of rinsing and draining to 3-4 times per day.
- Improve air circulation: Ensure that the jar is positioned for optimal air circulation.
If the mold persists, it’s best to discard the entire batch of sprouts and start fresh with new seeds and clean equipment.
By following these tips for monitoring and preventing mold, you can confidently grow your own alfalfa sprouts at home and enjoy their fresh, nutritious goodness without worry.
Step 5: Harvesting Your Alfalfa Sprouts
The culmination of your sprouting efforts is the harvest! Knowing when and how to harvest your alfalfa sprouts ensures you enjoy them at their peak flavor and nutritional value. From my experience, the timing is key – you want the sprouts to have developed small green leaves but not be too mature.
When to Harvest
Alfalfa sprouts are typically ready to harvest about 3-5 days after you begin the sprouting process. You’ll know they’re ready when they have developed small, green leaves and are about 1-2 inches long. The sprouts should be crisp and have a fresh, slightly nutty aroma.
How to Harvest
- Rinse the sprouts: Give the sprouts one final rinse with fresh water to remove any remaining seed hulls or debris.
- Drain thoroughly: Drain the sprouts well to remove excess water. This will help them stay fresh longer in storage.
- Remove seed hulls (optional): If you prefer, you can remove the seed hulls from the sprouts. This is not essential, but some people find the hulls slightly bitter. To remove them, you can gently agitate the sprouts in a bowl of water and then scoop them out, leaving the hulls behind.
Enjoying Your Freshly Harvested Sprouts
Your homegrown alfalfa sprouts are now ready to be enjoyed! They’re a versatile ingredient that can add a boost of nutrition and flavor to a variety of dishes. Here are a few ideas:
- Salads: Sprinkle them over your favorite salad for a fresh, crunchy element.
- Sandwiches and wraps: Add them to sandwiches and wraps for extra texture and nutrition.
- Smoothies: Blend them into smoothies for a nutrient boost.
- Garnishes: Use them as a garnish for soups, salads, and other dishes.
Step 6: Storing Your Fresh Alfalfa Sprouts
Once you’ve harvested your alfalfa sprouts, proper storage is essential to maintain their freshness, flavor, and nutritional value. From my experience, the key is to remove as much moisture as possible and store them in a way that allows for some air circulation.
How to Store Sprouts:
- Dry thoroughly: After rinsing and draining your harvested sprouts, gently pat them dry with a clean kitchen towel or spin them in a salad spinner to remove excess water. This will help prevent them from becoming soggy and spoiling quickly.
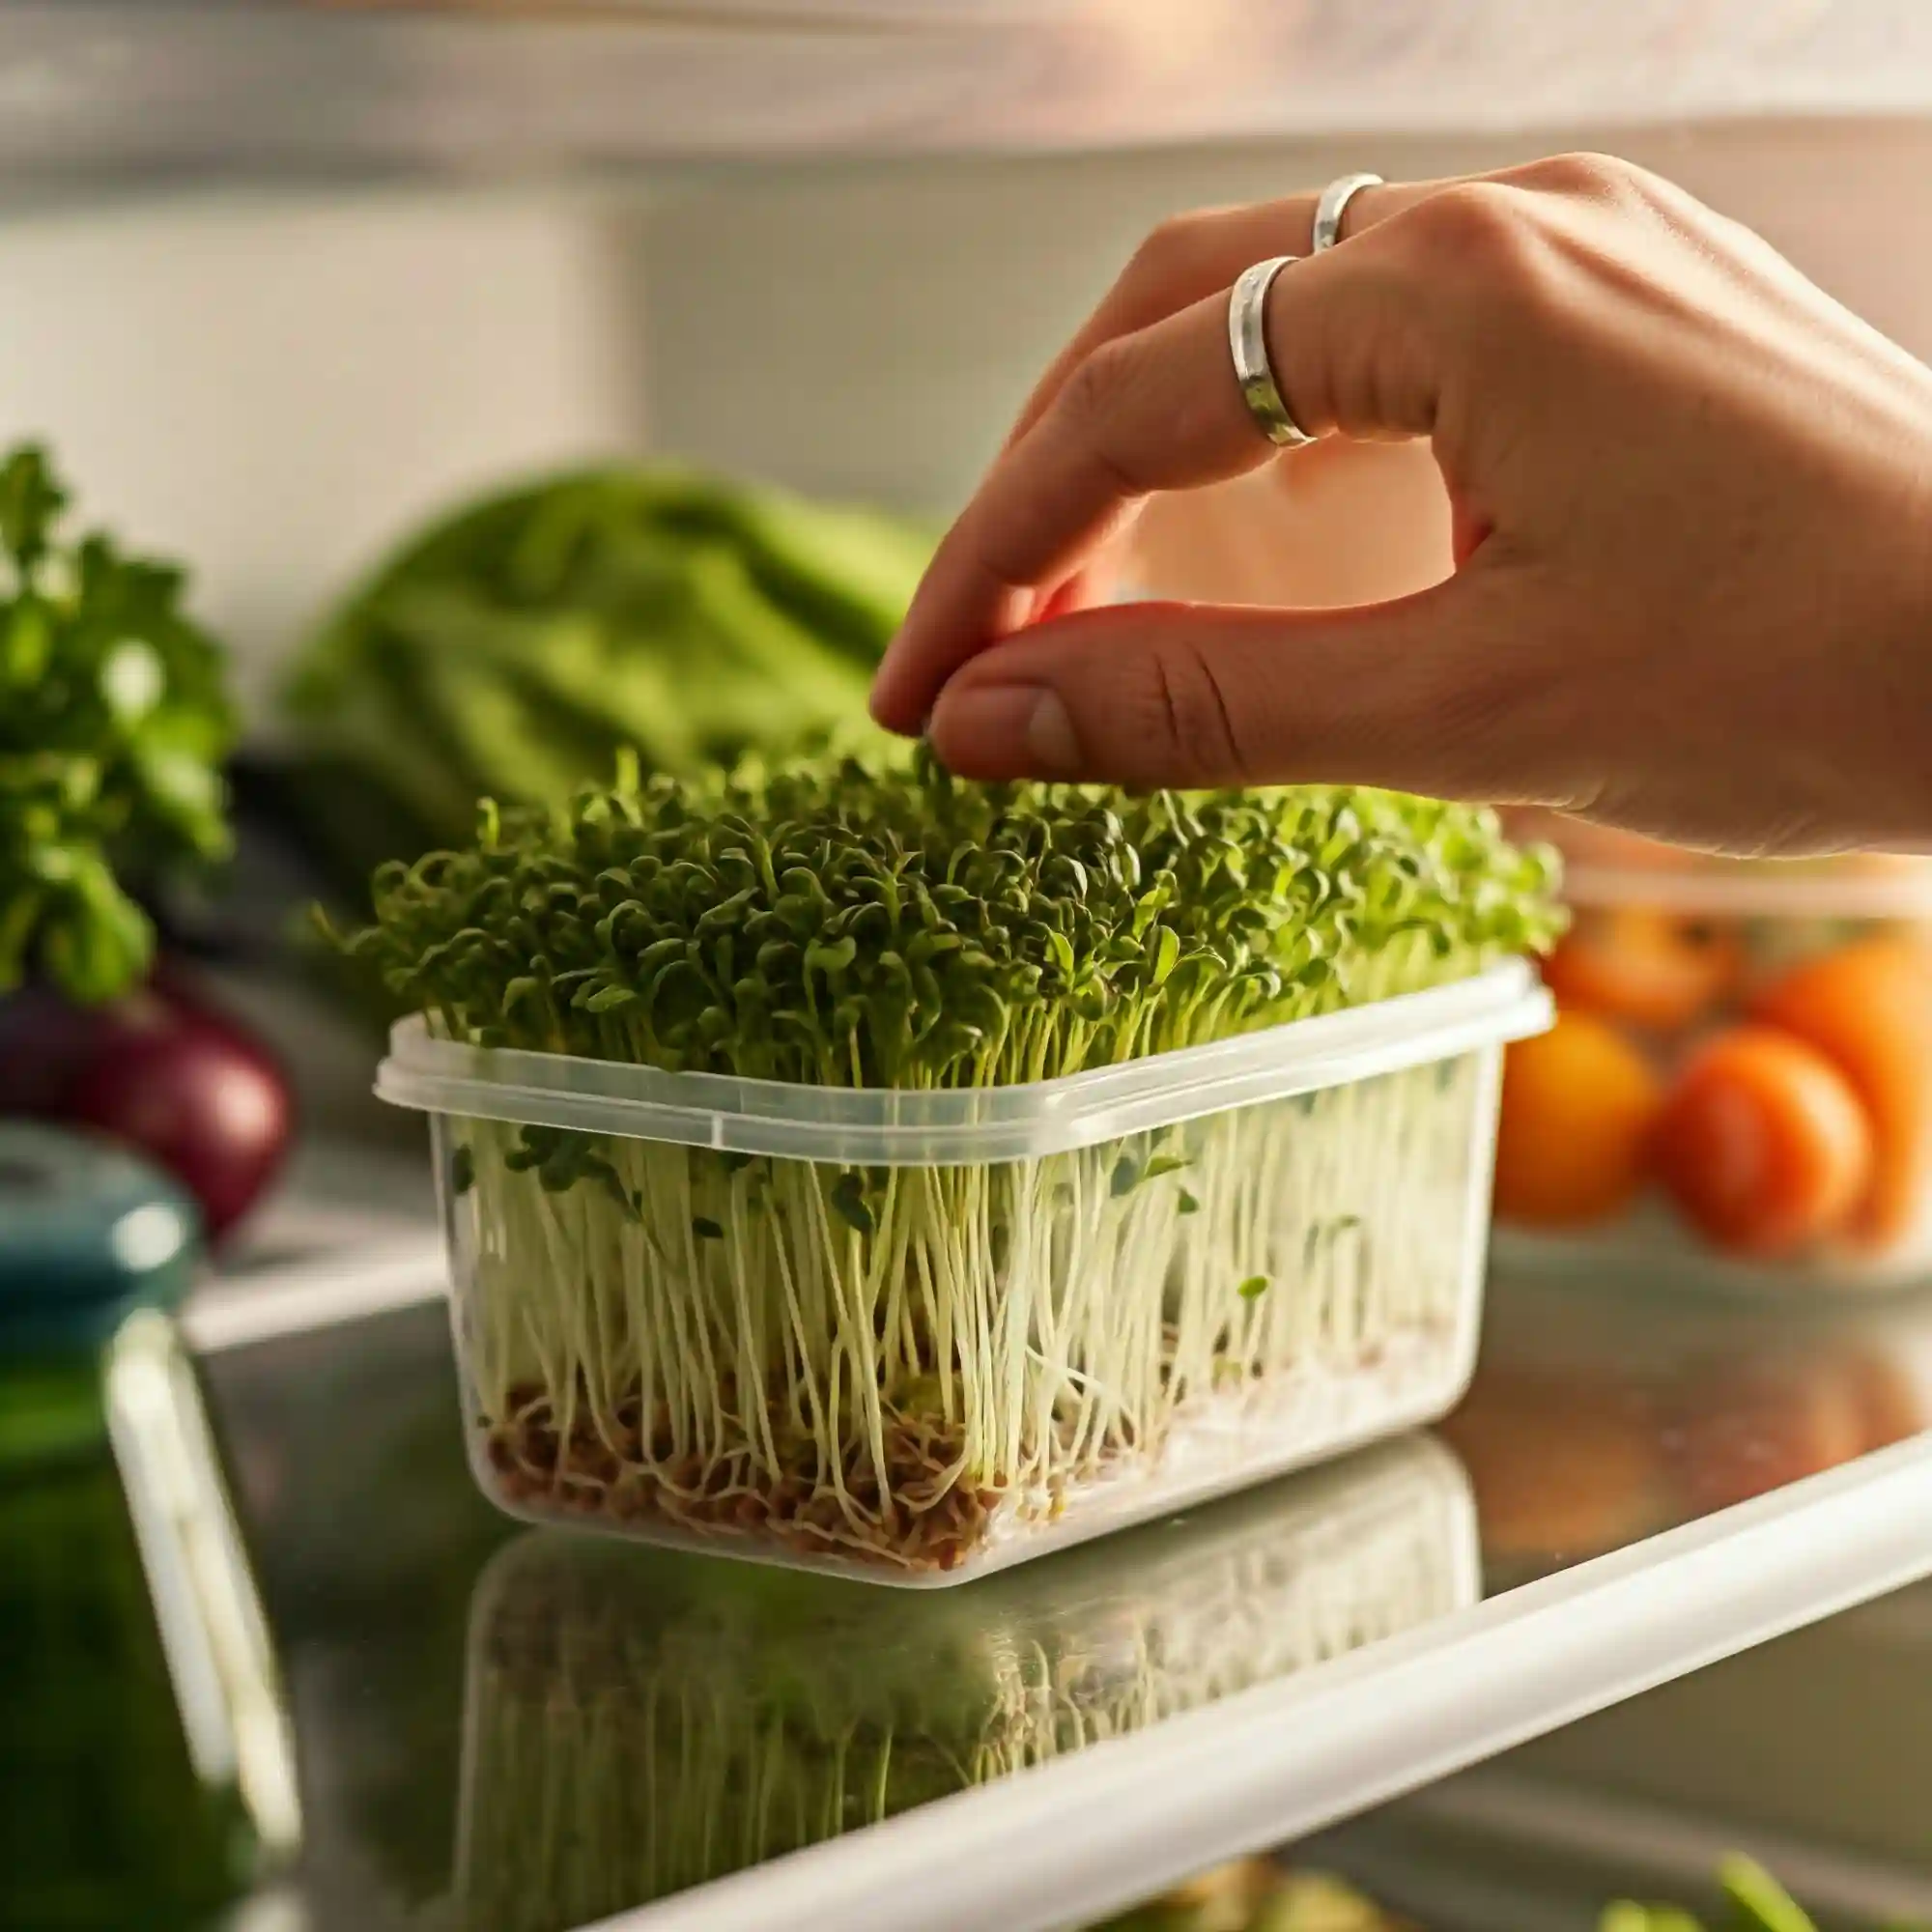
- Store in an airtight container: Place the dried sprouts in a clean, airtight container. I recommend using a container with a tight-fitting lid to prevent moisture from entering.
- Line with a paper towel: To absorb any remaining moisture, I like to line the container with a clean paper towel before adding the sprouts. This helps to keep them fresh and crisp.
- Refrigerate: Store the container in the refrigerator. The cool temperature will help to slow down the spoilage process and keep your sprouts fresh for longer.
How Long Do Sprouts Last?
When stored properly, alfalfa sprouts can last for up to a week in the refrigerator. However, I find that they taste best when consumed within the first 3-4 days.
Tips for Keeping Sprouts Fresh:
- Inspect regularly: Check your sprouts regularly for any signs of spoilage, such as wilting, discoloration, or a foul odor. Discard any sprouts that look or smell off.
- Rinse before using: Even if your sprouts look fresh, I recommend giving them a quick rinse with fresh water before using them. This will help to remove any remaining debris and refresh them.
- Avoid storing with ethylene-producing fruits: Ethylene gas, produced by some fruits like apples and bananas, can accelerate the spoilage of sprouts. Avoid storing your sprouts near these fruits.
By following these simple storage tips, you can enjoy your homegrown alfalfa sprouts for days after harvesting, adding a fresh and nutritious boost to your meals.
Step 7: Enjoying Your Homegrown Alfalfa Sprouts
Now comes the best part – enjoying the fruits (or rather, sprouts!) of your labor. Freshly grown alfalfa sprouts are incredibly versatile and can add a delightful crunch and subtle nutty flavor to a wide range of dishes. I’ve found that their delicate texture and mild taste complement both sweet and savory flavors, making them a fantastic addition to almost any meal.
Ways to Use Alfalfa Sprouts:
- Salads: Sprinkle a generous handful of alfalfa sprouts over your favorite salad for an extra boost of nutrients and a pleasant textural contrast. They pair particularly well with light vinaigrettes and fresh vegetables.
- Sandwiches and wraps: Add a layer of alfalfa sprouts to your sandwiches and wraps for a refreshing crunch and a dose of vitamins. They complement fillings like avocado, hummus, and turkey.
- Smoothies: Blend a handful of alfalfa sprouts into your smoothies for a nutrient boost. Their mild flavor won’t overpower other ingredients, and they’ll add a creamy texture.
- Garnishes: Use alfalfa sprouts as a garnish for soups, salads, and other dishes. They add a touch of freshness and visual appeal.
- Juices: Add a handful of alfalfa sprouts to your juicer for a nutrient-packed drink. They blend well with fruits and vegetables like carrots, apples, and celery.
Nutritional Benefits and Taste:
Alfalfa sprouts are a nutritional powerhouse, packed with vitamins, minerals, enzymes, and antioxidants. They’re a particularly good source of vitamin K, vitamin C, folate, and manganese. These nutrients offer a variety of health benefits, including supporting bone health, boosting the immune system, and promoting healthy digestion.
In addition to their nutritional value, alfalfa sprouts also offer a unique taste and texture. They have a mild, slightly nutty flavor and a delicate, crunchy texture that adds a pleasant contrast to other ingredients.
Here are some additional tips for enjoying your alfalfa sprouts:
- Add them fresh: Alfalfa sprouts are best enjoyed fresh. Add them to your dishes just before serving to maintain their crisp texture and prevent them from wilting.
- Experiment with flavors: Don’t be afraid to experiment with different flavor combinations. Alfalfa sprouts pair well with a variety of flavors, from sweet to savory.
- Use them in moderation: While alfalfa sprouts are nutritious, it’s best to consume them in moderation as part of a balanced diet.
With their versatility, nutritional value, and fresh taste, alfalfa sprouts are a fantastic addition to any diet. Now that you know how to grow and store them, you can enjoy their goodness year-round.
Frequently Asked Questions (FAQ)
I’ve compiled a list of frequently asked questions to address any further queries you might have about growing alfalfa sprouts.
- How long does it take to grow alfalfa sprouts vegetable from seed to harvest?
- Alfalfa sprouts are quick growers! You can typically harvest them in just 3-5 days after starting the sprouting process.
- How to grow alfalfa sprouts vegetable without getting mold or rot?
- Preventing mold and rot comes down to a few key practices: using clean equipment, ensuring good air circulation, and rinsing and draining your sprouts thoroughly 2-3 times a day.
- What is the best way to grow alfalfa sprouts indoors during winter?
- Growing sprouts indoors during winter is no different than any other time of year. Just make sure to keep them in a room-temperature environment and provide adequate indirect light.
- How to grow organic alfalfa sprouts in a jar at home?
- To grow organic alfalfa sprouts, simply use certified organic alfalfa seeds and follow the same sprouting process in a clean jar.
- How to grow alfalfa sprouts vegetable using a sprouting tray with proper ventilation?
- When using a sprouting tray, make sure it has drainage holes and that there’s good airflow around the tray. This will help prevent excess moisture buildup and mold growth.
- How to grow alfalfa sprouts vegetable for salads and sandwiches efficiently?
- To have a continuous supply of sprouts for your salads and sandwiches, I recommend sprouting in batches, starting a new batch every few days.
- Easy steps on how to grow alfalfa sprouts vegetable for beginners at home?
- This entire guide provides easy-to-follow steps for beginners. The process is simple: soak, rinse, drain, and repeat!
- How to grow alfalfa sprouts vegetable and store them fresh in the refrigerator?
- To store your harvested sprouts, dry them thoroughly, place them in an airtight container lined with a paper towel, and refrigerate them for up to a week.
- How to grow alfalfa sprouts vegetable for maximum nutrition and health benefits?
- For maximum nutrition, use high-quality organic seeds and consume your sprouts fresh, ideally within a few days of harvesting.
- How to grow alfalfa sprouts vegetable quickly and easily with minimal equipment?
- Using a simple jar and a mesh lid or cheesecloth is the quickest and easiest method for sprouting alfalfa at home.
I hope these FAQs have answered any remaining questions you have about growing alfalfa sprouts.
