Are you looking to add a touch of natural beauty to your garden while also reaping a host of benefits? Do you want to attract pollinators, enrich your soil, and even have access to fresh herbal tea right from your backyard? Many gardeners struggle to find plants that are both aesthetically pleasing and practically useful. It can be frustrating to dedicate time and effort to gardening only to find that your plants don’t thrive or offer the diverse benefits you’re seeking. I’ve been there myself, spending countless hours tending to plants that provided little more than fleeting beauty. But what if I told you there’s a plant that can transform your garden into a vibrant ecosystem while offering a range of uses? The solution is simpler than you might think: growing red clover herbs. This versatile plant is a true garden champion, offering a wealth of advantages, from attracting beneficial insects to improving soil health and even providing ingredients for delicious herbal teas. In this guide, I’ll share my experience and insights on how to grow red clover herbs successfully, transforming your garden into a flourishing haven.
1. Understanding Red Clover: More Than Just a Pretty Flower
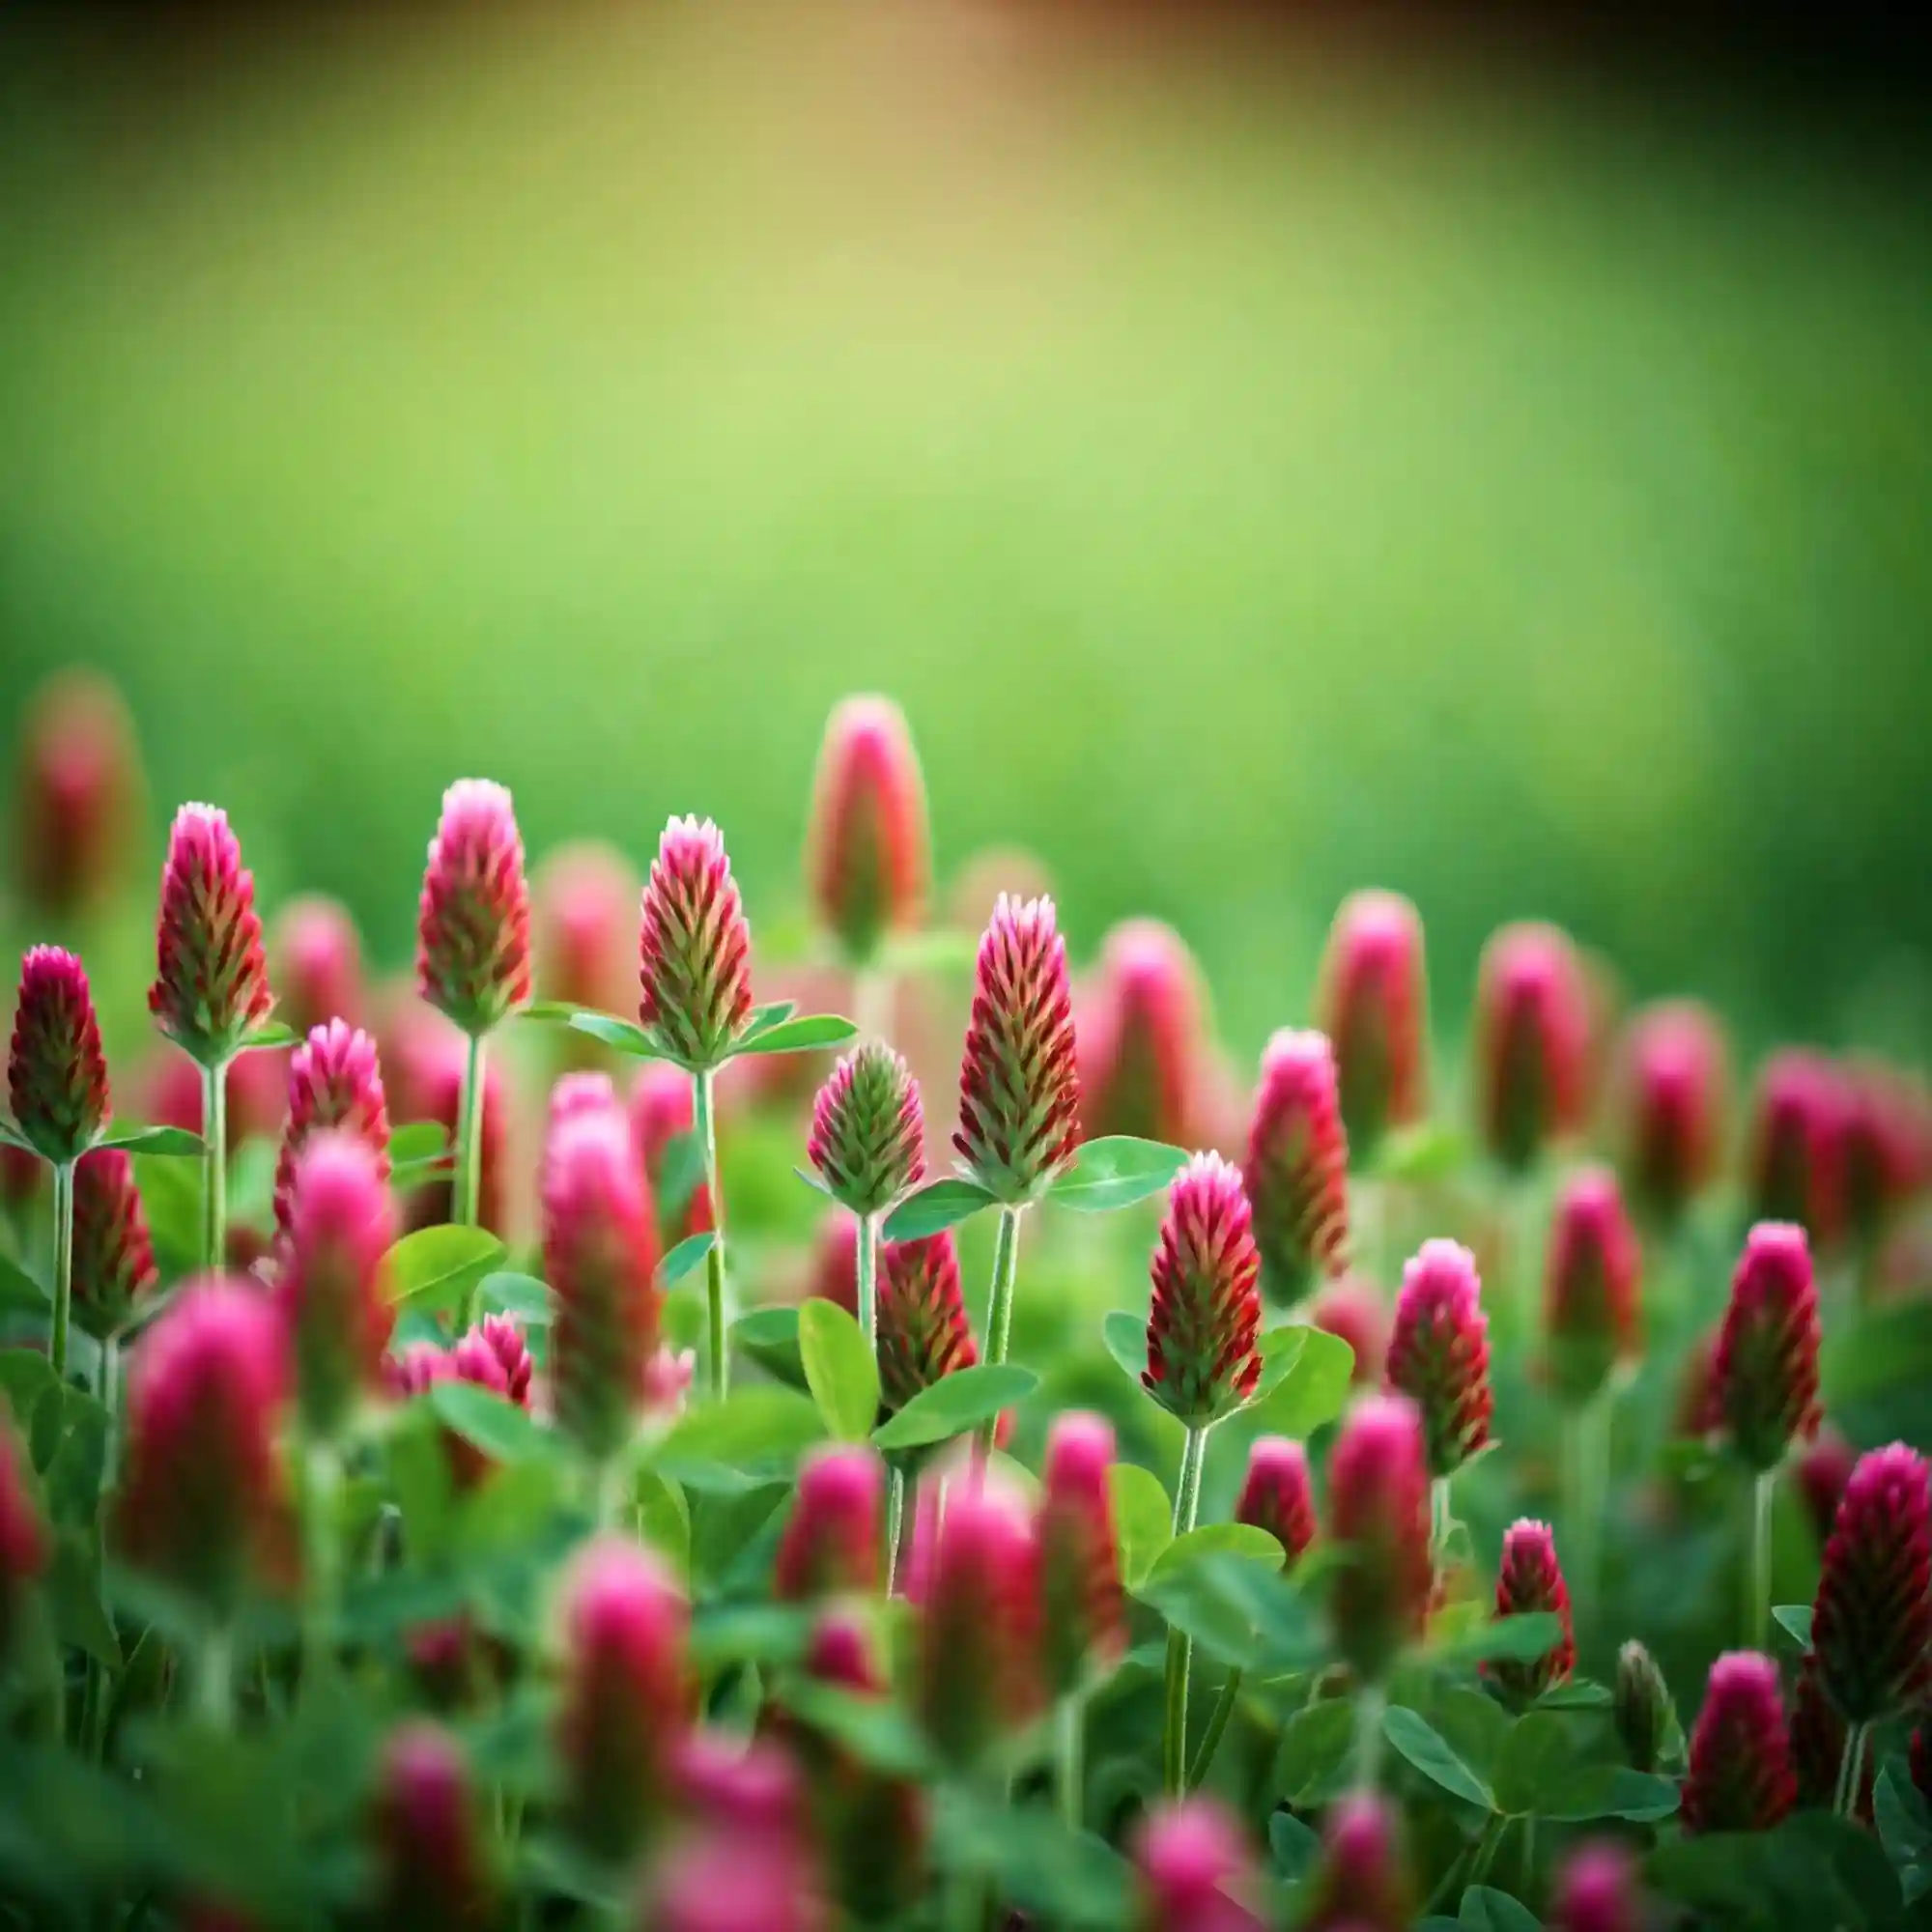
Red clover (Trifolium pratense) is a common sight in meadows and fields, often overlooked as just another wildflower. However, as I’ve learned over years of gardening, this unassuming plant is a powerhouse of benefits for both your garden and your well-being. The name Trifolium comes from the Latin “tri” (three) and “folium” (leaf), referring to the plant’s characteristic three leaflets. Pratense, also Latin, means “of meadows,” highlighting its natural habitat. It’s a member of the legume family (Fabaceae), a group known for its ability to fix nitrogen in the soil. This means red clover can actually improve the fertility of your garden naturally, a significant advantage for any gardener.
Beyond its soil-enhancing properties, red clover is a valuable resource for pollinators. Its vibrant pinkish-purple flower heads are a magnet for bees, butterflies, and other beneficial insects. I’ve noticed a significant increase in pollinator activity in my garden since I started growing red clover, which has had a positive knock-on effect on the productivity of my other plants. The flowers themselves are packed with nectar, providing a vital food source for these essential creatures.
But the benefits don’t stop there. Red clover has a long history of use in traditional herbalism. Its flower heads are rich in isoflavones, plant-based compounds that have been studied for their potential health benefits. It’s often used to make herbal teas and extracts. It’s important to note, however, that while red clover has traditional uses, it’s always best to consult with a healthcare professional before using it for medicinal purposes, especially if you have any pre-existing health conditions or are taking medication.
From a culinary perspective, red clover is also surprisingly versatile. The young leaves can be added to salads, and the flower heads can be used as a garnish or even brewed into a delicate tea. I often add a few fresh blossoms to my summer salads for a pop of color and a subtle sweet flavor.
Here are some key benefits of growing red clover herbs in your garden:
- Attracts Pollinators: Provides nectar and pollen for bees, butterflies, and other beneficial insects.
- Fixes Nitrogen: Improves soil fertility naturally.
- Potential Medicinal Uses: Traditionally used for various health purposes (consult a healthcare professional).
- Culinary Uses: Edible flowers and leaves add flavor and visual appeal.
- Aesthetic Value: Adds beauty to your garden with its vibrant blooms.
- Weed Suppression: Can act as a living mulch, suppressing weed growth.
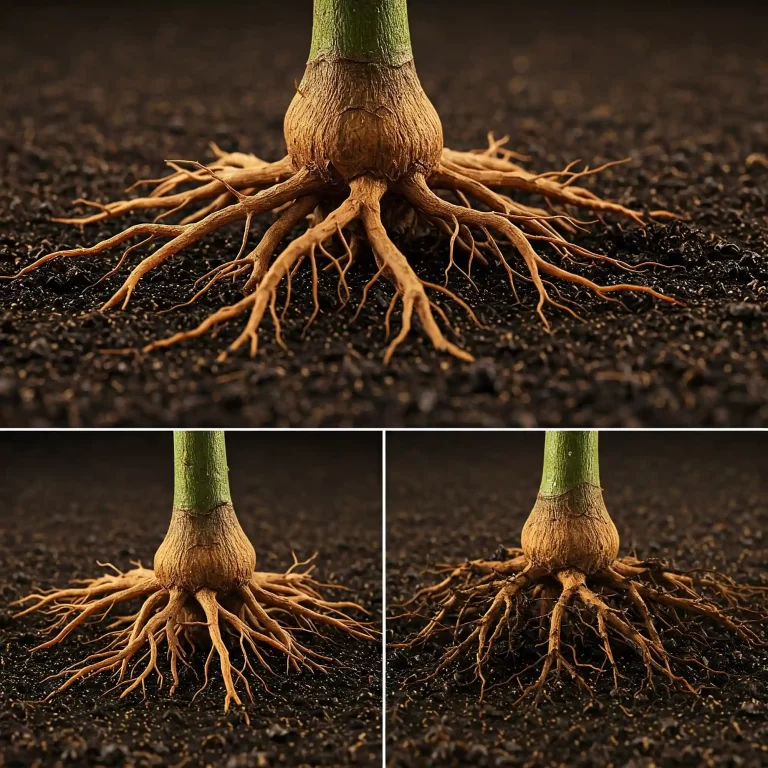
- Erosion Control: Its extensive root system helps to prevent soil erosion.
Different varieties of red clover exist, each with slightly different characteristics. Some are bred for higher yields as forage crops, while others are selected for their vibrant flower colors or disease resistance. Some common varieties include:
- Kenland: A widely adapted variety known for its persistence.
- Lakeland: A high-yielding variety suitable for pasture and hay.
- Redman: A disease-resistant variety with good persistence.
This table summarizes the key benefits and uses of red clover:
| Benefit/Use | Description |
| Pollinator Attraction | Provides nectar and pollen for beneficial insects, increasing pollination in your garden. |
| Nitrogen Fixation | Converts atmospheric nitrogen into a form usable by plants, naturally fertilizing the soil. |
| Medicinal Potential | Traditionally used for various health purposes; consult a healthcare professional before using. |
| Culinary Applications | Young leaves and flowers can be eaten in salads or used to make tea. |
| Aesthetic Value | Adds visual appeal to gardens with its vibrant pinkish-purple flowers. |
| Weed Suppression | Acts as a ground cover, helping to prevent weed growth. |
| Erosion Control | Extensive root system helps to stabilize the soil and prevent erosion. |
Understanding these diverse benefits is the first step to appreciating the true value of red clover in your garden. I’ve found that incorporating red clover has not only enhanced the beauty of my garden but also improved its overall health and productivity.
2. How to Plant Red Clover Herbs: From Seed to Sprout
Planting red clover is a relatively straightforward process, making it a great choice for gardeners of all experience levels. I’ve found that success with red clover starts with understanding the proper timing and techniques for planting. Whether you choose to direct sow your seeds or start them indoors, a few key considerations will ensure a thriving clover patch.
When to Plant Red Clover:
Timing is crucial when planting red clover. I’ve had the best results by aligning planting with the natural growth cycles of the plant.
- Spring Planting: In most regions, spring is the ideal time to plant red clover. As the soil warms and the threat of frost passes, the seeds germinate readily and establish quickly. I usually aim to plant a few weeks before the last expected frost in my area.
- Fall Planting: In regions with mild winters, fall planting can also be successful. The young plants will establish a root system before winter and be ready to grow vigorously in the spring. If you opt for fall planting, ensure you do it early enough to allow the plants to establish before the first hard frost.
How to Plant Red Clover Seeds:
You have two main options for planting red clover: direct sowing and starting indoors. Each method has its advantages, and the best choice for you will depend on your specific circumstances and preferences.
- Direct Sowing: This is the simplest method, ideal for those who prefer a more hands-off approach. I often use this method when planting red clover as a cover crop or in larger areas.
- Prepare the Soil: Ensure the soil is loose, well-drained, and free of weeds. You can amend the soil with compost to improve its fertility and structure.
- Scatter the Seeds: Evenly distribute the red clover seeds over the prepared soil. You can use a seed spreader for larger areas or simply scatter them by hand.
- Lightly Cover the Seeds: Gently rake the soil to cover the seeds with about ¼ inch of soil.
- Water Gently: Water the area thoroughly but gently to avoid disturbing the seeds.
- Starting Indoors: This method gives you more control over the germination process and is ideal for smaller gardens or if you want to get a head start on the growing season.
- Start Seeds in Trays or Pots: Fill seed trays or small pots with a seed-starting mix.
- Sow Seeds: Sow the red clover seeds about ¼ inch deep in the soil.
- Keep Moist and Warm: Keep the soil consistently moist and maintain a temperature of around 60-70°F (15-21°C).
- Transplant Seedlings: Once the seedlings have developed a few sets of true leaves, you can transplant them into your garden.
Germination Time and Conditions:
Red clover seeds typically germinate within 7-10 days under ideal conditions. Here are some factors that can affect germination:
- Soil Temperature: The optimal soil temperature for germination is between 60-70°F (15-21°C).
- Moisture: Consistent moisture is essential for germination. Keep the soil moist but not waterlogged.
- Sunlight: While not essential for germination, providing some light can help the seedlings establish quickly.
By following these planting guidelines, you’ll be well on your way to establishing a thriving red clover patch in your garden. Remember to choose the planting method that best suits your needs and always pay attention to the specific conditions in your area.
3. How to Grow Red Clover Herbs: Caring for Your Clover Patch
Once your red clover seeds have germinated and the seedlings are established, providing proper care is essential for their continued growth and health. I’ve found that red clover is relatively low-maintenance, but a few key practices will ensure a thriving clover patch in your garden.
Sunlight Requirements:
Red clover thrives in full sun, meaning it needs at least 6 hours of direct sunlight per day. However, it can also tolerate partial shade, especially in hotter climates. In my experience, providing ample sunlight results in more vigorous growth and abundant blooms.
Watering Needs:
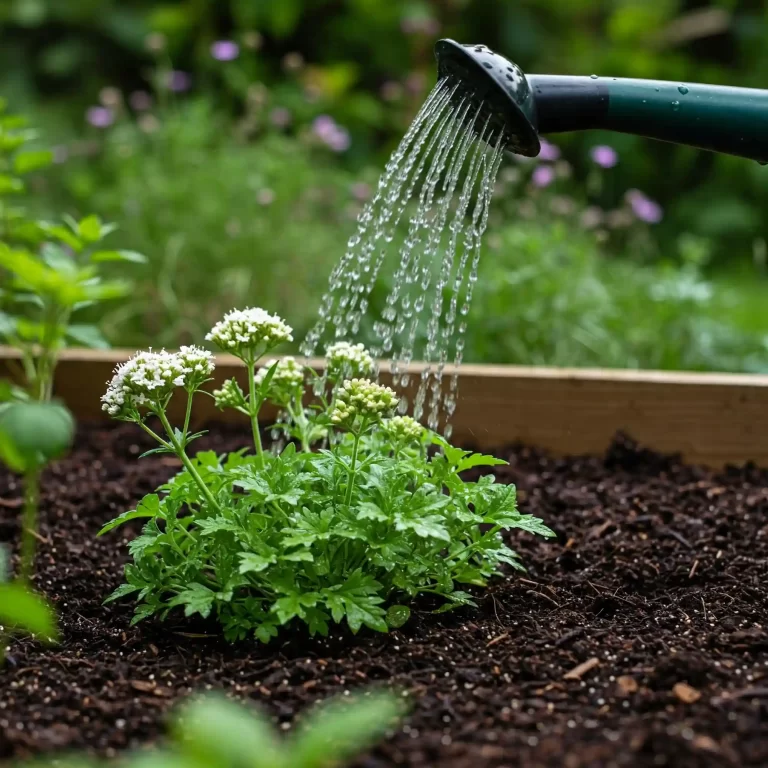
Consistent moisture is crucial for red clover, especially during the establishment phase. Water regularly, ensuring the soil is moist but not waterlogged. Once established, red clover is relatively drought-tolerant, but regular watering during dry periods will promote optimal growth. I usually water deeply once or twice a week, depending on the weather conditions.
Soil and Nutrients:
Red clover prefers well-drained soil with a pH between 6.0 and 7.0. It’s not particularly demanding regarding soil fertility, as it can fix nitrogen from the atmosphere. However, amending the soil with compost before planting can improve its structure and drainage. I generally avoid using nitrogen-rich fertilizers, as they can inhibit nitrogen fixation.
Weeding:
Keeping the area around your red clover free of weeds is essential, especially during the early stages of growth. Weeds can compete with red clover for water, nutrients, and sunlight. I usually hand-weed regularly to prevent weeds from becoming established. Once the red clover is established, it can effectively suppress weed growth on its own.
Additional Tips for Caring for Your Red Clover Patch:
- Mowing: If you’re growing red clover as a cover crop or in a larger area, you can mow it periodically to prevent it from becoming too tall and leggy.
- Pest and Disease Monitoring: Keep an eye out for any signs of pests or diseases.
- Deadheading: Removing spent flower heads can encourage further blooming and prevent excessive self-seeding.
By following these care guidelines, you can ensure your red clover patch thrives and provides you with its many benefits. Remember to observe your plants regularly and adjust your care practices as needed based on their specific needs and the conditions in your area.
4. How to Protect Your Red Clover Herbs: Pests and Diseases
While red clover is generally a hardy plant, it can be susceptible to certain pests and diseases. As an experienced gardener, I’ve learned that vigilance and early intervention are key to protecting your clover patch and preventing major problems.
Common Pests:
- Aphids: These small, sap-sucking insects can cluster on new growth, causing distorted leaves and reduced vigor. I often check the undersides of leaves for aphids and use a strong jet of water to dislodge them.
- Spider Mites: These tiny mites thrive in hot, dry conditions and can cause stippling and discoloration on leaves. I’ve found that increasing humidity and using insecticidal soap can effectively control spider mites.
- Clover Root Curculio: The larvae of this beetle feed on red clover roots, potentially weakening or killing the plants. Crop rotation and beneficial nematodes can help manage this pest.
Common Diseases:
- Fungal Diseases (e.g., Powdery Mildew): These diseases can cause white, powdery growth on leaves and stems, especially in humid conditions. I’ve had success preventing fungal diseases by ensuring good air circulation and avoiding overhead watering.
Organic Pest and Disease Control Methods:
I prefer to use organic methods to control pests and diseases in my garden, as they are safer for the environment and beneficial insects. Here are some effective organic solutions:
- Neem Oil: This natural oil can be used to control a variety of pests, including aphids and spider mites.
- Insecticidal Soap: This soap-based spray can effectively control soft-bodied insects like aphids and spider mites.
- Beneficial Insects: Introducing beneficial insects like ladybugs and lacewings can help control pest populations naturally.
- Crop Rotation: Rotating crops can help prevent soilborne diseases and pest buildup.
- Good Air Circulation: Ensuring good air circulation around your plants can help prevent fungal diseases.
Additional Tips for Protecting Your Red Clover:
- Regular Monitoring: Regularly inspect your plants for signs of pests or diseases.
- Early Intervention: Address any problems promptly to prevent them from becoming severe.
- Healthy Plants: Healthy plants are more resistant to pests and diseases, so ensure your red clover is getting proper care.
By following these tips, you can effectively protect your red clover patch from pests and diseases and ensure a healthy and productive crop. Remember to always choose the least toxic control methods possible and prioritize prevention through good cultural practices.
5. Harvesting and Drying Red Clover Herbs: Preserving Your Bounty
Harvesting and drying red clover at the right time ensures you get the most out of this versatile herb. Whether you plan to use it for tea, culinary dishes, or other purposes, proper harvesting and drying techniques will help preserve its flavor and beneficial properties. Through my years of gardening, I’ve learned a few tips that I’m happy to share with you.
When to Harvest:
The ideal time to harvest red clover is during its flowering period when the flower heads are in full bloom. This is when the plant’s beneficial compounds are at their peak. I usually harvest in the late morning after the dew has dried but before the hottest part of the day.
How to Harvest:
Harvesting red clover is a simple process:
- Choose Healthy Flower Heads: Select flower heads that are vibrant in color and free from pests or diseases.
- Cut the Stems: Use sharp scissors or pruning shears to cut the flower heads, leaving a short stem attached.
- Gather Your Harvest: Place the harvested flower heads in a basket or container.
Drying Red Clover:
Proper drying is essential to prevent mold and preserve the quality of your red clover. Here are two effective drying methods:
- Air Drying: This is a simple method that requires no special equipment.
- Spread the Flower Heads: Spread the harvested flower heads in a single layer on a clean, dry surface, such as a screen or a piece of cheesecloth.
- Ensure Good Air Circulation: Place the flower heads in a well-ventilated area away from direct sunlight.
- Turn Regularly: Turn the flower heads regularly to ensure even drying.
- Drying Time: The drying time will vary depending on the humidity and temperature, but it usually takes about 1-2 weeks.
- Using a Dehydrator: A dehydrator can speed up the drying process significantly.
- Arrange Flower Heads: Arrange the flower heads in a single layer on the dehydrator trays.
- Set the Temperature: Set the dehydrator to a low temperature (around 95-115°F or 35-46°C).
- Drying Time: The drying time will vary depending on your dehydrator, but it usually takes about 4-8 hours.
Storing Dried Red Clover:
Once the red clover is fully dried, store it in an airtight container in a cool, dark place. Properly stored dried red clover can last for up to a year.
By following these harvesting and drying tips, you can preserve the quality of your red clover and enjoy its benefits for months to come.
6. Using Your Red Clover Herbs: From Garden to Table
Now that you’ve successfully grown, harvested, and dried your red clover, it’s time to explore its various uses. From brewing a soothing herbal tea to adding a touch of floral elegance to your culinary creations, red clover offers a delightful range of possibilities. In my own kitchen and garden, I’ve found several ways to incorporate this versatile herb, and I’m excited to share some of them with you.
Red Clover Tea:
One of the most popular ways to enjoy red clover is by brewing it into a tea. This simple infusion can be a soothing and refreshing beverage.
- Ingredients:
- 1-2 teaspoons of dried red clover flower heads
- 1 cup of boiling water
- Instructions:
- Place the dried red clover flower heads in a teacup or mug.
- Pour boiling water over the flower heads.
- Steep for 10-15 minutes.
- Strain the tea and enjoy.
Culinary Uses:
Red clover flowers and leaves can also be used in various culinary applications.
- Salads: Young red clover leaves can be added to salads for a slightly tangy flavor.
- Garnish: Red clover flowers can be used as a colorful and edible garnish for various dishes.
- Other Culinary Uses: Red clover can also be used in soups, stews, and other dishes.
Important Note:
While red clover offers various potential benefits, it’s important to consult with a healthcare professional before using it for medicinal purposes, especially if you have any1 pre-existing health conditions or are taking medication.
By exploring these different ways to use red clover, you can fully appreciate the versatility of this wonderful herb. Whether you’re enjoying a cup of tea or adding a touch of floral flair to your meals, red clover can be a valuable addition to your garden and your life.
7. Propagating Red Clover: Expanding Your Clover Patch
Once you’ve experienced the joy of growing red clover, you might want to expand your clover patch. Fortunately, red clover is relatively easy to propagate, allowing you to create more of these beneficial plants for your garden or share them with fellow gardeners. In my years of cultivating red clover, I’ve found two primary methods for propagation: seed saving and dividing existing plants.
Seed Saving:
Saving seeds from your red clover plants is a great way to ensure you have a continuous supply for future plantings. It’s a simple process that can be done at the end of the growing season.
- Allow Flower Heads to Mature: Let some of the flower heads on your red clover plants mature and dry on the plant. The flower heads will turn brown and the seeds will become visible.
- Harvest the Seeds: Once the flower heads are fully dry, you can harvest the seeds by gently rubbing the flower heads between your hands or by using a fine-mesh sieve.
- Dry the Seeds: Spread the seeds on a clean, dry surface and allow them to dry completely.
- Store the Seeds: Store the dried seeds in an airtight container in a cool, dark place.
Dividing Existing Plants:
Dividing existing red clover plants is another effective way to propagate them. This method is best done in the spring or fall when the plants are not actively flowering.
- Dig Up the Plant: Carefully dig up the red clover plant you want to divide.
- Separate the Roots: Gently separate the roots into smaller sections, ensuring each section has some roots and foliage.
- Replant the Sections: Replant the separated sections in your garden, spacing them appropriately.
By using these propagation methods, you can easily expand your red clover patch and continue to enjoy the many benefits this versatile herb offers.
FAQ: Your Burning Questions About Growing Red Clover Herbs, Answered
Throughout my years of sharing gardening tips, I’ve noticed certain questions about growing red clover pop up time and again. So, I’ve compiled a list of frequently asked questions to provide you with quick and helpful answers.
How to grow red clover herbs for tea at home? Growing red clover for tea at home is simple. Follow the steps outlined in this guide for planting and caring for red clover. Once your plants are established, you can harvest the flower heads, dry them, and use them to brew a delicious and healthful tea.
What is the best way to grow red clover herbs organically?
The best way to grow red clover organically is to use natural methods for planting, fertilizing, and pest control. This includes using organic seeds, amending the soil with compost, and using natural pest control methods like introducing beneficial insects.
How to grow red clover herbs in containers on a balcony?
Growing red clover in containers on a balcony is possible with a few adjustments. Choose a pot that is at least 12 inches deep and wide to accommodate the plant’s roots. Use a well-draining potting mix and ensure the container receives at least 6 hours of sunlight per day.
How to grow red clover herbs for medicinal purposes indoors?
Growing red clover indoors for medicinal purposes requires providing adequate light and ventilation. Place the container in a sunny window or use grow lights to supplement natural light. Ensure good air circulation to prevent fungal diseases.
How to grow red clover herbs from seed in raised beds?
Growing red clover from seed in raised beds is a great way to improve soil drainage and create a dedicated space for your clover patch. Prepare the raised bed with well-draining soil and follow the planting instructions outlined in this guide.
How to grow red clover herbs and use them in recipes?
Red clover flowers and leaves can be used in various recipes, from salads to soups. The flowers can be used fresh or dried, while the leaves are best used fresh.
How to grow red clover herbs to attract pollinators to your garden?
Red clover is an excellent choice for attracting pollinators to your garden. Its vibrant flowers are a magnet for bees, butterflies, and other beneficial insects.
How to grow red clover herbs in different soil types effectively?
Red clover is adaptable to various soil types but prefers well-drained soil with a pH between 6.0 and 7.0. If your soil is heavy clay or sandy, you can amend it with compost to improve its structure and drainage.
How to grow red clover herbs for nitrogen fixation in my garden?
Red clover is a nitrogen-fixing plant, meaning it can convert atmospheric nitrogen into a form usable by plants. This makes it a valuable cover crop for improving soil fertility naturally.
Step-by-step guide on how to grow red clover herbs successfully?
Here’s a quick recap of the key steps to growing red clover successfully:
- Choose a sunny location with well-drained soil.
- Plant red clover seeds in the spring or fall.
- Water regularly, especially during dry periods.
- Control weeds and pests as needed.
- Harvest the flowers and leaves for tea or culinary use.
- Save seeds or divide plants to propagate new red clover plants.
By addressing these common questions, I hope to provide you with the knowledge and confidence to successfully grow red clover herbs in your garden.
Conclusion: Embrace the Versatility of Red Clover in Your Garden
As we reach the end of this guide, I hope you feel inspired and equipped to start your own red clover patch. From my own experience, I can tell you that growing red clover is a truly rewarding endeavor. It’s a plant that gives back in so many ways, enriching your garden ecosystem while also providing you with a wealth of benefits.
Whether you’re drawn to its vibrant blooms, its ability to attract pollinators, its soil-improving properties, or its potential uses in the kitchen and beyond, red clover is a valuable addition to any garden. By following the simple steps outlined in this guide, you can successfully cultivate this versatile herb and enjoy its many gifts for years to come.
So, go ahead and embrace the magic of red clover in your garden. I’m confident that you’ll be delighted with the results.
