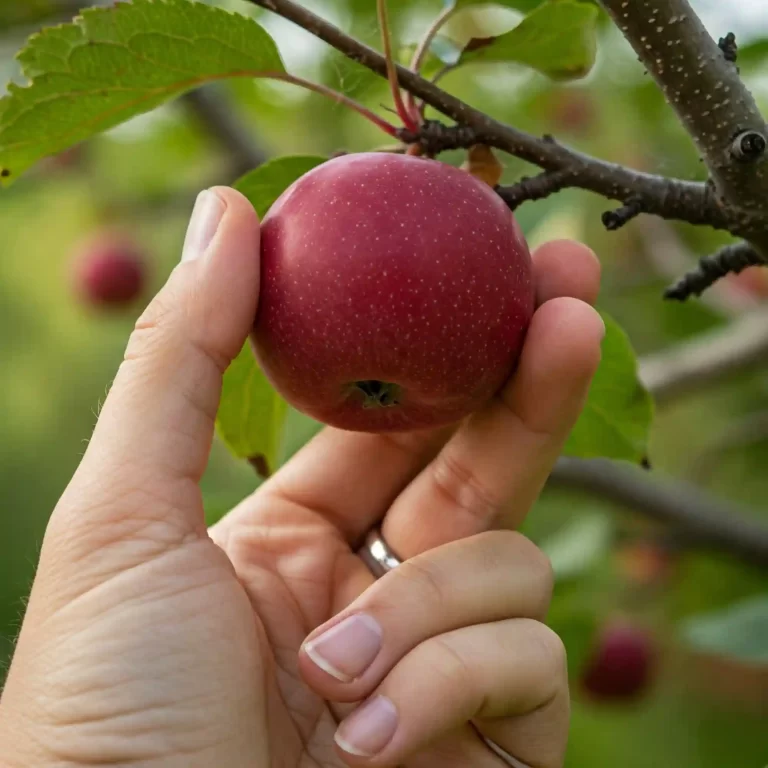
Are you tired of store-bought blackcurrants that lack that vibrant, tangy flavor you crave? You dream of harvesting your own plump, juicy berries, but the thought of cultivating them feels overwhelming. What if I told you that growing blackcurrants at home isn’t as daunting as you think? With the right techniques and a little patience, you can enjoy a bountiful harvest year after year. Let me guide you through the process, and together, we’ll transform your garden into a blackcurrant paradise.
1. Choose the Perfect Location and Soil to Plant Blackcurrant Fruits
Just like humans thrive in certain environments, blackcurrant bushes also have their preferences. Understanding these preferences is crucial for successful cultivation. Let’s delve into the ideal location and soil conditions for your blackcurrant plants.
Sunlight: Blackcurrants are sun-loving plants. They require at least six hours of direct sunlight per day to produce a bountiful harvest. Insufficient sunlight can lead to reduced fruit production and weaker plants. When selecting a planting site, choose a location that receives full sun throughout the day. Avoid planting in areas that are heavily shaded by trees or buildings.
Soil: The soil quality plays a vital role in the health and productivity of your blackcurrant bushes. These plants prefer well-drained soil that is rich in organic matter. Heavy clay soils can retain too much moisture, leading to root rot. Sandy soils, on the other hand, may not retain enough moisture, especially during dry periods. The ideal soil texture is a loam, which is a balanced mixture of sand, silt, and clay.
Soil pH: Blackcurrants thrive in slightly acidic to neutral soil with a pH between 6.0 and 6.8. You can easily test your soil’s pH using a home soil test kit available at most garden centers. If your soil is too alkaline (high pH), you can amend it by adding sulfur. Conversely, if your soil is too acidic (low pH), you can raise the pH by applying lime.
Improving Soil Quality: Before planting, it’s beneficial to improve the soil quality in your chosen location. Incorporating organic matter such as compost or well-rotted manure can significantly enhance soil fertility and drainage. Organic matter not only provides essential nutrients but also improves soil structure, allowing for better root growth and water infiltration.
Here’s a quick checklist to ensure you’ve selected the perfect location and soil for your blackcurrant bushes:
- Sunlight: At least 6 hours of direct sunlight daily
- Soil Type: Well-drained, rich in organic matter
- Soil pH: Between 6.0 and 6.8
- Soil Amendments: Incorporate compost or well-rotted manure
By carefully considering these factors and preparing the soil accordingly, you’ll create an optimal environment for your blackcurrant plants to thrive.
2. How to Plant Blackcurrant Fruits: Step-by-Step Guide
Now that you’ve selected the perfect location and prepared the soil, it’s time to plant your blackcurrant bushes. The optimal time for planting depends on where you live. In regions with mild winters, fall planting is generally preferred. However, in colder climates, spring planting is often recommended.
Step-by-Step Planting Guide:
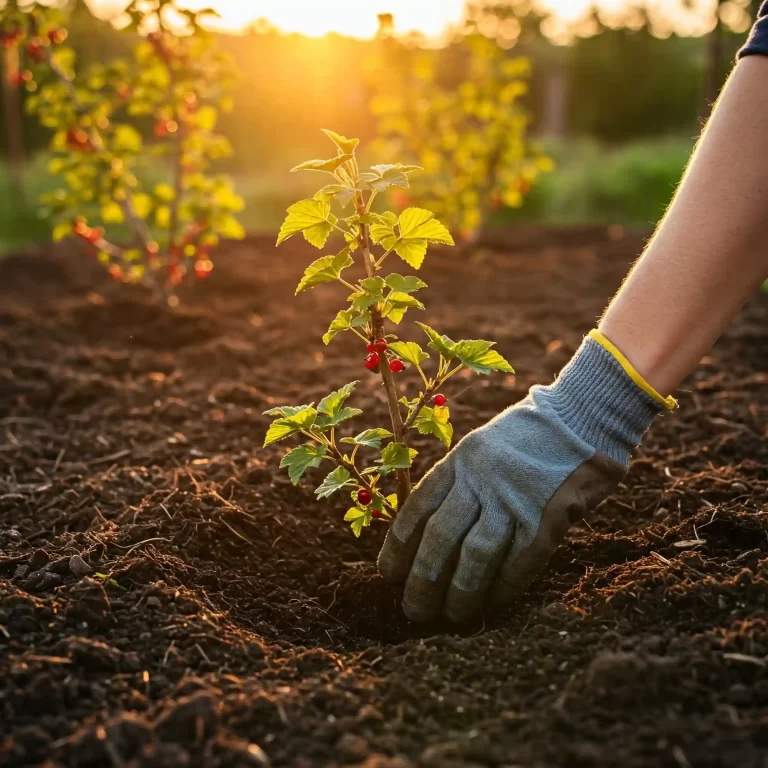
- Prepare the Planting Hole: Dig a planting hole that is slightly larger than the root ball of your blackcurrant bush. The depth of the hole should be such that the top of the root ball is level with the surrounding soil.
- Amend the Soil: Before placing the bush in the hole, mix a handful of compost or well-rotted manure into the bottom of the hole. This will provide essential nutrients to the developing roots.
- Place the Bush: Gently place the blackcurrant bush in the prepared hole, ensuring that the roots are spread out evenly. If the bush is bare-rooted, carefully straighten out any tangled roots before planting.
- Backfill the Hole: Backfill the hole with the excavated soil, firming it gently around the base of the bush. Avoid packing the soil too tightly, as this can restrict root growth.
- Water Thoroughly: After planting, water the bush deeply to settle the soil around the roots.
- Mulch: Apply a layer of organic mulch, such as wood chips or straw, around the base of the bush. Mulching helps to retain moisture, suppress weeds, and regulate soil temperature.
Planting Bare-Root vs. Container-Grown Bushes:
- Bare-root bushes: These are typically less expensive and can be planted in early spring or fall. It’s important to keep the roots moist while planting.
- Container-grown bushes: These can be planted at any time of year, provided the soil is not frozen. However, they may be more expensive than bare-root bushes.
Spacing: When planting multiple blackcurrant bushes, it’s essential to provide adequate spacing between them. This allows for proper air circulation and sunlight penetration, which helps to prevent diseases and promote healthy growth. A spacing of 5-6 feet between bushes is generally recommended.
By following these steps and considering the specific requirements of your climate and soil conditions, you can successfully plant your blackcurrant bushes and set the stage for a bountiful harvest in the years to come.
3. How to Propagate Blackcurrants from Cuttings Successfully
While planting bare-root or container-grown bushes is the most common method, you can also propagate blackcurrants from cuttings. This technique allows you to create new plants from existing ones, expanding your blackcurrant patch or sharing with fellow gardening enthusiasts.
Choosing the Right Cuttings:
The best time to take cuttings is in late summer or early fall when the current season’s growth has matured. Select healthy, non-flowering shoots from the current year’s growth. Each cutting should be about 6-8 inches long and have at least two or three buds.
Preparing the Cuttings:
- Make a Clean Cut: Using a sharp pair of pruning shears, make a clean cut just below a node (the point where a leaf or branch grows from the stem).
- Remove Lower Leaves: Remove the leaves from the lower half of the cutting.
- Dip in Rooting Hormone: (Optional) Dip the cut end of the cutting in a rooting hormone powder. This can help stimulate root growth.
Rooting the Cuttings:
- Prepare the Rooting Medium: Fill small pots or trays with a well-draining potting mix. You can also use a specialized rooting hormone mix.
- Insert the Cuttings: Insert the cuttings into the rooting medium, leaving a few inches above the soil surface.
- Provide Optimal Conditions: Place the cuttings in a warm, humid environment. You can cover the pots with a clear plastic bag or use a propagation dome to create a humid atmosphere.
- Maintain Moisture: Keep the rooting medium consistently moist but not waterlogged.
Transplanting:
Once the cuttings have developed a good root system, typically within a few weeks, they can be transplanted into individual pots or directly into the garden. Choose a location and prepare the soil as described in the previous section.
Tips for Success:
- Choose healthy cuttings: Select cuttings from vigorous, disease-free plants.
- Make clean cuts: Use sharp pruning shears to prevent damaging the cuttings.
- Maintain proper moisture: Keep the rooting medium consistently moist, but avoid overwatering.
- Provide adequate light: Ensure the cuttings receive bright, indirect light.
Propagating blackcurrants from cuttings can be a rewarding experience. It allows you to expand your collection, share plants with others, and enjoy the satisfaction of growing your own blackcurrant bushes from scratch.
4. Blackcurrant Plant Care: Watering, Fertilizing, and Mulching
Now that you’ve successfully planted your blackcurrant bushes, it’s time to focus on providing them with the care they need to thrive. This includes proper watering, fertilizing, and mulching.
Watering: Blackcurrants prefer consistent moisture but don’t like to sit in soggy soil. During dry periods, water deeply and thoroughly, ensuring that the soil is moist but not waterlogged. Overwatering can lead to root rot, while underwatering can stress the plants and reduce fruit production.
Fertilizing: Blackcurrants are moderate feeders. Fertilize your bushes in early spring, just as new growth begins to emerge. Use a balanced fertilizer, such as a 10-10-10 formulation, or a fertilizer specifically formulated for fruit trees and shrubs. You can also use organic fertilizers like compost or well-rotted manure. Avoid over-fertilizing, as this can lead to excessive vegetative growth at the expense of fruit production.
Mulching: Applying a layer of mulch around the base of your blackcurrant bushes offers several benefits. Mulch helps to retain soil moisture, suppress weeds, and regulate soil temperature. It also helps to prevent soil erosion and protect the roots from extreme temperatures. Use organic materials like wood chips, straw, or shredded bark as mulch. Avoid using plastic mulch, as it can prevent proper soil aeration.
Here are some additional tips for caring for your blackcurrant bushes:
- Monitor for Pests and Diseases: Regularly inspect your bushes for signs of pests and diseases. Common pests include aphids, mites, and sawflies. Common diseases include powdery mildew and leaf spot. Take appropriate measures to control or prevent any problems.
- Provide Support: If your blackcurrant bushes are growing vigorously, you may need to provide support to prevent them from becoming too heavy and breaking. You can use stakes or trellises to support the branches.
- Prune Regularly: Pruning is essential for maintaining the health and productivity of your blackcurrant bushes. Prune in late winter or early spring to remove dead, damaged, or crossing branches.
By following these care practices, you can ensure that your blackcurrant bushes remain healthy and productive, providing you with a bountiful harvest of delicious berries for years to come.
5. Blackcurrant Pruning Techniques for Maximum Yield
Pruning is an essential practice for maintaining the health, vigor, and productivity of your blackcurrant bushes. It helps to control their size and shape, encourages new growth, and prevents overcrowding, which can lead to reduced fruit production and increased disease susceptibility.
Timing: The best time to prune blackcurrants is in late winter or early spring, before new growth begins. This allows the wounds to heal quickly and minimizes the risk of infection.
Pruning Techniques:
- Remove Dead or Damaged Wood: Start by removing any dead, damaged, or diseased branches. This will help to improve air circulation and prevent the spread of disease.
- Thin Out Overcrowded Branches: Blackcurrant bushes tend to produce a lot of new growth each year. Thin out overcrowded branches to allow sunlight and air to penetrate the center of the bush. This will encourage the development of strong, fruit-bearing branches.
- Remove Weak or Non-productive Branches: Identify and remove any weak or non-productive branches. These branches are often spindly and produce little or no fruit.
- Shorten Long Branches: If the branches are getting too long, you can shorten them back to encourage new growth and maintain a manageable size.
Pruning Young Bushes:
- First Year: Minimal pruning is needed in the first year. You can remove any weak or damaged branches to encourage strong growth.
- Second Year: Continue to remove any dead or damaged wood and thin out overcrowded branches. You can also begin to shorten some of the longer branches.
Pruning Mature Bushes:
- Regular Pruning: Mature bushes require regular pruning to maintain their shape and productivity. Remove about one-third of the oldest branches each year to encourage new growth.
Tips for Pruning:
- Use Sharp Pruning Shears: Sharp pruning shears make clean cuts that heal quickly and reduce the risk of disease.
- Make Clean Cuts: Make clean cuts just above a bud or branch.
- Sanitize Your Pruning Tools: Disinfect your pruning shears between cuts to prevent the spread of disease.
Pruning may seem daunting at first, but with a little practice, it becomes easier. By following these techniques, you can ensure that your blackcurrant bushes remain healthy and productive, providing you with a bountiful harvest of delicious berries for years to come.
6. Blackcurrant Pest Control and Disease Prevention
While blackcurrants are generally hardy plants, they can be susceptible to certain pests and diseases. Regular monitoring and timely intervention can help to minimize damage and keep your bushes healthy.
Common Pests:
- Aphids: These small, sap-sucking insects can infest blackcurrant leaves, causing them to curl and distort. Aphids can also transmit plant viruses.
- Blackcurrant Gall Mite: This microscopic mite causes small, gall-like growths on the leaves and stems.
- Sawflies: Sawfly larvae feed on the leaves, causing significant defoliation.
Common Diseases:
- Powdery Mildew: This fungal disease causes a white, powdery coating on the leaves, which can reduce photosynthesis and weaken the plant.
- Leaf Spot: This fungal disease causes small, brown spots on the leaves. Severe infections can lead to defoliation.
Pest and Disease Control:
- Regular Inspection: Regularly inspect your blackcurrant bushes for signs of pests and diseases. Early detection and intervention can help to minimize damage.
- Organic Control Methods:
- Encourage beneficial insects: Planting flowers that attract beneficial insects, such as ladybugs and lacewings, can help to control aphid populations.
- Use insecticidal soap or neem oil: These natural products can be effective in controlling aphids and other soft-bodied insects.
- Handpick pests: For small infestations, you can manually remove pests such as aphids or sawfly larvae.
- Chemical Control Methods:
- Use approved insecticides: If organic methods are ineffective, you can use chemical insecticides. Be sure to choose a product that is labeled for use on blackcurrants and follow the instructions carefully.
- Preventative Measures:
- Maintain good air circulation: Proper spacing between bushes and pruning to open up the canopy can help to improve air circulation and reduce the risk of fungal diseases.
- Water at the base of the plant: Avoid overhead watering, which can spread fungal diseases.
- Clean up fallen leaves: Rake up and dispose of fallen leaves in the autumn to remove overwintering pests and diseases.
By implementing a proactive approach to pest and disease control, you can protect your blackcurrant bushes and ensure a healthy and productive harvest. In the next section, we’ll discuss the optimal time for harvesting blackcurrants and how to do it correctly.
7. When to Harvest Blackcurrants and How to Do It Right
The anticipation of harvest is one of the most rewarding aspects of growing your own blackcurrants. Knowing when to pick your berries and harvesting them correctly will ensure you enjoy the best possible flavor and quality.
When to Harvest:
Blackcurrants are typically ready for harvest in late summer or early fall, usually from July to September, depending on your location and the variety you’re growing. The exact timing can vary from year to year depending on weather conditions.
Signs of Ripeness:
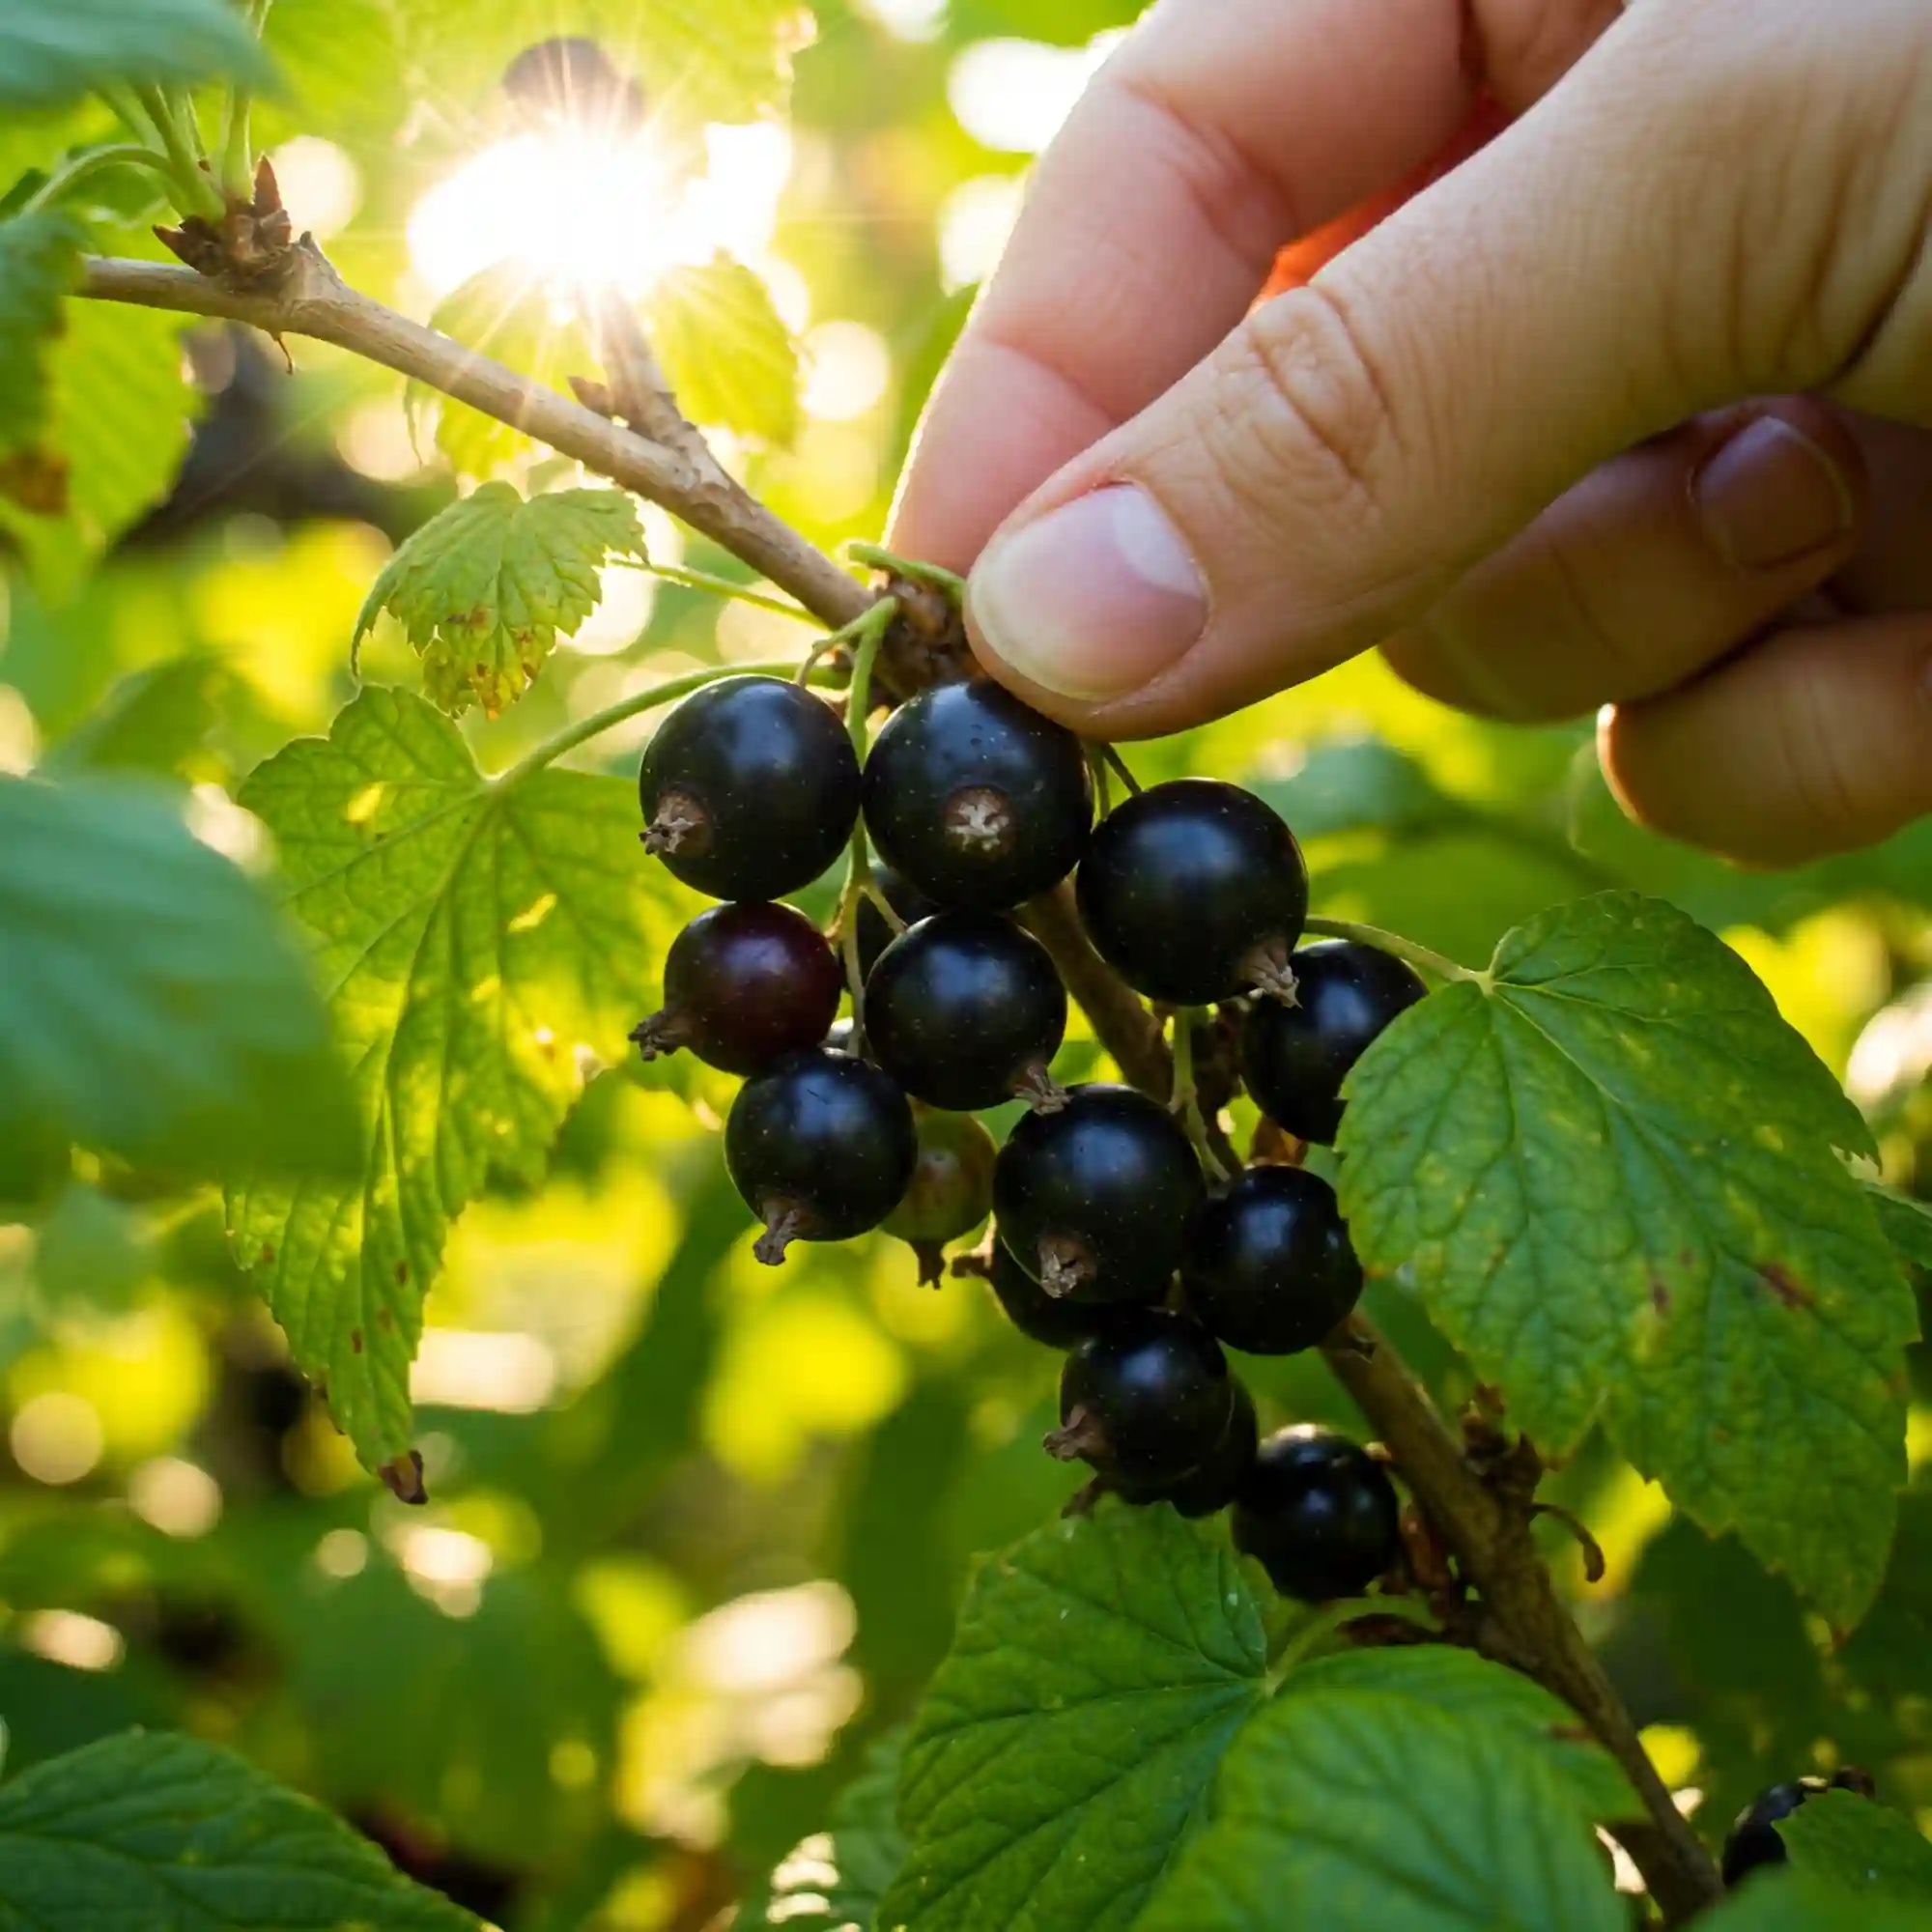
- Color: Ripe blackcurrants are typically dark purple or black in color. Avoid picking berries that are still green or partially red, as they will be tart and unripe.
- Taste: Ripe blackcurrants have a sweet and tart flavor. You can taste-test a few berries to determine if they are ripe enough.
Harvesting Techniques:
- Gentle Handling: When picking blackcurrants, it’s important to handle them gently to avoid bruising or damaging the berries.
- Use a Basket or Container: Use a basket or container lined with a soft cloth to collect the harvested berries. This will help to protect them from bruising.
- Harvest in the Morning: It’s best to harvest blackcurrants in the morning when they are cool and less likely to be damaged.
- Leave Some Berries for the Birds: You can leave a few berries on the bushes for birds to enjoy.
Storing Blackcurrants:
- Refrigeration: Freshly picked blackcurrants can be stored in the refrigerator for up to a week. Place them in an airtight container or plastic bag to keep them fresh.
- Freezing: Blackcurrants can also be frozen for later use. Wash and dry the berries thoroughly before freezing. You can freeze them whole or puree them before freezing.
Using Your Harvest:
Blackcurrants are incredibly versatile and can be used in a variety of ways. Here are a few ideas:
- Eat them fresh: Enjoy the sweet and tart flavor of fresh blackcurrants straight from the bush.
- Make jams and jellies: Blackcurrants make delicious jams and jellies.
- Bake with them: Use blackcurrants in pies, tarts, muffins, and other baked goods.
- Add them to smoothies: Blend blackcurrants into smoothies for a healthy and refreshing treat.
- Make a sauce: Create a delicious sauce for grilled meats or poultry using blackcurrants.
By following these tips, you can enjoy a bountiful harvest of fresh, flavorful blackcurrants. In the next section, we’ll explore the possibility of growing blackcurrants in containers, which can be a great option for those with limited space.
Please note: The information provided in this blog post is for general guidance only. Specific growing conditions and techniques may vary depending on your location and climate. It’s always recommended to consult with local gardening experts or refer to regional resources for the most accurate and up-to-date information.
8. How to Grow Blackcurrant Fruits in Containers on a Patio
If you have limited garden space or live in an apartment with a patio, growing blackcurrants in containers can be a rewarding alternative. While container-grown plants may require a bit more attention, they can still produce a good crop of delicious berries.
Choosing the Right Container:
Select a large, deep container with drainage holes. Blackcurrant plants have a vigorous root system, so they need ample space to grow. A pot that is at least 18 inches in diameter and 18 inches deep is recommended.
Preparing the Soil:
Use a well-draining potting mix that is rich in organic matter. You can amend the potting mix with compost or well-rotted manure to improve its fertility and drainage.
Planting:
- Carefully remove the blackcurrant plant from its nursery pot.
- Place it in the prepared container, ensuring that the top of the root ball is level with the surrounding soil.
- Backfill the container with potting mix, firming it gently around the base of the plant.
- Water the plant thoroughly to settle the soil.
Watering:
Container-grown plants dry out more quickly than those planted in the ground. Monitor the soil moisture regularly and water deeply when the top inch of soil feels dry. Avoid overwatering, as this can lead to root rot.
Fertilizing:
Fertilize your container-grown blackcurrant plants regularly during the growing season. Use a balanced liquid fertilizer or a slow-release fertilizer formulated for fruit trees and shrubs. Follow the manufacturer’s instructions for application rates.
Mulching:
Apply a layer of mulch, such as wood chips or bark chips, around the base of the plant to help retain moisture and suppress weeds.
Winter Protection:
In colder climates, you may need to protect your container-grown blackcurrant plant from frost during the winter. You can move the container to a sheltered location, wrap it in insulating material, or cover it with a frost blanket.
Pruning:
Follow the same pruning guidelines as for blackcurrants planted in the ground. Prune in late winter or early spring to maintain the shape and size of the plant and encourage new growth.
Growing blackcurrants in containers can be a rewarding experience, even for those with limited space. By following these tips and providing your plants with the proper care, you can enjoy a bountiful harvest of delicious berries right on your patio.
FAQ
Here are some frequently asked questions about growing blackcurrant fruits:
1. How to grow blackcurrant fruits in cold climates?
Blackcurrants are generally hardy plants and can tolerate cold climates. However, in extremely cold regions, it’s important to select cold-hardy varieties and provide protection during severe winters. You can mulch around the base of the plants to insulate the roots and protect them from frost.
2. What is the best way to grow blackcurrant fruits organically?
To grow blackcurrants organically, avoid using synthetic pesticides and fertilizers. Instead, use organic methods such as companion planting to attract beneficial insects, handpicking pests, and using insecticidal soap or neem oil to control infestations. Fertilize with organic materials like compost or well-rotted manure.
3. How to grow blackcurrant fruits and maximize yield per bush?
To maximize yield, ensure your blackcurrants receive adequate sunlight and water. Prune regularly to maintain the health and vigor of the bushes and remove unproductive branches. Fertilize appropriately to provide essential nutrients. Consider planting different varieties that have staggered ripening times to extend the harvest season.
4. How to grow blackcurrant fruits and prevent common plant diseases?
To prevent common plant diseases like powdery mildew and leaf spot, maintain good air circulation around the bushes by pruning to open up the canopy. Avoid overhead watering, which can spread fungal spores. Rake up and dispose of fallen leaves in the autumn to remove overwintering pathogens.
5. How to grow blackcurrant fruits with specific soil pH requirements?
Blackcurrants prefer slightly acidic to neutral soil with a pH between 6.0 and 6.8. You can test your soil pH using a home soil test kit. If your soil is too alkaline, you can amend it with sulfur. If it’s too acidic, you can raise the pH by applying lime.
6. How to grow blackcurrant fruits for beginners step by step guide?
- Select a suitable location and prepare the soil.
- Choose healthy blackcurrant plants.
- Plant the bushes according to the instructions.
- Water regularly and fertilize appropriately.
- Mulch around the base of the plants.
- Monitor for pests and diseases and take appropriate action.
- Prune regularly to maintain plant health and productivity.
- Harvest the berries when they are ripe and enjoy!
7. How to grow blackcurrant fruits and when to harvest them?
Blackcurrants are typically ready for harvest in late summer or early fall, usually from July to September. The berries will be ripe when they are dark purple or black in color and have a sweet and tart flavor.
8. How to grow blackcurrant fruits without using chemical fertilizers?
You can grow blackcurrants without using chemical fertilizers by using organic alternatives such as compost, well-rotted manure, and other organic fertilizers. You can also use cover crops to improve soil fertility and suppress weeds.
Conclusion
Growing your own blackcurrants can be a rewarding and delicious experience. By following the tips and techniques outlined in this guide, you can increase your chances of success and enjoy a bountiful harvest of these flavorful berries.
Remember to start with the right location and soil, choose healthy plants, and provide proper care throughout the growing season. Pay attention to watering, fertilizing, and pruning needs. Regularly monitor your plants for pests and diseases, and take appropriate action to address any issues.
With a little patience and consistent effort, you can cultivate healthy and productive blackcurrant bushes that will provide you with fresh, homegrown berries for years to come. So, roll up your sleeves, get your hands dirty, and start your blackcurrant growing adventure today!
Additional Tips:
- Consider planting different varieties: Planting multiple varieties can extend your harvest season and provide you with a wider range of flavors.
- Join a local gardening club: Connecting with other gardeners can provide you with valuable insights, support, and access to resources.
- Experiment and have fun: Don’t be afraid to experiment with different growing techniques and see what works best for you. Most importantly, enjoy the process and the satisfaction of growing your own food!
