
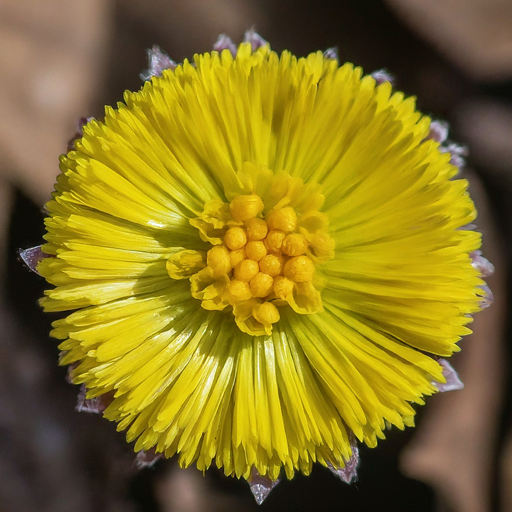
The cheerful yellow blooms of Coltsfoot are a welcome sight in early spring, often appearing before the leaves unfurl on surrounding plants. Despite their sunny disposition, these unique flowers can be a challenge to cultivate in the garden. With the right knowledge and a bit of care, however, you can successfully grow vibrant Coltsfoot and enjoy their cheerful presence for years to come.
This comprehensive guide will equip you with everything you need to know about growing Coltsfoot flowers. We’ll delve into:
- The ideal growing conditions for Coltsfoot
- Seed sowing and plant division techniques
- Watering and feeding requirements
- Maintenance tips and solutions to common problems
By following these steps and incorporating Coltsfoot into your garden plan, you can create a burst of sunshine to brighten your early spring landscape.
Choosing the Perfect Spot for Your Coltsfoot
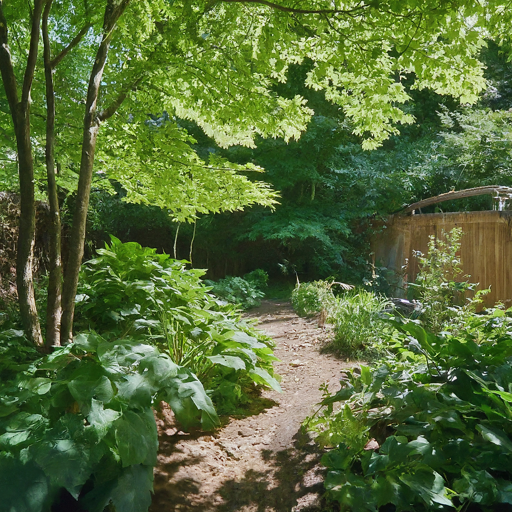
Coltsfoot thrives in a variety of light conditions, from full sun to partial shade. However, they tend to produce the most vibrant blooms when they receive at least 6 hours of direct sunlight daily.
When selecting a location for your Coltsfoot, consider the following factors:
- Light availability: As mentioned, aim for an area with full sun to partial shade.
- Soil drainage: Coltsfoot prefers well-drained soil. Poorly draining soil can lead to root rot.
- Soil type: Coltsfoot is adaptable to various soil types but thrives in slightly sandy soil. Sandy soil allows for better drainage and prevents waterlogging.
Here are some additional tips for choosing the perfect spot for your Coltsfoot:
- Avoid planting Coltsfoot in areas with heavy foot traffic, as they are delicate flowers.
- Consider planting Coltsfoot near rocks or walls, as they can tolerate drier conditions often found in these locations.
- If your garden soil is heavy clay, amend it with sand or compost to improve drainage.
Sowing Seeds or Planting Divisions: Establishing Your Coltsfoot
There are two primary methods for establishing Coltsfoot in your garden: sowing seeds or planting divisions.
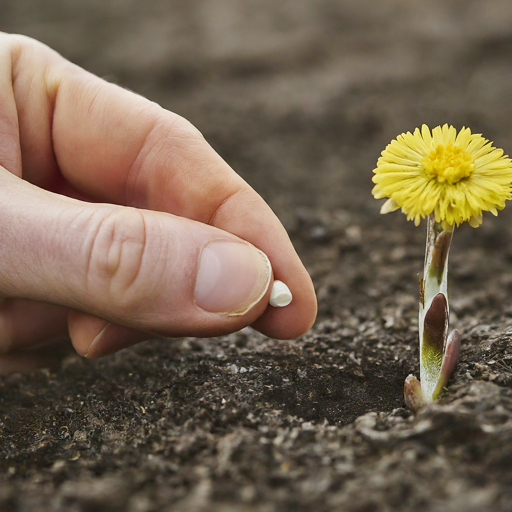
Seeding Coltsfoot
- Timing: Sow Coltsfoot seeds directly outdoors in late fall or early spring.
- Seedbed Preparation: Lightly disturb the soil surface in your chosen location. You don’t need to create deep furrows, as Coltsfoot seeds require light for germination.
- Sowing: Scatter the seeds thinly over the prepared area.
- Watering: Gently water the area to ensure good seed-to-soil contact. Keep the soil moist but not soggy until germination occurs.
- Germination: Coltsfoot seeds can take 4-6 weeks to germinate.
Tips for Sowing Coltsfoot Seeds:
- You can also sow Coltsfoot seeds in trays or pots filled with a well-draining seed starting mix indoors around 6-8 weeks before the last frost date. Transplant seedlings outdoors after hardening them off.
- Thinning may be necessary once seedlings emerge. Aim for a spacing of 6-8 inches between mature plants.
Planting Divisions

- Timing: Divide established Coltsfoot plants in early spring or fall.
- Digging Up the Plant: Carefully dig up the entire Coltsfoot clump using a shovel or garden fork.
- Division: Using a sharp knife or trowel, separate the clump into healthy sections, each with a good amount of roots.
- Planting Divisions: Replant the divisions in your chosen locations, ensuring the crown of the plant remains slightly above the soil surface.
- Watering: Water the newly planted divisions thoroughly.
Tips for Planting Coltsfoot Divisions:
- Choose healthy, disease-free sections of the Coltsfoot plant for division.
- Water the established Coltsfoot plant well a few days before dividing to loosen the soil and make the digging process easier.
- When replanting divisions, ensure the planting hole is deep enough to accommodate the entire root system.
Watering and Feeding Your Coltsfoot

Once established, Coltsfoot is a surprisingly drought-tolerant plant. However, during the first growing season, especially during hot and dry periods, consistent watering is crucial for successful establishment.
Here’s a breakdown of Coltsfoot’s watering needs:
- First Growing Season: Water regularly, keeping the soil consistently moist but not soggy. Aim for deep watering that encourages root development.
- Established Plants: Coltsfoot can tolerate drier conditions once established. Water deeply during extended dry periods to prevent the plant from going dormant.
Feeding: Coltsfoot is not a heavy feeder. However, a light application of a balanced fertilizer in early spring can provide a boost and encourage more vigorous growth and flowering.
Here’s a table summarizing the watering and feeding requirements for Coltsfoot:
| Stage of Growth | Watering Needs | Feeding Needs |
| First Growing Season | Regular watering, keeping soil moist but not soggy | Not necessary |
| Established Plants | Water deeply during dry periods | Light application of balanced fertilizer in early spring (optional) |
While Coltsfoot is a relatively low-maintenance plant, there are a few basic care tips to keep your plants thriving:
- Deadheading: Regularly remove spent blooms to encourage further flower production throughout the season. Simply pinch off the wilted flower heads at the base of the stem.
- Dividing: Established Coltsfoot clumps can become congested over time. Dividing the clumps every 3-4 years helps maintain healthy growth and flower production.
Potential Problems and Solutions for Coltsfoot
Despite their resilience, Coltsfoot can be susceptible to a couple of common garden pests and diseases.
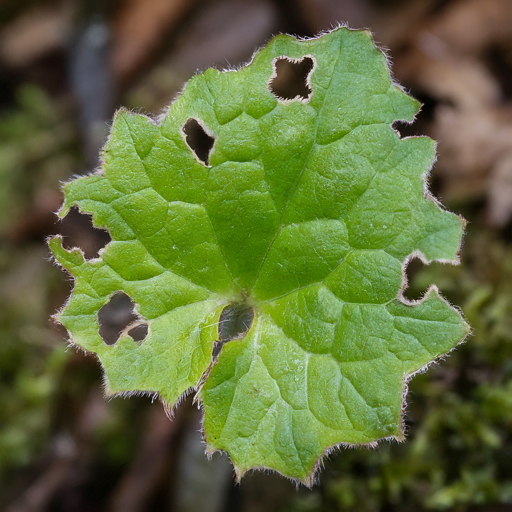
- Slugs and Snails: These slimy mollusks love to munch on Coltsfoot leaves.
- Solution: Use organic slug and snail control methods like beer traps, diatomaceous earth, or handpicking.
- Powdery Mildew: In environments with high humidity, powdery mildew, a fungal disease, can develop on Coltsfoot leaves.
- Solution: If powdery mildew appears, use a fungicide specifically labeled for treating powdery mildew on flowers. Apply the fungicide according to the manufacturer’s instructions.
By following these simple care tips and addressing any potential problems promptly, you can ensure your Coltsfoot plants flourish and bring a touch of sunshine to your garden for years to come.
Conclusion
Coltsfoot, with its cheerful yellow blooms, is a welcome addition to any early spring garden. While they may have specific requirements for light, soil drainage, and initial watering, these unique flowers are surprisingly low-maintenance once established.
By following the steps outlined in this guide, you can successfully cultivate Coltsfoot in your garden and enjoy their bright presence for seasons to come. So, why not add a touch of sunshine to your early spring landscape by incorporating these charming flowers into your garden plan?


