
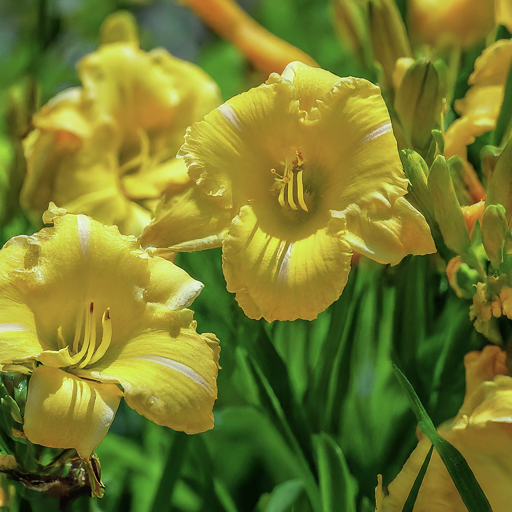
Yellow daylilies are a gardener’s dream come true. These vibrant flowers boast a dazzling display of sunshine-hued blooms throughout the summer, all while requiring minimal care. Whether you’re a seasoned gardener or just starting your floral journey, daylilies are a perfect addition to your landscape, offering long-lasting beauty with effortless charm.
This comprehensive guide will equip you with all the knowledge you need to successfully cultivate these delightful flowers. We’ll delve into site selection, soil preparation, planting techniques, and ongoing maintenance practices. So, grab your gardening gloves and get ready to transform your space with a burst of sunshine!
Choosing the Perfect Location for Your Yellow Daylilies

Daylilies, as their name suggests, crave sunlight. To ensure optimal growth and vibrant blooms, select a location that receives at least 6 hours of direct sunlight daily. Ideally, aim for morning sun, which promotes healthy dew formation and helps prevent flower scorching during the hottest part of the day.
Considering Afternoon Shade in Hot Climates
In regions with scorching afternoons, providing some dappled shade during the hottest hours can be beneficial. This can be achieved by planting your daylilies near taller perennials or strategically placing shrubs to offer afternoon shade.
Preparing a Favorable Soil Environment
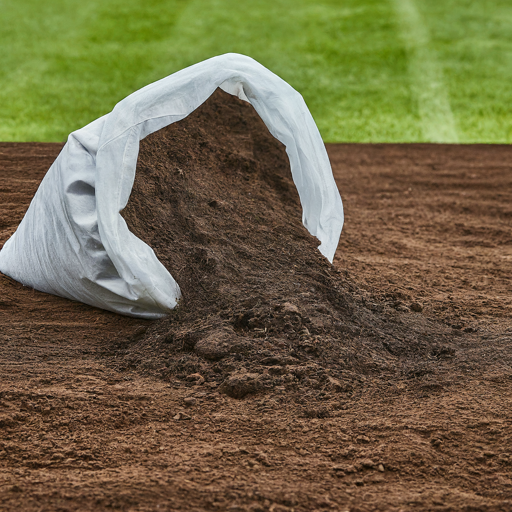
Daylilies thrive in well-drained soil with good fertility. Here’s how to create the ideal soil conditions for your yellow beauties:
- Conduct a Soil Test: A simple soil test will reveal your soil’s pH level and nutrient content. This information is crucial for determining the appropriate amendments needed.
- Aim for Slightly Acidic Soil: Daylilies generally prefer slightly acidic soil with a pH between 6.0 and 7.0. If your soil test indicates a higher pH, adding amendments like elemental sulfur or peat moss can help lower it.
- Enrich the Soil with Organic Matter: Amend your soil with generous amounts of compost, aged manure, or other organic matter. This will improve drainage, aeration, and nutrient retention, providing the perfect foundation for thriving daylilies.
Common Soil Amendments and Their Benefits
| Amendment | Benefit |
| Compost | Improves drainage, aeration, and nutrient retention |
| Aged Manure | Adds organic matter and nutrients |
| Peat Moss | Increases acidity and improves moisture retention (for well-draining soils only) |
| Elemental Sulfur | Lowers soil pH |
| Lime | Raises soil pH |
Planting Your Yellow Daylilies for Success
You can plant yellow daylilies using either bare-root divisions or containerized plants. Here’s a step-by-step guide for successful planting:
- Dig Planting Holes: Dig holes approximately 12-18 inches deep and 18-24 inches wide, depending on the mature size of your daylily variety.
- Amend the Planting Hole: Fill the planting hole halfway with a mixture of excavated soil and compost or aged manure.
- Position the Daylily: Carefully place the daylily plant in the hole, ensuring the crown (the point where the roots and leaves meet) rests about 1 inch below the soil surface.
- Backfill and Water: Fill the remaining hole with the amended soil mixture, gently firming it around the plant base. Water thoroughly to settle the soil and ensure good root-to-soil contact.
Daylily Spacing Recommendations
| Daylily Mature Size (Height x Spread) | Recommended Spacing |
| Short (up to 18″ tall) | 12-18 inches apart |
| Medium (18-28″ tall) | 18-24 inches apart |
| Tall (over 28″ tall) | 24-36 inches apart |
Providing Proper Care for Your Thriving Daylilies
With proper care, your yellow daylilies will reward you with years of dazzling blooms. Here are some essential maintenance tips:
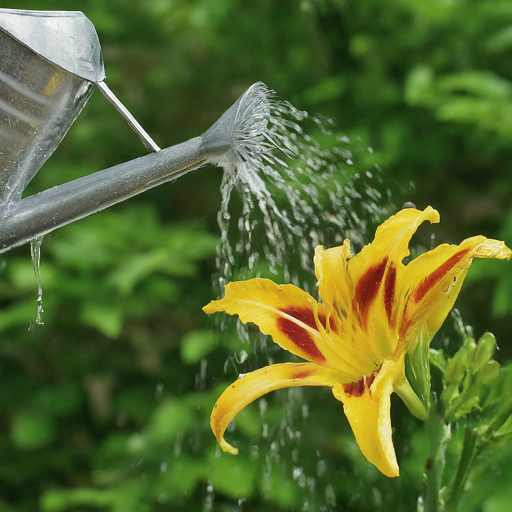
- Watering: Water your daylilies deeply during their first growing season, especially during dry spells. Once established, they are quite drought-tolerant and require only occasional watering.
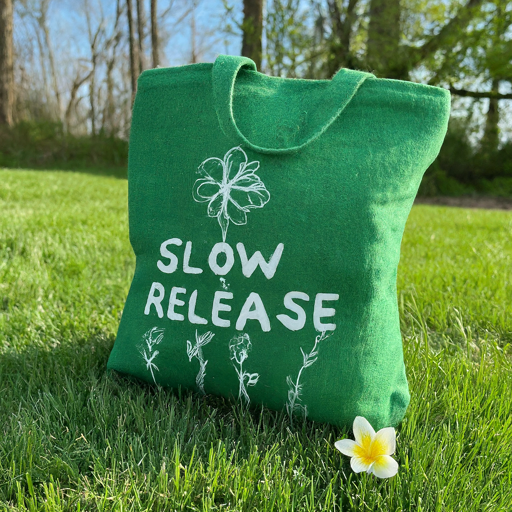
- Fertilizing:A balanced fertilizer applied in early spring can promote healthy growth and abundant blooms. Opt for a slow-release fertilizer formulated for perennials to provide sustained nutrient release throughout the growing season.
- Deadheading: Removing spent blooms encourages continued flowering throughout the summer. Simply pinch off the faded flower just above the first healthy bud below it.
- Mulching: Applying a 2-3 inch layer of organic mulch around your daylilies helps retain moisture, suppress weeds, and regulate soil temperature. Use shredded bark, wood chips, or composted leaves for an attractive and functional mulch layer.
- Dividing: Every 3-5 years, you can divide your daylily clumps to rejuvenate them and create more plants. This is a great way to expand your yellow daylily collection or share these beauties with friends and family!
Potential Pests and Diseases Affecting Yellow Daylilies
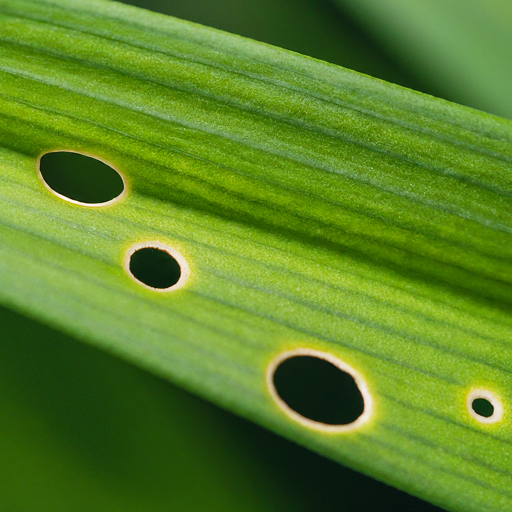
While generally resistant to pests and diseases, daylilies can occasionally be affected by a few common issues:
- Daylily Leaf Spot: This fungal disease manifests as small, brown spots on the leaves. Improve air circulation and remove infected foliage to manage leaf spot.
- Daylily Rust: This fungal disease appears as orange or brown pustules on the undersides of leaves. Fungicide application can help control daylily rust.
- Aphids: These tiny, sap-sucking insects can infest the foliage and flower buds. Introduce natural predators like ladybugs or use insecticidal soap to control aphid populations.
Practicing Prevention
The best defense against pests and diseases is to maintain healthy plants. Here are some preventative measures:
- Provide adequate spacing: Ensure good air circulation around your daylilies to prevent moisture buildup, which can favor fungal diseases.
- Water at the base of the plant: Avoid overhead watering, which can spread fungal spores.
- Remove debris: Regularly clear away fallen leaves and plant debris around your daylilies to discourage pests and prevent disease transmission.
Conclusion: Enjoying a Burst of Sunshine with Your Yellow Daylilies
Yellow daylilies are a true gem for any garden. With their vibrant blooms, easy-care nature, and long blooming season, they offer a delightful addition to your landscape. By following the guidance in this comprehensive guide, you’ll be well on your way to cultivating a thriving patch of yellow daylilies that will brighten your garden and bring you joy for years to come!
So, get out there, choose your favorite yellow daylily varieties, and get ready to bask in the sunshine and cheer they bring!


