
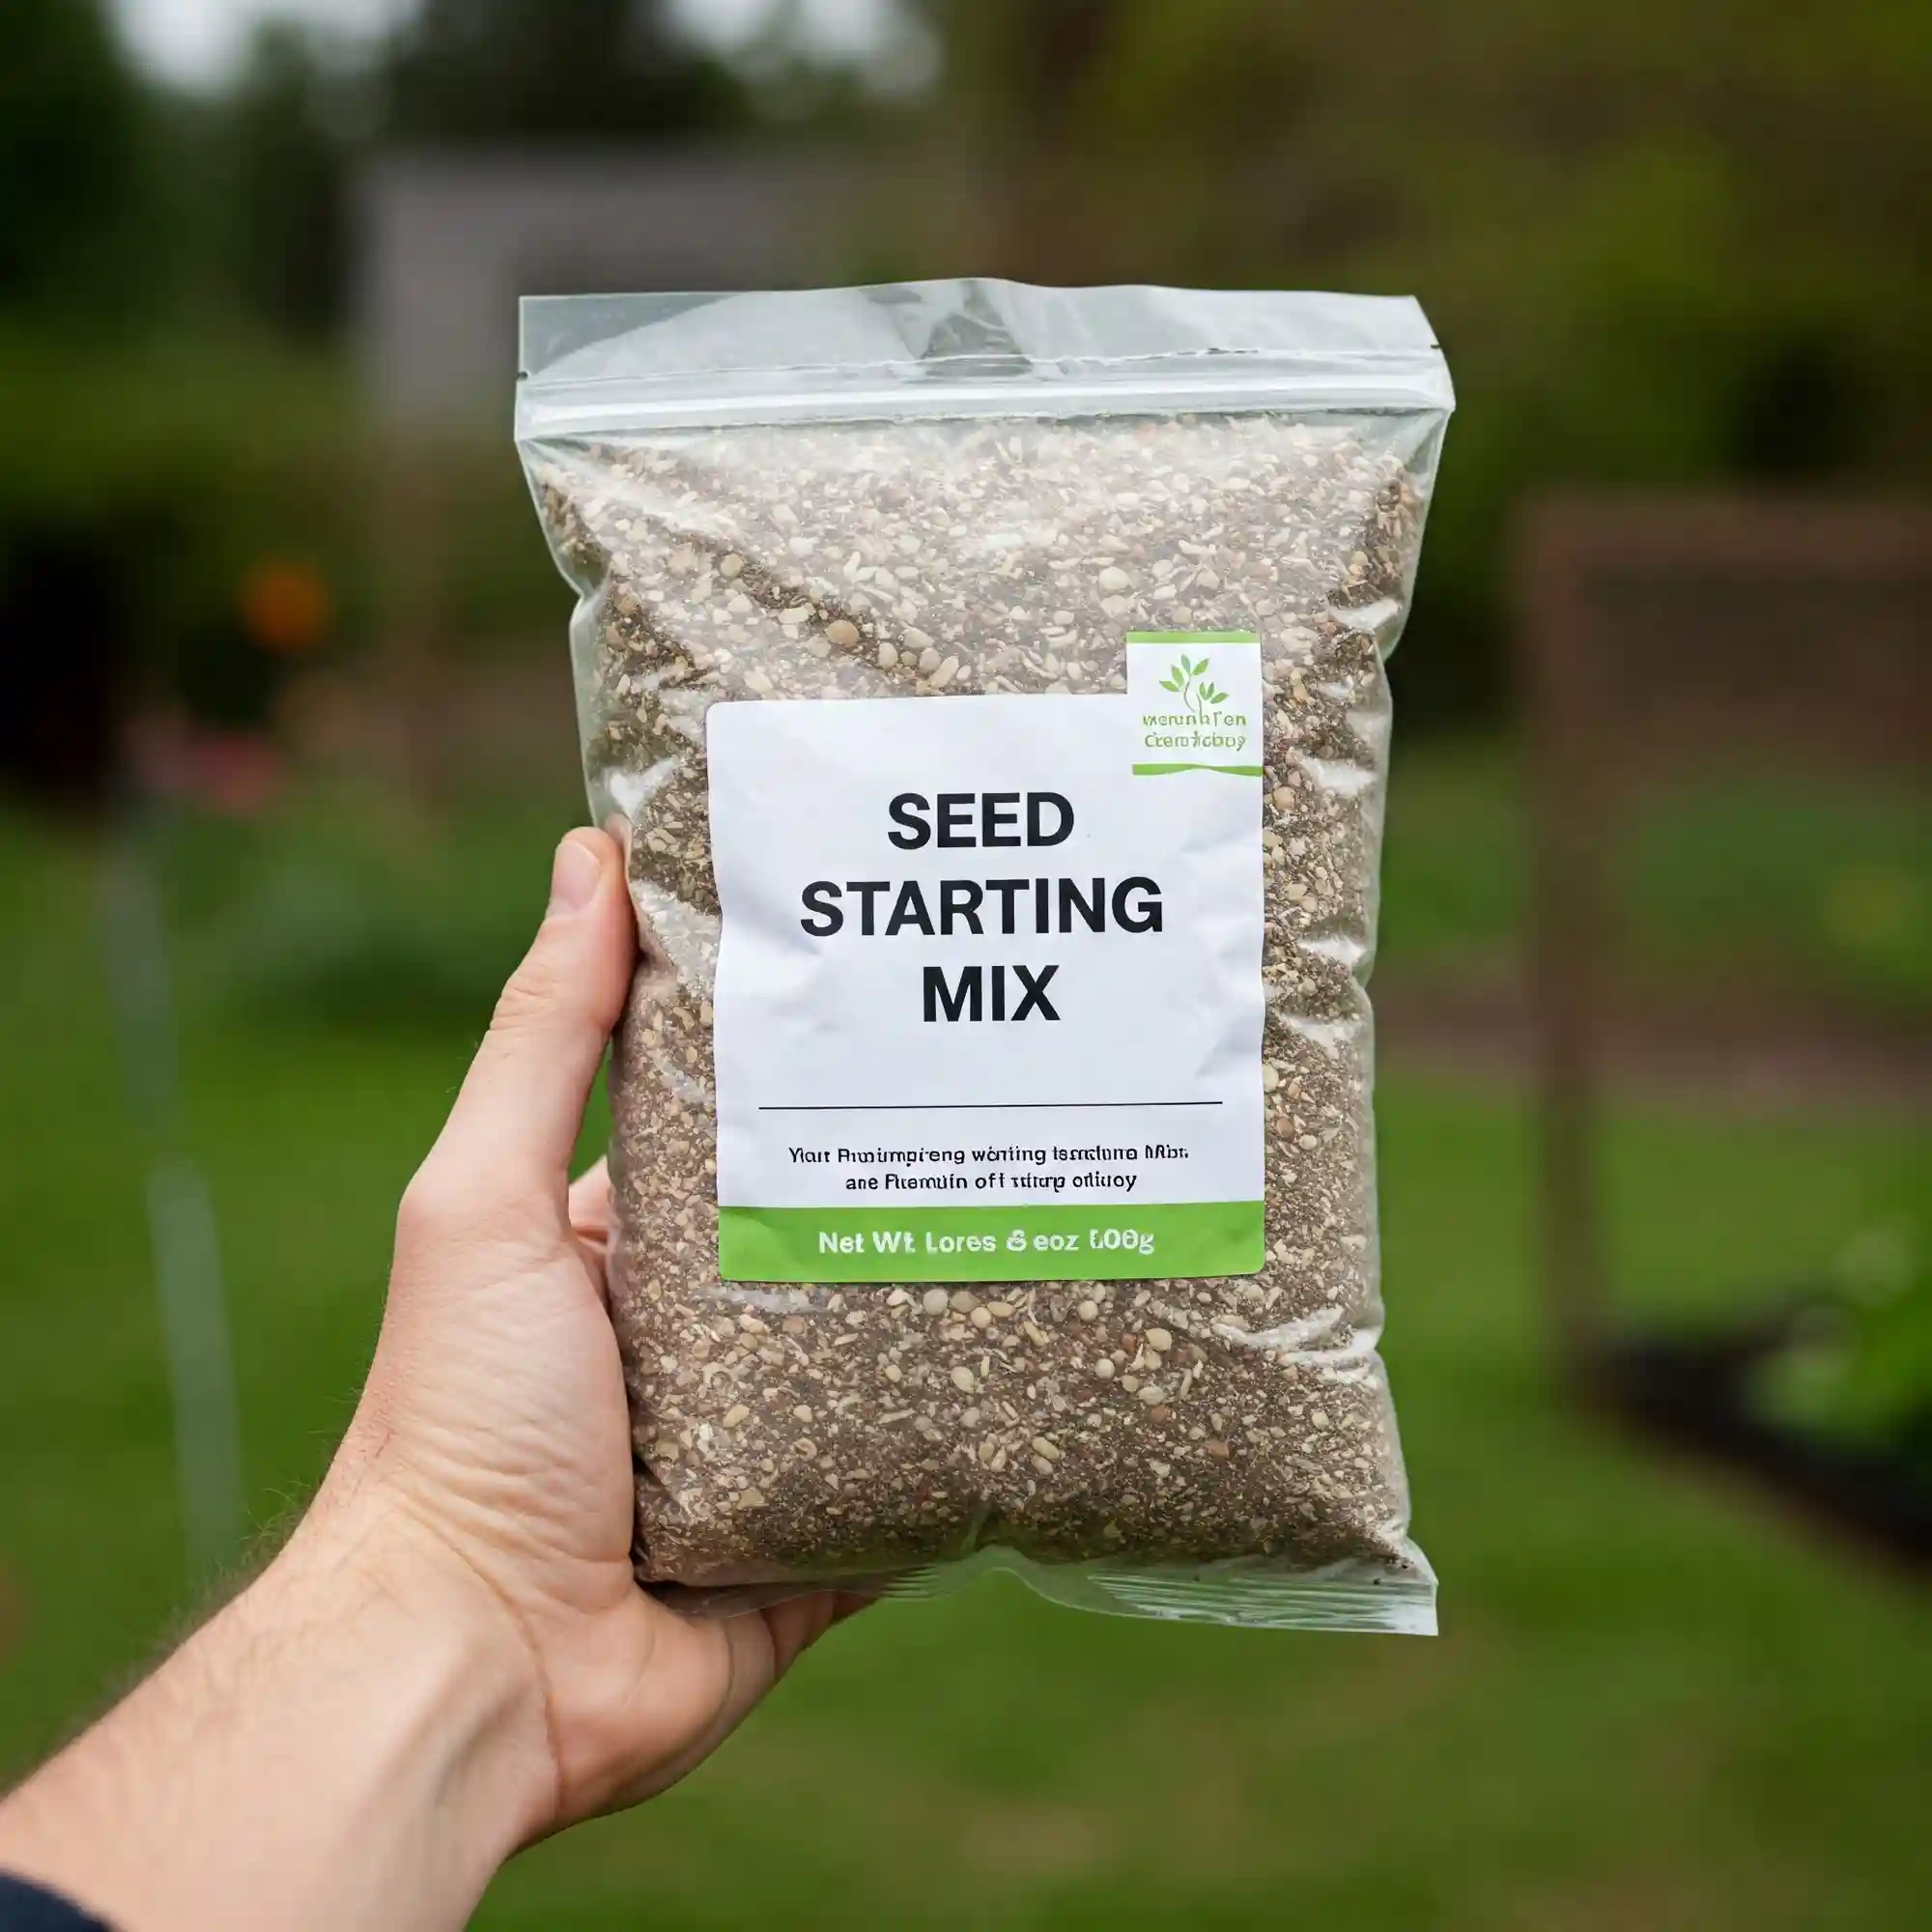
Are you tired of seeds that just won’t sprout, or seedlings that wither and die before they even get a chance to grow? It’s frustrating, isn’t it? You put in the time and effort, but the results just aren’t there. You see other gardeners with lush, vibrant seedlings, and you wonder, “What am I doing wrong?” The truth is, often, the problem isn’t your gardening skills; it’s the soil you’re using. That’s where spring garden seed starting mix comes in. It’s the solution you need to give your seeds the perfect start. I’m here to guide you through everything you need to know, from choosing the right mix to nurturing your seedlings until they’re ready for the garden.
1. Understand Why Spring Garden Seed Starting Mix Matters
Why can’t you just use regular garden soil or potting soil for starting seeds? It’s a common question, and one that highlights the importance of a specialized seed starting mix. I remember when I first started gardening, I made this very mistake. I thought, “Soil is soil,” and used the same stuff I had in my raised beds. The results were disastrous. My seedlings were weak, stunted, and prone to disease.
The truth is, spring garden seed starting mix is specifically formulated to meet the unique needs of germinating seeds and young seedlings. It’s not just about providing something for the roots to hold onto; it’s about creating an optimal environment for growth. Let’s break down why this mix is so crucial:
- Fine Texture: Seedlings have delicate roots. A fine, light texture allows these roots to easily penetrate the soil, promoting healthy growth. Garden soil, on the other hand, is often too dense and clumpy.
- Proper Drainage: Seedlings need consistent moisture, but they also need good drainage to prevent root rot. Seed starting mixes are designed to retain moisture while allowing excess water to drain away.
- Moisture Retention: The mix should hold enough moisture to keep the seeds hydrated without becoming waterlogged. This balance is essential for germination and early growth.
- Sterile Environment: Garden soil and even some potting soils can harbor pathogens, weed seeds, and pests. Seed starting mixes are typically sterile, reducing the risk of damping off and other diseases that can decimate young seedlings.
- Nutrient Uptake: While seedlings don’t need a lot of nutrients in the very early stages, a good mix provides a balanced foundation to support initial growth without overwhelming the delicate root systems.
Think of it like this: a baby needs a gentle, nurturing environment to thrive. Seedlings are no different. Using a specialized mix ensures they get the best possible start.
Let’s look at the differences between seed starting mix and potting soil:
Seed Starting Mix vs. Potting Soil
| Feature | Seed Starting Mix | Potting Soil |
| Texture | Fine, light | Coarser, denser |
| Drainage | Excellent | Good |
| Nutrients | Low, balanced | Higher, richer |
| Sterility | Sterile | May contain pathogens |
| Purpose | Germination, seedlings | Mature plants |
This table shows that seed starting mix is designed for the very early stages of plant growth, while potting soil is better suited for established plants.
I remember one year, I decided to experiment. I planted half my tomato seeds in seed starting mix and the other half in regular potting soil. The difference was stark. The seedlings in the seed starting mix were taller, stronger, and had a much higher germination rate. The ones in potting soil were struggling, and many didn’t make it.
The importance of a sterile environment cannot be overstated. Damping off, a fungal disease, is a common problem that can wipe out an entire tray of seedlings overnight. By using a sterile mix, you significantly reduce this risk.
Here are some key benefits of using a proper spring garden seed starting mix:
- Improved germination rates
- Stronger, healthier seedlings
- Reduced risk of disease
- Better root development
- Increased transplant success
When you give your seeds the right start, you’re setting yourself up for a bountiful harvest. I know it can seem like a small detail, but it makes a world of difference.
2. Choosing the Right Spring Garden Seed Starting Mix
Now that you understand the importance of using a specialized seed starting mix, let’s dive into how to choose the right one for your needs. There are many options available, each with its own unique blend of ingredients. Here’s what to look for:
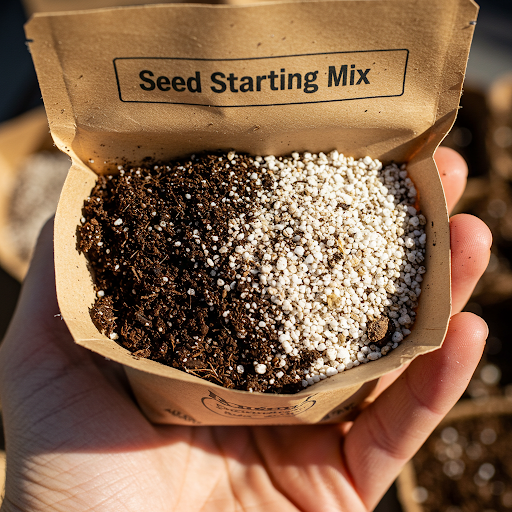
- Key Ingredients: Seed starting mixes typically contain a combination of materials designed to provide the ideal environment for germination and early growth. Common ingredients include:
- Peat Moss: A popular choice for its ability to retain moisture and provide good aeration.
- Coco Coir: A sustainable alternative to peat moss that offers excellent water-holding capacity and aeration.
- Vermiculite: A lightweight material that improves drainage and aeration, while also helping to retain moisture.
- Perlite: Another lightweight material that improves drainage and aeration, and can help to prevent soil compaction.
- Compost: Adds organic matter and nutrients to the mix, promoting healthy root development.
- Organic vs. Non-Organic: Organic seed starting mixes are made with natural ingredients and do not contain synthetic fertilizers or pesticides. While they may be slightly more expensive, they are a great choice for those who prioritize sustainability and environmental responsibility.
- pH Level: The pH level of the mix is important for seed germination and plant growth. Most plants prefer a slightly acidic soil with a pH between 6.0 and 7.0. Look for a mix that is labeled with the appropriate pH range.
- Where to Buy: Seed starting mixes are readily available at many garden centers, home improvement stores, and online retailers. When buying online, be sure to choose a reputable seller and read customer reviews to ensure product quality.
- Comparing Brands: When choosing a seed starting mix, it’s important to compare different brands and read product labels carefully. Look for mixes that are specifically designed for starting seeds, and pay attention to the ingredients, pH level, and any additional nutrients or additives.
I recommend trying a few different brands to see which one works best for you and your plants. You can also experiment with making your own seed starting mix at home, which we’ll discuss in the next section.
Remember, choosing the right spring garden seed starting mix is an important step in ensuring the success of your seedlings. By understanding the key ingredients and factors to consider, you can make an informed decision and give your plants the best possible start.
3. DIY Spring Garden Seed Starting Mix: Recipes and Tips
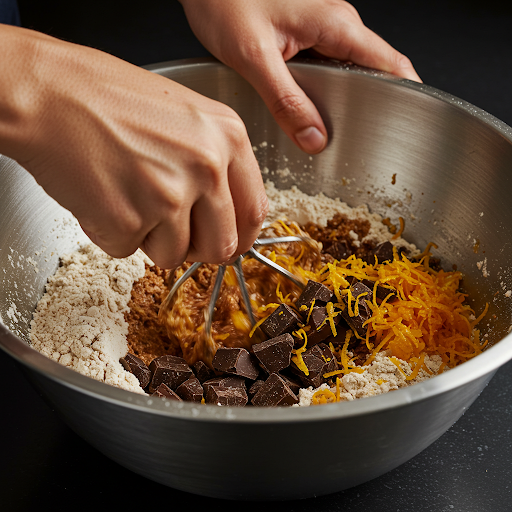
While purchasing a pre-made seed starting mix is convenient, you can also create your own at home. This gives you greater control over the ingredients and allows you to tailor the mix to your specific needs. Here’s how to make a basic seed starting mix:
Basic Seed Starting Mix Recipe:
- Gather your ingredients: You’ll need:
- Peat moss: A common ingredient that provides excellent water retention and aeration.
- Perlite: A lightweight material that improves drainage and aeration.
- Vermiculite: A fine-grained mineral that helps retain moisture and provides nutrients.
- Mix the ingredients: In a large container, combine equal parts of peat moss, perlite, and vermiculite. Mix thoroughly until the ingredients are evenly distributed.
- Moisten the mix: Add water gradually, mixing as you go, until the mix is evenly moist but not soggy. It should feel like a wrung-out sponge.
Tips for Making Your Own Seed Starting Mix:
- Adjust the ingredients: You can adjust the proportions of the ingredients to suit your specific needs. For example, if you’re starting seeds that require extra drainage, you can increase the amount of perlite.
- Alternatives to Peat Moss: Peat moss is a popular choice, but it can be environmentally unsustainable. Consider using alternative materials such as coco coir, compost, or a combination of materials.
- Sterilize the mix: To reduce the risk of diseases, you can sterilize your homemade mix by heating it in the oven. Spread the mix on a baking sheet and heat it in a preheated oven at 180°F (82°C) for 30 minutes.
- Adjust pH: If necessary, you can adjust the pH of the mix by adding a small amount of lime or sulfur. Most plants prefer a slightly acidic soil with a pH between 6.0 and 7.0.
- Consider adding nutrients: For some plants, you may want to add a small amount of slow-release fertilizer to the mix. However, avoid using high-nitrogen fertilizers, as they can damage young seedlings.
Making your own seed starting mix is a rewarding experience and allows you to customize the mix to your specific needs. Experiment with different ingredients and techniques to find what works best for you and your plants.
4. How to Plant Seeds in Spring Garden Seed Starting Mix
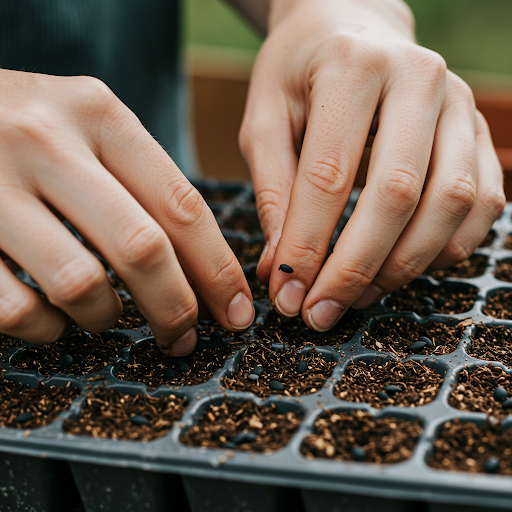
Now that you have your seed starting mix ready, it’s time to start planting! Here’s a step-by-step guide to help you get started:
Choosing the Right Containers
- Seedlings can be started in a variety of containers, including seed trays, pots, and even egg cartons.
- Choose containers that are clean and free of any debris.
- If using plastic containers, make sure they have drainage holes to prevent root rot.
Filling Containers with the Mix
- Fill your chosen containers with the seed starting mix, leaving about ½ inch of space at the top.
- Gently firm the mix by tapping the container on a flat surface.
- Water the mix thoroughly until it is evenly moist.
Sowing the Seeds
- Refer to the seed packet for specific instructions on planting depth and spacing.
- Generally, plant seeds at a depth of about two to three times the diameter of the seed.
- Space the seeds according to the recommended spacing on the seed packet.
- Gently cover the seeds with a thin layer of seed starting mix.
Watering Techniques
- Water the seeds gently with a spray bottle or a fine misting nozzle.
- Avoid overwatering, as this can lead to damping off.
- Keep the mix consistently moist but not soggy.
Creating a Favorable Environment
- Once the seeds are planted, provide them with the optimal conditions for germination.
- Most seeds germinate best in temperatures between 65°F and 75°F (18°C and 24°C).
- You can provide bottom heat using a heat mat to speed up germination.
- Place the containers in a location with bright, indirect light.
- Cover the containers with a clear plastic dome or plastic wrap to create a humid environment.
Germination Time
- Germination times vary depending on the type of seed.
- Refer to the seed packet for specific germination times.
- Once the seeds have germinated, remove the plastic cover and provide adequate light and ventilation.
Following these steps will help you successfully plant your seeds and give them the best possible start.
5. Plant Care: Nurturing Seedlings in Spring Garden Seed Starting Mix
Now that your seeds have germinated, it’s time to shift your focus to nurturing your seedlings into healthy young plants. This involves providing them with the right amount of water, light, and nutrients.
Watering
- Consistency is Key: Seedlings need consistent moisture to thrive but can easily be overwatered. Overwatering can lead to root rot, a fatal condition for young plants.
- Watering Techniques: Water your seedlings gently from the bottom up by placing the containers in a tray of water and allowing the mix to absorb moisture from the bottom. This helps to prevent overwatering and ensures that the entire root ball is moistened.
- Signs of Overwatering: If the seedlings appear wilted or the mix is constantly soggy, you may be overwatering. Reduce the frequency of watering and allow the mix to dry out slightly between waterings.
- Signs of Underwatering: If the seedlings look droopy or the mix feels dry, you may need to increase the frequency of watering.
Light
- Importance of Light: Seedlings need adequate light to photosynthesize and grow.
- Natural Light: Place your seedlings near a south- or west-facing window where they can receive plenty of bright, indirect light.
- Supplemental Lighting: If natural light is limited, you can supplement with grow lights. LED grow lights are a popular choice for their energy efficiency and effectiveness.
- Light Duration: Seedlings typically need 14-16 hours of light per day.
Temperature and Humidity
- Temperature: Most seedlings thrive in temperatures between 65°F and 75°F (18°C and 24°C).
- Humidity: Maintaining moderate humidity levels is important for preventing seedlings from drying out. You can increase humidity by covering the containers with a clear plastic dome or by placing a tray of water near the seedlings.
Fertilizing
- Timing: Start fertilizing your seedlings once they have developed their first set of true leaves.
- Fertilizer Choice: Use a diluted, water-soluble fertilizer formulated for seedlings. Follow the package directions carefully.
- Frequency: Fertilize your seedlings every 1-2 weeks, or as directed on the fertilizer label.
Troubleshooting Common Problems
- Damping Off: This fungal disease can cause seedlings to collapse and die. It is often caused by overwatering or poor air circulation.
- Nutrient Deficiencies: Seedlings may exhibit yellowing leaves, stunted growth, or other symptoms if they are not receiving adequate nutrients.
- Pests: Aphids, whiteflies, and other pests can infest seedlings. Monitor your seedlings regularly and take steps to control any infestations.
By providing your seedlings with the proper care, you can ensure that they grow into healthy, vigorous plants.
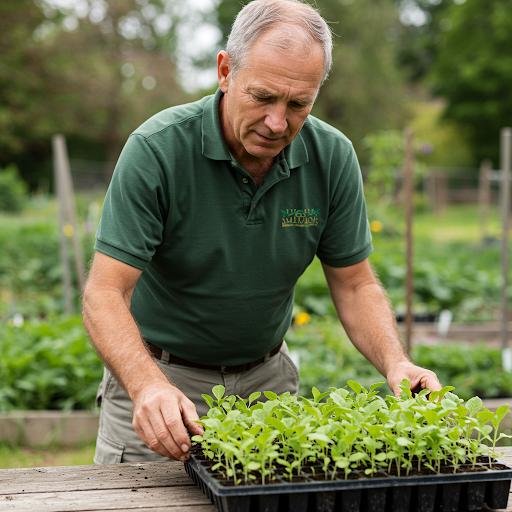
6. When to Transplant Seedlings Started in Spring Mix
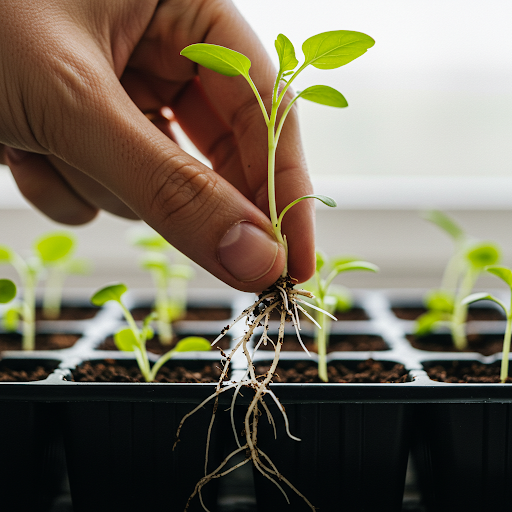
Once your seedlings have reached a certain stage of development, it’s time to transplant them into larger containers or directly into the garden. Here’s how to know when it’s time and how to do it properly:
Signs that Seedlings are Ready for Transplanting
- True Leaves: Seedlings are typically ready for transplanting when they have developed their first set of true leaves (the leaves that are different in shape from the seed leaves or cotyledons).
- Sturdy Growth: The seedlings should be strong and healthy with no signs of disease or damage.
- Root Development: Gently tap the side of the container to loosen the seedling. If you see healthy roots growing out of the drainage holes, it’s a good sign that the seedlings are ready for transplanting.
Hardening Off Seedlings
- What is Hardening Off? Hardening off is the process of gradually acclimating seedlings to outdoor conditions before transplanting them directly into the garden. This helps to prevent transplant shock.
- How to Harden Off: Gradually expose the seedlings to outdoor conditions over a period of 7-10 days. Start by placing them outside for short periods during the day and bringing them back indoors at night. Gradually increase the amount of time they spend outdoors each day until they can withstand full sun and cool night temperatures.
Transplanting Seedlings
- Choose the Right Time: Transplant seedlings on a cloudy day or in the late afternoon to minimize stress from direct sunlight.
- Prepare the Planting Hole: Dig a hole that is slightly larger than the root ball of the seedling.
- Gently Remove the Seedling: Gently tap the side of the container to loosen the seedling and carefully remove it from the container.
- Plant the Seedling: Place the seedling in the planting hole, making sure that it is planted at the same depth as it was growing in the container.
- Backfill and Water: Gently backfill the hole with soil, firming it gently around the base of the seedling. Water the seedling thoroughly after transplanting.
Post-Transplant Care
- Watering: Water the transplanted seedlings regularly, especially during dry periods.
- Mulching: Apply a layer of mulch around the base of the seedlings to help retain moisture and suppress weeds.
- Protection: Protect young seedlings from pests and extreme weather conditions.
By following these steps, you can successfully transplant your seedlings and give them the best chance to thrive in the garden.
7. Troubleshooting Common Seed Starting Issues
Even with the best care, you may encounter some challenges when starting seeds. Here are some common issues and how to troubleshoot them:
- Poor Germination Rates: If your seeds aren’t germinating, there could be several reasons:
- Old Seeds: Seed viability decreases over time. Use fresh seeds for the best results.
- Improper Planting Depth: Planting seeds too deep can prevent them from reaching the surface.
- Incorrect Temperature: Ensure the temperature is appropriate for the type of seed you are planting.
- Lack of Moisture: Check to make sure the mix is consistently moist but not waterlogged.
- Damping Off: This fungal disease can cause seedlings to collapse and die. It is often caused by overwatering, poor air circulation, or high humidity.
- Damping Off:
- Prevention: Improve air circulation by spacing seedlings properly and avoiding overcrowding. Use a sterile seed starting mix and water from the bottom to prevent overwatering.
- Treatment: If damping off occurs, remove and discard the affected seedlings to prevent the disease from spreading. Improve air circulation and reduce humidity.
- Mold and Algae Growth: Mold and algae can grow on the surface of the seed starting mix, especially in humid conditions.
- Prevention: Avoid overwatering and ensure good air circulation. Use sterile containers and tools.
- Treatment: Gently scrape off any mold or algae from the surface of the mix.
- Nutrient Deficiencies: Seedlings may exhibit yellowing leaves, stunted growth, or other symptoms if they are not receiving adequate nutrients.
- Prevention: Use a high-quality seed starting mix that contains essential nutrients. Fertilize seedlings lightly with a diluted, water-soluble fertilizer once they have developed their first set of true leaves.
- Treatment: If you suspect a nutrient deficiency, you can try fertilizing your seedlings or adjusting the pH of the mix.
- Pests: Aphids, whiteflies, and other pests can infest seedlings.
- Prevention: Monitor your seedlings regularly for signs of pests. Isolate infested seedlings to prevent the spread of pests.
- Treatment: Use insecticidal soap or neem oil to control pests.
By being aware of these potential problems and taking steps to prevent and address them, you can increase your success rate when starting seeds.
Remember, patience and observation are key when growing seedlings. By paying close attention to your plants and responding to their needs, you can overcome challenges and enjoy a rewarding gardening experience.
FAQ
This section addresses some of the most frequently asked questions about using spring garden seed starting mix.
- Q: What is the best organic spring garden seed starting mix for tomatoes?
- A: A mix that combines the benefits of coco coir, compost, and perlite is often ideal for tomatoes. Coco coir provides excellent water retention and aeration, while compost adds organic matter and nutrients. Perlite improves drainage and prevents the mix from becoming too dense.
- Q: How to make spring garden seed starting mix at home?
- A: A simple and effective recipe includes equal parts peat moss, perlite, and vermiculite. Mix the ingredients thoroughly until they are evenly distributed. Gradually add water, mixing as you go, until the mix is evenly moist but not soggy.
- Q: When to use spring garden seed starting mix indoors?
- A: The timing depends on your local climate and the specific plants you are growing. As a general rule, start seeds indoors 6-8 weeks before the last expected frost in your area. This gives the seedlings ample time to grow before being transplanted outdoors.
- Q: Where to buy spring garden seed starting mix online?
- A: There are many reputable online retailers where you can purchase high-quality seed starting mix. Some popular options include:
- Amazon
- Burpee
- Johnny’s Selected Seeds
- Botanical Interests
- True Leaf Market
- A: There are many reputable online retailers where you can purchase high-quality seed starting mix. Some popular options include:
- Q: What ingredients are in spring garden seed starting mix?
- A: Common ingredients include:
- Peat moss
- Coco coir
- Vermiculite
- Perlite
- Compost
- Sometimes, a small amount of fertilizer or other nutrients may be added.
- A: Common ingredients include:
- Q: Spring garden seed starting mix versus regular potting soil?
- A: Seed starting mix is specifically formulated for the delicate needs of germinating seeds and young seedlings. It is typically finer-textured, more sterile, and contains fewer nutrients than potting soil. Potting soil, on the other hand, is designed for established plants and contains a higher concentration of nutrients.
- Q: How to properly water spring garden seed starting mix seedlings?
- A: Water seedlings gently from the bottom up by placing the containers in a tray of water and allowing the mix to absorb moisture from the bottom. This helps to prevent overwatering and ensures that the entire root ball is moistened. Avoid overhead watering, which can dislodge seedlings and lead to damping off.
- Q: DIY spring garden seed starting mix without peat moss?
- A: Coco coir is an excellent sustainable alternative to peat moss. You can create a DIY seed starting mix using a combination of coco coir, perlite, and vermiculite.
- Q: Early spring garden seed starting mix for cold climates?
- A: For cold climates, choose a mix with good drainage and consider using a heat mat to provide bottom heat for the seedlings. This will help to maintain a consistent warm temperature for optimal germination.
- Q: Tips for successful spring garden seed starting mix germination?
- A:
- Use fresh, high-quality seeds.
- Plant seeds at the correct depth.
- Maintain consistent moisture levels.
- Provide adequate light and warmth.
- Avoid overwatering.
- Ensure good air circulation.
- A:
Conclusion
Using the right spring garden seed starting mix can make all the difference in your gardening success. By understanding the importance of a quality mix, choosing the right ingredients, and following proper planting and care techniques, you can ensure that your seedlings grow strong and healthy. Remember, it’s not just about throwing seeds in the ground; it’s about creating the optimal conditions for them to thrive.
Starting seeds can be a rewarding experience, allowing you to connect with the growth process and bring life to your garden. With a little patience and attention to detail, you can successfully nurture your seedlings into vibrant, healthy plants. So get started today and enjoy the satisfaction of growing your own food and flowers!
I hope this guide has provided you with valuable insights and inspired you to embark on your own seed-starting journey. Happy gardening!


