
Are you tired of your garden looking drab and lifeless as spring arrives? You’ve waited all winter for a burst of color, but somehow, your flower beds just aren’t delivering. The anticipation of vibrant blooms turns into disappointment when you see sparse, lackluster flowers. I understand this frustration. You want a garden that mirrors the joy of spring, a place that radiates color and life. That’s why I’ve put together this guide: to show you how to choose and cultivate the best annuals for spring color, transforming your garden into a stunning display. Let’s make this spring your most colorful yet!
1. Petunias: Cascading Color for Sun-Drenched Spots
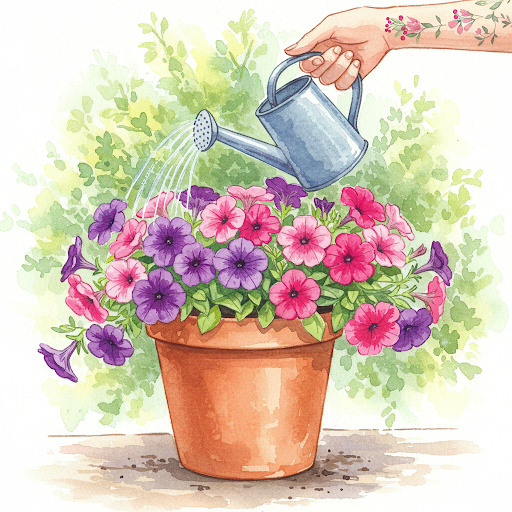
When it comes to filling your sun-drenched spots with a cascade of color, petunias are my go-to choice. These versatile annuals offer an incredible range of hues and patterns, making them perfect for any garden palette. You’ll find them in single, double, and ruffled forms, and in colors from deep purples to soft pastels.
How to Plant Petunias for Maximum Bloom:
To get the most out of your petunias, I always start with healthy seedlings. When planting, make sure to choose a spot that gets at least six hours of direct sunlight daily. Petunias thrive in well-draining soil, so if your soil is heavy clay, amend it with compost or peat moss. Space the plants about 12 inches apart to give them room to grow.
- Soil Preparation:
- Loosen the soil to a depth of 6-8 inches.
- Incorporate organic matter to improve drainage and fertility.
- Ensure the soil pH is slightly acidic to neutral (6.0-7.0).
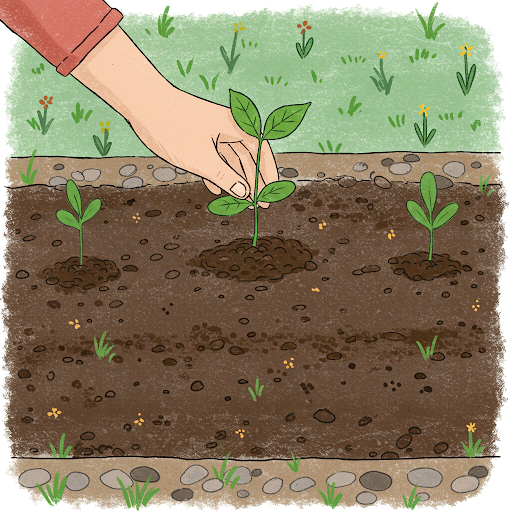
- Planting:
- Dig a hole slightly larger than the root ball.
- Gently remove the petunia from its container and place it in the hole.
- Fill the hole with soil and firm it around the plant.
- Water thoroughly after planting.
Understanding the Different Types of Petunias:
You’ll encounter several types of petunias, each with unique characteristics:
- Grandiflora: These have large, showy flowers but can be more susceptible to weather damage.
- Multiflora: These produce smaller flowers but are more weather-resistant and profuse bloomers.
- Wave Petunias: Known for their spreading habit, these are excellent for ground cover and cascading over containers.
- Supertunias: A hybrid variety known for their heavy bloom and tolerance to various conditions.
Tips for Maintaining Petunia Health and Color:
To keep your petunias blooming throughout the spring, I recommend deadheading spent flowers regularly. This prevents seed production and encourages more blooms. Fertilize them every two to three weeks with a balanced liquid fertilizer. Water them deeply when the top inch of soil feels dry.
- Deadheading:
- Pinch off spent flowers to encourage new blooms.
- This prevents seed production and extends the flowering period.
- Fertilizing:
- Use a balanced liquid fertilizer every 2-3 weeks.
- Choose a fertilizer with a higher phosphorus content to promote blooming.
- Watering:
- Water deeply when the top inch of soil feels dry.
- Avoid overhead watering to prevent fungal diseases.
Best Soil and Sunlight Conditions for Petunias:
Petunias prefer full sun and well-draining soil. If you’re growing them in containers, use a high-quality potting mix. Avoid overwatering, as this can lead to root rot.
Here’s a quick reference table:
| Aspect | Requirement | Notes |
| Sunlight | Full Sun (6+ hours) | Essential for blooming |
| Soil | Well-draining | Avoid waterlogged conditions |
| pH | 6.0 – 7.0 | Slightly acidic to neutral |
| Watering | Deep, when top inch is dry | Avoid overhead watering |
| Fertilizing | Every 2-3 weeks | Balanced liquid fertilizer |
Case Study:
Last spring, I helped a friend transform her sunny patio using Wave petunias. We planted them in large containers and placed them along the edge of the patio. The Wave petunias cascaded beautifully, creating a vibrant curtain of color. My friend followed the deadheading and fertilizing tips, and the petunias bloomed profusely throughout the spring and into summer. She told me it was like having a living painting on her patio.
Quote:
“Petunias are the workhorses of the spring garden, providing continuous color with minimal fuss,” says renowned horticulturist, Alan Armitage.
By following these guidelines, you can ensure your petunias thrive and bring a burst of color to your garden.
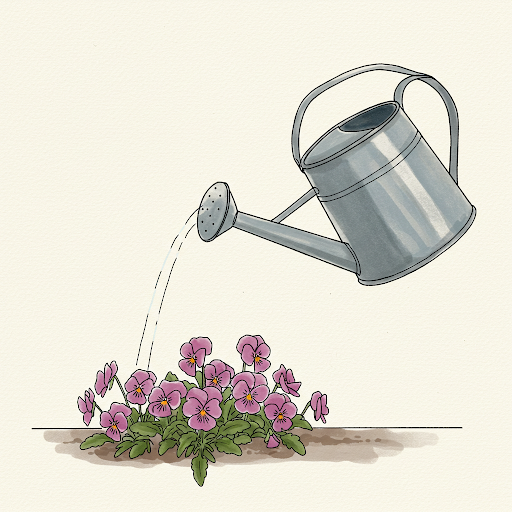
2. Pansies: Early Spring’s Cheerful Faces
Pansies are an absolute must-have for any early spring garden. Their cheerful faces, adorned with vibrant colors and intricate patterns, add a touch of whimsy and charm. These hardy little plants are known for their cold tolerance, making them perfect for those chilly spring days.
How to Grow Pansies in Cool Spring Climates:
Pansies thrive in cool temperatures, so they’re ideal for early spring planting. Choose a location that receives morning sun and afternoon shade, as intense afternoon sun can scorch their delicate blooms. Plant them in well-drained soil that has been enriched with compost or other organic matter.
- Soil Preparation:
- Till the soil to a depth of 6-8 inches.
- Incorporate compost or well-rotted manure to improve soil fertility and drainage.
- Amend heavy clay soil with sand or perlite to improve drainage.
- Planting:
- Space pansies 6-8 inches apart.
- Gently loosen the roots and plant at the same depth they were growing in the container.
- Water thoroughly after planting.
Choosing the Right Pansy Varieties for Your Garden:
The world of pansies is vast and colorful! You’ll find an array of varieties with different flower sizes, colors, and patterns. Some popular choices include:
- Matrix: Known for their large blooms and vibrant colors.
- Cool Wave: These pansies are excellent for cascading over containers and hanging baskets.
- Sorbet: This series features unique, bicolor blooms with ruffled edges.
The Importance of Deadheading Pansies for Continuous Flowering:
To encourage continuous blooming, it’s essential to deadhead your pansies regularly. Deadheading involves removing spent flowers, which prevents the plant from expending energy on seed production and instead directs its energy towards producing more blooms.
- Deadheading:
- Pinch off spent flowers as soon as they appear.
- This will encourage the plant to produce more buds and continue blooming.
Companion Plants for Pansies in Spring Gardens:
Pansies look lovely when planted alongside other spring-flowering plants. Consider these complementary companions:
- Primroses: Their delicate blooms complement the cheerful faces of pansies.
- Violas: These smaller cousins of pansies offer a similar look and bloom alongside them.
- Forget-me-nots: Their dainty blue flowers create a beautiful contrast with the vibrant colors of pansies.
By following these tips, you can enjoy a stunning display of pansies in your early spring garden. These cheerful blooms will add a touch of color and brighten up your days as you eagerly await the arrival of warmer weather.
3. Violas: Delicate Blooms with Hardy Resilience
Violas are charming little flowers that add a touch of delicate beauty to any spring garden. These hardy plants are closely related to pansies, sharing their cheerful faces and vibrant colors. However, violas tend to be smaller and often have a more delicate appearance.
How to Plant Violas for a Lush Spring Display:
Violas are relatively easy to grow and thrive in cool spring temperatures. Choose a location that receives morning sun and afternoon shade to protect them from the intense afternoon heat. Prepare the soil by tilling it to a depth of 6-8 inches and incorporating compost or well-rotted manure to improve drainage and fertility.
- Soil Preparation:
- Till the soil to a depth of 6-8 inches.
- Incorporate compost or well-rotted manure to improve soil fertility and drainage.
- Amend heavy clay soil with sand or perlite to improve drainage.
- Planting:
- Space violas 6-8 inches apart.
- Gently loosen the roots and plant at the same depth they were growing in the container.
- Water thoroughly after planting.
Understanding Violas’ Tolerance to Early Spring Frosts:
One of the great advantages of violas is their cold tolerance. They can withstand light frosts and even a bit of snow, making them ideal for early spring planting. This resilience allows you to enjoy their cheerful blooms even before the threat of frost has completely passed.
Best Practices for Growing Violas in Containers and Garden Beds:
Violas can be grown in a variety of settings, including garden beds, borders, and containers. When planting in containers, choose a well-draining potting mix and ensure the container has adequate drainage holes. Water regularly, especially during dry periods, but avoid overwatering.
- Container Growing:
- Use well-draining potting mix.
- Ensure the container has adequate drainage holes.
- Water regularly, but avoid overwatering.
- Garden Bed Planting:
- Space plants 6-8 inches apart.
- Water deeply and regularly, especially during dry periods.
- Mulch around the plants to help retain moisture and suppress weeds.
Color Combinations for Violas in Spring Landscapes:
Violas come in a wide array of colors, from classic blues and purples to vibrant yellows and oranges. You can create stunning color combinations by planting different varieties together. Here are a few ideas:
- Classic: Combine blue and white violas for a timeless, elegant look.
- Vibrant: Plant a mix of yellow, orange, and purple violas for a cheerful, eye-catching display.
- Subtle: Create a soft, romantic look by planting pastel-colored violas together.
By following these tips, you can enjoy a beautiful display of violas in your spring garden. These delicate yet resilient flowers will add a touch of charm and color to your outdoor space.
4. Impatiens: Shade-Loving Color Powerhouses

If you have shady areas in your garden that seem to defy all attempts at color, fear not! Impatiens are your shade-loving superheroes. These vibrant annuals thrive in the dappled light and add a splash of color to even the darkest corners.
How to Grow Impatiens in Shaded Areas for Vibrant Color:
Impatiens are relatively easy to grow, but they do have specific needs. Choose a location that receives partial shade or even full shade. They prefer moist, well-draining soil that is rich in organic matter.
- Soil Preparation:
- Till the soil to a depth of 6-8 inches.
- Incorporate compost or well-rotted manure to improve soil fertility and drainage.
- Amend heavy clay soil with sand or perlite to improve drainage.
- Planting:
- Space impatiens 8-12 inches apart.
- Gently loosen the roots and plant at the same depth they were growing in the container.
- Water thoroughly after planting.
Preventing Common Impatiens Diseases and Pests:
Impatiens are susceptible to a few common diseases, particularly downy mildew. To prevent this, avoid overhead watering and ensure good air circulation around the plants. Keep an eye out for pests like aphids and spider mites, and treat them promptly if necessary.
- Disease Prevention:
- Water at the base of the plants to avoid wetting the foliage.
- Space plants adequately to allow for good air circulation.
- Choose disease-resistant varieties.
- Pest Control:
- Regularly inspect plants for aphids and spider mites.
- Use insecticidal soap or neem oil to control pests.
Watering and Feeding Tips for Healthy Impatiens:
Impatiens prefer consistently moist soil, but they don’t like to sit in water. Water them regularly, especially during dry periods, but allow the top inch of soil to dry out slightly between waterings. Fertilize them every two to three weeks with a balanced liquid fertilizer to encourage continuous blooming.
- Watering:
- Water deeply and regularly, but avoid overwatering.
- Allow the top inch of soil to dry out slightly between waterings.
- Fertilizing:
- Fertilize every 2-3 weeks with a balanced liquid fertilizer.
- Avoid over-fertilizing, as this can lead to excessive foliage growth and fewer blooms.
Best Impatiens Varieties for Spring Shade Gardens:
There are many different varieties of impatiens available, each with its own unique charm. Some popular choices for shade gardens include:
- New Guinea Impatiens: These are known for their large, showy flowers and their ability to tolerate more sun than traditional impatiens.
- SunPatiens: A hybrid variety that is more heat and sun-tolerant than traditional impatiens.
- Busy Lizzie: A classic variety with a wide range of colors and a more compact growth habit.
By following these tips, you can create a vibrant and colorful display of impatiens in your shady garden. These shade-loving powerhouses will bring life and beauty to even the darkest corners of your outdoor space.
5. Geraniums: Classic Blooms with Bold Color
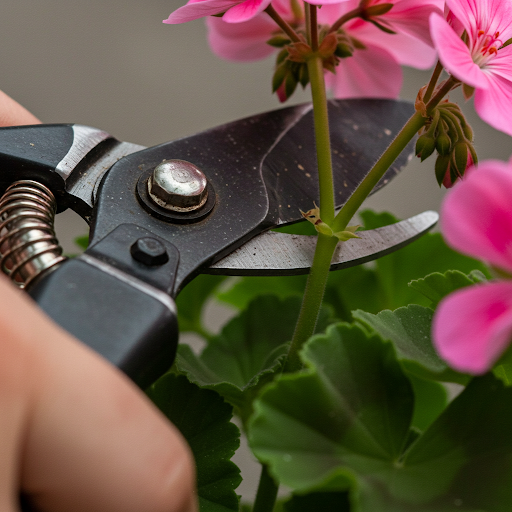
Geraniums are classic favorites for a reason. Their vibrant blooms come in a dazzling array of colors, from fiery reds and pinks to soft pastels and even bicolors. They are relatively easy to grow and can add a touch of elegance to any garden, patio, or balcony.
How to Grow Geraniums for Long-Lasting Spring Color:
Geraniums thrive in full sun to partial shade. They prefer well-draining soil, so if your soil is heavy clay, amend it with compost or peat moss. When planting, space them about 12-18 inches apart to allow for proper air circulation.
- Soil Preparation:
- Till the soil to a depth of 6-8 inches.
- Incorporate compost or well-rotted manure to improve soil fertility and drainage.
- Amend heavy clay soil with sand or perlite to improve drainage.
- Planting:
- Space geraniums 12-18 inches apart.
- Gently loosen the roots and plant at the same depth they were growing in the container.
- Water thoroughly after planting.
Tips for Growing Geraniums in Containers and Hanging Baskets:
Geraniums are excellent choices for containers and hanging baskets. Use a well-draining potting mix and ensure the container has adequate drainage holes. Water regularly, especially during hot, dry periods, but avoid overwatering.
- Container Growing:
- Use well-draining potting mix.
- Ensure the container has adequate drainage holes.
- Water regularly, but avoid overwatering.
- Hanging Baskets:
- Choose a basket with adequate drainage holes.
- Use a lightweight potting mix.
- Water frequently, especially during hot weather.
Understanding the Different Types of Geraniums:
There are several types of geraniums, each with its own unique characteristics:
- Zonal Geraniums: The most common type, with a wide range of colors and leaf patterns.
- Ivy Geraniums: Known for their trailing growth habit, making them ideal for hanging baskets.
- Regal Geraniums: Also known as Martha Washington geraniums, these have large, showy flowers but are more sensitive to cold temperatures.
How to Propagate Geraniums for More Plants:
Geraniums are easy to propagate from stem cuttings. Simply take a 4-inch stem tip and remove the lower leaves. Dip the cut end in rooting hormone and insert it into a pot of moist potting mix. Keep the pot in a warm, bright location and mist the cutting regularly. Once the cutting has rooted, you can transplant it into a larger pot or garden bed.
By following these tips, you can enjoy a beautiful display of geraniums throughout the spring and summer. Their vibrant blooms and easy care make them a beloved choice for gardeners of all levels.
6. Snapdragons: Vertical Color and Fragrant Blooms
Snapdragons are a delightful addition to any spring garden, offering a vertical burst of color and a delightful fragrance. Their tall, snapdragon-shaped flowers come in a wide array of colors, from vibrant yellows and oranges to deep purples and pinks.
How to Grow Snapdragons for a Tall, Colorful Spring Display:
Snapdragons prefer full sun to partial shade. They thrive in well-drained soil that is rich in organic matter. When planting, space them about 12-18 inches apart to allow for proper air circulation.
- Soil Preparation:
- Till the soil to a depth of 6-8 inches.
- Incorporate compost or well-rotted manure to improve soil fertility and drainage.
- Amend heavy clay soil with sand or perlite to improve drainage.
- Planting:
- Space snapdragons 12-18 inches apart.
- Gently loosen the roots and plant at the same depth they were growing in the container.
- Water thoroughly after planting.
Choosing the Right Snapdragon Varieties for Your Climate:
Snapdragons come in a wide range of varieties, some of which are more heat-tolerant than others. If you live in a hot climate, choose heat-tolerant varieties such as ‘Rocket’ or ‘Twinny.’ For cooler climates, you have a wider range of options to choose from.
- Heat-Tolerant Varieties:
- Rocket
- Twinny
- Cool-Climate Varieties:
- Rocket
- Potomac
- Cherry Brandy
Best Practices for Staking and Supporting Snapdragons:
Snapdragons can grow quite tall, especially in rich soil. To prevent them from flopping over, it’s a good idea to stake them. Insert stakes into the ground near the base of the plants and gently tie the stems to the stakes using soft twine or garden ties.
- Staking:
- Insert stakes into the ground near the base of the plants.
- Gently tie the stems to the stakes using soft twine or garden ties.
- Check the stakes regularly and adjust them as needed.
Companion Plants for Snapdragons in Spring Flower Beds:
Snapdragons look lovely when planted alongside other spring-flowering plants. Consider these complementary companions:
- Pansies: The cheerful faces of pansies complement the tall spikes of snapdragons.
- Dianthus: The fragrant blooms of dianthus create a lovely contrast with the snapdragons.
- Ornamental Grasses: Feathery ornamental grasses add a touch of texture and movement to the flower bed.
By following these tips, you can enjoy a stunning display of snapdragons in your spring garden. Their vibrant colors, tall stature, and delightful fragrance will add a touch of elegance and charm to your outdoor space.
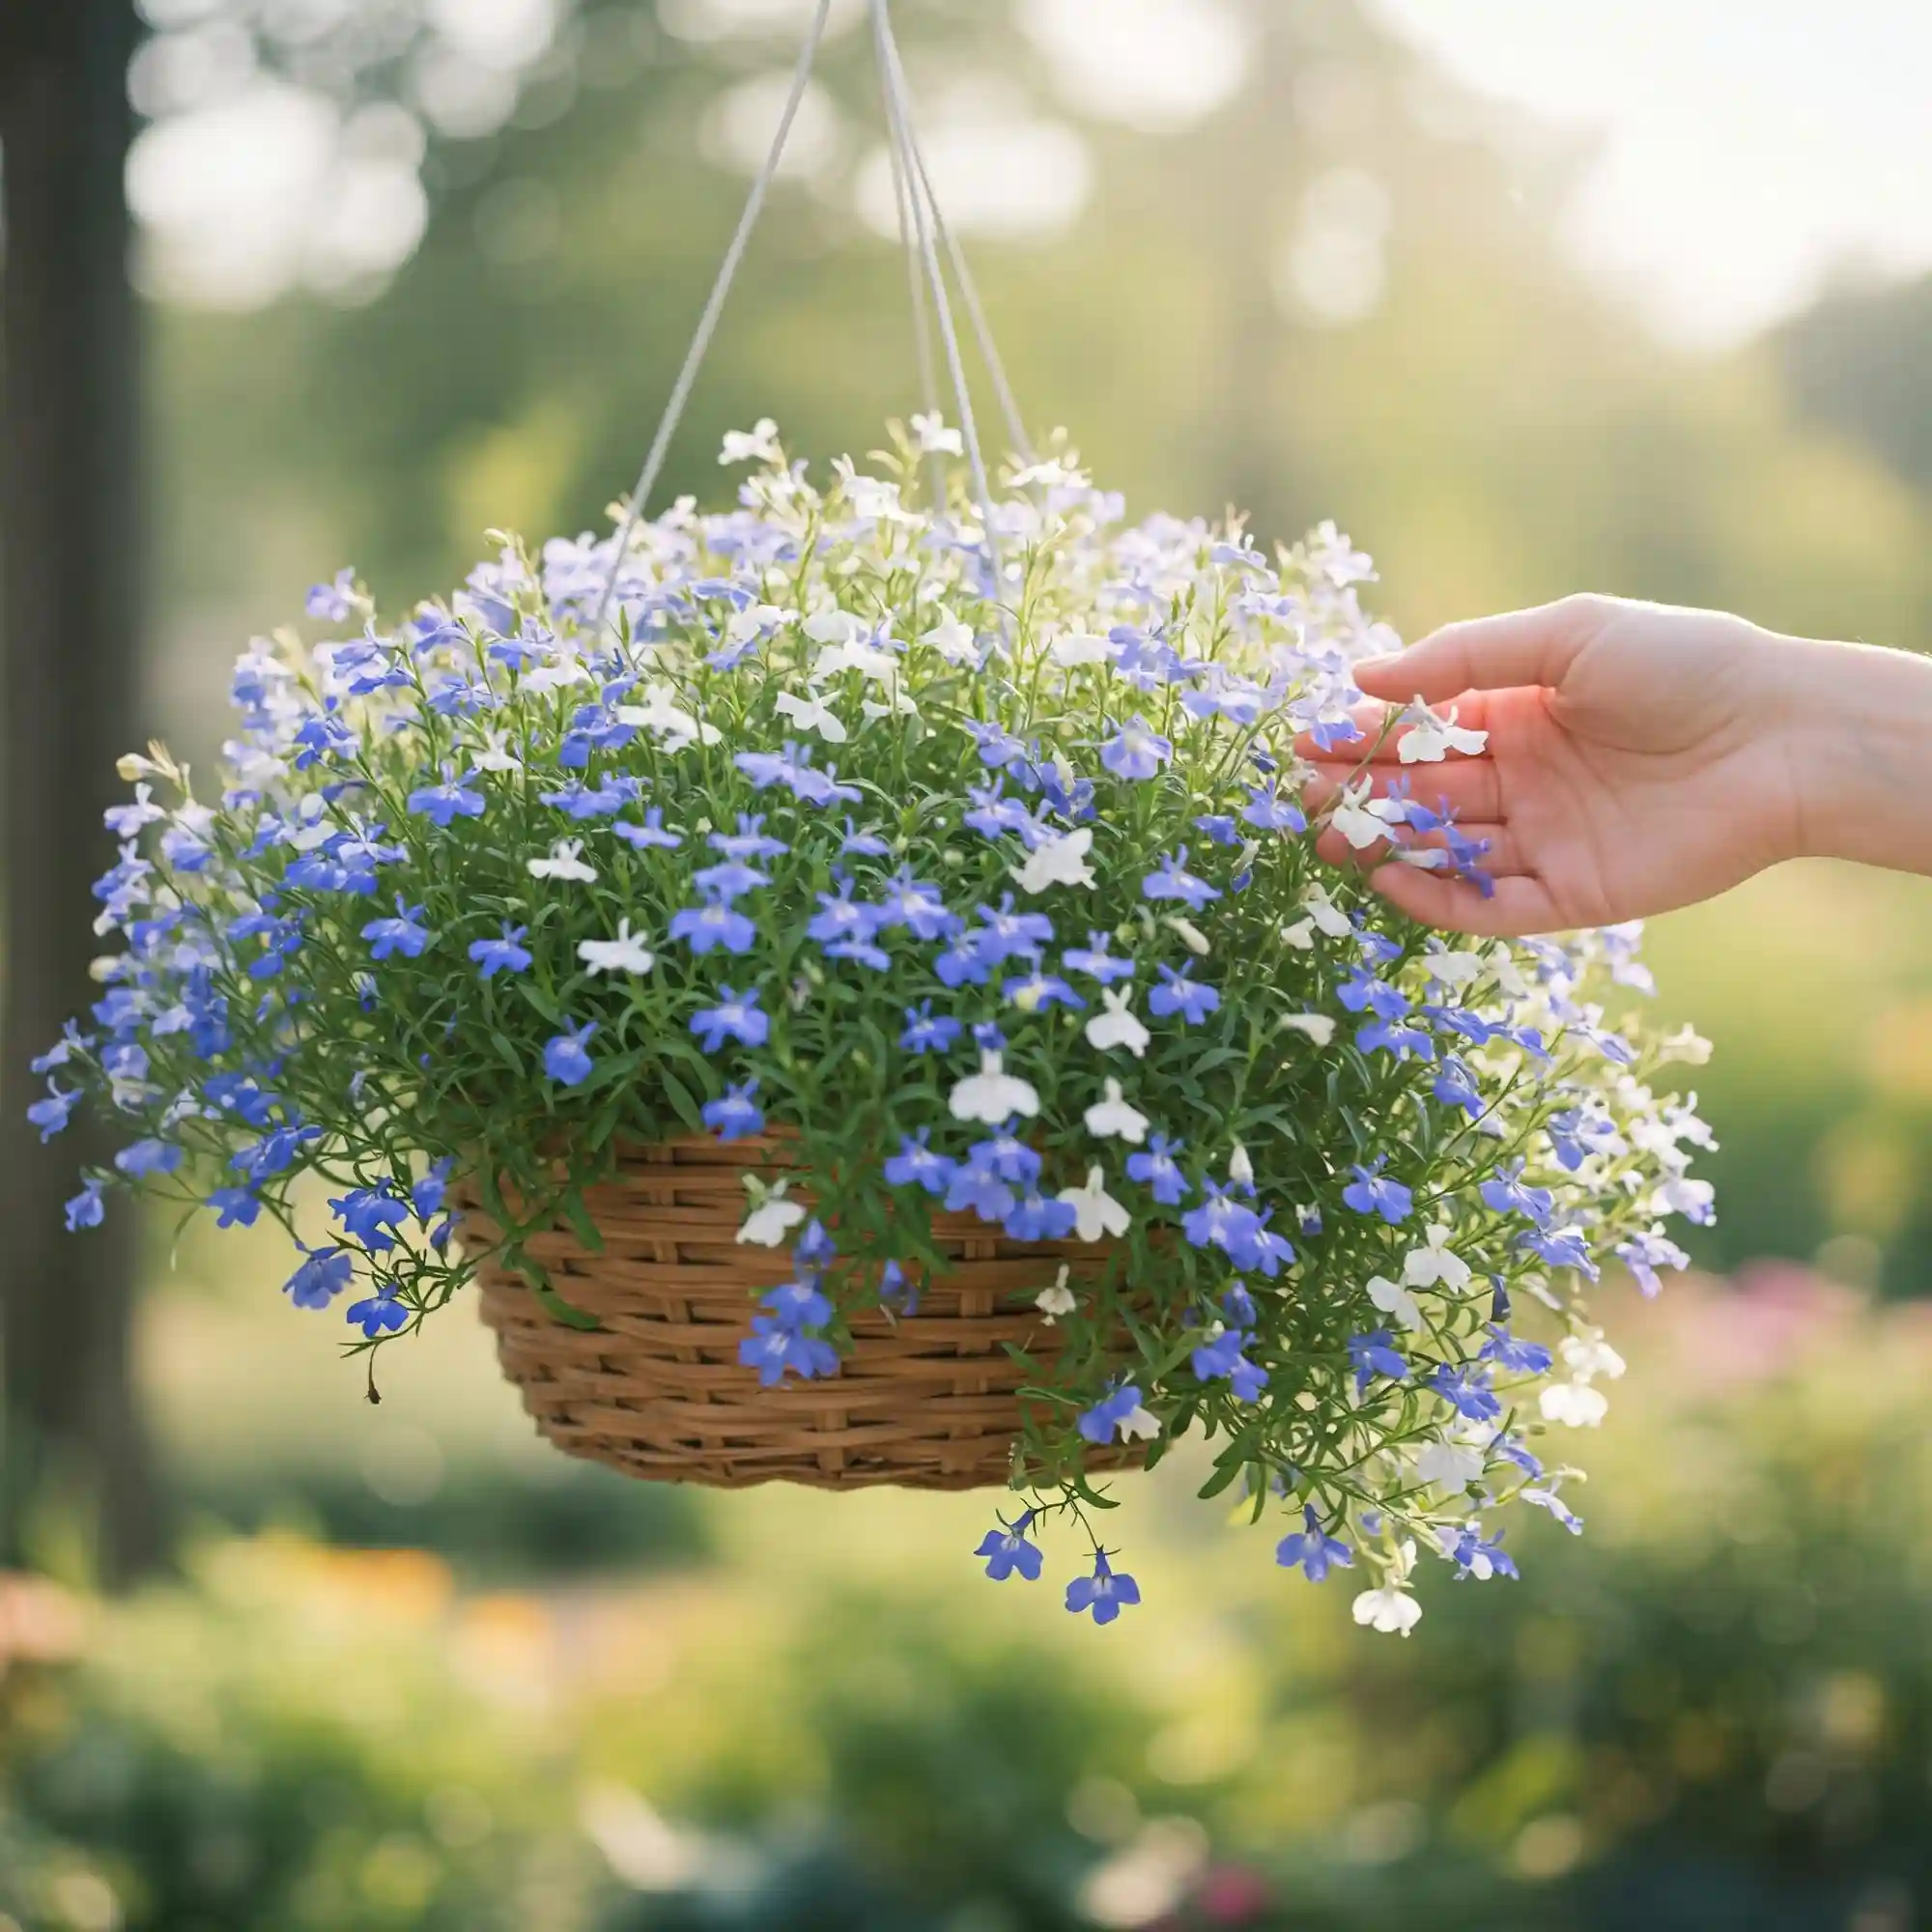
7. Lobelia: Trailing Blooms for Container Gardens
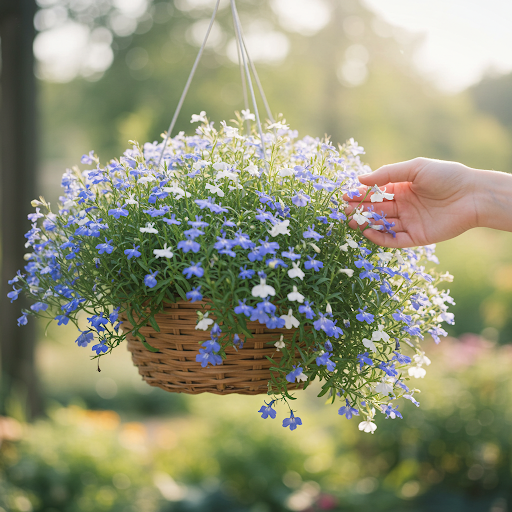
Lobelia is a delightful annual with a cascading habit, making it a perfect choice for hanging baskets, window boxes, and the edges of containers. Its delicate, star-shaped flowers come in a range of colors, from vibrant blues and purples to delicate pinks and whites.
How to Grow Lobelia for Cascading Color in Containers:
Lobelia prefers full sun to partial shade. It thrives in well-draining soil, so use a high-quality potting mix when growing in containers. Water regularly, especially during hot, dry periods, but avoid overwatering.
- Soil Preparation:
- Use a well-draining potting mix.
- Ensure the container has adequate drainage holes.
- Planting:
- Plant lobelia seedlings at the edge of the container to allow them to cascade over the sides.
- Space plants 6-8 inches apart.
- Watering:
- Water regularly, but avoid overwatering.
- Allow the top inch of soil to dry out slightly between waterings.
Understanding Lobelia’s Watering and Feeding Needs:
Lobelia prefers consistently moist soil, but it doesn’t like to sit in water. Water regularly, especially during hot, dry periods, but allow the top inch of soil to dry out slightly between waterings. Fertilize every two to three weeks with a balanced liquid fertilizer to encourage continuous blooming.
- Watering:
- Water regularly, but avoid overwatering.
- Allow the top inch of soil to dry out slightly between waterings.
- Fertilizing:
- Fertilize every 2-3 weeks with a balanced liquid fertilizer.
- Avoid over-fertilizing, as this can lead to excessive foliage growth and fewer blooms.
Best Lobelia Varieties for Spring Hanging Baskets and Window Boxes:
There are several varieties of lobelia available, each with its own unique charm. Some popular choices for hanging baskets and window boxes include:
- Trailing Lobelia: This variety is known for its long, cascading stems, making it perfect for hanging baskets and window boxes.
- Crystal Palace Lobelia: This variety features vibrant blue flowers and a compact growth habit.
- Regal Lobelia: This variety has larger flowers than other types of lobelia and comes in a range of colors.
Combining Lobelia with Other Spring Annuals for Visual Impact:
Lobelia looks lovely when combined with other spring annuals. Consider these complementary companions:
- Petunias: The vibrant colors of petunias complement the delicate blooms of lobelia.
- Geraniums: The bold colors of geraniums create a striking contrast with the softer hues of lobelia.
- Alyssum: The sweet fragrance of alyssum blends beautifully with the delicate blooms of lobelia.
By following these tips, you can create stunning displays of lobelia in your hanging baskets and window boxes. These cascading beauties will add a touch of elegance and charm to your outdoor space.
8. Calendula: Edible Blooms with Medicinal Benefits

Calendula, also known as pot marigold, is a cheerful annual with bright, daisy-like flowers that add a vibrant touch to any spring garden. But calendula is more than just a pretty face – it’s also a culinary and medicinal herb with a long history of use.
How to Grow Calendula for a Bright, Cheerful Spring Garden:
Calendula is a relatively easy-to-grow annual that thrives in full sun to partial shade. It prefers well-drained soil, so if your soil is heavy clay, amend it with compost or peat moss. When planting, space the seeds or seedlings about 12-18 inches apart.
- Soil Preparation:
- Till the soil to a depth of 6-8 inches.
- Incorporate compost or well-rotted manure to improve soil fertility and drainage.
- Amend heavy clay soil with sand or perlite to improve drainage.
- Planting:
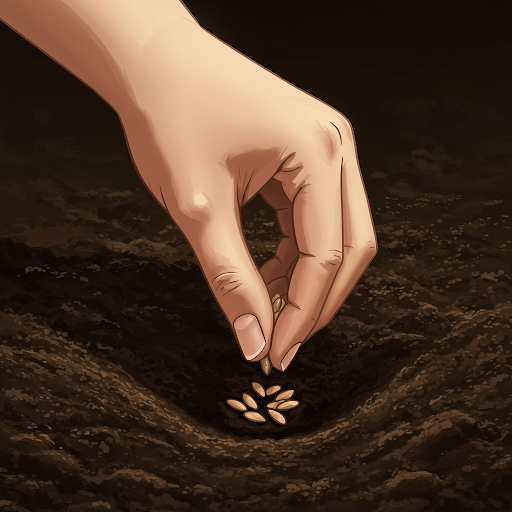
- Sow seeds directly in the garden after the last frost.
- Space seedlings 12-18 inches apart.
- Water thoroughly after planting.
Understanding Calendula’s Medicinal and Culinary Uses:
Calendula has been used for centuries for its medicinal properties. It is known to have anti-inflammatory, antiseptic, and antifungal properties. Calendula oil and creams are often used to soothe skin irritations, such as eczema and minor burns.
Calendula is also edible and adds a subtle, slightly peppery flavor to dishes. You can use the petals to garnish salads, soups, and stews. They can also be used to make teas and infusions.
- Medicinal Uses:
- Anti-inflammatory
- Antiseptic
- Antifungal
- Culinary Uses:
- Garnish salads, soups, and stews.
- Make teas and infusions.
Best Practices for Growing Calendula in Different Climates:
Calendula is a relatively hardy plant that can tolerate a wide range of climates. However, it prefers cool temperatures and may not bloom as well in hot, humid conditions. If you live in a hot climate, consider planting calendula in a location that receives afternoon shade.
- Cool Climates:
- Plant in early spring for a long blooming period.
- Hot Climates:
- Plant in late fall or early spring for cooler temperatures.
- Choose a location that receives afternoon shade.
Companion Planting Tips for Calendula in Spring Gardens:
Calendula is a beneficial companion plant for many vegetables and herbs. It attracts pollinators to the garden and can help to deter pests. Consider planting calendula near:
- Cabbage: Calendula can help to deter cabbage moths.
- Cucumbers: Calendula can attract beneficial insects that prey on cucumber beetles.
- Roses: Calendula can help to deter aphids from roses.
By following these tips, you can enjoy a beautiful display of calendula in your spring garden while also reaping the benefits of its medicinal and culinary uses. This cheerful annual will add a touch of color and vibrancy to your outdoor space.
9. Primrose: Early Spring’s Delicate Charm
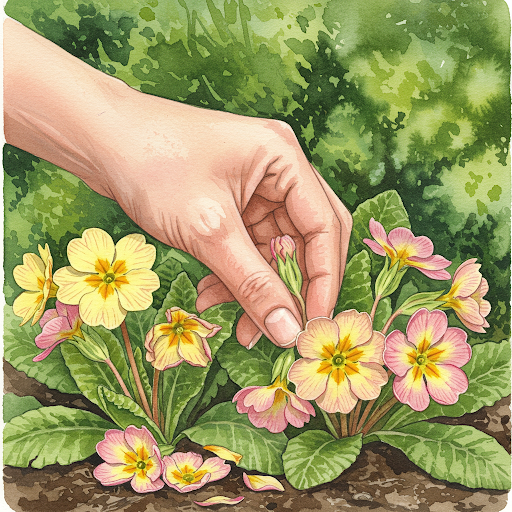
Primroses are a delightful harbinger of spring, their delicate blooms adding a touch of elegance to early spring gardens. These charming flowers come in a wide array of colors, from soft pastels to vibrant yellows and purples, making them a welcome sight after the long winter months.
How to Grow Primrose for a Touch of Elegance in Early Spring:
Primroses prefer cool temperatures and moist, well-drained soil. They thrive in locations that receive morning sun and afternoon shade. When planting, space them 6-8 inches apart.
- Soil Preparation:
- Till the soil to a depth of 6-8 inches.
- Incorporate compost or well-rotted manure to improve soil fertility and drainage.
- Amend heavy clay soil with sand or perlite to improve drainage.
- Planting:
- Plant primrose seedlings in early spring, after the last frost.
- Space plants 6-8 inches apart.
- Water thoroughly after planting.
Understanding Primrose’s Preference for Cool Temperatures:
Primroses are cool-season plants that thrive in spring’s cool temperatures. They may go dormant during hot summer months, but they will often return to bloom again in the fall. If you live in a hot climate, consider planting primroses in a location that receives afternoon shade.
Best Primrose Varieties for Spring Containers and Borders:
There are many different varieties of primroses available, each with its own unique charm. Some popular choices include:
- English Primrose: These classic primroses feature a wide range of colors and are excellent for borders and rock gardens.
- Polyanthus Primrose: These primroses have larger, more showy flowers and come in a variety of colors.
- Drumstick Primrose: These unique primroses have tall flower stalks that resemble drumsticks.
How to Care for Primrose After Blooming:
After primroses finish blooming, they may go dormant. You can either leave them in place and allow them to rebloom in the fall, or you can lift and divide the plants to propagate new ones.
- Deadheading:
- Remove spent flowers to encourage continuous blooming.
- Watering:
- Water regularly, especially during dry periods.
- Avoid overwatering, as this can lead to root rot.
By following these tips, you can enjoy a beautiful display of primroses in your early spring garden. These delicate flowers will add a touch of elegance and charm to your outdoor space.
10. Alyssum: Sweet Fragrance and Ground Cover Color
Alyssum is a charming annual with a carpet of tiny, fragrant flowers that adds a touch of sweetness and color to any spring garden. Its low-growing habit makes it perfect for ground cover, spilling over rocks, cascading from containers, and filling in gaps between larger plants.
How to Grow Alyssum for a Fragrant, Low-Maintenance Spring Garden:
Alyssum is a low-maintenance annual that thrives in full sun to partial shade. It prefers well-drained soil, so if your soil is heavy clay, amend it with compost or peat moss. When planting, space the seedlings 6-8 inches apart.
- Soil Preparation:
- Till the soil to a depth of 6-8 inches.
- Incorporate compost or well-rotted manure to improve soil fertility and drainage.
- Amend heavy clay soil with sand or perlite to improve drainage.
- Planting:
- Sow seeds directly in the garden after the last frost.
- Space seedlings 6-8 inches apart.
- Water thoroughly after planting.
Understanding Alyssum’s Role as a Ground Cover and Filler Plant:
Alyssum is an excellent choice for ground cover, as it quickly fills in gaps and suppresses weeds. It can also be used to create a colorful border along walkways, or to spill over the edges of containers and hanging baskets.
Best Alyssum Varieties for Spring Borders and Rock Gardens:
There are several varieties of alyssum available, each with its own unique charm. Some popular choices include:
- Carpet of Snow: This variety features a carpet of tiny white flowers.
- Violet Queen: This variety produces vibrant purple flowers.
- Easter Bonnet: This variety features a mix of colors, including pink, purple, and white.
Companion Planting Tips for Alyssum in Spring Landscapes:
Alyssum is a versatile companion plant that can be paired with many other spring flowers. Consider these complementary companions:
- Tulips: The vibrant colors of tulips complement the delicate blooms of alyssum.
- Daffodils: The cheerful yellow daffodils create a striking contrast with the white or purple alyssum.
- Pansies: The cheerful faces of pansies complement the sweet fragrance of alyssum.
By following these tips, you can enjoy a beautiful display of alyssum in your spring garden. This charming annual will add a touch of fragrance and color to your outdoor space while also providing valuable benefits to your garden ecosystem.
FAQ
This section is dedicated to answering some of the most frequently asked questions about choosing and growing the best annuals for spring color. I’ve addressed the most common queries to help you on your gardening journey.
What are the best annuals for spring color in shade?
Impatiens and violas are excellent choices for shaded areas. They thrive in the dappled light and add vibrant color to even the darkest corners of your garden.
Where can I buy the best annuals for spring color locally?
You can find a wide variety of spring annuals at your local nurseries and garden centers. Many of these establishments also offer expert advice on selecting the right plants for your specific needs and climate.
How do I plant the best annuals for spring color in containers?
Choose well-draining potting mix and ensure your containers have adequate drainage holes. Plant your chosen annuals at the appropriate spacing and water them regularly, but avoid overwatering.
When is the best time to plant annuals for spring color?
The best time to plant spring annuals is after the last frost in your area, typically in early to mid-spring. This allows the plants to establish themselves before the heat of summer arrives.
Which are the best annuals for long-lasting spring color?
Geraniums, petunias, and snapdragons are known for their long-lasting blooms, providing vibrant color throughout the spring season.
What are the best low-maintenance annuals for spring color?
Alyssum and violas are relatively low-maintenance options. They require minimal care and continue to bloom profusely with regular watering.
Best annuals for spring color that attract pollinators to my garden?
Calendula, snapdragons, and violas are excellent choices for attracting pollinators like bees and butterflies to your garden.
How do I choose the best annuals for spring color in my zone?
Consider your local climate and plant hardiness zone when selecting annuals. Choose varieties that are well-suited to your specific growing conditions.
What are the best annuals for vibrant spring color in hanging baskets?
Lobelia, petunias, and trailing varieties of geraniums are ideal for creating cascading displays of color in hanging baskets.
Best annuals for spring color that are frost tolerant in early spring?
Pansies, violas, and primroses are excellent choices for early spring planting, as they can tolerate light frosts.
By addressing these frequently asked questions, I hope to provide you with the information and confidence you need to create a stunning spring garden filled with vibrant color. Remember to choose the right plants for your specific conditions, and enjoy the process of bringing your garden to life!
Conclusion
Creating a vibrant spring garden is within reach with the right selection of annuals. Remember to consider your garden’s conditions, your personal color preferences, and the specific needs of each plant. By following the tips and insights shared in this guide, you’ll be well on your way to enjoying a beautiful, colorful spring. Happy gardening!
Remember, the key to a successful spring garden lies in careful planning, proper planting techniques, and consistent care. By selecting the right annuals for your specific needs and providing them with the optimal growing conditions, you can create a stunning display of color and fragrance that will bring joy throughout the season.
Happy gardening, and may your spring garden be filled with vibrant blooms and endless beauty!
Additional Tips for a Vibrant Spring Garden:
- Experiment with different color combinations and planting schemes to create a unique and personalized look.
- Consider incorporating a variety of textures and heights into your garden design for added visual interest.
- Don’t be afraid to try new things and experiment with different annuals each year.
- Most importantly, enjoy the process of creating and nurturing your spring garden!
I hope this comprehensive guide has provided you with the knowledge and inspiration you need to create a breathtaking spring garden. Remember, gardening is a journey, not a destination, so embrace the process and enjoy the beauty that unfolds before your eyes.
Happy gardening!


