Are you tired of bland, store-bought greens that lack that fresh, homegrown flavor? Do you dream of serving up vibrant, nutritious collard greens straight from your own backyard? I know I used to feel the same way. The wilted, pre-packaged greens at the supermarket just didn’t cut it. There’s something truly special about nurturing a plant from seed to harvest, and with collard greens, the reward is a delicious and healthy addition to your meals. If you’re looking for a simple and fulfilling way to enhance your garden and your diet, learning how to grow collard greens vegetable is the perfect place to start. This guide is designed to provide you with the knowledge and confidence to cultivate your own thriving collard greens patch, no matter your experience level.
1. Choosing the Right Collard Greens Variety
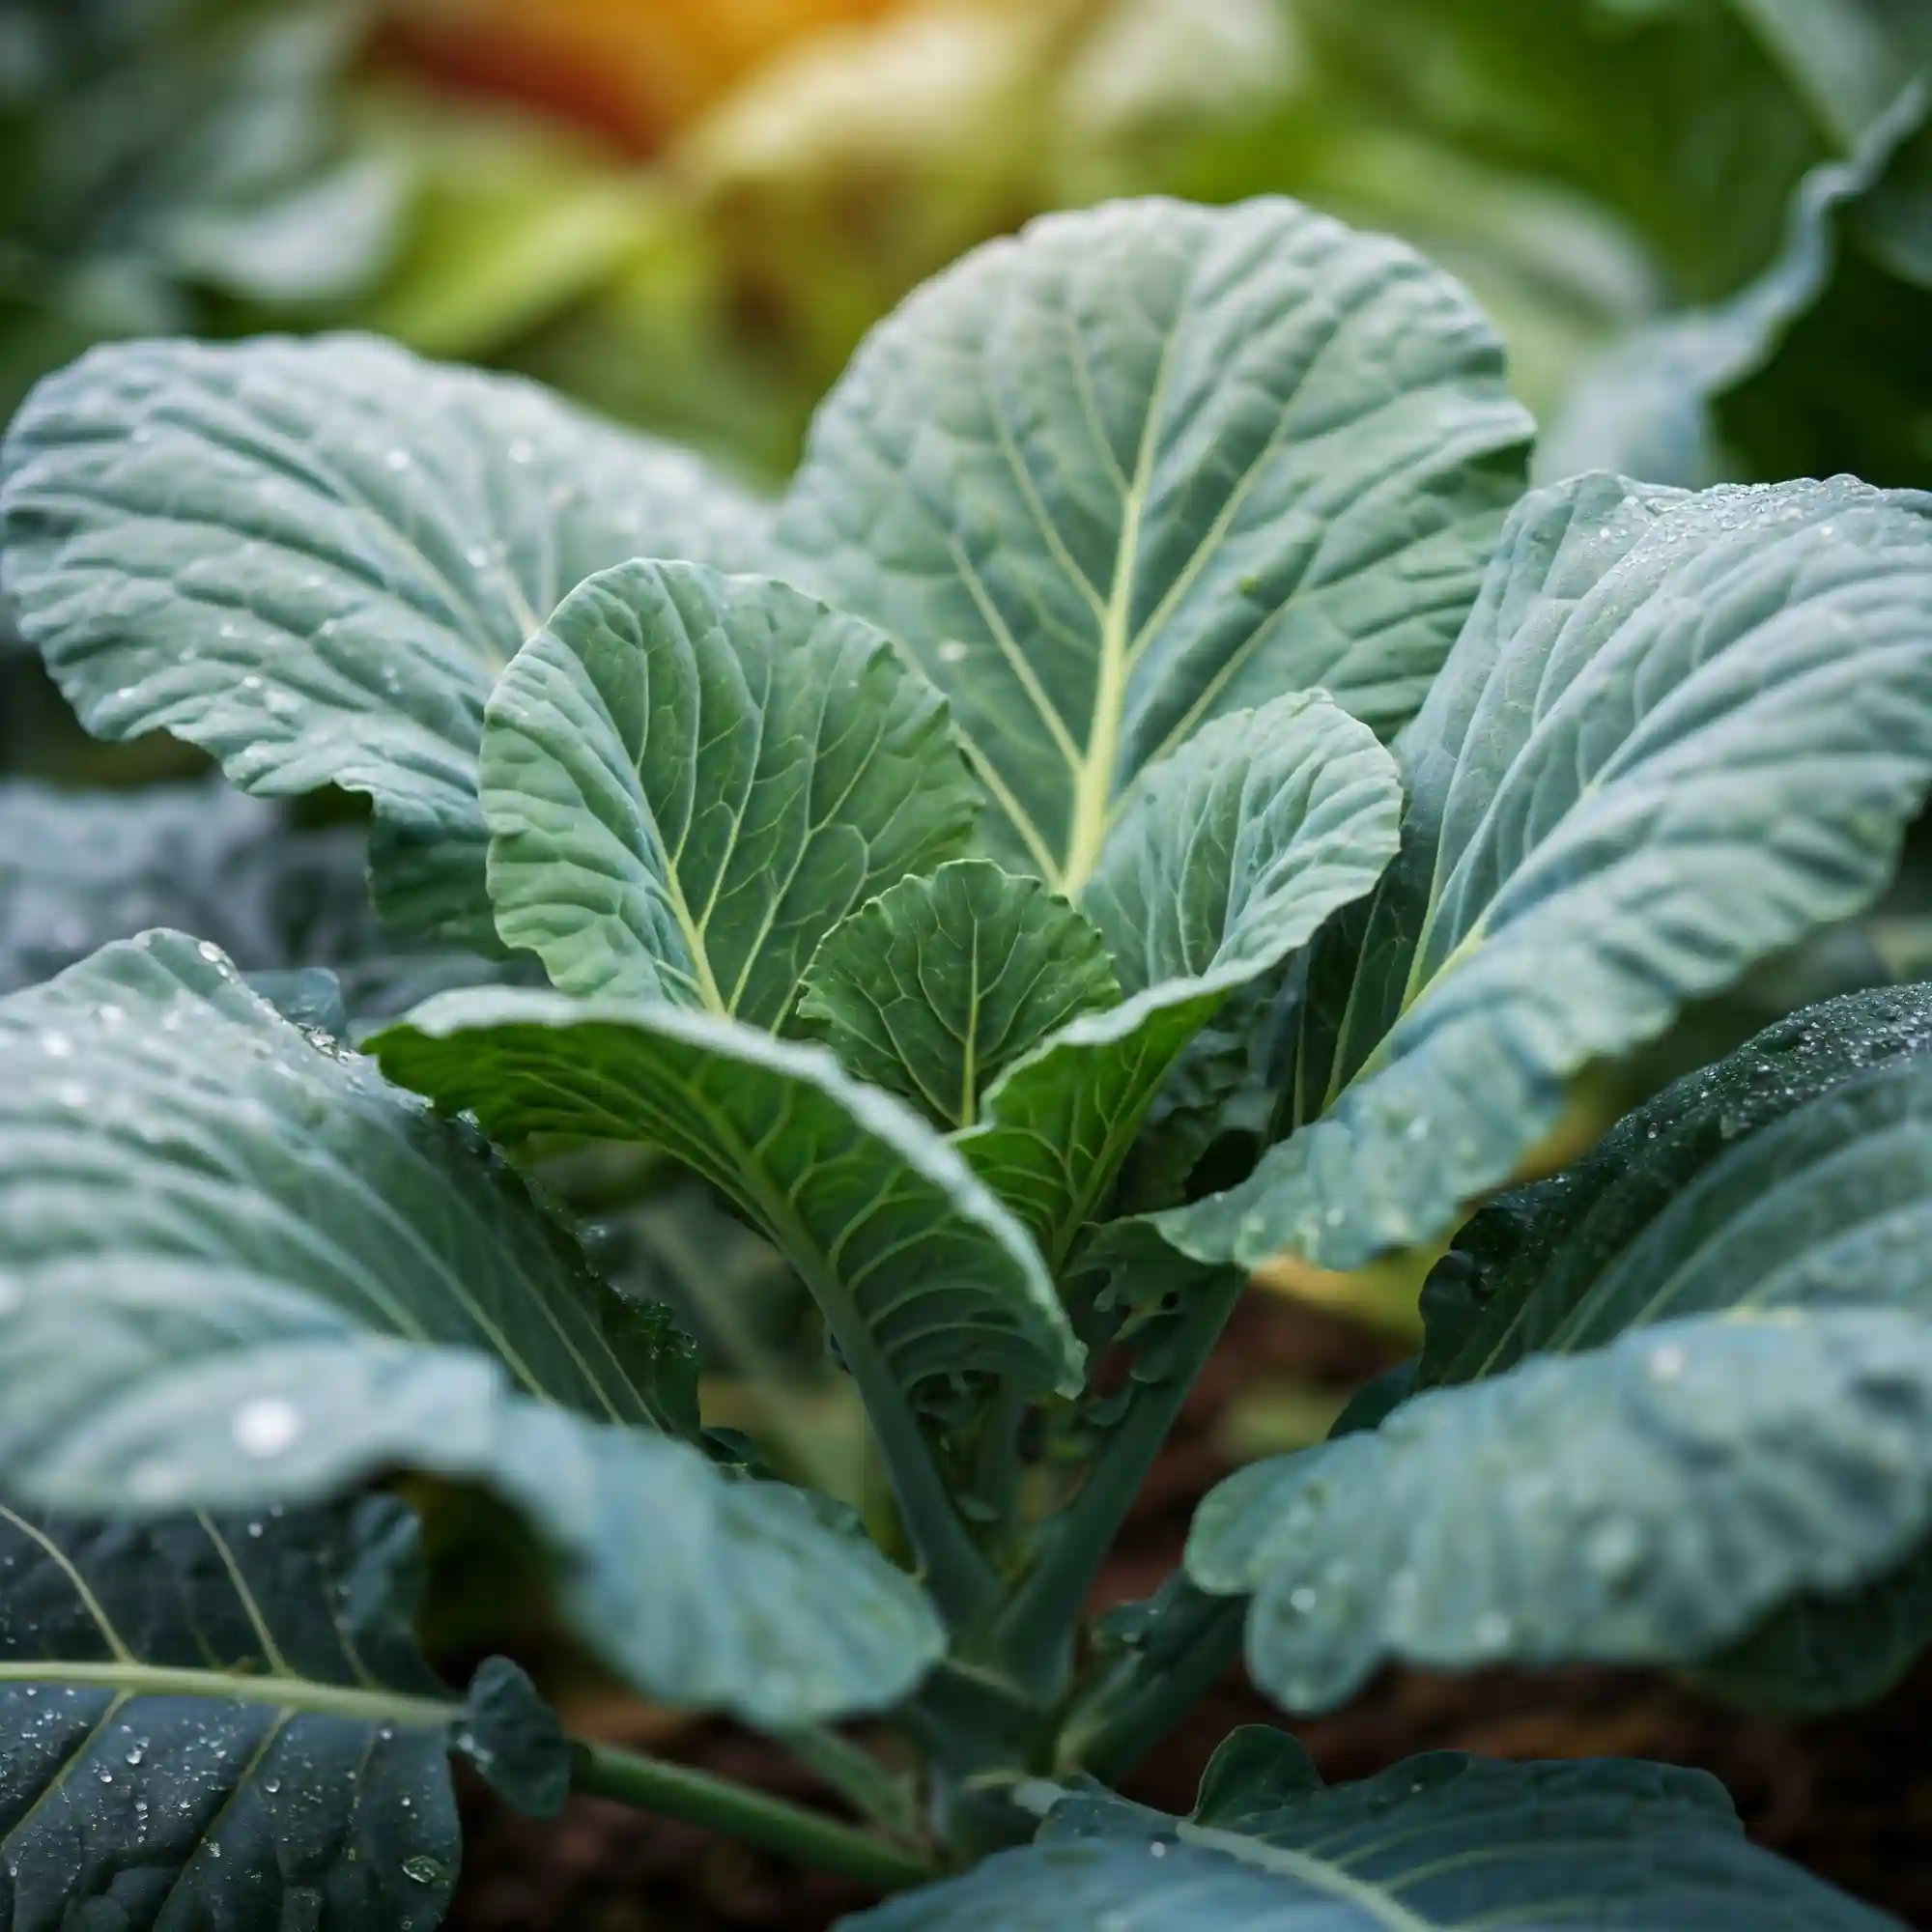
Choosing the right variety is the first step in how to grow collard greens vegetable successfully. I’ve learned from experience that not all collards are created equal. Different varieties offer unique characteristics, from heat tolerance to cold hardiness, leaf texture to growth habit. Selecting the right one for your climate and preferences is key to a flourishing harvest.
Key Collard Green Varieties:
- Georgia: This is a classic, widely popular variety known for its heat tolerance. If you live in a warmer climate, “Georgia” collards are an excellent choice. They produce large, slightly savoyed (crinkled) leaves with a mild flavor. I’ve found them to be particularly resilient during hot summers.
- Vates: If you live in a colder region, “Vates” is your go-to variety. This cold-hardy collard can withstand frost and even some light snow. It has smooth, dark green leaves and a slightly stronger flavor than “Georgia.” I’ve successfully grown “Vates” well into the late fall, even after the first frost.
- Champion: As the name suggests, “Champion” is a disease-resistant variety. If you’ve struggled with fungal diseases in your garden in the past, this variety is a great option. It produces large, dark green leaves and is known for its vigorous growth.
- Blue Max: This variety is known for its blue-green foliage and upright growth habit. It’s a good choice for smaller gardens or containers.
- Flash: If you’re looking for a quick harvest, “Flash” matures relatively quickly. It has smooth, tender leaves.
Factors to Consider When Choosing a Variety:
- Climate: Consider your local climate and choose a variety that is well-suited to your growing conditions. Heat-tolerant varieties are best for warmer climates, while cold-hardy varieties are ideal for colder regions.
- Disease Resistance: If you’ve had problems with specific diseases in your garden, choose a disease-resistant variety.
- Flavor Preference: Some varieties have a milder flavor, while others have a stronger, more pronounced taste.
- Growth Habit: Consider the size of your garden and choose a variety that fits your space. Some varieties grow upright, while others spread out.
Comparison of Collard Green Varieties
| Variety | Characteristics | Best For |
| Georgia | Heat-tolerant, large, savoyed leaves, mild flavor | Warm climates |
| Vates | Cold-hardy, smooth, dark green leaves | Cold climates |
| Champion | Disease-resistant, large, dark green leaves | Gardens prone to disease |
| Blue Max | Blue-green foliage, upright growth habit | Smaller gardens, containers |
| Flash | Quick maturing, smooth, tender leaves | Gardeners seeking early harvest |
Understanding these distinctions will set you up for success in your collard growing journey. You’ll be able to select the perfect variety that aligns with your climate, garden space, and taste preferences.
2. Preparing the Soil for Planting Collards
Proper soil preparation is crucial for growing collards successfully. I’ve found that collards, like many leafy greens, are quite particular about their growing medium. They prefer well-drained soil that’s rich in organic matter. This combination ensures that their roots can access the nutrients they need while also preventing waterlogging, which can lead to root rot.
Soil Testing: Understanding Your Soil’s pH
Before you even think about planting, I highly recommend testing your soil’s pH. You can easily purchase a soil test kit from your local garden center or online. Collards thrive in a soil pH between 6.0 and 7.0, which is slightly acidic to neutral. If your soil is too acidic (below 6.0), you can amend it with lime. If it’s too alkaline (above 7.0), you can add sulfur. I usually test my soil in the fall before planting my spring collards to give me time to make any necessary adjustments.
Amendments: The Magic of Organic Matter
Once you know your soil’s pH, it’s time to focus on enriching it with organic matter. This is where compost and well-rotted manure come in. These natural amendments improve soil fertility, drainage, and water retention. I like to add a generous layer of compost to my garden beds each year, working it into the top 6-8 inches of soil. This not only provides essential nutrients for my collards but also improves the overall structure of the soil.
Creating the Ideal Soil Structure
In addition to adding organic matter, you can also improve your soil’s structure by incorporating other amendments like perlite or vermiculite. These materials help to improve drainage and aeration, which is especially important for heavy clay soils. If you have sandy soil, these amendments can help to retain moisture. I’ve found that a combination of compost, perlite, and vermiculite works wonders for creating the ideal soil structure for my collards.
Preparing the Planting Bed
Once you’ve amended your soil, it’s time to prepare the planting bed. This involves loosening the soil to a depth of 12-18 inches and removing any rocks or debris. I like to create raised beds for my collards, as this helps to improve drainage and warms the soil up more quickly in the spring. If you’re not using raised beds, you can simply create rows in your garden.
A Well-Prepared Bed for Success
By taking the time to properly prepare your soil, you’re setting your collard greens up for success. They’ll have the nutrients they need to thrive, and their roots will be able to access water and oxygen easily. This will result in strong, healthy plants that are more resistant to pests and diseases.
3. Planting Collard Greens: Seeds or Seedlings?
You have two main options when it comes to planting collard greens: starting from seeds or purchasing seedlings from a nursery. Both methods have their advantages, and the best choice for you will depend on your experience level, time commitment, and available resources.
Starting from Seed: A Rewarding Experience
I’ve always found starting collard greens from seed to be incredibly rewarding. It allows you to have more control over the entire growing process, from selecting the specific variety to nurturing the young plants from their earliest stages.
Timing is Key:
If you choose to start from seed, timing is crucial. You can start your seeds indoors 6-8 weeks before the last expected frost in your area. This will give your seedlings a head start and allow them to develop a strong root system before being transplanted into the garden.
Indoor Seed Starting:
To start seeds indoors, you’ll need a few supplies:
- Seed starting trays or containers
- Seed starting mix
- Grow lights (optional, but recommended)
Sow the seeds about ¼ inch deep in the seed starting mix, and keep the soil moist but not waterlogged. Place the trays in a warm location, and if you’re using grow lights, keep them on for about 14-16 hours per day.
Direct Sowing:
Once the danger of frost has passed and the soil has warmed up, you can also direct sow collard green seeds directly into the garden. Prepare the soil as described in the previous section, and sow the seeds about ½ inch deep. Space the seeds about 2-3 inches apart, and thin them out to 12-18 inches apart once they’ve germinated.
Transplanting Seedlings: A Convenient Option
If you’re short on time or prefer a more convenient option, purchasing seedlings from a nursery is a great choice. This allows you to skip the seed starting process and get your collard greens growing right away.
Selecting Healthy Seedlings:
When selecting seedlings, look for plants that are healthy and vigorous with no signs of pests or diseases. Choose plants that are about 4-6 inches tall and have a strong root system.
Planting Seedlings:
Before transplanting your seedlings into the garden, make sure to harden them off. This involves gradually exposing them to outdoor conditions over a period of about a week. Start by placing them in a sheltered location for a few hours each day, and gradually increase the amount of time they spend outdoors.
Once your seedlings are hardened off, you can transplant them into the garden. Dig holes that are slightly larger than the root ball of the seedlings, and space them 12-18 inches apart in rows. Gently remove the seedlings from their containers and place them in the holes. Backfill with soil and water thoroughly.
No matter which method you choose, planting collard greens is a relatively simple process. With a little care and attention, you’ll be well on your way to enjoying fresh, homegrown greens in no time.
4. How to Care for Growing Collard Greens
Once your collard greens are planted, whether from seed or seedling, consistent care is essential for a bountiful harvest. I’ve learned that these leafy greens have a few key needs that, when met, result in vigorous growth and delicious leaves.
Watering: Keeping Collards Hydrated
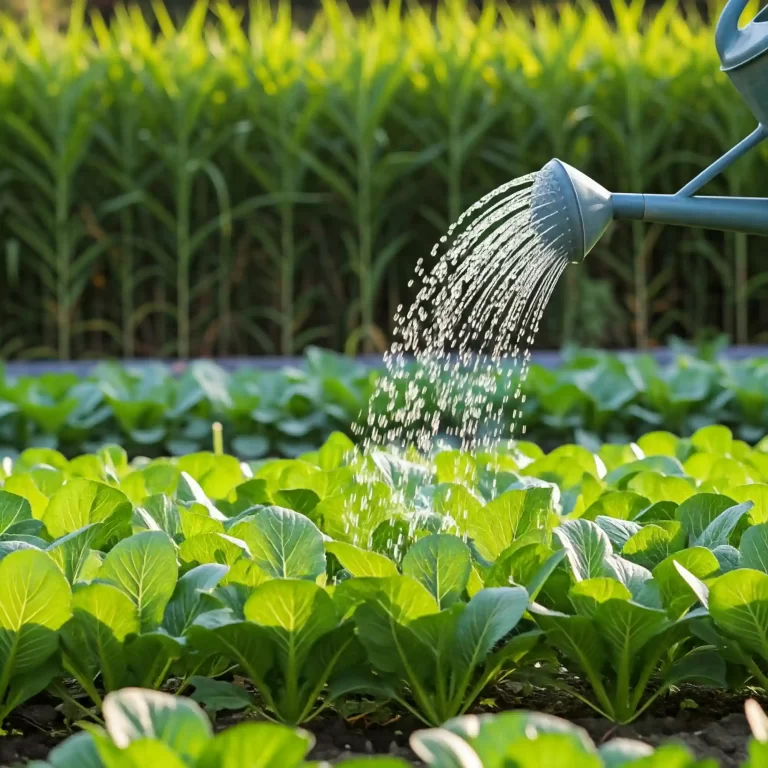
Collard greens need consistent moisture to thrive. I aim to water my collards deeply whenever the top inch of soil feels dry to the touch. This usually translates to about 1-2 inches of water per week, depending on the weather conditions. During hot, dry periods, you may need to water more frequently.
Watering Techniques:
- Water at the base of the plants: This helps to prevent fungal diseases by keeping the leaves dry.
- Water in the morning: This allows the leaves to dry before nightfall, further reducing the risk of disease.
- Use a soaker hose or drip irrigation: These methods deliver water directly to the roots, which is more efficient and helps to conserve water.
Fertilizing: Providing Essential Nutrients
Collard greens are heavy feeders, meaning they require a good amount of nutrients to grow their best. I like to fertilize my collards every 4-6 weeks with a balanced fertilizer. You can use either a granular fertilizer or a liquid fertilizer.
Fertilizer Options:
- Granular fertilizer: Apply the fertilizer according to the package directions, being careful not to get any fertilizer on the leaves.
- Liquid fertilizer: Dilute the fertilizer according to the package directions and apply it to the base of the plants.
Mulching: A Gardener’s Best Friend
Mulching is one of the most beneficial things you can do for your collard greens. I use a layer of organic mulch, such as straw or wood chips, around my plants.
Benefits of Mulching:
- Retains moisture: This helps to keep the soil moist and reduces the need for watering.
- Suppresses weeds: This helps to keep your garden free of unwanted plants that can compete with your collards for nutrients and water.
- Regulates soil temperature: This helps to keep the soil cool in the summer and warm in the winter.
Additional Tips for Caring for Growing Collard Greens:
- Weed regularly: This will help to prevent weeds from competing with your collards for nutrients and water.
- Monitor for pests and diseases: This will help you to catch any problems early on and take appropriate action.
- Provide support for tall plants: This will help to prevent them from falling over.
By following these care tips, you can ensure that your collard greens will thrive and provide you with a bountiful harvest of delicious, nutritious greens.
5. Protecting Collard Greens from Pests and Diseases
Just like any other plant in your garden, collard greens can be susceptible to various pests and diseases. I’ve learned that vigilance and proactive measures are key to keeping your collards healthy and thriving. Here’s a breakdown of common issues and how to address them:
Common Pests:
- Aphids: These tiny insects can cluster on the undersides of leaves, sucking sap and weakening the plant. I often notice them as small green, black, or white dots. A strong spray of water from a hose can dislodge them. You can also introduce beneficial insects like ladybugs, which are natural predators of aphids. Insecticidal soap or neem oil can be used for more severe infestations.
- Cabbage Worms: These green caterpillars are voracious eaters and can quickly defoliate your collard greens. Handpicking them off the plants is an effective method, especially for smaller gardens. Bacillus thuringiensis (Bt) is a safe and effective organic insecticide that targets caterpillars.
- Flea Beetles: These small, jumping beetles can create small holes in the leaves of your collards. I’ve found that using row covers can help to prevent them from reaching your plants. You can also use organic insecticides like pyrethrin.
- Slugs and Snails: These slimy pests can chew large holes in the leaves of your collards, especially at night. Handpicking them or using slug bait can help to control them.
Common Diseases:
- Black Rot: This bacterial disease can cause black spots on the leaves and stems of your collards. I’ve found that it’s more prevalent in wet conditions. To prevent black rot, make sure to provide good air circulation and avoid overhead watering. If you see signs of black rot, remove the affected leaves and dispose of them properly.
- Downy Mildew: This fungal disease can cause white or grayish patches on the leaves of your collards. It’s also more common in humid conditions. To prevent downy mildew, provide good air circulation and avoid overhead watering. You can also use organic fungicides like copper fungicide or neem oil.
Tips for Preventing Pests and Diseases:
- Choose disease-resistant varieties: This can help to reduce the risk of disease problems.
- Practice crop rotation: This can help to prevent the buildup of pests and diseases in the soil.
- Maintain good garden hygiene: This includes removing plant debris and weeds, which can harbor pests and diseases.
- Monitor your plants regularly: This will help you to catch any problems early on and take appropriate action.
- Use organic pest and disease control methods whenever possible: This will help to protect the environment and your health.
By taking these precautions, you can help to keep your collard greens healthy and free from pests and diseases.
6. When and How to Harvest Collard Greens
Knowing when and how to harvest your collard greens is just as important as the growing process itself. I’ve found that timing is key to getting the best flavor and texture from your harvest. Here’s what I’ve learned over the years:
When to Harvest:
- Leaf Size: You can start harvesting collard greens once the leaves are about 6-10 inches long. At this size, they are tender and flavorful.
- Plant Maturity: Collard greens typically mature in about 60-80 days from seed, but you can begin harvesting earlier if you prefer smaller leaves.
- Successive Harvesting: One of the great things about collard greens is that you can harvest them successively, meaning you can pick leaves as needed over an extended period.
How to Harvest:
- Outer Leaves First: Start by harvesting the outer leaves of the plant. This allows the inner leaves to continue growing, providing you with a continuous harvest.
- Proper Technique: Use a sharp knife or shears to cut the leaves near the base of the plant. Be careful not to damage the main stem.
- Morning Harvest: I prefer to harvest my collard greens in the morning, after the dew has dried but before the sun has heated up the leaves. This helps to keep them fresh and crisp.
Post-Harvest Care:
- Washing and Storage: After harvesting, wash the leaves thoroughly and store them in a plastic bag in the refrigerator. They will typically keep for about a week.
Extending the Harvest:
- Cold Tolerance: Collard greens are quite cold-tolerant and can often withstand light frosts. In milder climates, you may be able to harvest them throughout the winter.
- Succession Planting: To ensure a continuous supply of collard greens, you can plant new seeds or seedlings every few weeks.
By following these tips, you can enjoy a long and bountiful harvest of fresh, homegrown collard greens.
7. Growing Collards in Different Conditions
While collard greens are relatively adaptable, I’ve noticed they respond best when their specific needs are met. This means adjusting your growing methods based on your unique environment. Whether you’re working with limited space, battling extreme temperatures, or simply want to try something new, here are some tips for growing collards in different conditions:
Container Gardening: Collards in Pots
If you have limited space or prefer to keep your garden close at hand, growing collards in containers is a great option. I often use this method for herbs and smaller vegetables, but it works surprisingly well for collards too.
- Choosing the Right Container: Select a large container with drainage holes. This is crucial for preventing waterlogging, which can lead to root rot.
- Potting Mix: Use a high-quality potting mix that is well-draining and rich in organic matter.
- Sunlight: Place the container in a location that receives at least 6 hours of sunlight per day.
- Watering and Fertilizing: Water regularly, especially during hot weather. Fertilize every 4-6 weeks with a balanced fertilizer.
Hot Climates: Beating the Heat
Collard greens are relatively heat-tolerant, but they can struggle in extreme heat. If you live in a hot climate, here are some tips for keeping your collards cool and happy:
- Provide Shade: Plant your collards in a location that receives some afternoon shade.
- Water Deeply: Water deeply and regularly, especially during dry periods.
- Mulch: Apply a thick layer of mulch to help retain moisture and keep the soil cool.
Cold Climates: Extending the Season
Collard greens are quite cold-hardy and can often withstand light frosts. If you live in a colder climate, here are some tips for extending your harvest:
- Cold Frames or Row Covers: Use cold frames or row covers to protect your plants from frost and snow.
- Cold-Hardy Varieties: Choose cold-hardy varieties like ‘Vates’ or ‘Winterbor’.
- Succession Planting: Plant new seeds or seedlings every few weeks to ensure a continuous harvest.
By adapting your growing methods to your specific conditions, you can enjoy fresh, homegrown collard greens no matter where you live.
FAQ (Frequently Asked Questions):
- How to grow collard greens vegetable in raised garden beds?
- Raised garden beds provide excellent drainage and allow you to control the soil quality. When growing collards in raised beds, I recommend amending the soil with plenty of compost and ensuring the bed is at least 12 inches deep to accommodate the root system.
- How to grow collard greens vegetable in hot summer climates?
- In hot climates, collards benefit from some afternoon shade to prevent them from bolting (going to seed). I also recommend using a thick layer of mulch to help retain moisture and keep the soil cool.
- How to grow collard greens vegetable organically from seed at home?
- Starting collards from seed organically involves using organic seed starting mix and providing adequate light and warmth for germination. Once seedlings are established, transplant them into organically amended garden soil.
- How to grow collard greens vegetable to avoid common pests and diseases?
- Preventing pests and diseases in collards involves practicing crop rotation, maintaining good garden hygiene, and using organic pest control methods like insecticidal soap or neem oil.
- How to grow collard greens vegetable for a continuous harvest throughout the season?
- Successive planting is key to a continuous harvest. I recommend planting new seeds or seedlings every few weeks to ensure a steady supply of fresh greens.
- How to grow collard greens vegetable successfully in containers on a patio?
- When growing collards in containers, choose a large pot with drainage holes and use a high-quality potting mix. Place the container in a sunny location and water regularly.
- What is the best way to grow collard greens vegetable in my backyard?
- The best way to grow collards in your backyard depends on your specific climate and soil conditions. However, in general, providing well-drained soil, regular watering, and adequate sunlight are key to success.
- How to grow collard greens vegetable in zone 7 for beginners?
- In zone 7, I recommend planting collards in early spring or late summer for a fall harvest. Be sure to protect young plants from frost.
- How to grow collard greens vegetable with minimal effort and maximum yield?
- To minimize effort and maximize yield, choose disease-resistant varieties, amend the soil with compost, and use mulch to reduce weeding and watering.
- How to grow collard greens vegetable and protect them from winter frost?
- Protecting collards from winter frost can be achieved by using row covers, cold frames, or planting cold-hardy varieties that can withstand freezing temperatures.
