

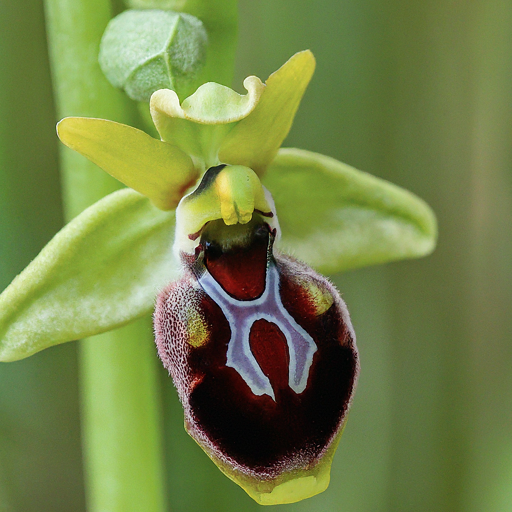
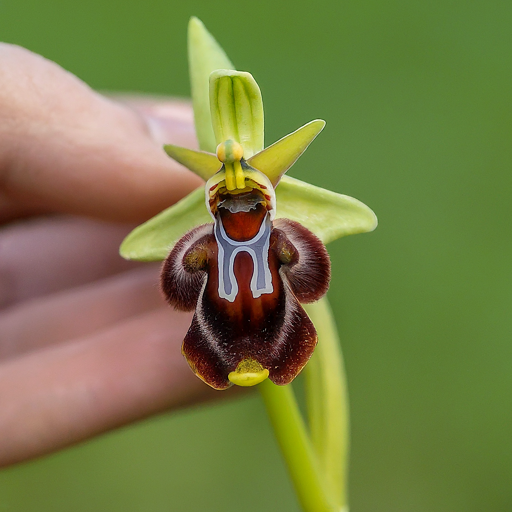
Ophrys fly orchids are renowned for their captivating beauty and intricate mimicry. However, cultivating these delicate plants can be challenging even for experienced orchid enthusiasts. This comprehensive guide will equip you with the essential knowledge to nurture your Ophrys fly orchid and witness its breathtaking blooms.
Understand Ophrys Fly Orchid Basics
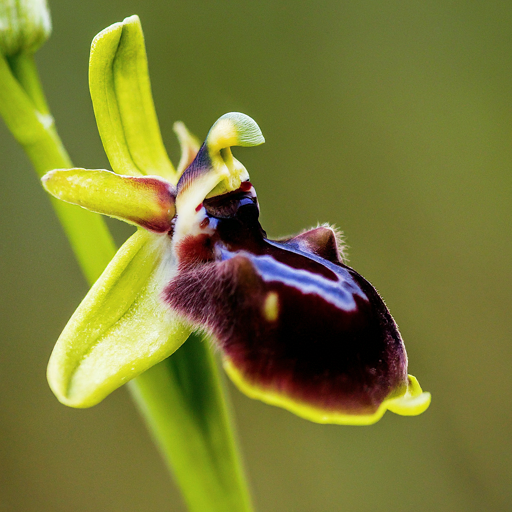
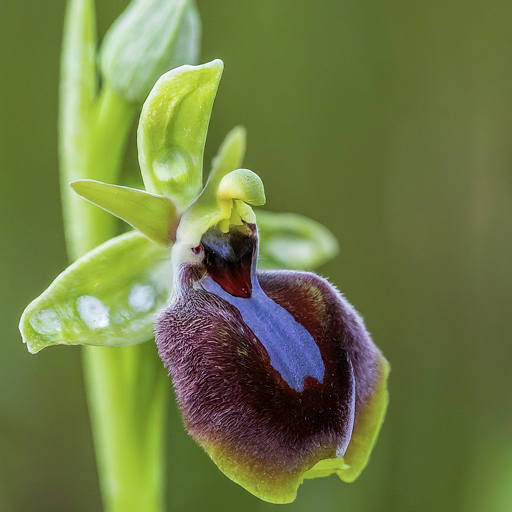
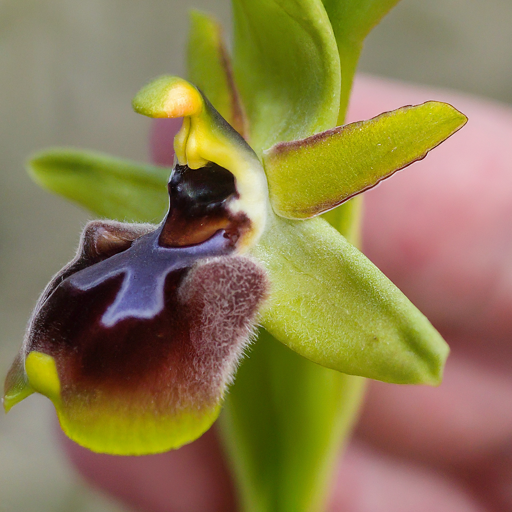
Ophrys fly orchids are terrestrial orchids native to the Mediterranean region. These enchanting plants have evolved to mimic female insects, attracting male pollinators through a complex interplay of visual and chemical cues. While their allure is undeniable, cultivating Ophrys fly orchids demands a deep understanding of their specific requirements.
To successfully grow Ophrys fly orchids, it’s crucial to appreciate their unique characteristics. These orchids possess pseudobulbs, underground storage organs that store water and nutrients. Their roots are relatively delicate and require a well-draining potting medium. Unlike many epiphytic orchids, Ophrys fly orchids thrive in terrestrial conditions, mimicking their natural habitat.
Understanding the orchid’s pollination mechanism is essential for successful cultivation. The intricate mimicry of female insects is a key factor in attracting male pollinators for fertilization. By replicating these natural conditions as closely as possible, you increase the chances of your orchid producing flowers.
Choose the Right Growing Environment
Creating an environment that closely mimics the Ophrys fly orchid’s natural habitat is paramount for its successful cultivation. These orchids have specific requirements regarding light, temperature, humidity, and airflow.
Light: Ophrys fly orchids prefer bright, indirect light. Direct sunlight can scorch their delicate leaves. Ideally, place your orchid near an east-facing window or provide filtered light. Avoid placing them in dark corners or areas with insufficient light, as this can hinder growth and prevent blooming.
Temperature: These orchids thrive in moderate temperatures. During the growing season, aim for daytime temperatures between 65°F (18°C) and 75°F (24°C). Nighttime temperatures should be slightly cooler, around 55°F (13°C). Avoid exposing your orchid to extreme temperature fluctuations.
Humidity: Ophrys fly orchids appreciate moderate to high humidity levels. Aim for a humidity range of 50-70%. You can increase humidity by using a humidifier, placing the orchid on a pebble tray filled with water, or grouping it with other plants to create a humid microclimate.
Airflow: Good air circulation is essential to prevent fungal diseases and promote healthy growth. Ensure adequate airflow around your orchid by placing it in a well-ventilated area. Avoid stagnant air conditions.
Prepare the Perfect Potting Mix
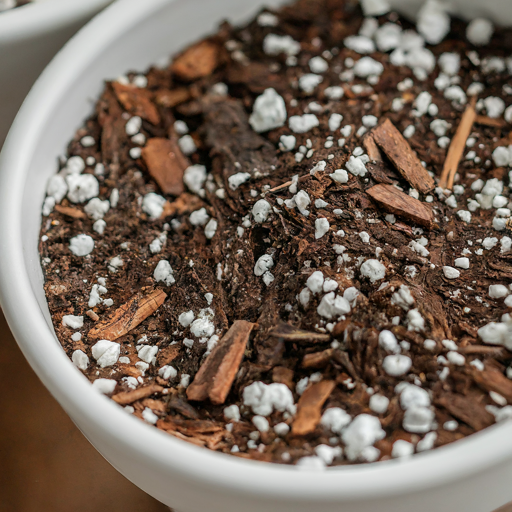
The choice of potting mix is crucial for the health and well-being of your Ophrys fly orchid. A well-draining medium is essential to prevent root rot, a common issue affecting these orchids.
A suitable potting mix for Ophrys fly orchids typically consists of a blend of organic and inorganic materials. This combination provides adequate drainage, aeration, and nutrient retention. Here’s a basic recipe for a suitable potting mix:
- Bark: Provides structure and drainage. Pine bark is a popular choice.
- Perlite: Improves aeration and prevents compaction.
- Orchid mix: Contains a blend of ingredients specifically designed for orchids.
- Coarse sand: Enhances drainage.
Avoid using potting mixes that retain too much moisture, as this can lead to root problems. The ideal potting mix should be well-aerated, allowing excess water to drain quickly.
To prepare the potting mix, combine the ingredients in a large container and mix thoroughly until you achieve a consistent texture. Ensure the mix is well-draining by performing a simple test: fill a pot with the mix and water it thoroughly. The water should drain quickly without pooling at the bottom.
Repotting Your Ophrys Fly Orchid
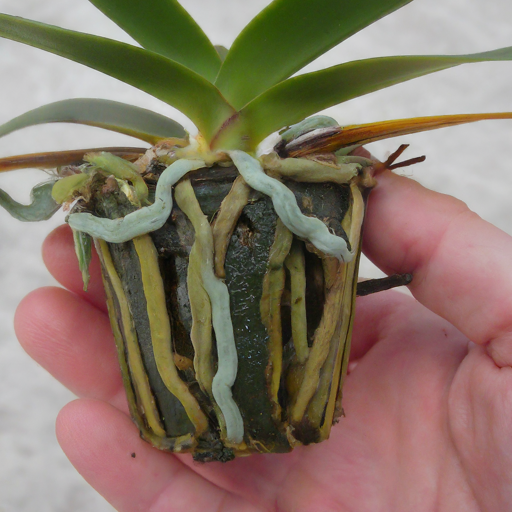
Repotting is essential for the health and vitality of your Ophrys fly orchid. It allows you to refresh the potting mix, inspect the roots, and provide your orchid with ample space to grow. However, repotting should be done carefully and only when necessary.
Signs you need to repot:
- The potting mix has degraded or become compacted.
- The orchid is outgrowing its current pot.
- Signs of root rot or pest infestation.
Choosing the right pot: Select a pot that is slightly larger than the orchid’s root ball. Terracotta pots are generally preferred for Ophrys fly orchids as they allow better air circulation. Ensure the pot has adequate drainage holes to prevent waterlogging.
Repotting process:
- Choose a suitable repotting day: Ideally, repot your orchid during its dormant period to minimize stress.
- Prepare the new potting mix: Ensure the new potting mix is fresh and well-draining.
- Gently remove the orchid from its old pot: Loosen the potting mix around the roots and carefully take the orchid out.
- Inspect the roots: Remove any dead or decaying roots using sterilized pruning shears.
- Place the orchid in the new pot: Position the orchid in the center of the pot, ensuring the roots are spread out evenly.
- Fill in with potting mix: Gradually add the potting mix, gently firming it around the roots. Avoid compacting the mix.
- Water thoroughly: Water the repotted orchid to settle the potting mix.
Care after repotting: Place the repotted orchid in a shaded location for a few days to allow it to recover from the stress of repotting. Avoid fertilizing for several weeks to allow the roots to establish themselves.
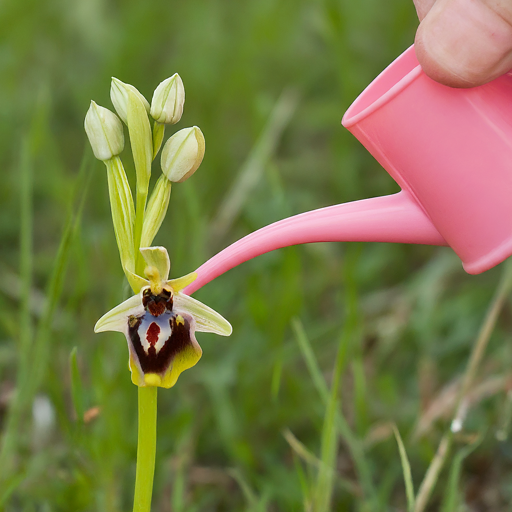
Watering Your Ophrys Fly Orchid
Proper watering is crucial for the health of your Ophrys fly orchid. These orchids are susceptible to both overwatering and underwatering, so striking the right balance is essential.
Watering frequency: The watering needs of your Ophrys fly orchid will vary depending on factors such as temperature, humidity, and pot size. As a general guideline, allow the potting mix to dry slightly between waterings. Avoid keeping the potting mix constantly wet, as this can lead to root rot.
Watering method: When watering, thoroughly soak the potting mix until water drains from the pot’s drainage holes. Allow excess water to drain completely before returning the orchid to its saucer. Avoid leaving the orchid sitting in water, as this can promote root rot.
Water quality: Use filtered or distilled water for your Ophrys fly orchid. Tap water may contain minerals and chemicals that can harm the plant.
Signs of overwatering and underwatering:
- Overwatering: Yellowing leaves, soft and mushy roots, and a foul odor from the potting mix are signs of overwatering.
- Underwatering: Wrinkled leaves, dry potting mix, and stunted growth indicate underwatering.
By carefully monitoring your orchid’s watering needs and adjusting your watering practices accordingly, you can prevent watering-related problems and ensure optimal growth.
Providing Essential Nutrients
Ophrys fly orchids are relatively light feeders compared to other orchid species. However, they still require essential nutrients for healthy growth and blooming. Fertilizing your orchid with a balanced, diluted orchid fertilizer can provide the necessary nutrients without causing salt buildup.
Choosing the right fertilizer: Opt for a balanced liquid fertilizer specifically formulated for orchids. These fertilizers have a lower nitrogen content and a higher phosphorus and potassium ratio, which is suitable for the orchid’s needs. Avoid using general-purpose fertilizers, as they may contain excessive amounts of nitrogen, which can harm your orchid.
Fertilization schedule: Fertilize your Ophrys fly orchid during the growing season, typically from spring to early autumn. Apply a diluted fertilizer solution once or twice a month. Reduce fertilization during the dormant period to prevent nutrient buildup.
Application methods: Dilute the fertilizer according to the manufacturer’s instructions. Apply the diluted solution to the potting mix, ensuring even distribution. Avoid applying fertilizer directly to the leaves, as this can cause leaf burn.
Signs of over-fertilization: Over-fertilization can lead to salt buildup in the potting mix, causing root damage and leaf tip burn. If you suspect over-fertilization, flush the potting mix with water to remove excess salts.
Creating Optimal Humidity Levels
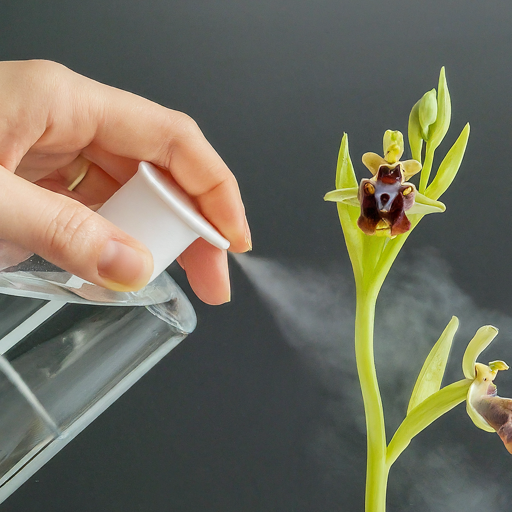
Maintaining appropriate humidity levels is crucial for the well-being of your Ophrys fly orchid. These orchids thrive in environments with moderate to high humidity levels, similar to their natural habitat.
Importance of humidity: Adequate humidity helps prevent leaf tip browning, which is a common issue with orchids. It also contributes to healthy root growth and overall plant vigor.
Ways to increase humidity:
- Humidifiers: Using a humidifier is an effective way to increase humidity levels in your growing environment. Place the humidifier near your orchid, but avoid misting the leaves directly.
- Pebble trays: Fill a tray with pebbles and water, then place the orchid pot on top. As the water evaporates, it increases the humidity around the plant.
- Grouping plants: Placing your Ophrys fly orchid together with other plants can create a humid microclimate.
Preventing excessive humidity: While high humidity is beneficial, excessive humidity can lead to fungal diseases. Ensure proper ventilation to prevent stagnant air. Avoid overhead watering, as this can cause water droplets to accumulate on the leaves and create a breeding ground for pathogens.
By carefully managing humidity levels, you can create a favorable environment for your Ophrys fly orchid to thrive.
Protecting Your Ophrys Fly Orchid from Pests and Diseases
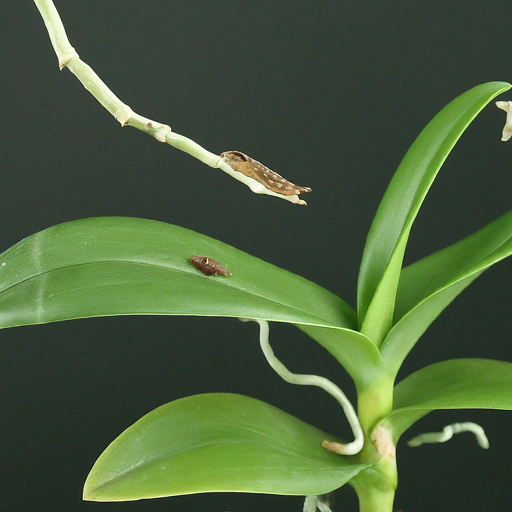
Like other orchids, Ophrys fly orchids are susceptible to various pests and diseases. Maintaining a clean and hygienic growing environment is crucial in preventing infestations and infections.
Common Pests:
- Aphids: These tiny insects suck sap from the plant, causing stunted growth and leaf distortion.
- Mealybugs: These cotton-like insects infest the plant, causing yellowing leaves and stunted growth.
- Scale insects: These immobile insects attach themselves to the plant, sucking sap and causing leaf discoloration.
- Spider mites: These tiny arachnids infest the underside of leaves, causing yellowing and webbing.
Prevention and Treatment:
- Regular inspection: Regularly inspect your orchid for signs of pests. Early detection is key to effective treatment.
- Isolation: If you suspect a pest infestation, isolate the affected orchid to prevent the spread to other plants.
- Natural remedies: For mild infestations, try using insecticidal soap or neem oil.
- Chemical control: In severe cases, you may need to resort to chemical insecticides. Always follow the product instructions carefully.
Common Diseases:
- Root rot: Caused by excessive moisture, root rot leads to black and mushy roots.
- Leaf spot: Fungal or bacterial infections cause brown or black spots on the leaves.
- Orchid virus: Viral infections cause mosaic patterns on the leaves and stunted growth.
Prevention and Treatment:
- Proper watering: Avoid overwatering to prevent root rot.
- Good air circulation: Ensure adequate airflow to reduce humidity and prevent fungal growth.
- Sterilize tools: Always sterilize pruning tools to prevent the spread of diseases.
- Quarantine new plants: Isolate new orchids to prevent introducing pests or diseases.
By following these preventive measures and addressing any issues promptly, you can protect your Ophrys fly orchid from pests and diseases and maintain its health and vitality.
Encouraging Blooming
Achieving bloom in Ophrys fly orchids requires specific conditions and careful attention. While these orchids are known for their intricate flowers, they can be challenging to bloom in cultivation.
Factors influencing blooming:
- Light: Adequate light is crucial for flower bud initiation. Ensure your orchid receives sufficient bright, indirect light during the growing season.
- Temperature: A distinct difference between day and night temperatures can encourage blooming. Cooler night temperatures can trigger flower bud formation.
- Dormancy: Some Ophrys fly orchids require a dormant period to initiate blooming. This period typically occurs during the winter months. Reduce watering and fertilization during this time.
- Nutrient balance: A balanced supply of nutrients is essential for flower development. Avoid excessive nitrogen fertilization, as it can promote leaf growth at the expense of flowers.
Creating favorable conditions:
- Light: Increase light exposure gradually during the spring to stimulate flower bud formation.
- Temperature: Provide cooler night temperatures during the autumn and winter months to mimic natural conditions.
- Watering: Reduce watering during the dormant period to encourage flower bud initiation.
- Fertilization: Use a balanced orchid fertilizer during the growing season to provide essential nutrients.
By carefully managing these factors, you can increase the chances of your Ophrys fly orchid producing stunning blooms. Remember, patience is key, as blooming may take several years for some orchids.
Propagating Your Ophrys Fly Orchid
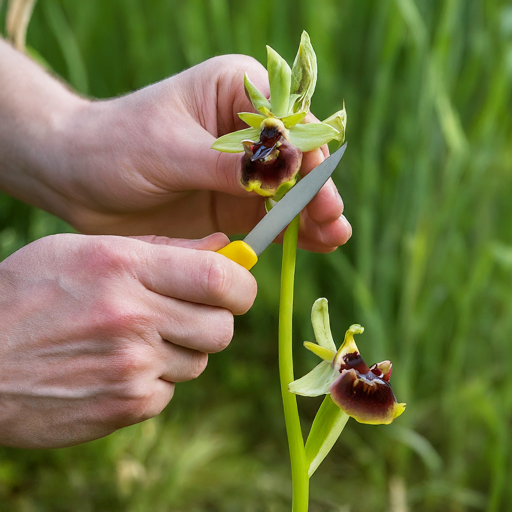
Propagating Ophrys fly orchids can be challenging but rewarding. There are two primary methods: seed propagation and division.
Seed propagation:
- A complex and time-consuming process.
- Requires specialized equipment and sterile conditions.
- Seeds have low germination rates.
- Suitable for experienced orchid growers.
Division:
- A more practical method for most growers.
- Divide mature plants with multiple pseudobulbs.
- Ensure each division has healthy roots and at least two pseudobulbs.
- Repot the divisions in fresh potting mix.
Additional Tips:
- Use sterilized tools to prevent the spread of diseases.
- Plant the divisions in pots with good drainage.
- Provide adequate light, humidity, and temperature for the newly divided plants.
Propagation can be a rewarding experience, allowing you to expand your orchid collection. However, it requires patience, skill, and careful attention to detail.
Conclusion
Cultivating Ophrys fly orchids is a rewarding endeavor for dedicated orchid enthusiasts. By understanding their specific requirements and providing optimal growing conditions, you can increase your chances of success. Remember, patience and persistence are key to nurturing these exquisite plants.
With careful attention to light, temperature, humidity, watering, fertilization, and repotting, you can create a thriving environment for your Ophrys fly orchid to flourish. By following the guidelines outlined in this guide, you’ll be well on your way to enjoying the beauty and complexity of these remarkable orchids.


