Do you step into your garden after a long winter and feel a pang of disappointment? Seeing your once vibrant plants looking withered and lifeless can be disheartening. It feels like all your hard work from the previous season has vanished. You might worry that they’re beyond saving, and the thought of starting over is overwhelming. But what if I told you that most of your plants can be revived with the right approach? I’ve been there, and I know how frustrating it is. So, let’s transform your post-winter garden into a thriving oasis with these seven vital steps.
1. Assess the Damage: Understanding Winter’s Impact

After a long winter, it’s essential to understand the specific challenges your plants have faced. Before you start any revival efforts, you must accurately assess the damage. This process isn’t just about identifying dead leaves; it’s about understanding the nuances of how winter affects different plant types.
First, I always begin by distinguishing between natural dormancy and actual winter damage. Dormancy is a natural state where plants conserve energy during harsh conditions. You’ll often see deciduous trees and shrubs dropping their leaves, and perennials may die back to the ground. This is normal. Damage, on the other hand, manifests as broken branches, split bark, discolored leaves, or soft, mushy stems—signs of frost damage or root rot.
Common Winter Issues:
- Frost Damage: This occurs when plant tissues freeze and rupture. You’ll notice blackened or brown leaves and stems. In extreme cases, the bark may split, exposing the inner wood. This is especially common in areas with sudden temperature drops or late frosts.
- Root Rot: This is often caused by waterlogged soil during winter. Roots become soft and mushy, and the plant struggles to absorb water and nutrients. Signs include wilting, yellowing leaves, and a foul smell from the soil.
- Dehydration: Even in winter, plants can lose moisture, especially evergreens. Dry winds and frozen soil can prevent plants from replenishing lost water. You’ll see brown, crispy leaves and dry, brittle stems.
- Dieback: This is the progressive death of twigs and branches starting at the tips. It is often caused by a combination of stress factors, including frost and drought.
To determine which plants are salvageable, I recommend a simple test. Gently scratch the bark of a branch with your fingernail. If you see green underneath, the plant is still alive. If it’s brown and dry, the branch is likely dead. You can also check the buds for signs of life. Healthy buds are plump and firm, while dead buds are shriveled and dry.
Understanding Specific Challenges:
Climate plays a significant role in winter damage. In colder climates, plants are more susceptible to frost damage, while in warmer, wetter climates, root rot is a greater concern. Understanding your local climate and how it affects your plants is crucial.
Checking for Signs of Life:
- Bud Break: This is the emergence of new leaves and flowers from buds. It’s a clear sign that a plant is coming out of dormancy. Timing varies depending on the plant species and local climate.
- Green Under the Bark: As mentioned, scratching the bark is a reliable test. The presence of green tissue indicates that the cambium layer, which is responsible for growth, is still alive.
- Root Examination: For potted plants, gently remove them from their containers and check the roots. Healthy roots are firm and white or light-colored, while rotten roots are soft and dark.
Case Study: Reviving a Frost-Damaged Rose Bush
Last year, a late frost hit my rose bushes, causing significant damage. The leaves turned black, and some branches appeared dead. I started by pruning away all the blackened leaves and damaged branches. I then applied a layer of compost around the base of the bush to improve soil health. After a few weeks of consistent watering, new shoots began to emerge, and the rose bush made a full recovery.
Common Winter Damage Signs and Solutions
| Sign of Damage | Possible Cause | Solution |
| Blackened leaves | Frost damage | Prune damaged leaves, protect from future frosts |
| Soft, mushy roots | Root rot | Improve drainage, reduce watering |
| Brown, crispy leaves | Dehydration | Water deeply, mulch to retain moisture |
| Split bark | Severe frost | Prune damaged bark, protect from further damage |
| Lack of bud break | Dormancy or death | Scratch bark to check for green, wait for warmer weather |
Essential Tools for Damage Assessment
- Pruning shears
- Gardening gloves
- Trowel
- Magnifying glass (for close inspection)
By carefully assessing the damage, you’ll gain a clear understanding of what your plants need to recover. This initial step is crucial for successful plant revival.
2. Spring Cleaning: Prepare Your Plants and Soil
Spring cleaning isn’t just for your house; it’s essential for your garden too! After a long winter, your plants and soil need some TLC to prepare for the growing season. This step involves removing debris, assessing soil health, and creating a clean slate for your plants to thrive.
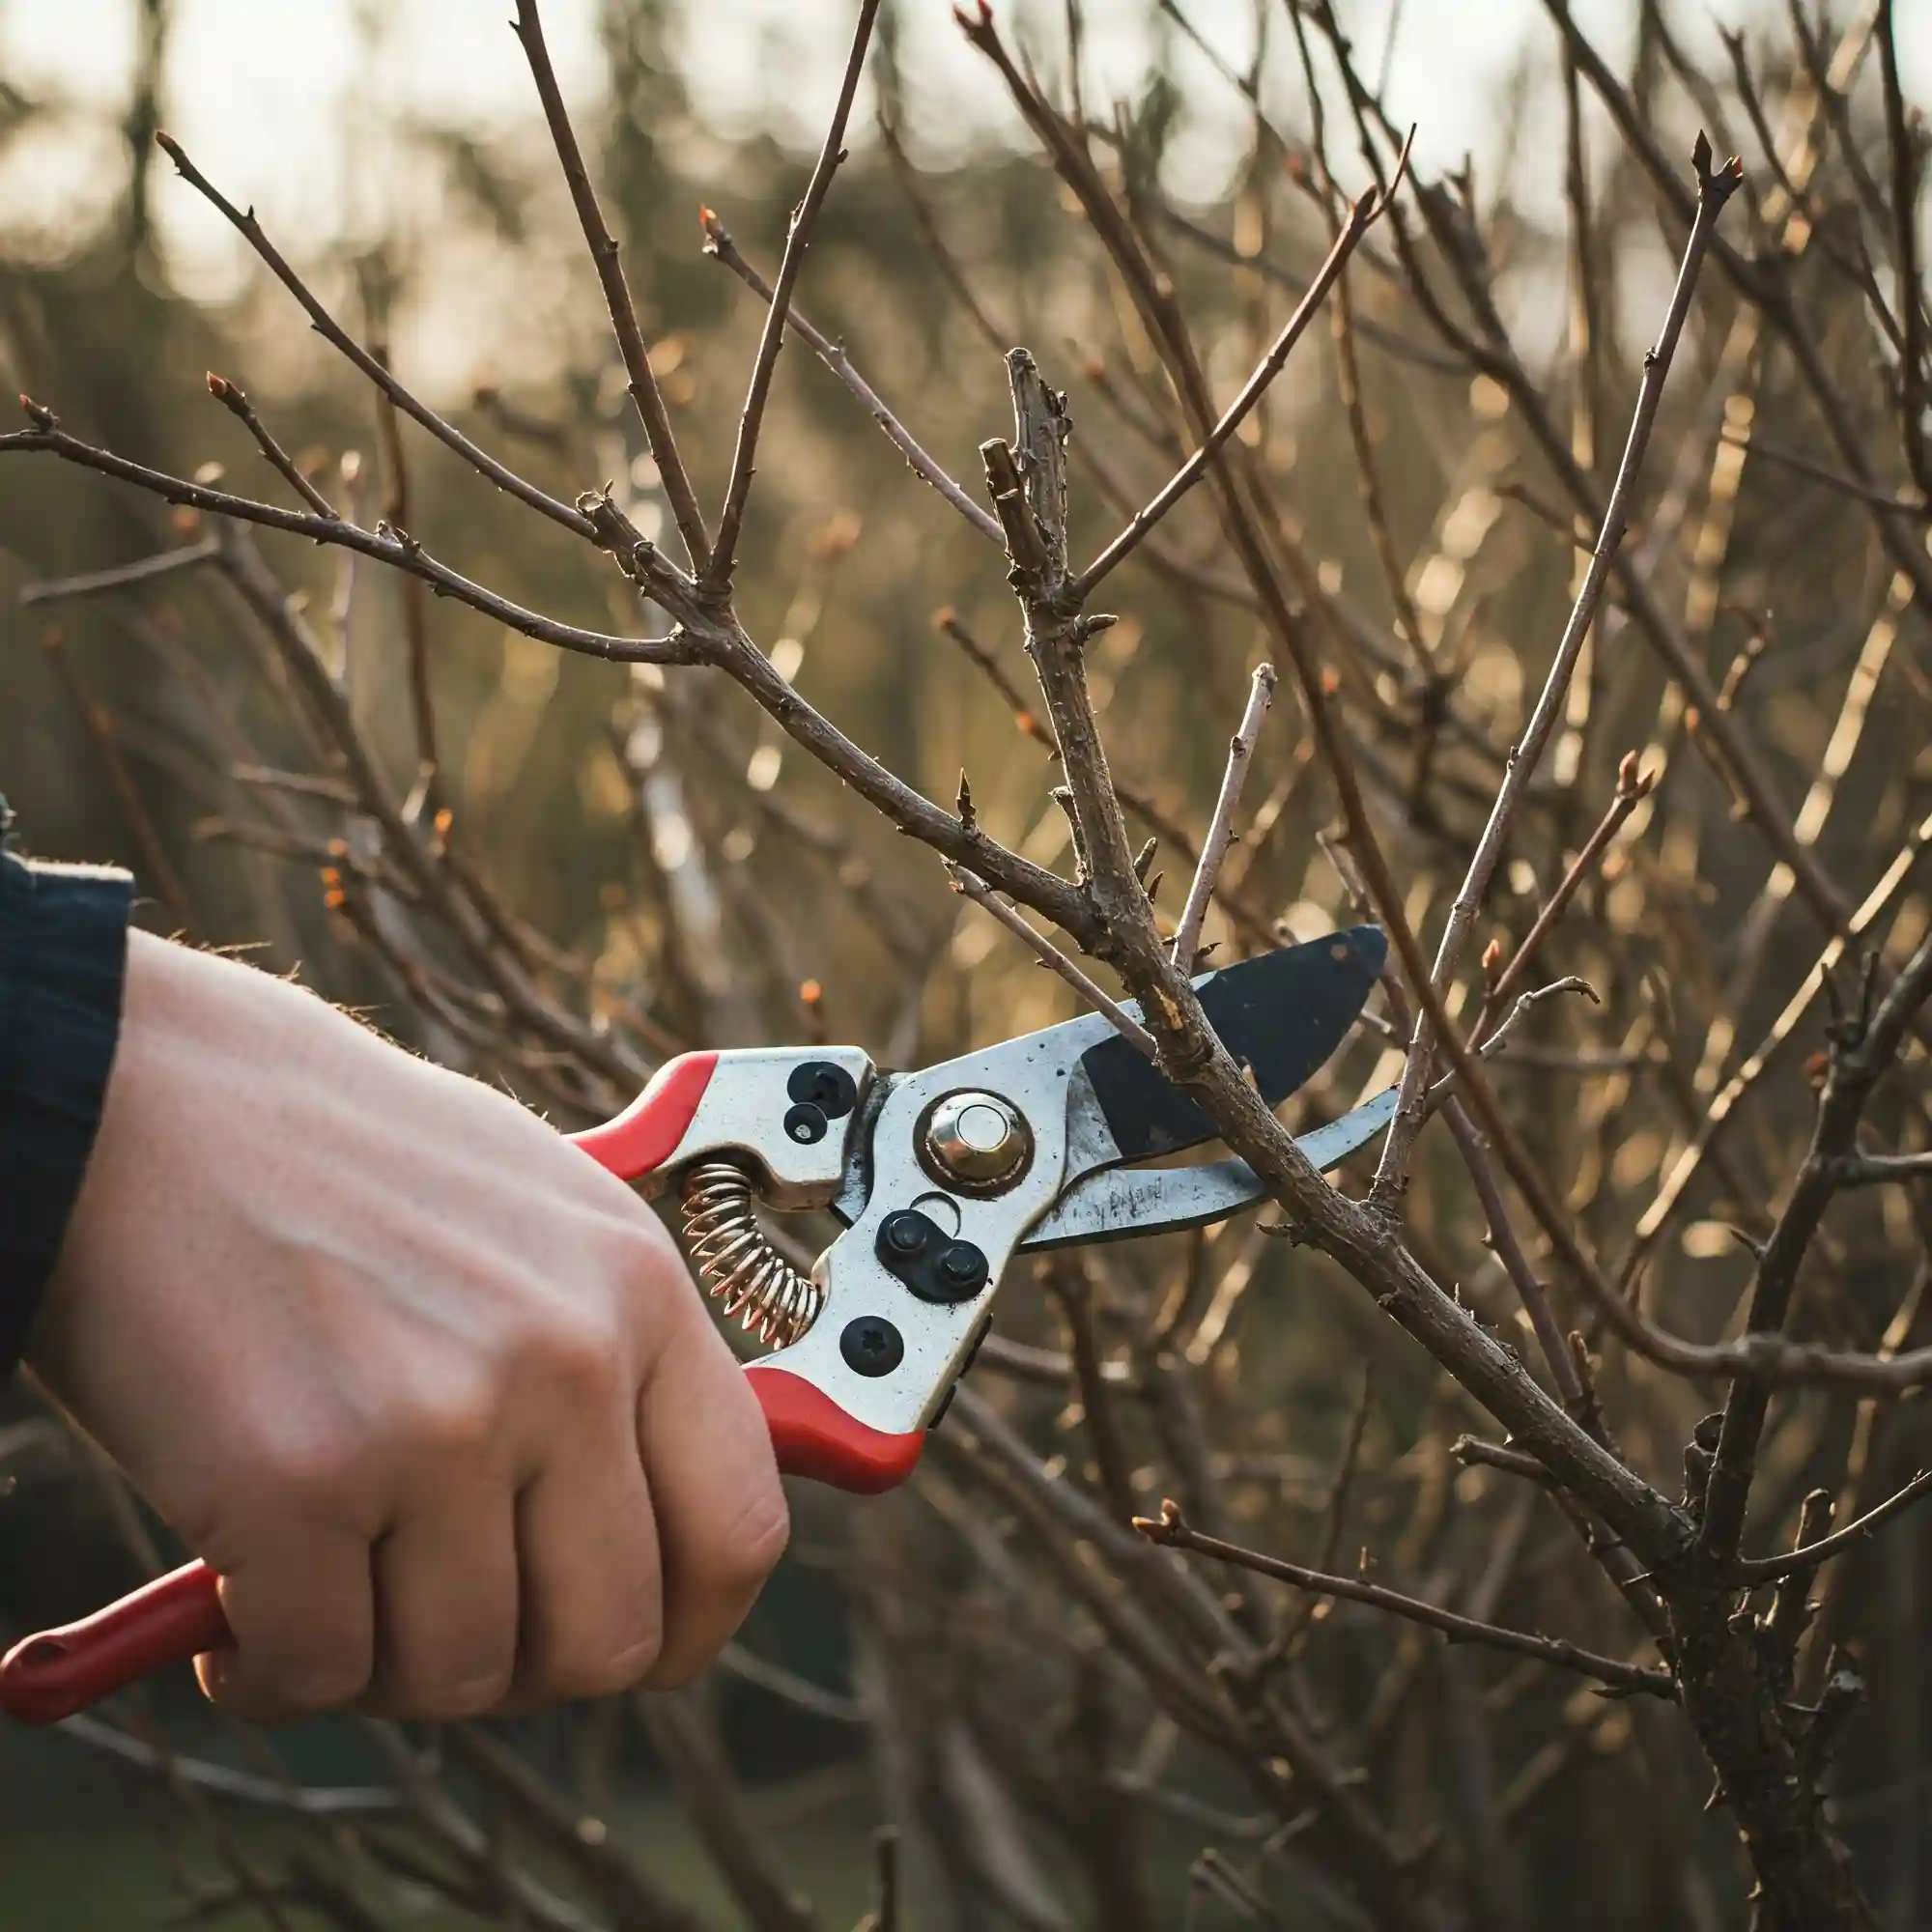
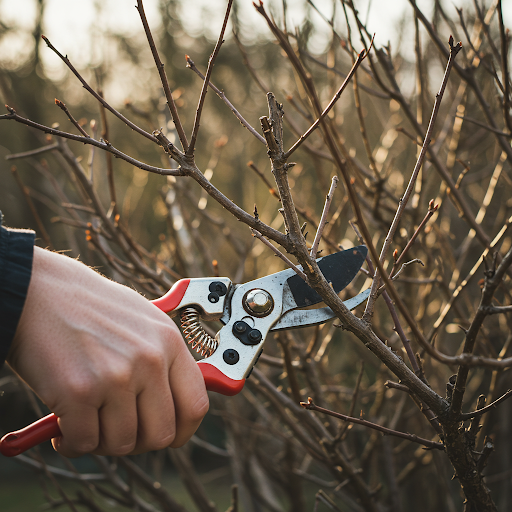
Pruning Away the Past:
One of the most crucial tasks is pruning. Winter can take a toll on plants, leaving behind dead or damaged branches. Pruning these away allows your plants to focus their energy on new growth.
- Deciduous Shrubs and Trees: Prune back any dead, broken, or crossing branches. You can also shape the plant by removing any unwanted growth.
- Evergreens: Prune sparingly, removing only dead or damaged branches. Avoid heavy pruning, as it can stress the plant.
- Perennials: Cut back any dead or damaged foliage to the ground. This encourages new growth from the crown.
Clearing the Debris:
Winter often leaves behind a layer of leaves, twigs, and other debris in your garden. This can smother plants and prevent proper air circulation.
- Rake up leaves and twigs: Dispose of them properly or use them to create compost.
- Remove any winter protection: This might include burlap, blankets, or frost cloth.
- Clear away any weeds or volunteer seedlings: These can compete with your established plants for water and nutrients.
Assessing and Amending Your Soil:
Healthy soil is the foundation of a thriving garden. After winter, it’s a good time to assess your soil’s condition.
- Soil Testing: Consider conducting a soil test to determine its pH and nutrient levels. This will help you understand what amendments are needed.
- Improving Soil Structure: Add organic matter like compost, well-rotted manure, or shredded leaves to improve soil structure and drainage.
- Addressing Soil Compaction: If your soil is compacted, use a garden fork to loosen it up. This allows for better root growth and water penetration.
Preparing Garden Beds:
- Clear the area of any debris and weeds.
- Loosen the top few inches of soil.
- Incorporate compost or other organic matter into the soil.
- Create raised beds if necessary to improve drainage and soil quality.
Preparing Pots:
- Clean pots thoroughly to remove any old soil and debris.
- Check for drainage holes and ensure they are not blocked.
- Repot any plants that have outgrown their containers.
- Use fresh potting mix that is well-draining and nutrient-rich.
By taking these steps, you’ll create a clean and healthy environment for your plants to thrive as they emerge from winter dormancy. Remember, preparing your plants and soil in the spring is an investment that will pay off with a bountiful and beautiful garden all season long.
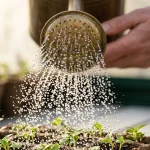
3. Hydration and Nourishment: Essential First Steps
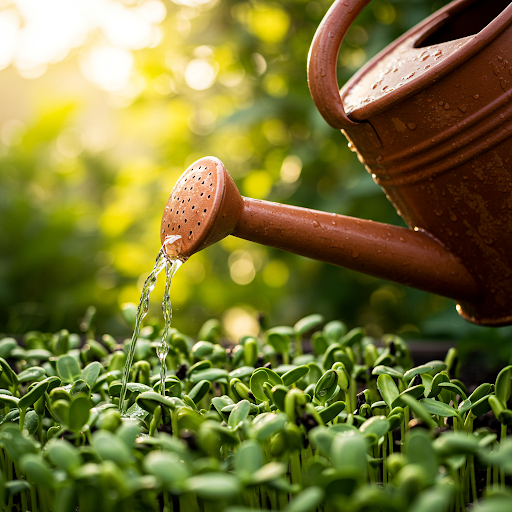
After assessing winter damage and preparing your plants and soil, the next crucial step is to provide adequate hydration and nourishment. Think of it as giving your plants a much-needed boost after a long period of dormancy. This process involves careful watering techniques and strategic fertilization to support new growth and overall plant health.
Proper Watering After Dormancy:
One of the most common mistakes gardeners make is overwatering in early spring. Plants emerging from dormancy have delicate root systems that are susceptible to rot if the soil remains waterlogged.
- Initial Watering:
- Begin with a thorough watering to rehydrate the soil.
- Allow the soil to dry slightly before watering again.
- Use your finger to check soil moisture; if the top inch feels dry, it’s time to water.
- Watering Frequency:
- Increase watering frequency as temperatures rise and plants begin to grow more actively.
- Consider the specific needs of different plant types. Succulents and drought-tolerant plants require less frequent watering than moisture-loving plants.
- Water deeply and less frequently. This will help plant roots grow deeper.
- Avoiding Overwatering:
- Ensure proper drainage in pots and garden beds.
- Avoid watering during the hottest part of the day to minimize evaporation.
- Monitor weather conditions and adjust watering accordingly.
Fertilizing Plants in Spring:
Spring is the ideal time to fertilize plants, as they are actively growing and require nutrients to support new growth.
- Timing:
- Wait until new growth appears before fertilizing.
- Early spring fertilization can stimulate growth that is vulnerable to late frosts.
- Choosing the Right Fertilizer:
- Use a balanced fertilizer (e.g., 10-10-10) for general plant health.
- Select fertilizers specifically formulated for different plant types (e.g., roses, vegetables, flowering plants).
- Consider slow release fertilizers.
- Application Methods:
- Follow the instructions on the fertilizer label for proper application rates.
- Apply fertilizer evenly around the base of the plant, avoiding direct contact with stems and leaves.
- Water thoroughly after fertilizing to help the nutrients reach the roots.
- Recognizing Nutrient Deficiencies:
- Yellowing leaves can indicate nitrogen deficiency.
- Purple or reddish leaves can suggest phosphorus deficiency.
- Brown leaf tips can be a sign of potassium deficiency.
- Conducting a soil test can give you accurate data.
Plant Nutrition After Winter:
Winter can deplete soil nutrients, making it essential to replenish them in spring.
- Organic Matter:
- Incorporate compost, well-rotted manure, or other organic matter into the soil to improve nutrient availability.
- Organic matter also improves soil structure and water retention.
- Soil Amendments:
- Use soil amendments like lime or sulfur to adjust soil pH according to the needs of your plants.
- Add bone meal to provide phosphorus for flowering plants.
- Mulching:
- Apply a layer of mulch around plants to retain moisture, suppress weeds, and regulate soil temperature.
- Mulch breaks down and adds nutrients to the soil.
Case Study: Reviving a Hydrangea with Proper Hydration and Nourishment
Last spring, my hydrangea looked weak and pale after a harsh winter. I began by watering it deeply and consistently, ensuring the soil was moist but not waterlogged. I then applied a slow-release fertilizer specifically formulated for flowering shrubs. Within a few weeks, the hydrangea began to show signs of new growth, and by summer, it was blooming beautifully.
Common Nutrient Deficiencies and Solutions
| Deficiency | Symptoms | Solution |
| Nitrogen (N) | Yellowing leaves, stunted growth | Apply nitrogen-rich fertilizer or compost |
| Phosphorus (P) | Purple or reddish leaves, poor flowering | Add bone meal or phosphorus-rich fertilizer |
| Potassium (K) | Brown leaf tips, weak stems | Use potassium-rich fertilizer or wood ash |
| Iron (Fe) | Yellow leaves with green veins | Apply iron chelate or iron sulfate |
By providing adequate hydration and nourishment, you’ll give your plants the essential building blocks they need to thrive after winter. Remember, consistency and attention to detail are key to successful plant revival.
4. How to Grow: Gradual Acclimation and Protection
As your plants awaken from their winter slumber, they need time to adjust to the changing conditions. This process, known as acclimation, helps them prepare for the stresses of the growing season.
Gradual Exposure to Sunlight:
For indoor plants, the transition from low light to full sun can be harsh.
- Start with a gradual increase in sunlight: Move them to a slightly brighter location each day.
- Monitor for signs of stress: Wilting, yellowing leaves, or leaf scorch are indicators that the plant is getting too much sun.
- Provide shade during the hottest part of the day if necessary.
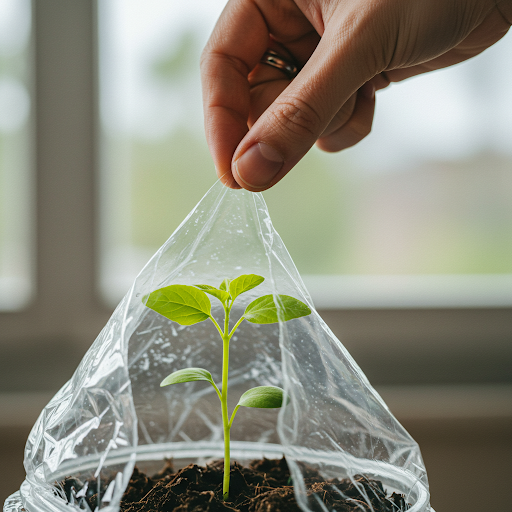
Hardening Off Seedlings:
Seedlings grown indoors need to be gradually acclimated to outdoor conditions before planting. This process is called hardening off.
- Start by placing seedlings outdoors for short periods each day, gradually increasing the time.
- Choose a sheltered location out of direct sunlight and wind.
- Over the course of a week or two, gradually increase the time they spend outdoors.
- Once they can withstand full sun and cool nights, they are ready to be planted in the garden.
Protecting Plants from Late Frosts:
Even after the official start of spring, there is always a risk of late frosts.
- Monitor weather forecasts for frost warnings.
- Protect vulnerable plants with frost cloths, blankets, or sheets.
- Water plants thoroughly before a frost, as moist soil retains heat better.
- Consider planting frost-tolerant varieties in areas prone to late frosts.
Planting New Seedlings:
- Choose the right time to plant: Wait until the soil has warmed up and the risk of frost has passed.
- Prepare the soil properly: Amend the soil with compost and loosen it up before planting.
- Space plants according to their mature size.
- Water seedlings thoroughly after planting.
Encouraging New Growth:
- Prune back any dead or damaged branches or stems.
- Provide support for tall or vining plants.
- Mulch around plants to conserve moisture and suppress weeds.
- Monitor for pests and diseases and take action as needed.
By following these acclimation and protection practices, you can help your plants transition smoothly from winter dormancy to vigorous growth. Remember, patience and careful observation are key to ensuring a successful growing season.
5. How to Plant: Repotting and Transplanting Techniques
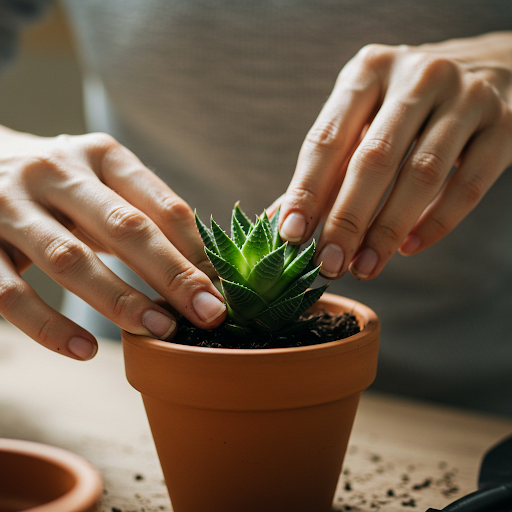
As your plants continue to grow and thrive, you may find that they need more space. This is where repotting and transplanting come into play. These techniques ensure your plants have ample room for root development and access to essential nutrients.
Repotting Indoor Plants:
Indoor plants often outgrow their containers, especially if they are actively growing. Repotting provides them with fresh soil and more space for root expansion.
- Signs that a plant needs repotting: Roots growing out of the drainage holes, the plant becoming root-bound (roots circling the inside of the pot), or slow growth despite adequate care.
- Choosing the right pot: Select a pot that is only slightly larger than the current one. A pot that is too large can lead to overwatering and root rot.
- Repotting process: Gently remove the plant from its current pot. Loosen the root ball slightly and remove any old or damaged roots. Place the plant in the new pot, fill with fresh potting mix, and water thoroughly.
Transplanting Outdoor Plants:
Transplanting is the process of moving plants from one location to another in the garden. This may be necessary to improve soil conditions, provide more space, or relocate plants to a more suitable location.
- Timing: Spring is an ideal time to transplant most plants. However, the best time will vary depending on the plant species and local climate.
- Preparing the new location: Amend the soil with compost or other organic matter. Loosen the soil and remove any weeds.
- Digging up the plant: Carefully dig around the plant, ensuring you get as much of the root ball as possible.
- Planting the plant: Place the plant in the new hole, ensuring it is at the same depth as it was previously. Fill in the surrounding soil and water thoroughly.
Choosing the Right Potting Mix or Soil:
- Potting mix: Select a well-draining potting mix that is specifically formulated for indoor plants.
- Outdoor soil: Amend the soil with compost, well-rotted manure, or other organic matter to improve its structure and nutrient content.
- Consider the specific needs of different plant types: Some plants prefer acidic soil, while others prefer alkaline soil.
Handling Delicate Root Systems:
- Be gentle when removing the plant from its pot or digging it up.
- Avoid disturbing the root ball as much as possible.
- If the roots are circling the pot, gently loosen them before repotting.
- Water the plant thoroughly after repotting or transplanting to help it settle in.
Planting Bulbs in Spring:
- Select the right bulbs for your climate and garden.
- Plant bulbs at the appropriate depth according to their size and type.
- Water the bulbs thoroughly after planting.
- Mulch around the bulbs to protect them from frost and retain moisture.
By following these repotting and transplanting techniques, you can ensure that your plants have the best possible growing conditions. Remember to handle your plants with care and provide them with the necessary support to thrive in their new homes.
6. How to Propagate: Encouraging New Growth
Spring is an excellent time to expand your plant collection through propagation. This process involves creating new plants from existing ones, whether it’s from cuttings, divisions, or seeds. Propagation is a rewarding experience that allows you to share your favorite plants with others or simply increase your own plant population.
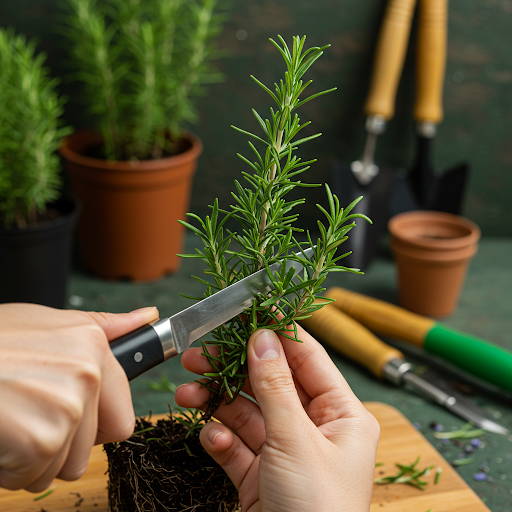
Propagating from Cuttings:
Many plants can be propagated from cuttings, which are pieces of stems or branches that are rooted to form new plants.
- Choose healthy cuttings: Select young, non-flowering stems with several nodes (the points where leaves or branches grow).
- Prepare the cuttings: Cut the stems at an angle just below a node. Remove any leaves from the bottom few inches of the cutting.
- Rooting medium: Dip the cut end of the cutting in rooting hormone powder (optional) and insert it into a pot filled with a well-draining potting mix.
- Care for the cuttings: Keep the potting mix moist but not soggy. Place the cuttings in a warm, bright location out of direct sunlight.
- Patience is key: Rooting can take several weeks or even months, depending on the plant species.
Dividing Perennials:
Perennials are plants that come back year after year. Many perennials can be divided to create new plants.
- Dig up the plant: Carefully dig up the entire plant.
- Divide the root ball: Use a sharp knife or your hands to separate the plant into two or more sections, each with its own set of roots and shoots.
- Replant the divisions: Plant each division in a new location, ensuring they have adequate space to grow.
Growing from Seeds:
Growing plants from seeds can be a rewarding experience, but it requires patience and attention to detail.
- Choose the right seeds: Select high-quality seeds from a reputable source.
- Start seeds indoors: Sow seeds in seed trays or pots filled with a well-draining seed-starting mix.
- Provide adequate light and warmth: Place the seedlings in a warm, sunny location or use grow lights.
- Keep the soil moist but not waterlogged.
- Harden off seedlings before planting outdoors: Gradually expose them to outdoor conditions over a period of several days.
Encouraging New Growth on Dormant Plants:
- Pruning: Prune back dead or damaged branches to encourage new growth.
- Fertilizing: Apply a balanced fertilizer to provide essential nutrients.
- Watering: Water plants consistently, but avoid overwatering.
- Mulching: Apply a layer of mulch around the base of plants to retain moisture and suppress weeds.
By practicing these propagation techniques, you can expand your plant collection, share your favorite plants with others, and enjoy the satisfaction of nurturing new life. Remember, patience and careful attention to detail are key to successful propagation.
7. Gardening Spring 2025: Ongoing Plant Care and Maintenance

As your garden flourishes, it’s important to provide ongoing care and maintenance to ensure continued health and vitality. This involves a range of activities, from regular watering and fertilizing to monitoring for pests and diseases.
Maintaining Proper Watering:
- Consistent Watering: Continue to water your plants regularly, adjusting the frequency based on weather conditions and plant needs.
- Deep Watering: Water deeply and infrequently to encourage deep root growth.
- Mulching: Apply a layer of mulch around plants to help retain moisture and suppress weeds.
Fertilizing Throughout the Season:
- Continued Fertilization: Depending on the plant type and soil conditions, you may need to fertilize throughout the growing season.
- Follow Fertilizer Instructions: Always follow the instructions on the fertilizer label for proper application rates.
- Consider Organic Fertilizers: Organic fertilizers provide slow-release nutrients and improve soil health.
Monitoring for Pests and Diseases:
- Regular Inspection: Regularly inspect your plants for signs of pests and diseases.
- Early Detection: Early detection is key to effective pest and disease control.
- Integrated Pest Management: Use a combination of cultural, biological, and chemical control methods.
Pruning and Shaping:
- Regular Pruning: Continue to prune plants as needed to remove dead or damaged growth and maintain their shape.
- Pruning Techniques: Use the appropriate pruning techniques for each plant species.
Planning for Summer Gardening:
- Succession Planting: Plan for continuous harvests by planting vegetables and flowers at different times throughout the season.
- Protecting from Summer Heat: Provide shade for heat-sensitive plants during the hottest part of the day.
- Watering During Drought: Water deeply and infrequently during dry periods.
Understanding the Signs of a Healthy Garden:
- Vibrant Growth: Healthy plants exhibit strong, vigorous growth with vibrant green foliage.
- Abundant Blooms: Flowers and fruits are indicators of a healthy plant.
- Resilience to Stress: Healthy plants can withstand minor stresses like drought or heat.
By providing consistent care and attention, you can ensure that your garden thrives throughout the growing season. Remember, gardening is an ongoing process, and by observing your plants and responding to their needs, you can create a beautiful and productive garden.
FAQ:
To further assist you in your plant revival journey, here are answers to some frequently asked questions:
1. How to revive frost-damaged potted plants after winter?
- Assess the damage: Identify any blackened or discolored leaves or stems.
- Prune away damaged parts: Carefully remove any frost-damaged foliage or branches.
- Gradually acclimate to sunlight: Move the plants to a brighter location gradually to avoid shock.
- Monitor watering: Water thoroughly but avoid overwatering, as root rot can be a concern.
- Provide support: If the plant is leaning, provide support with stakes or a trellis.
2. Best practices for reviving outdoor perennials after a harsh winter?
- Clear away debris: Remove any dead leaves, stems, or winter protection.
- Prune back dead or damaged growth: Cut back perennials to the ground or just above the crown.
- Amend the soil: Incorporate compost or other organic matter to improve soil health.
- Water deeply: Provide thorough watering to encourage new growth.
- Fertilize lightly: Apply a balanced fertilizer to support spring growth.
3. When to start reviving indoor plants after winter dormancy period?
- Monitor for signs of growth: Begin when you notice new buds or shoots emerging.
- Increase light exposure: Gradually move plants to brighter locations as daylight hours increase.
- Resume regular watering: Adjust watering frequency as needed based on the plant’s growth and the environment.
- Fertilize lightly: Apply a diluted fertilizer to encourage new growth.
4. What are the signs of successfully reviving shrubs after winter damage?
- New growth: Look for the emergence of new leaves and buds.
- Green under the bark: Scratch the bark to check for green tissue, indicating live wood.
- Healthy foliage: New leaves should be vibrant green and free from discoloration.
- Strong growth: The plant should show signs of vigorous growth and development.
5. Step-by-step guide for reviving vegetable garden after winter frost?
- Test the soil: Conduct a soil test to determine pH and nutrient levels.
- Clear debris: Remove any winter debris, such as leaves and weeds.
- Amend the soil: Incorporate compost or other organic matter to improve soil health.
- Prepare the beds: Loosen the soil and create raised beds if necessary.
- Start seeds indoors: Begin sowing seeds indoors for early transplants.
- Harden off seedlings: Gradually acclimate seedlings to outdoor conditions.
- Plant out seedlings: Transplant seedlings into the garden after the last frost.
- Water and fertilize regularly: Provide consistent care to support plant growth.
6. How to test soil before reviving plants after winter cold snap?
- Use a home soil test kit: These kits are readily available and easy to use.
- Send a soil sample to a local agricultural extension office: They can provide more detailed analysis.
- Observe soil characteristics: Look for signs of compaction, poor drainage, or nutrient deficiencies.
7. Reviving plants after winter: a guide for beginner gardeners in cold climates?
- Choose cold-hardy plants: Select plants that are well-suited to your climate.
- Provide adequate winter protection: Use frost covers, mulch, or other methods to protect plants from extreme cold.
- Start small: Begin with a few easy-to-care-for plants and gradually expand your garden.
- Join a local gardening club: Connect with experienced gardeners for advice and support.
8. How to revive specific plants after winter with organic methods?
- Use organic fertilizers: Apply compost, manure, or other organic materials to provide nutrients.
- Control pests and diseases naturally: Use beneficial insects, companion planting, or organic sprays.
- Improve soil health: Incorporate organic matter to improve drainage and nutrient retention.
- Water deeply and consistently: Avoid overwatering and allow the soil to dry slightly between waterings.
By addressing these frequently asked questions, I hope to provide you with a comprehensive understanding of how to revive your plants after winter and ensure a successful growing season. Remember, patience, observation, and consistent care are key to a thriving garden.